

Speed Light Testing
Yesterday, Mario and I went to the University of Tennessee Knoxville campus to work on speed light setups. It is not always easy to bring a strobe light with you, but if you have a speed light, it can be really useful in outdoor situations. Also, speed lights are a lot smaller and easier to carry around with your on location shooting.
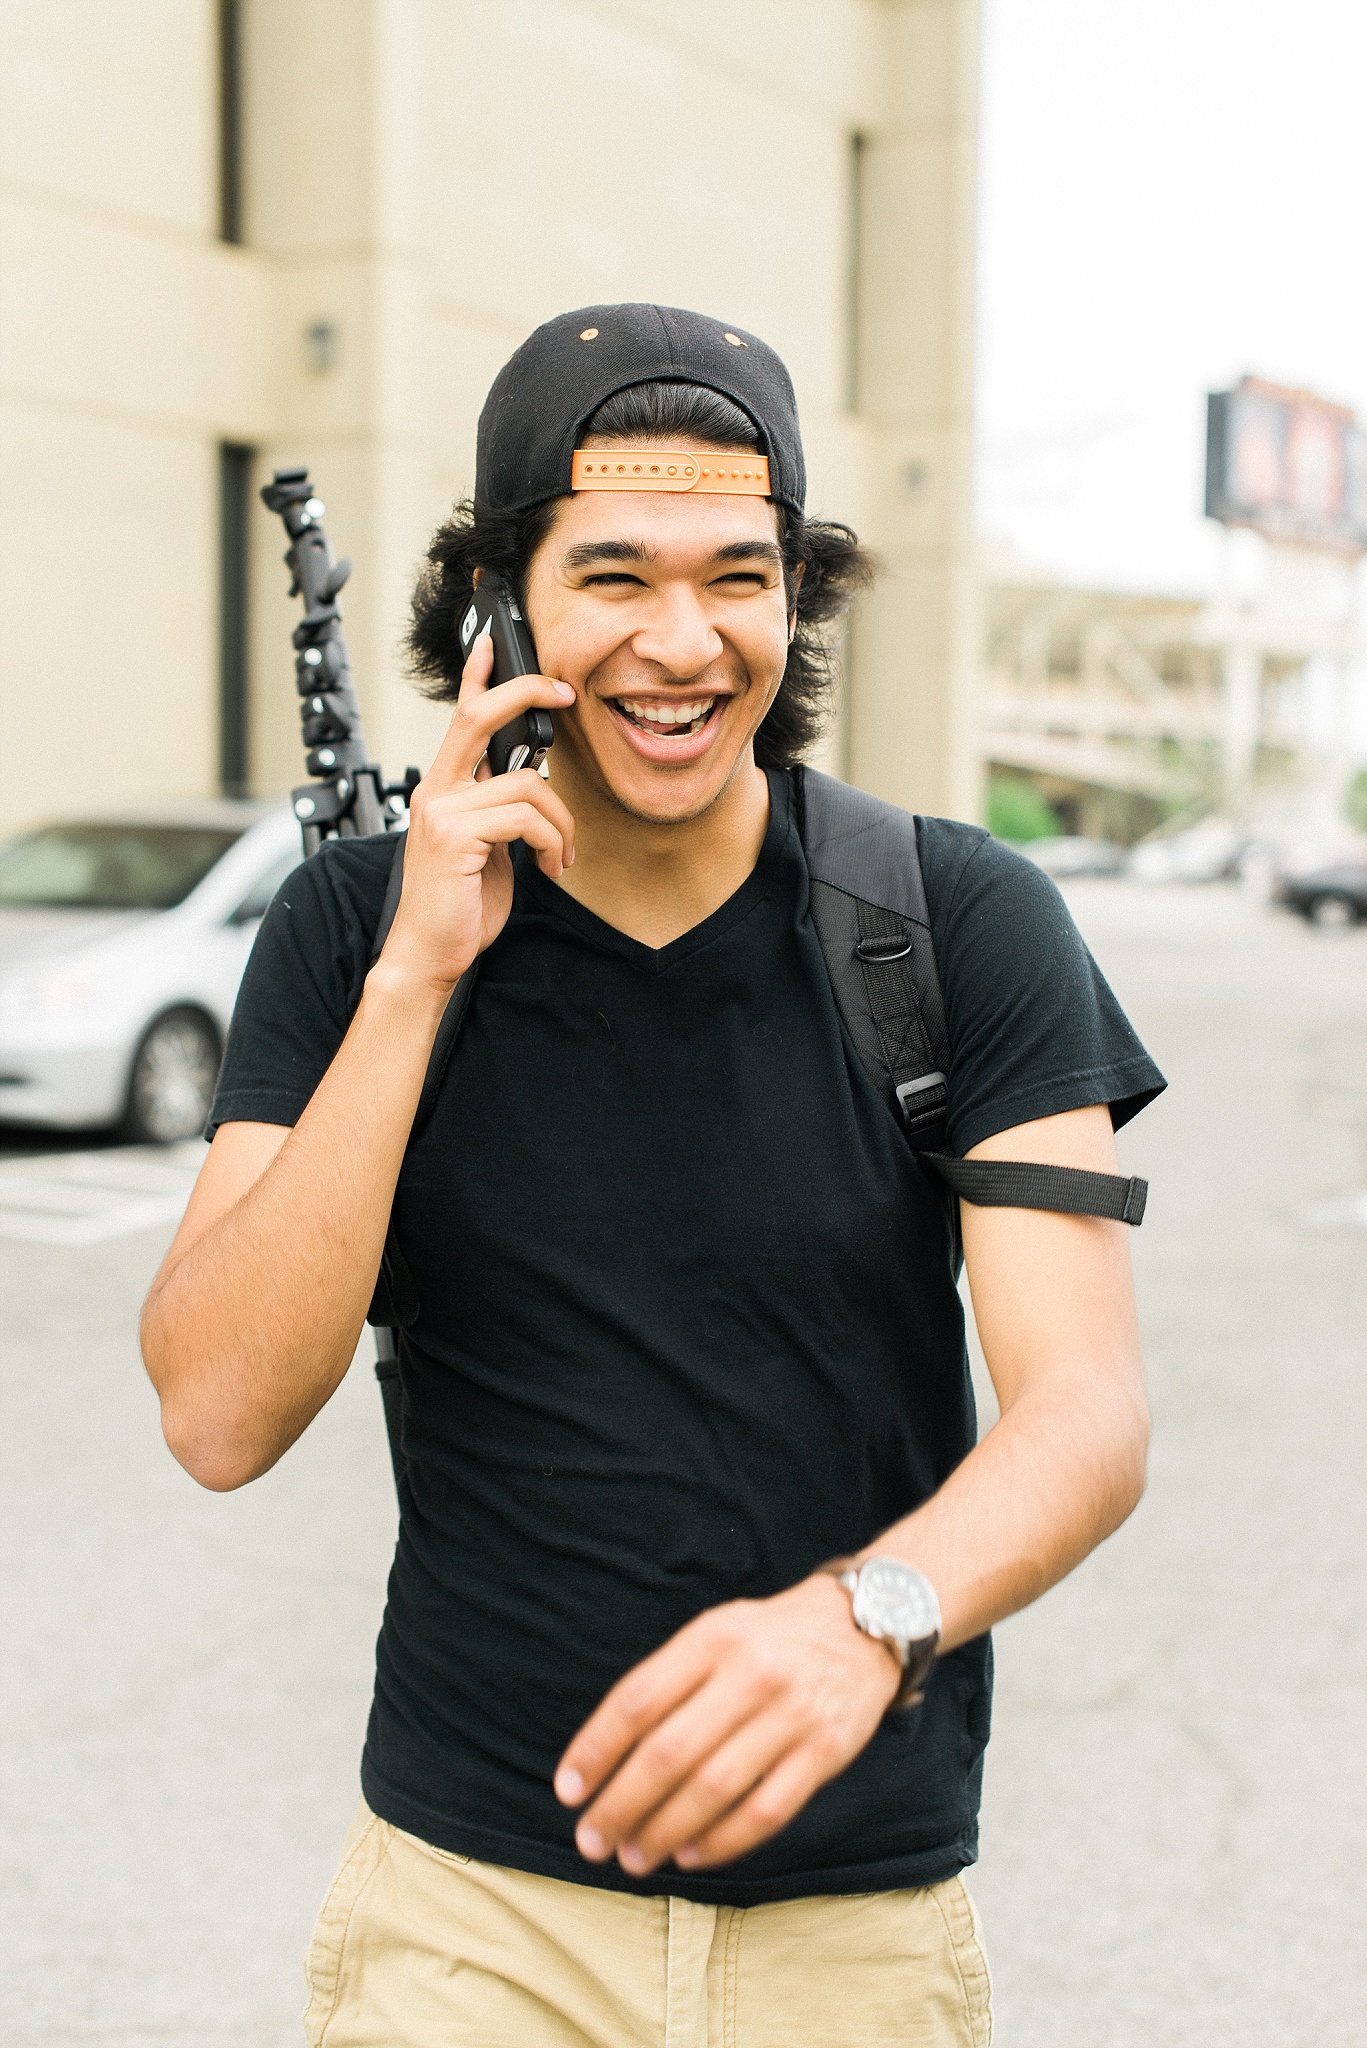
In this first set up, we used two speed lights—one at camera left about 45 degrees from the subject and the other camera right about 45 degrees from the subject. The power for the speed light camera left was at 1/4 at 35mm. The speed light camera right was 1/16 at 105mm.
Camera settings: ISO 100, shutter speed 1/200, f7.1 with a 50mm f1.4 lens.
Since the sun was to my back, we wanted to create a rim light on Mario's back and hair with the second speed light camera right. Although it is not needed, we wanted to see how it would turn out.
Here is another example of a shot with just 1 speed light camera right 45 degrees.
Camera Settings: 1/200, f2.8, ISO 100 50mm f1.4
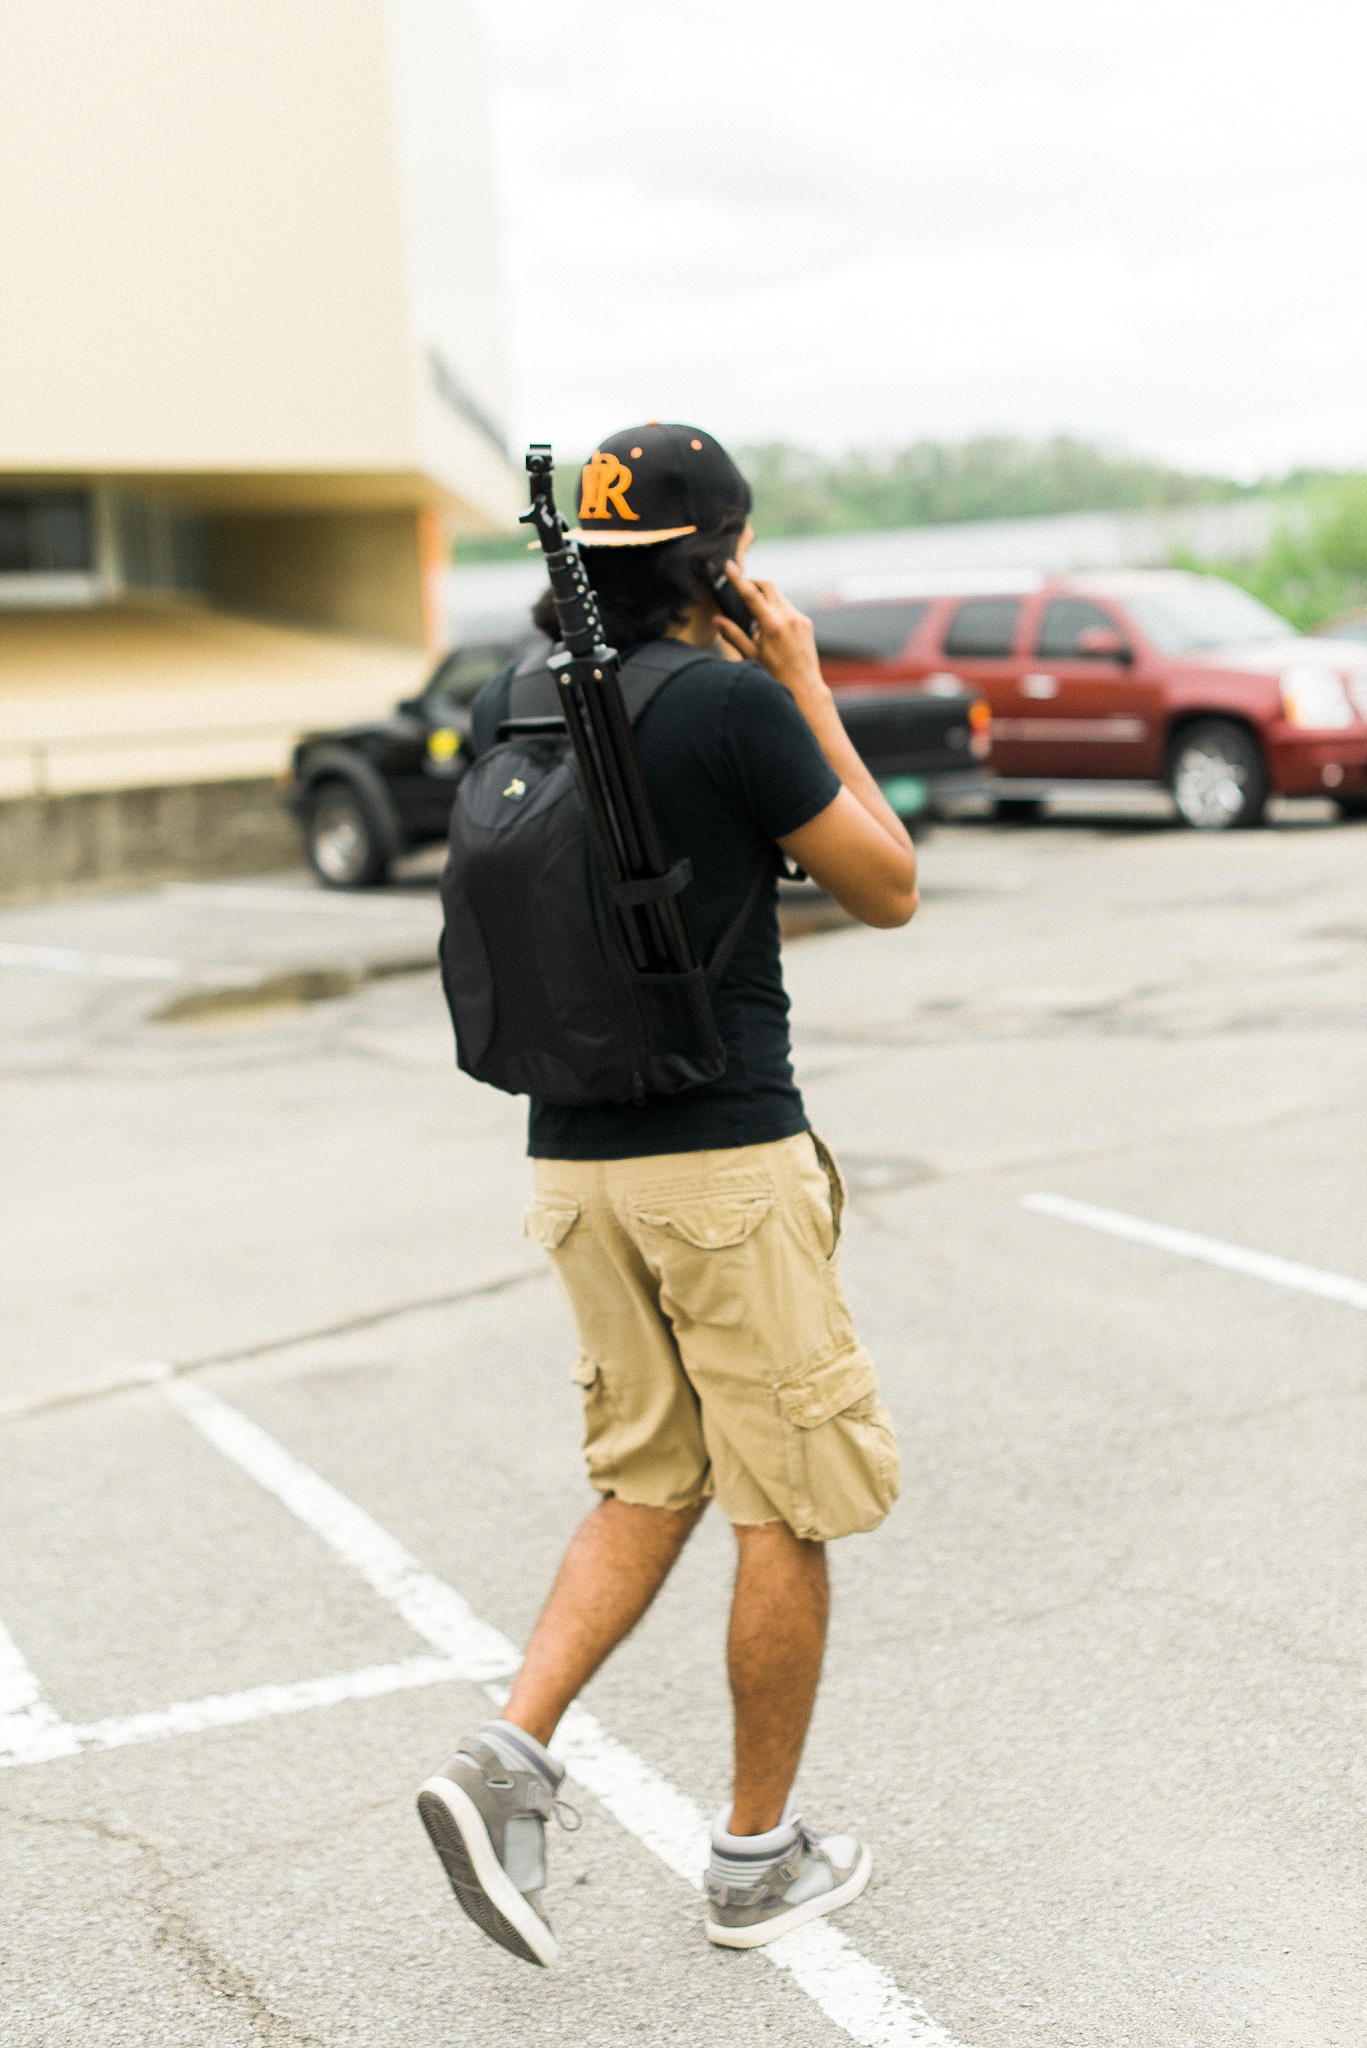
We also did some shots with the sun to Mario's back. This was also a one light setup with the speed light camera right 45 degree angle.
Camera settings 1/125, f10, ISO 50 50mm f1.4
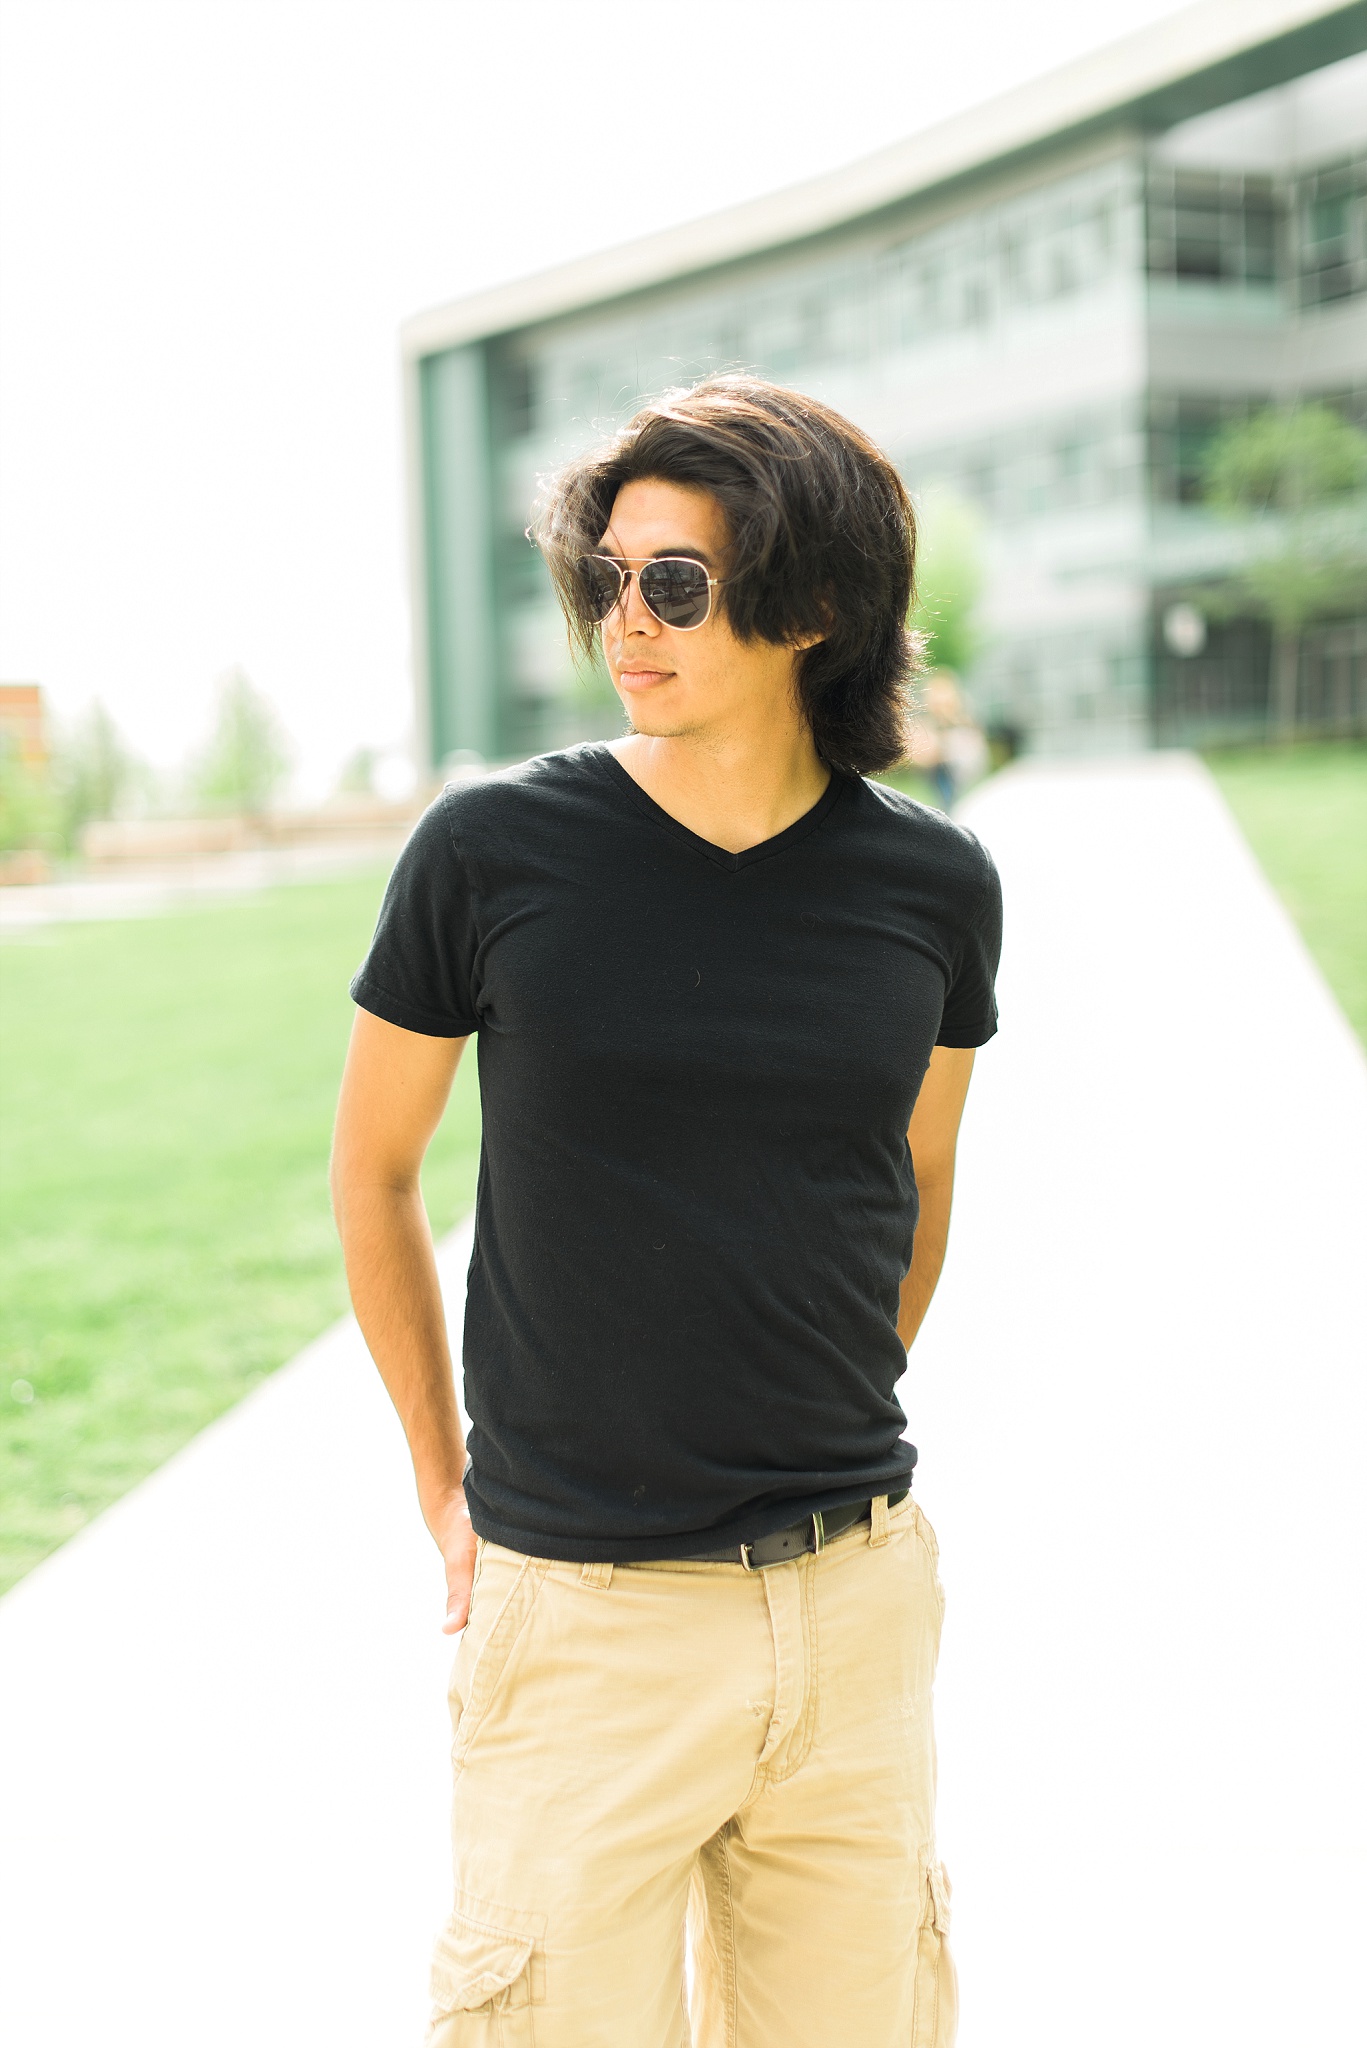
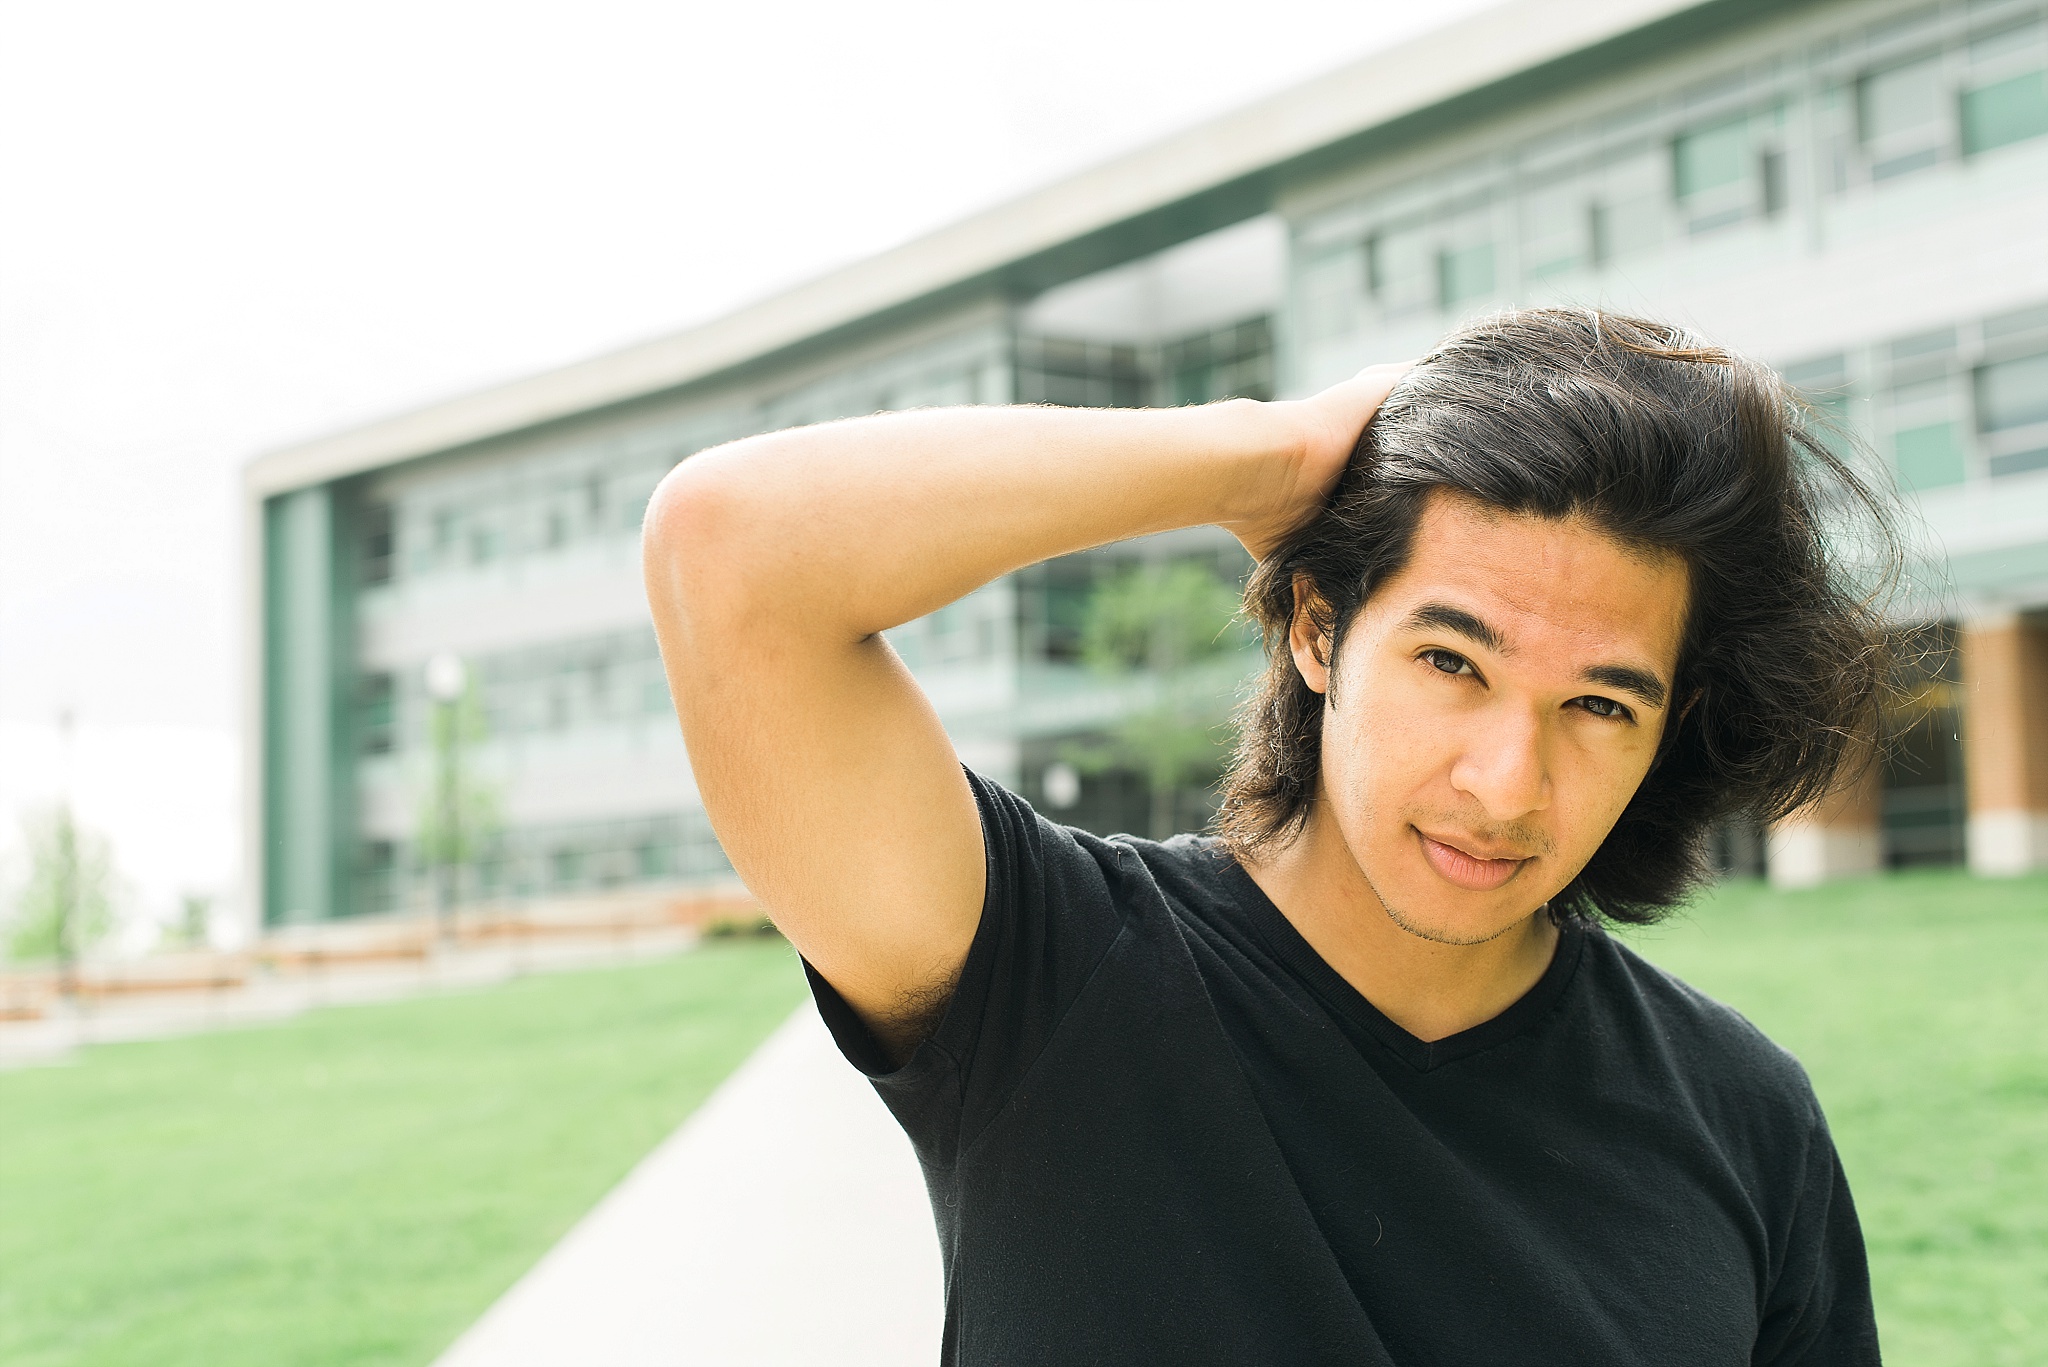
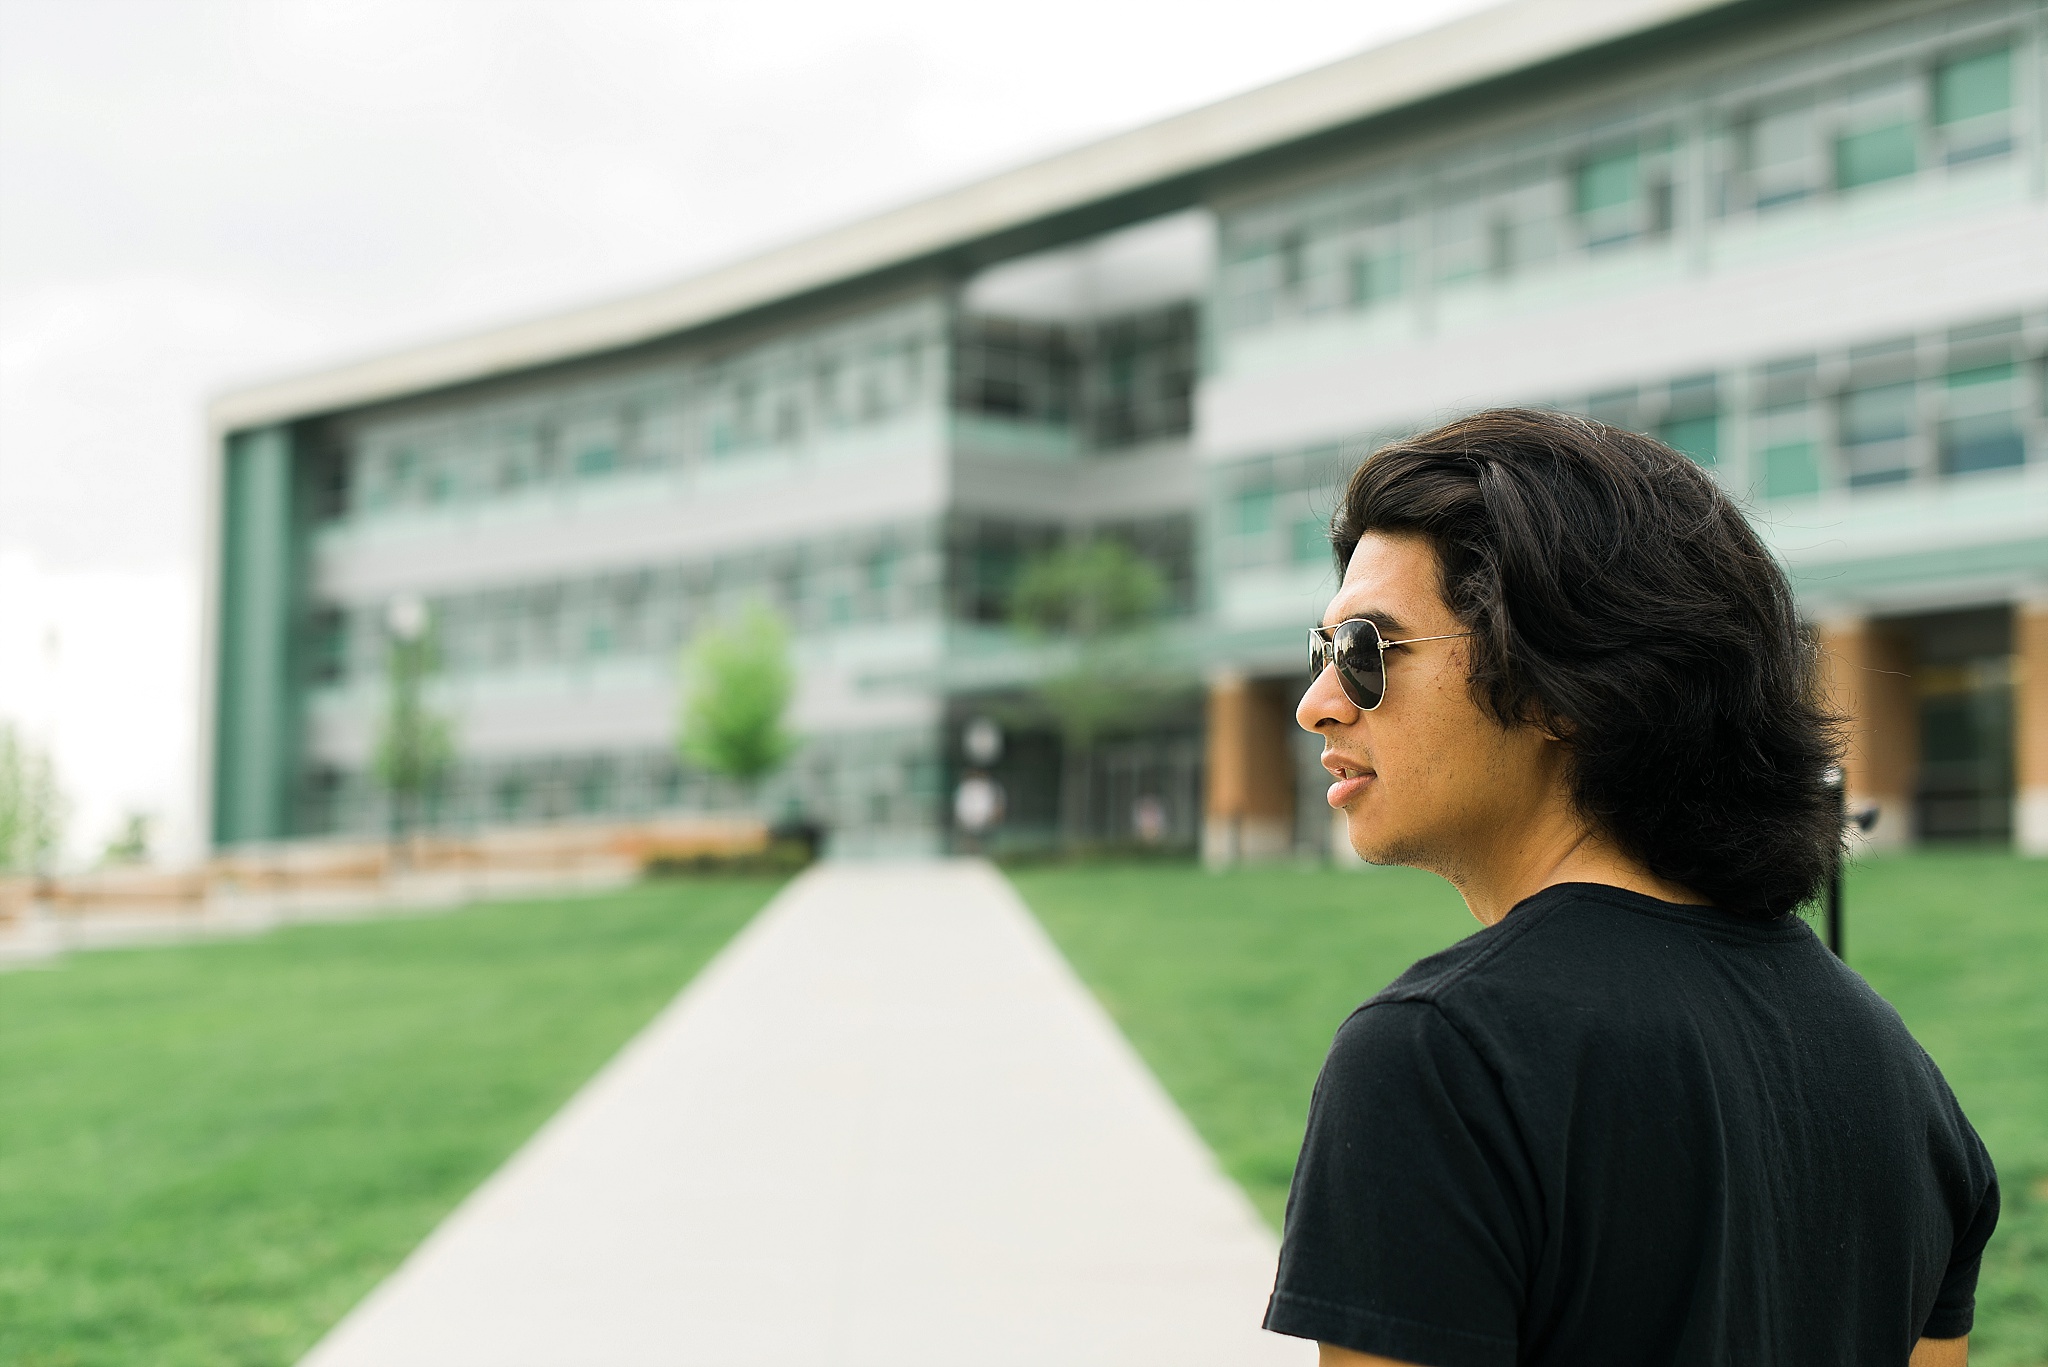
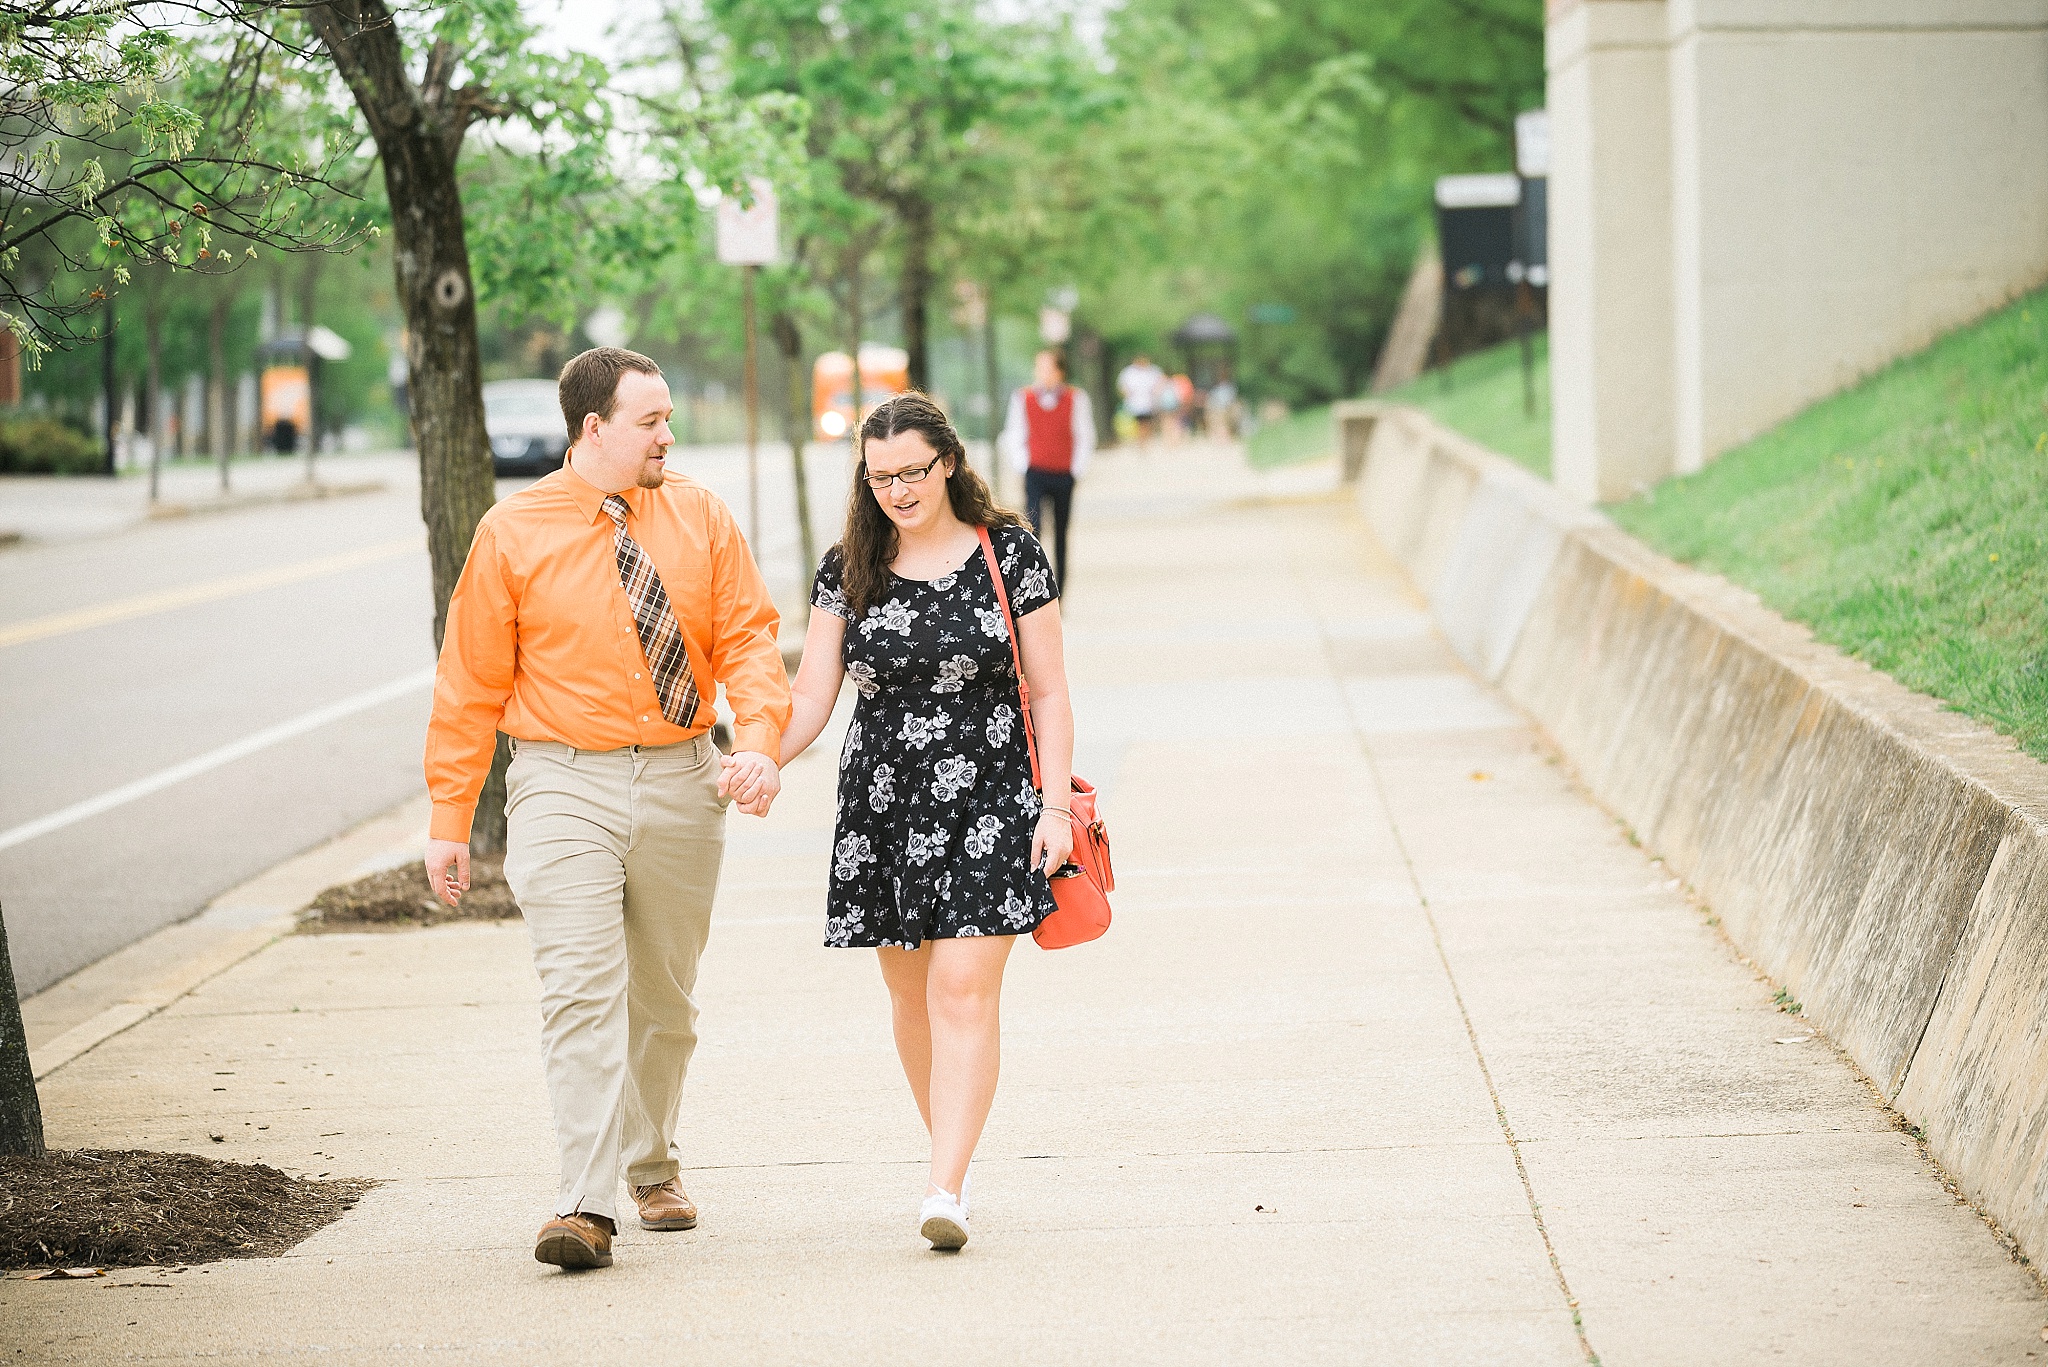
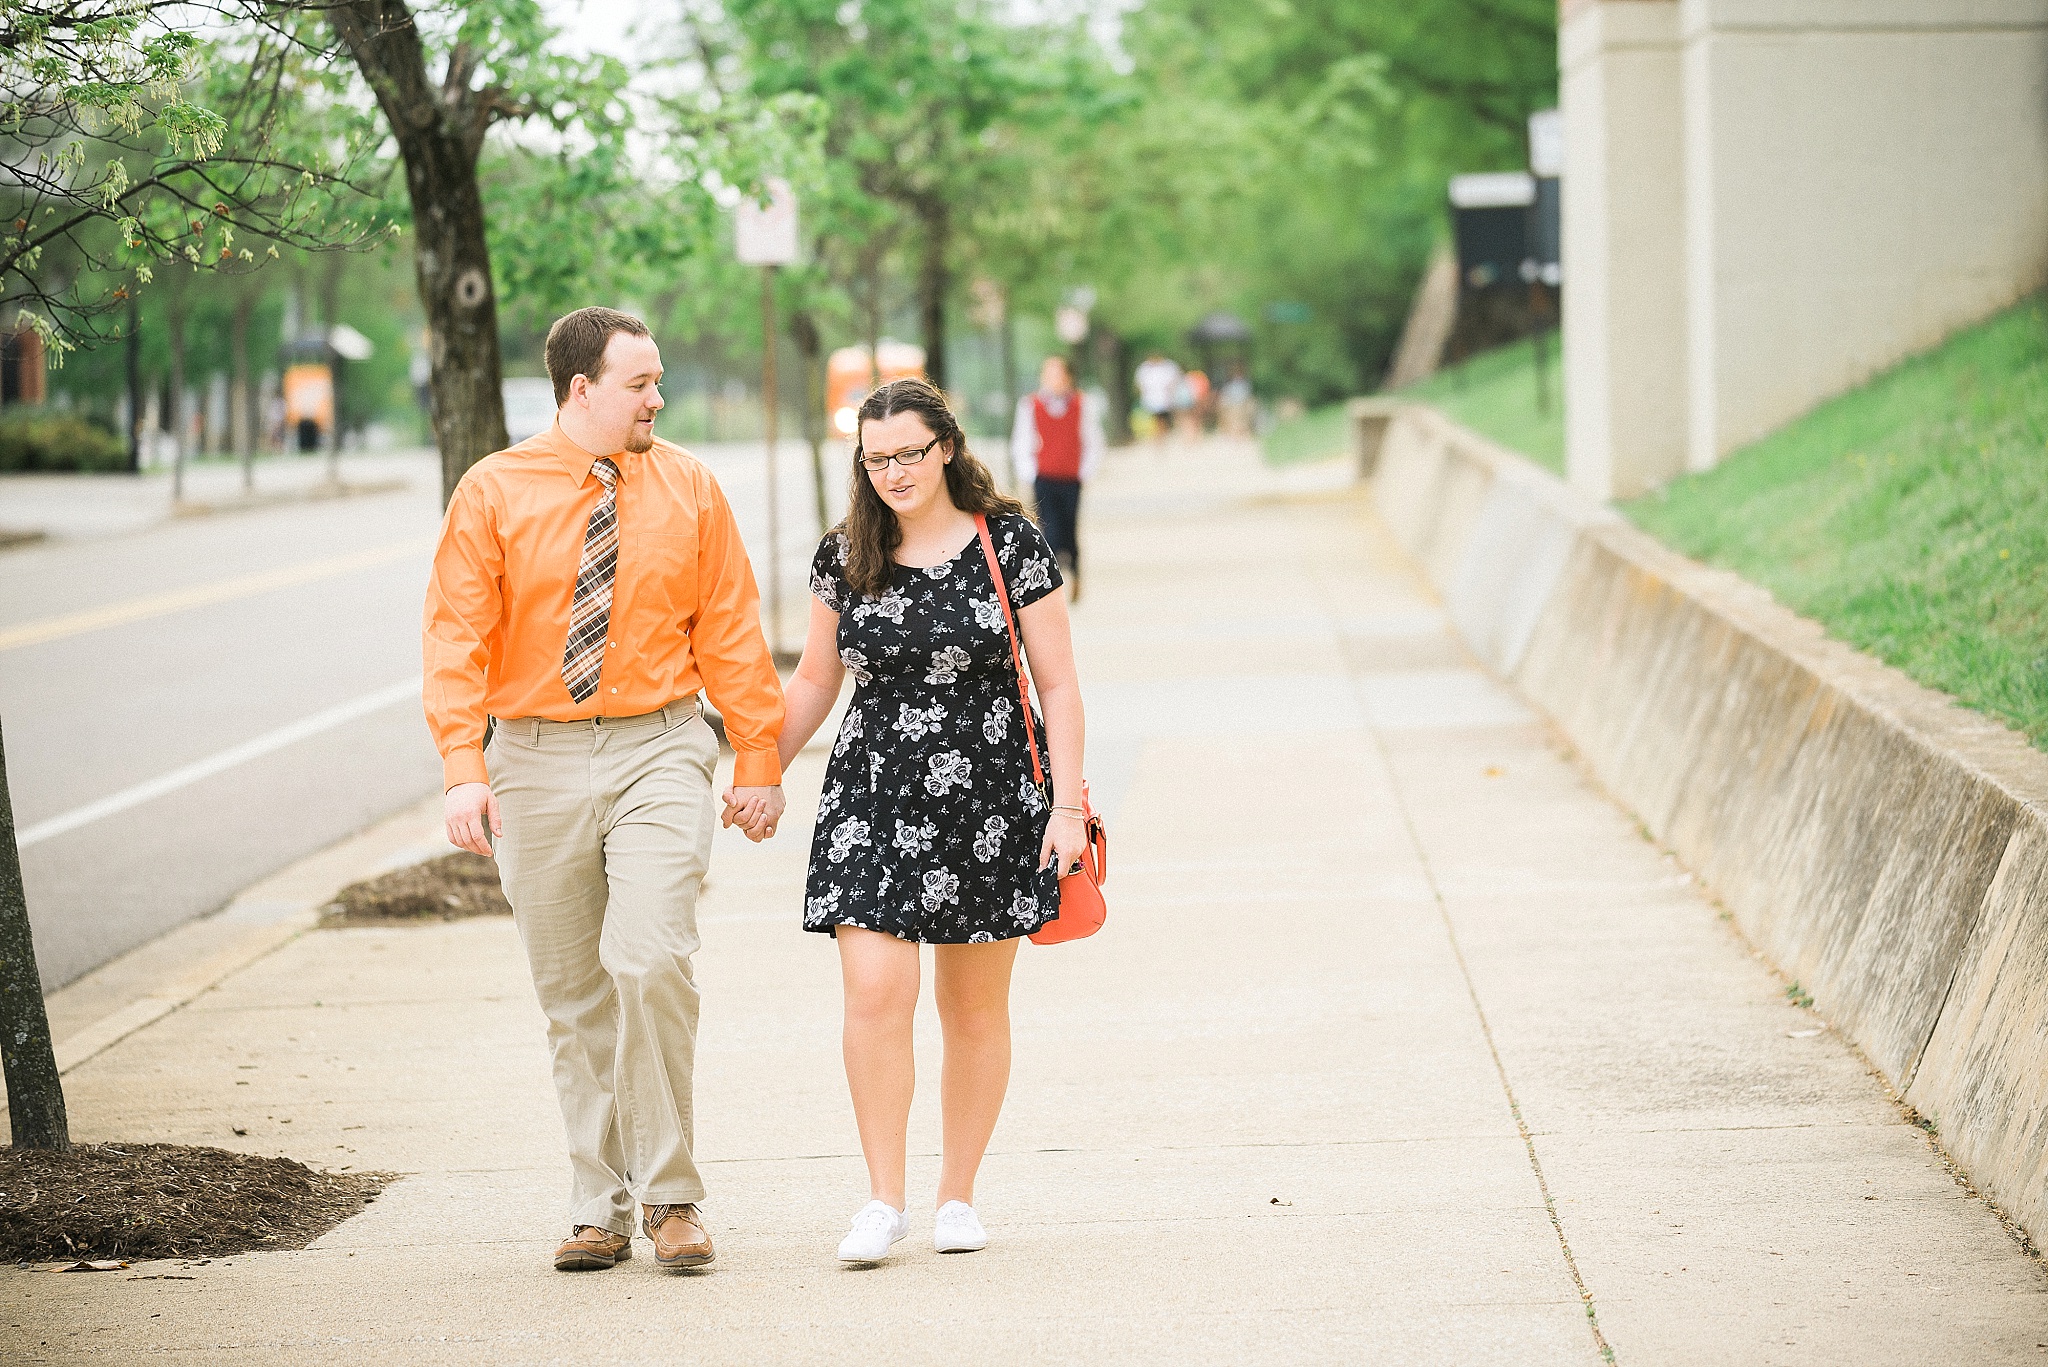
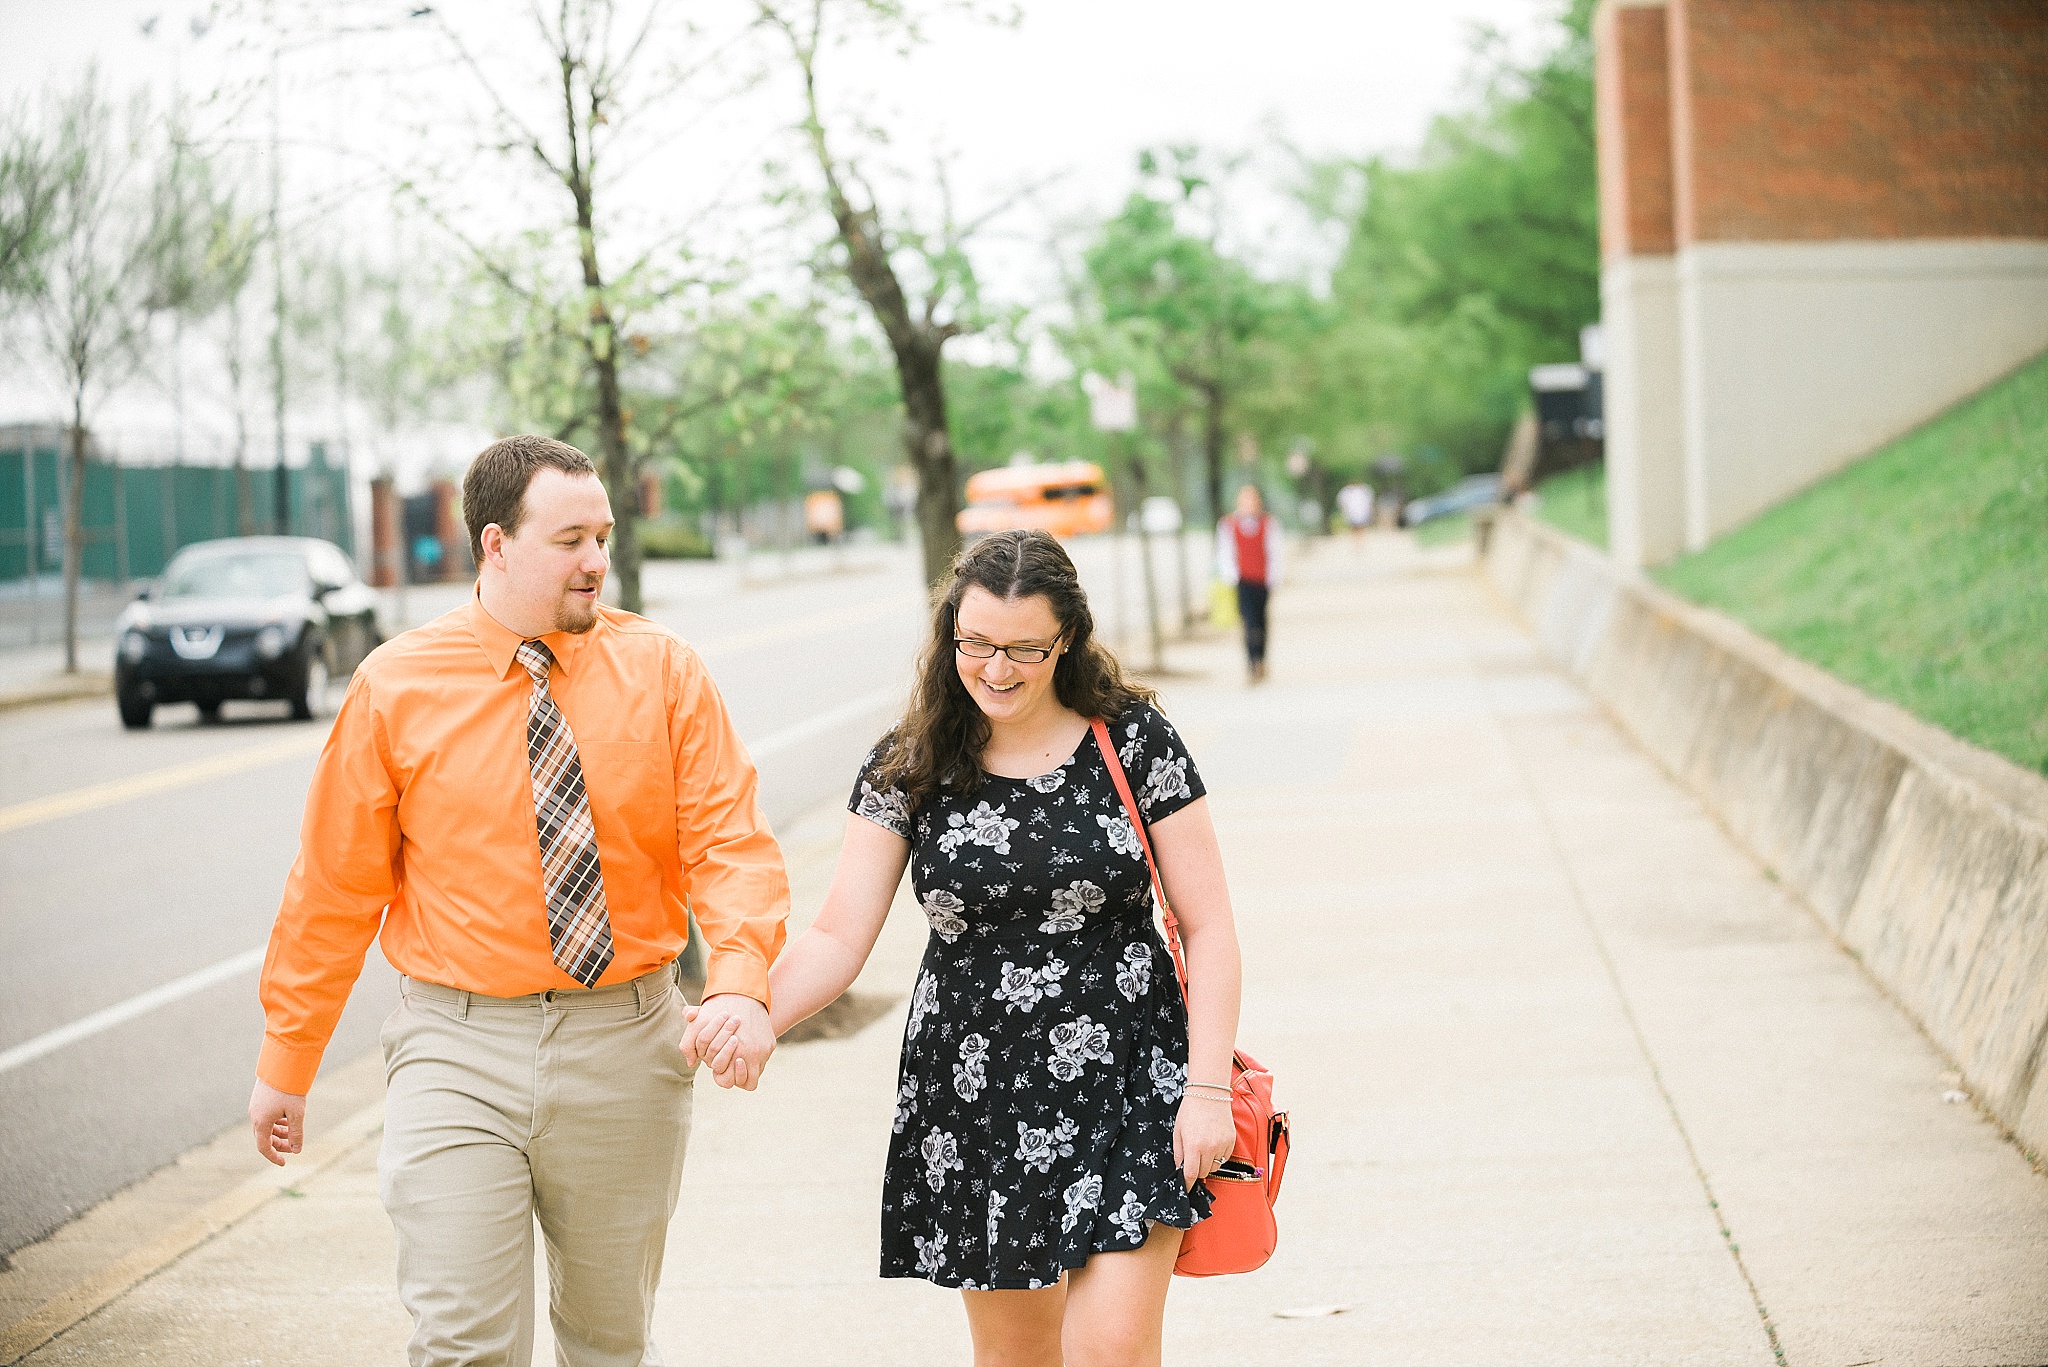
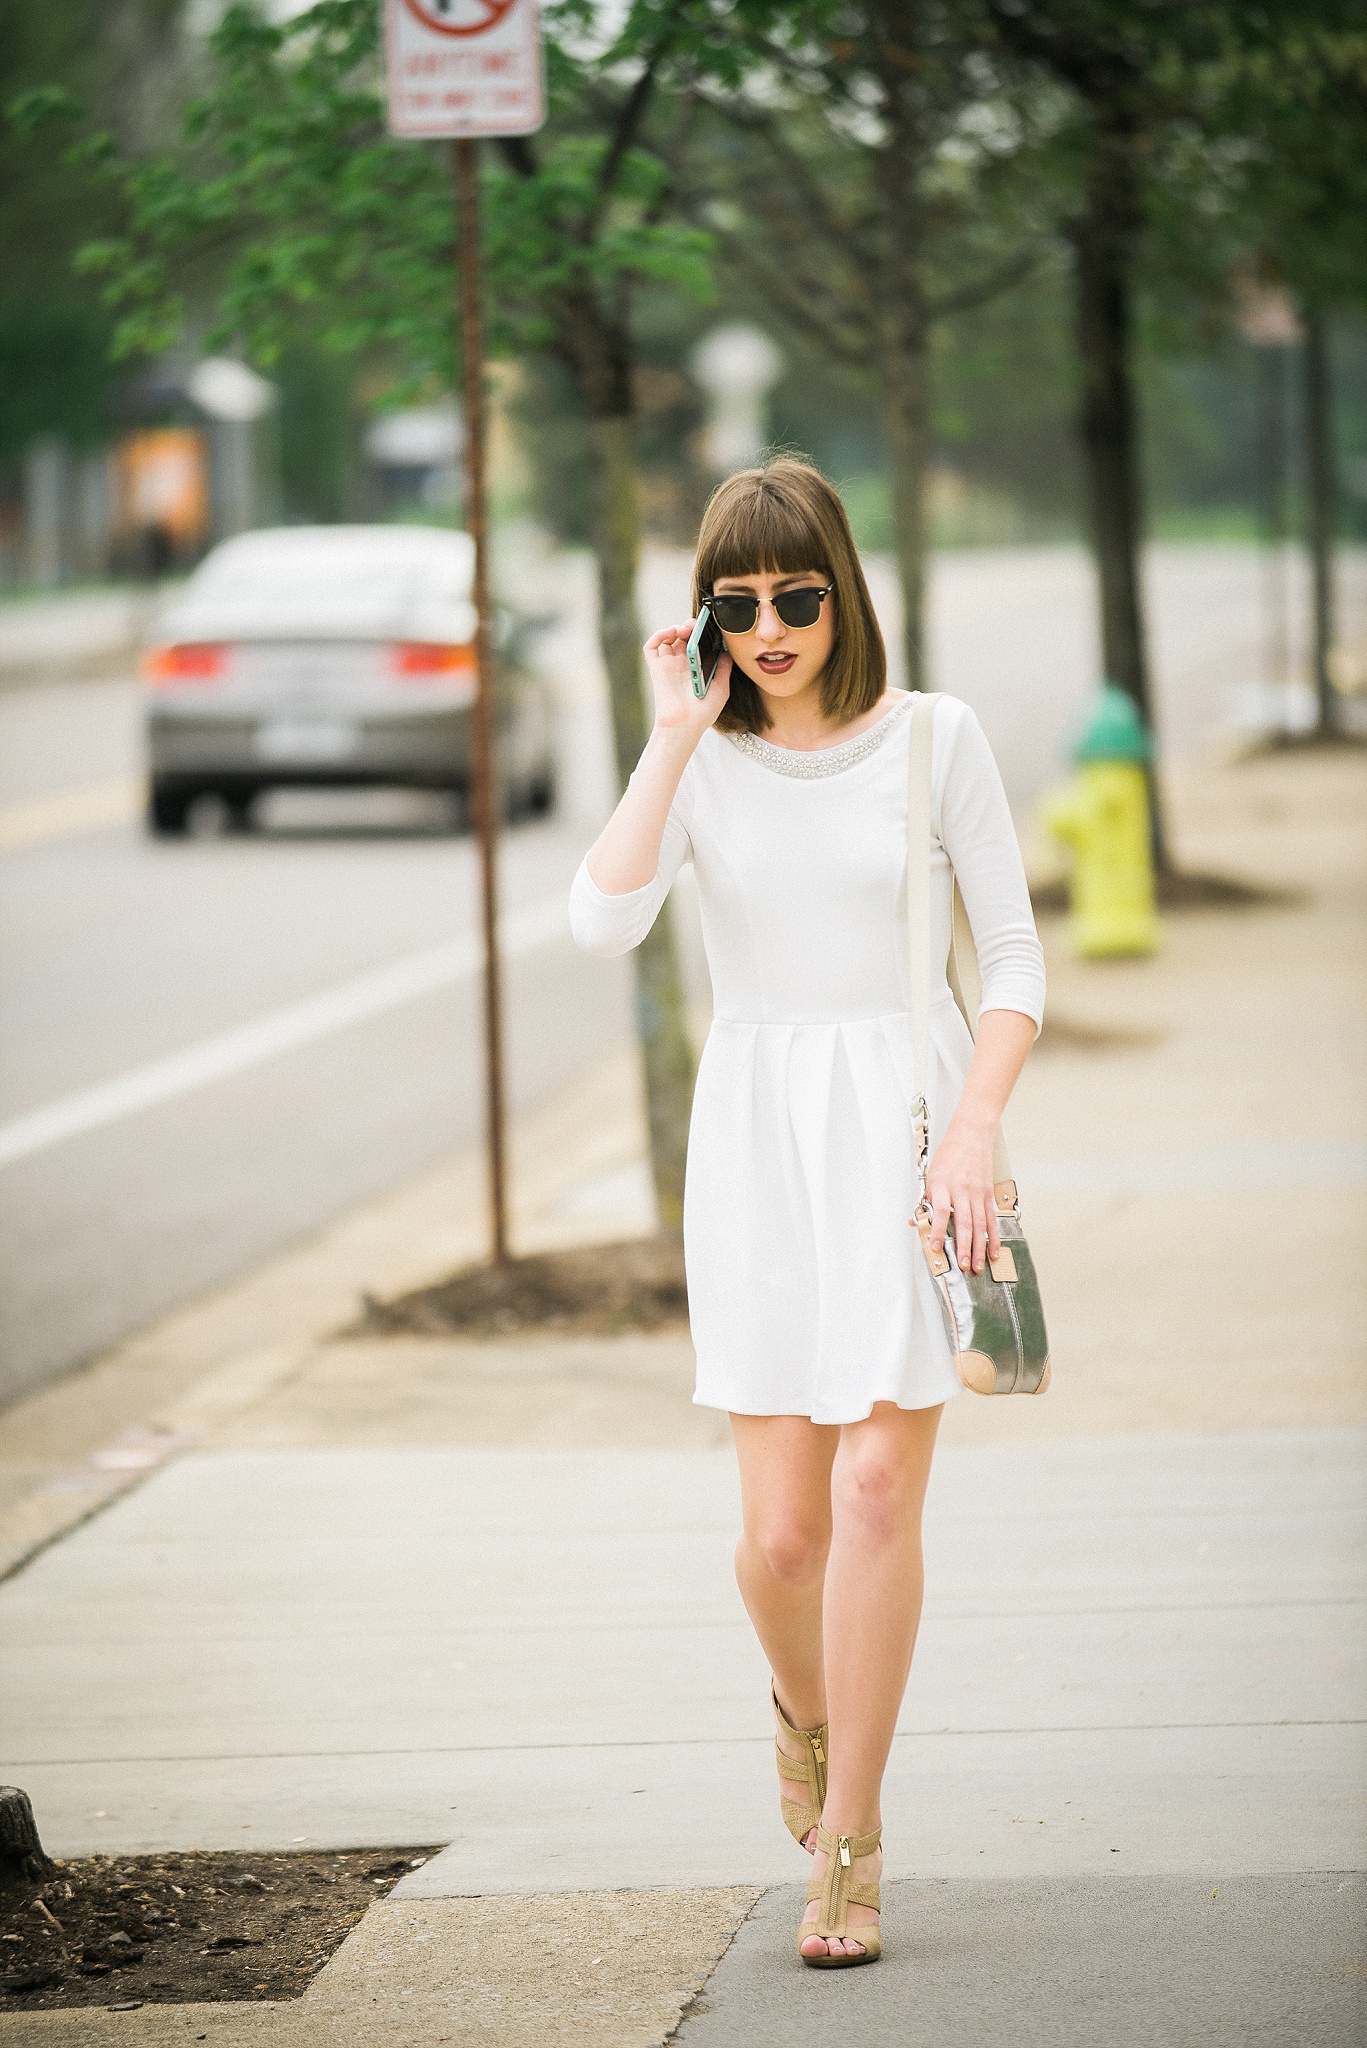
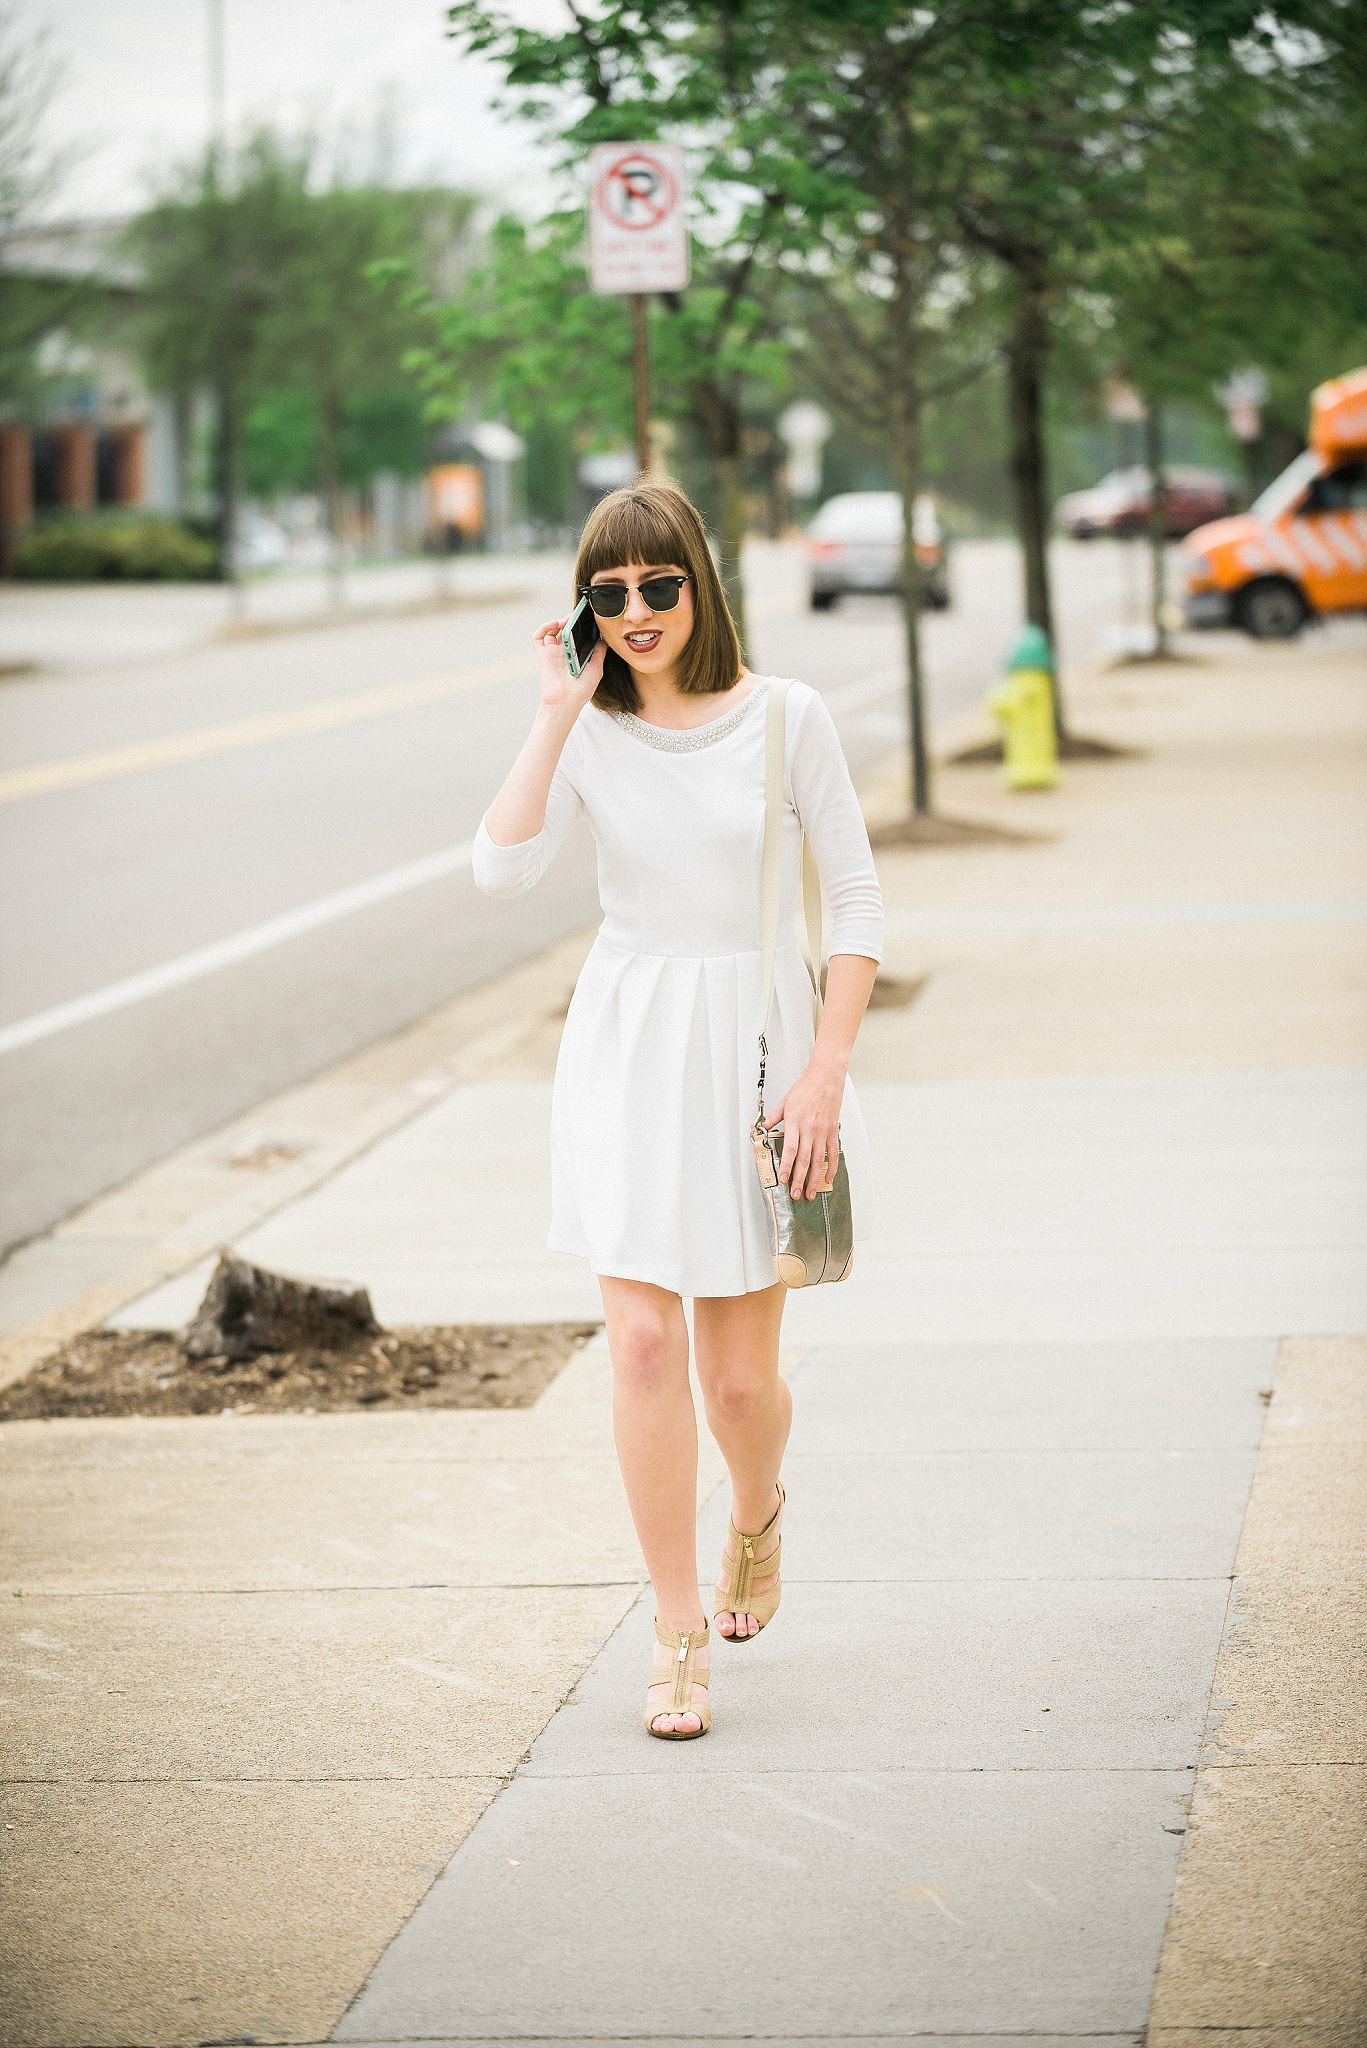
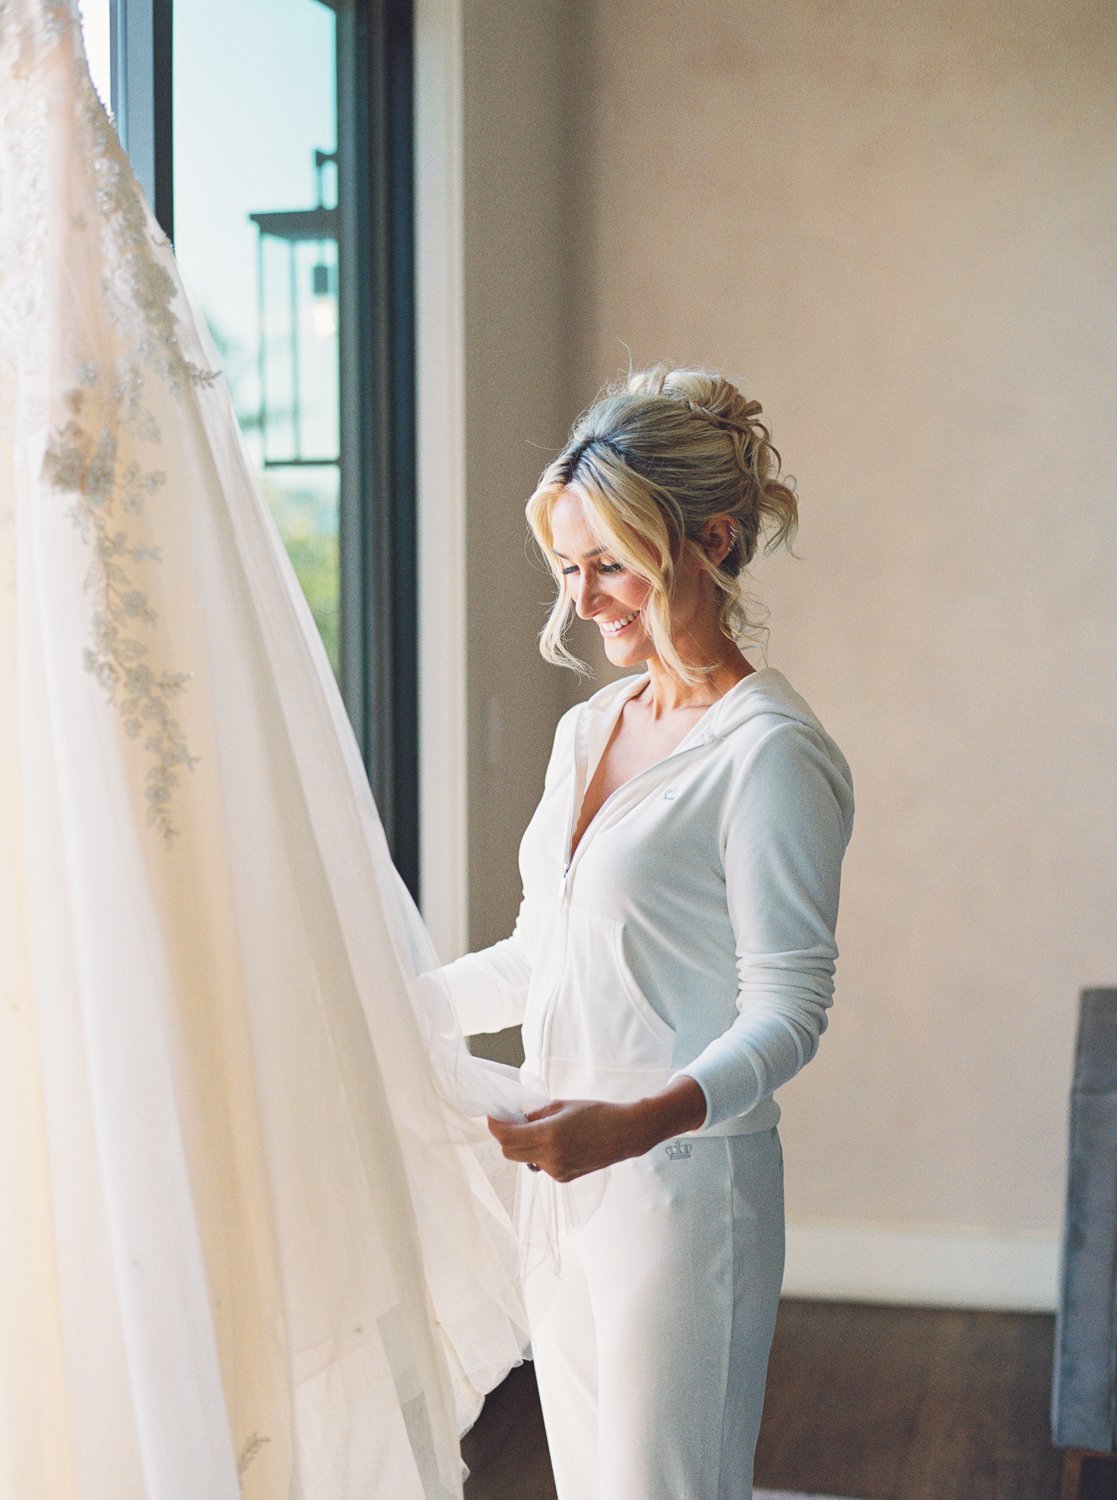
The rest of the time out on campus we shot some natural light shots. Here are a few from walking around campus.

We would love to capture your wedding or special event!


How to Photograph Art & Lighting Techniques
Hello friends and photography enthusiasts,
This past week I was asked to photograph some paintings for a friend. This would be my first experience with art photography, but I already knew that I would need a good lighting set up to do it. Luckily my uncle, Michael Messing of Michael Messing Photography, was available to help with the lighting set up. We used 2 strobe lights set up at a 45 degree angle from the paintings with the camera placed in the center.
Diagrams of the set up:
To make sure we had the correct amount of light hitting the paintings, we tested each corner of the painting to see if the light was evenly hitting the picture. The light meter showed us what aperture to set the camera to for best results.
Setup: For these shots of the paintings we used the sync speed of my camera to the flash which was 1/200 shutter speed. The aperture was set at f10 and ISO at 100 for best results without introducing digital noise. My camera, the Nikon D610 with the 24-70mm f2.8 was zoomed all the way to 70mm to flatten the image as much as possible. You could even go higher using a 70-200mm lens to further the flattening.
When creating digital prints of paintings, you want them to to look exactly like the originals with no glare from the flash, and the color has to be on point.White balance is key! I shot in RAW format so I could make any changes necessary later if needed, but if I was shooting in JPEG format, I would have to make sure that everything was exact. Before taking the first shot, I used my white balance cards and had Michael hold them up in front if the painting.
I took a test shot of the cards in the frame, so I could use this shot later to correct white balance in Lightroom when cropping the paintings and correcting the color.
Once we had everything where we needed it, it was time to take the photos of the paintings. Every shot was framed so that the focus point was in the middle of the picture with little surrounding area. The way to do this is to keep the lens zoomed in but move the Tripod forward or backward depending on how much you are trying to take out. This makes it so that you will not have much cropping to do later on.
Here are a few examples of Maria Walker's Art. If you like her work and would like to purchase a print copy of the art, please leave a comment below, and I will get you in touch with her.
Don't forget to Subscribe to future blogs and updates by entering you email information in the subscribe link below.
Juicebeats