

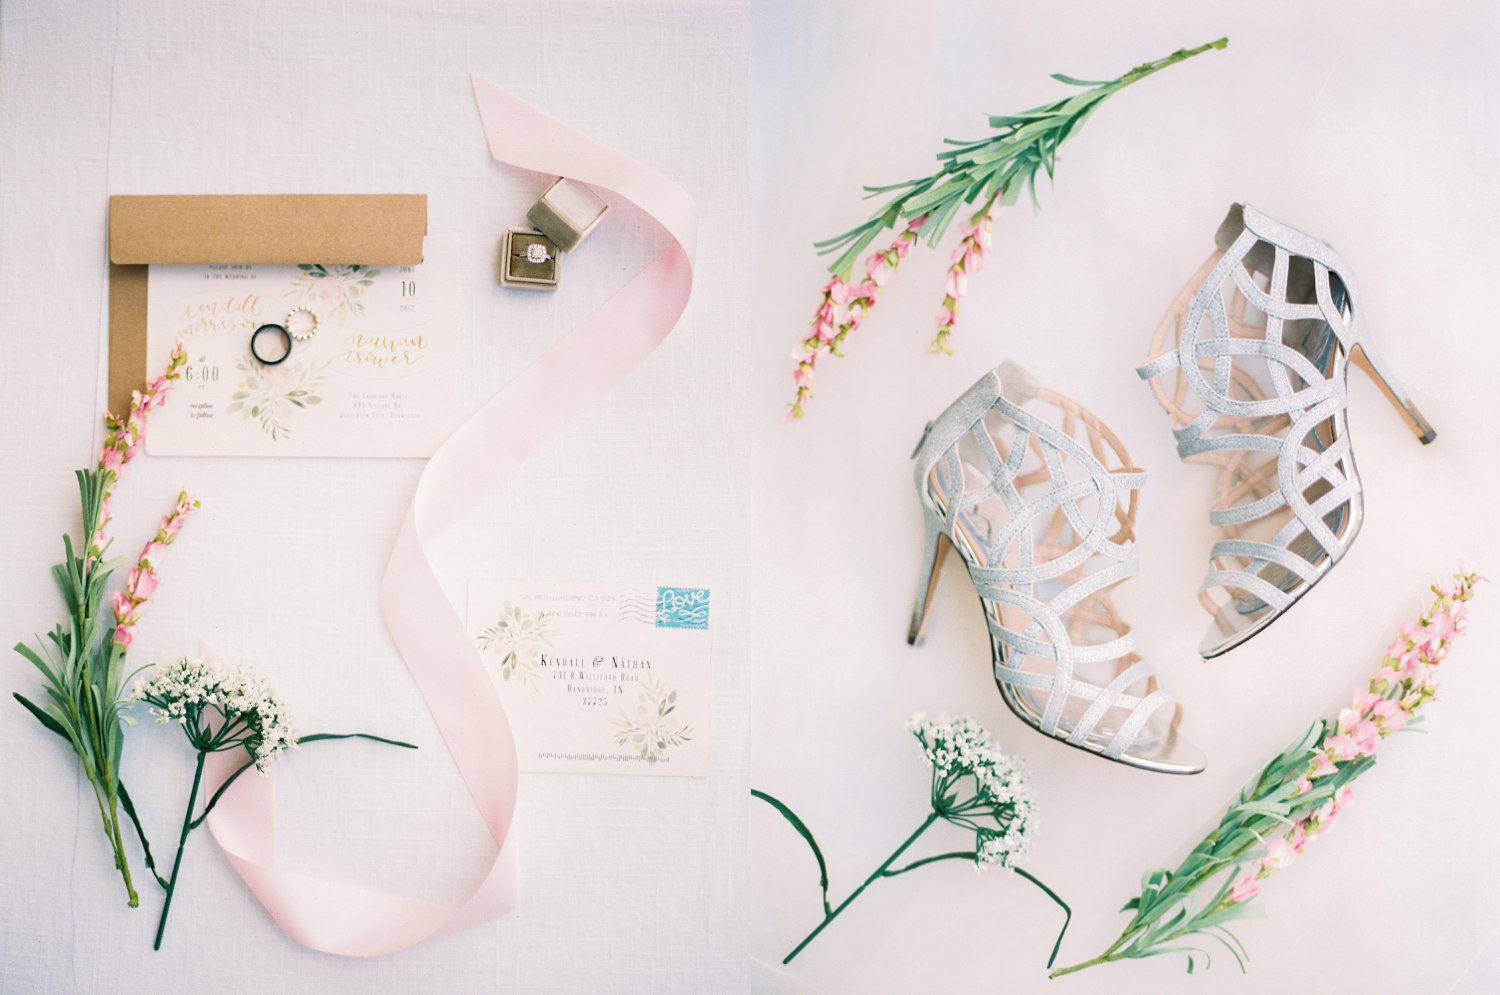
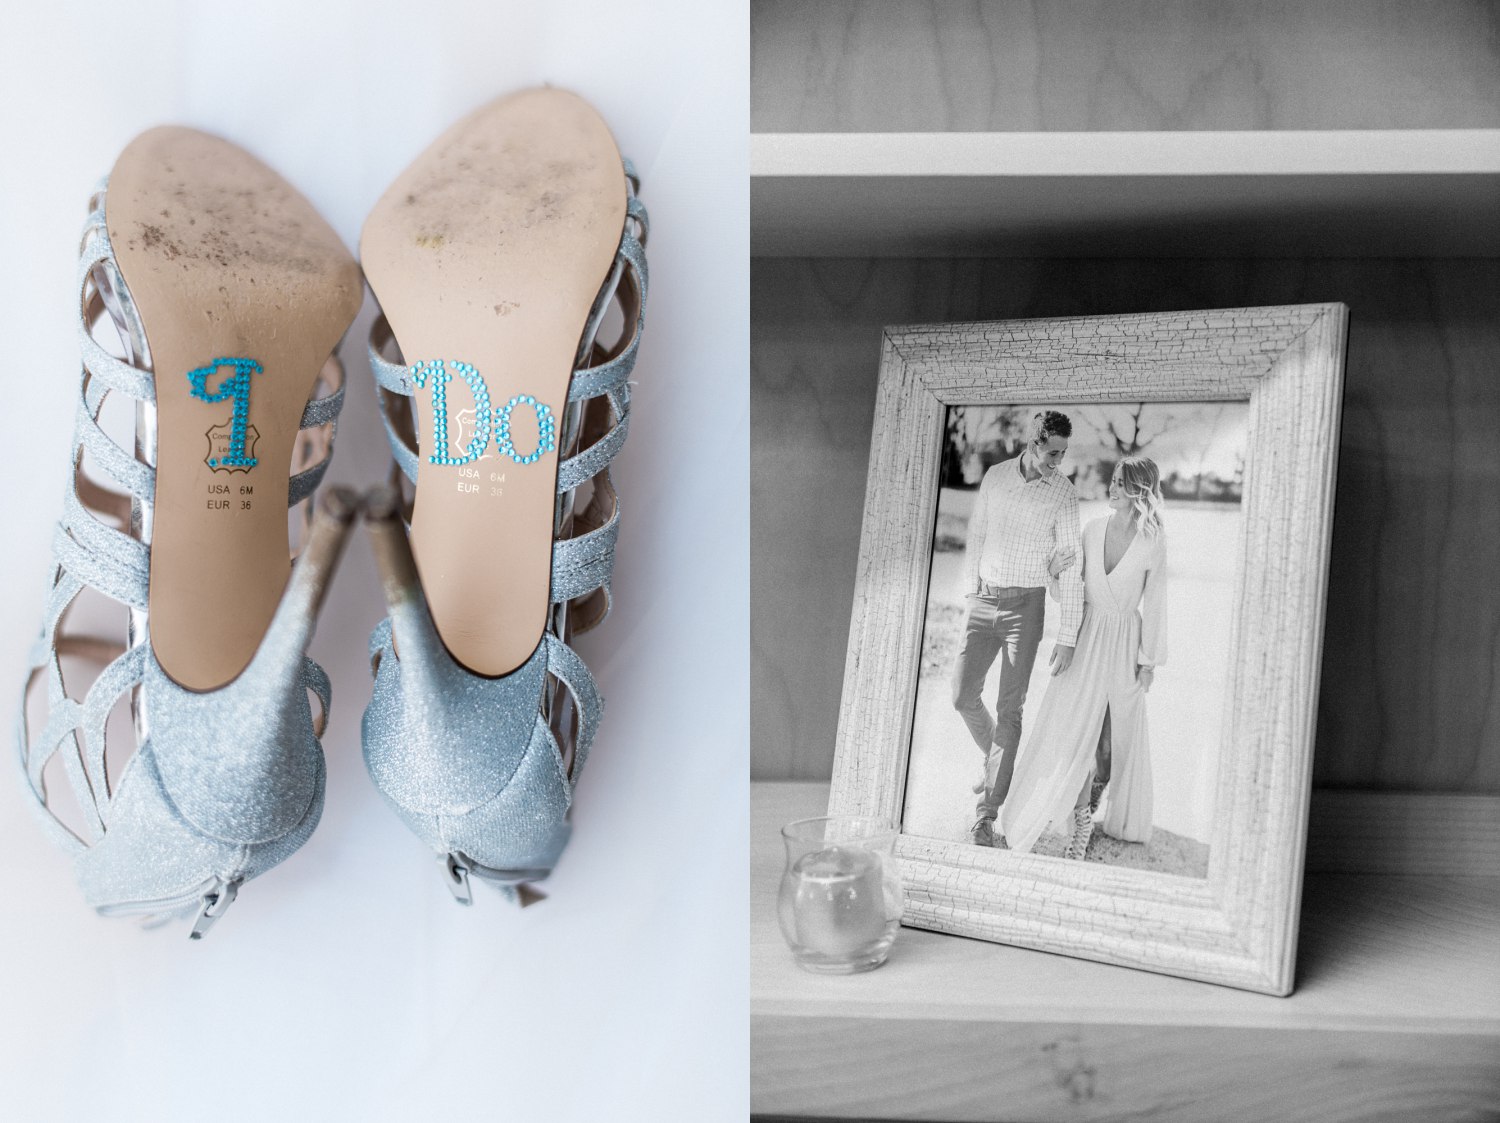
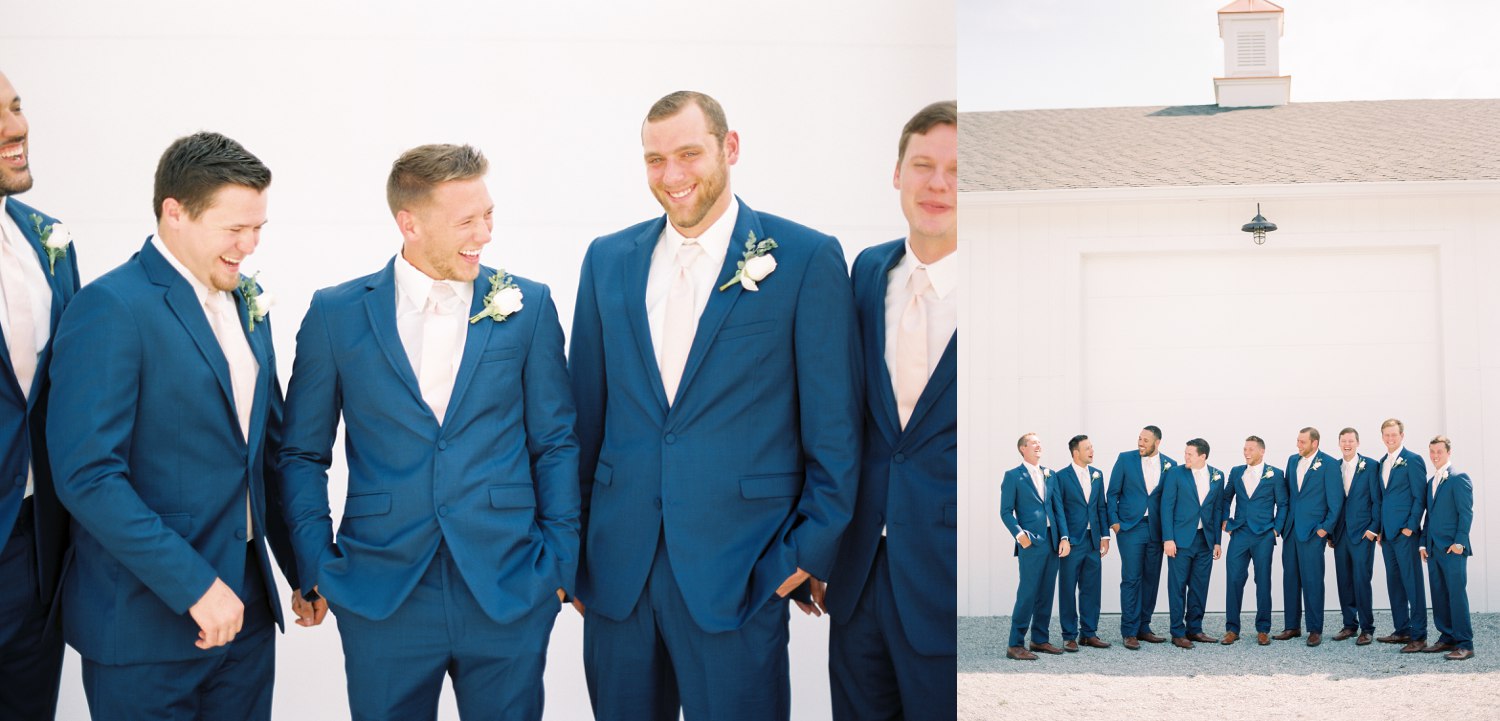
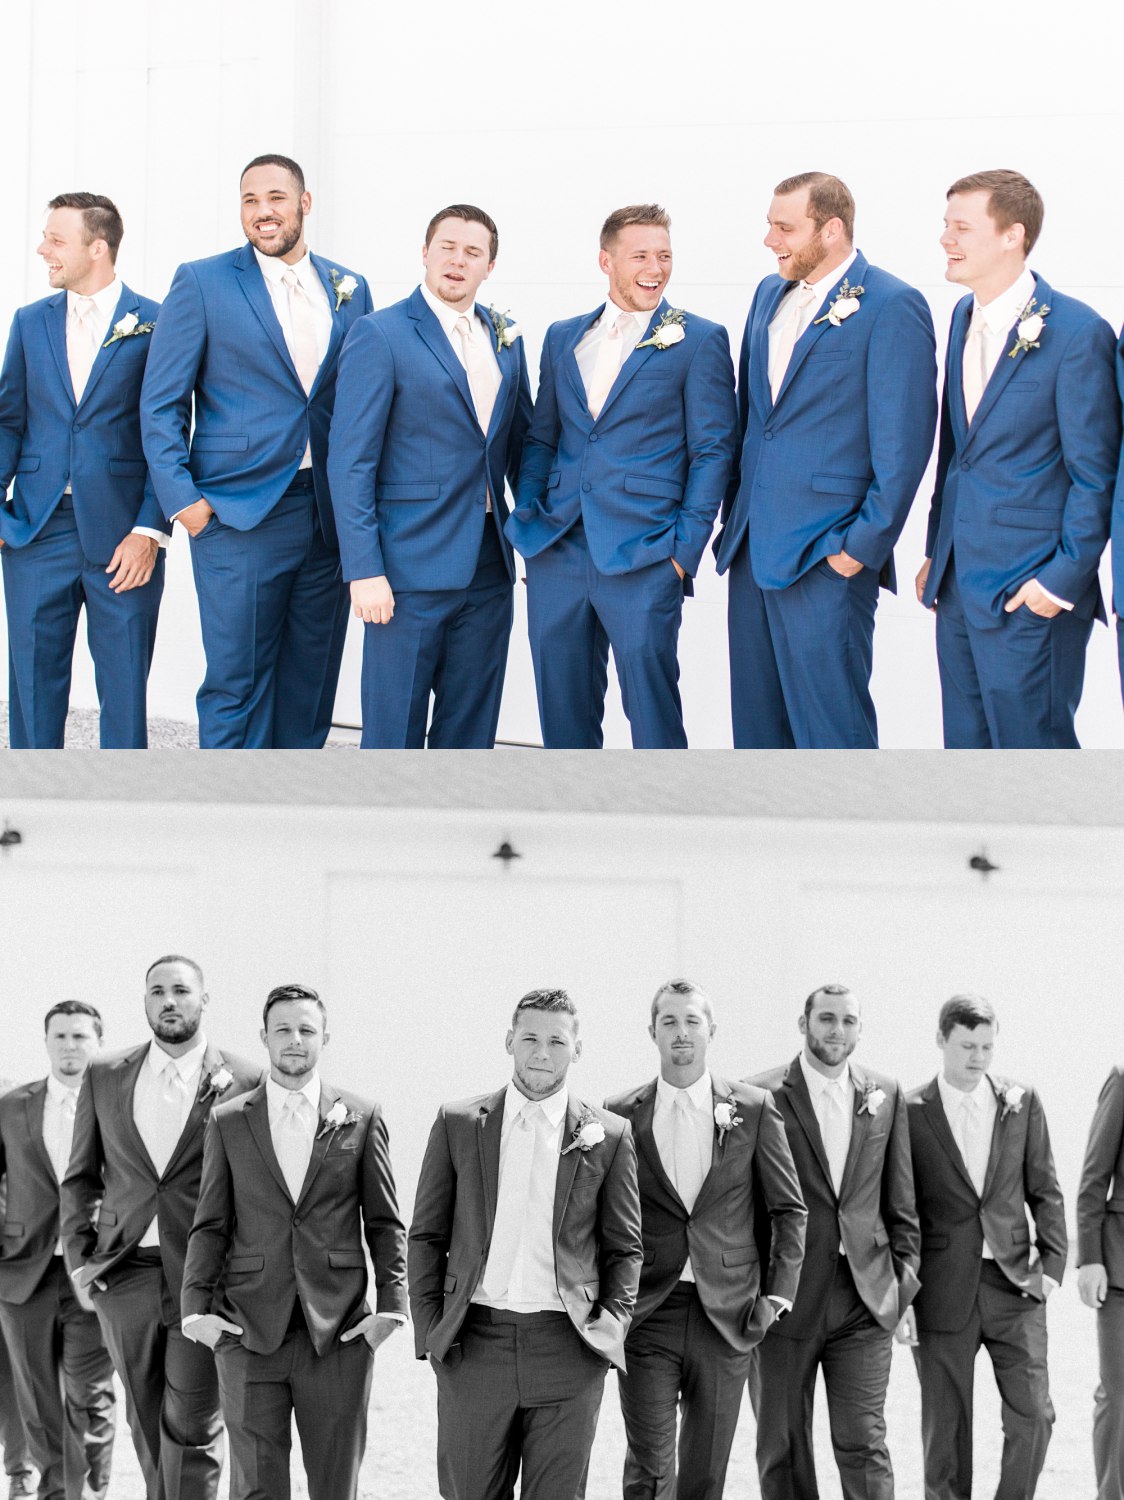
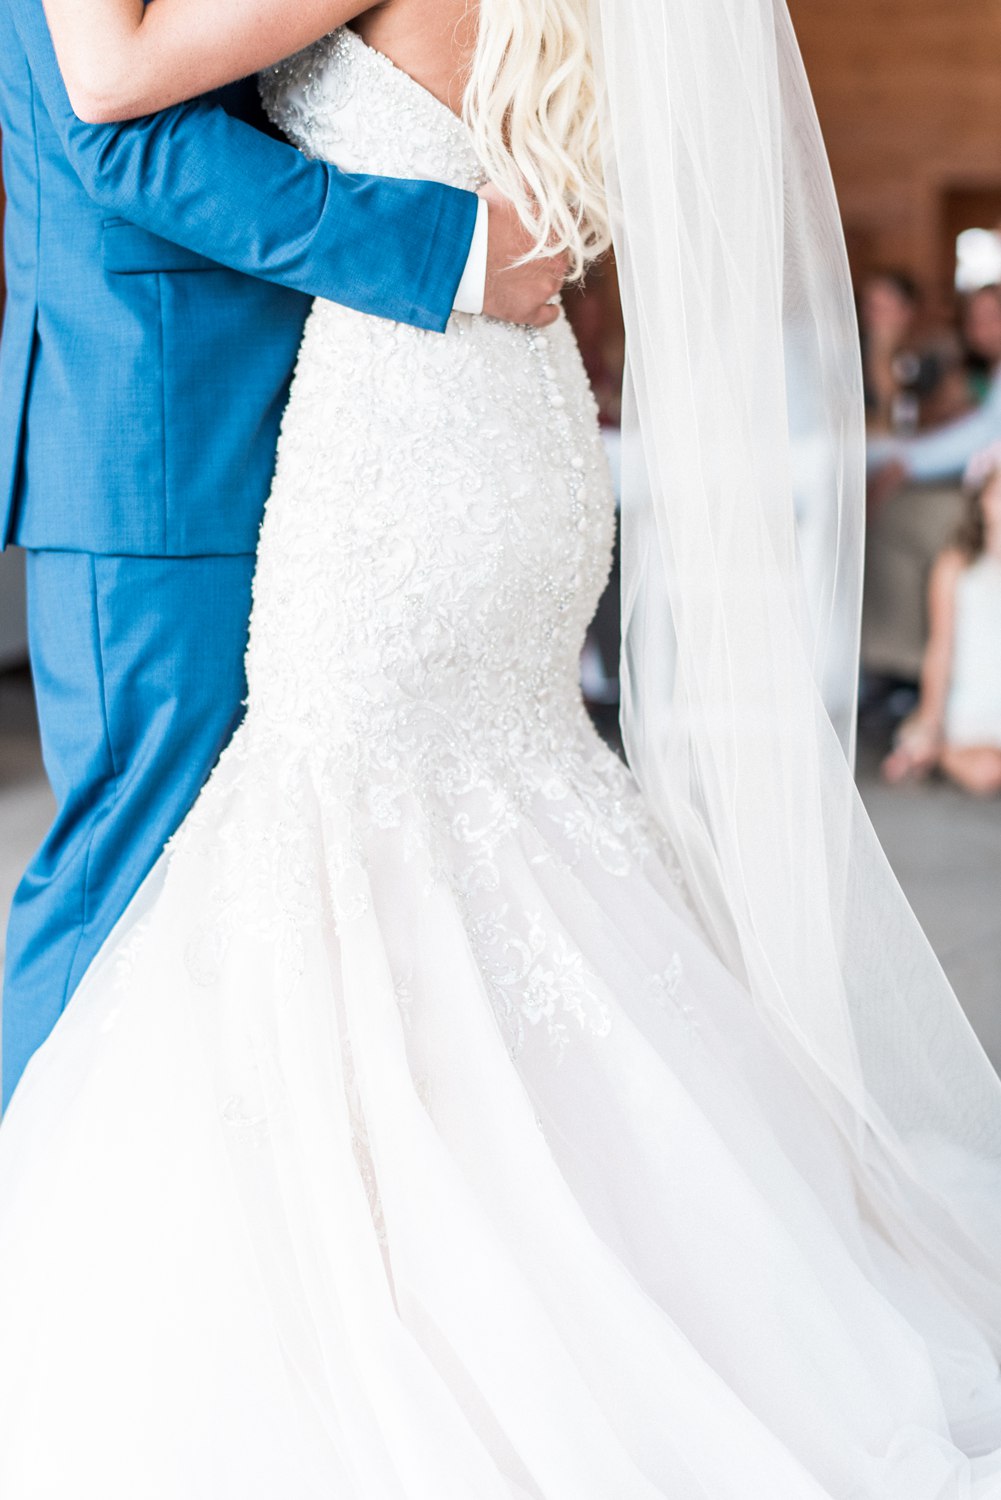
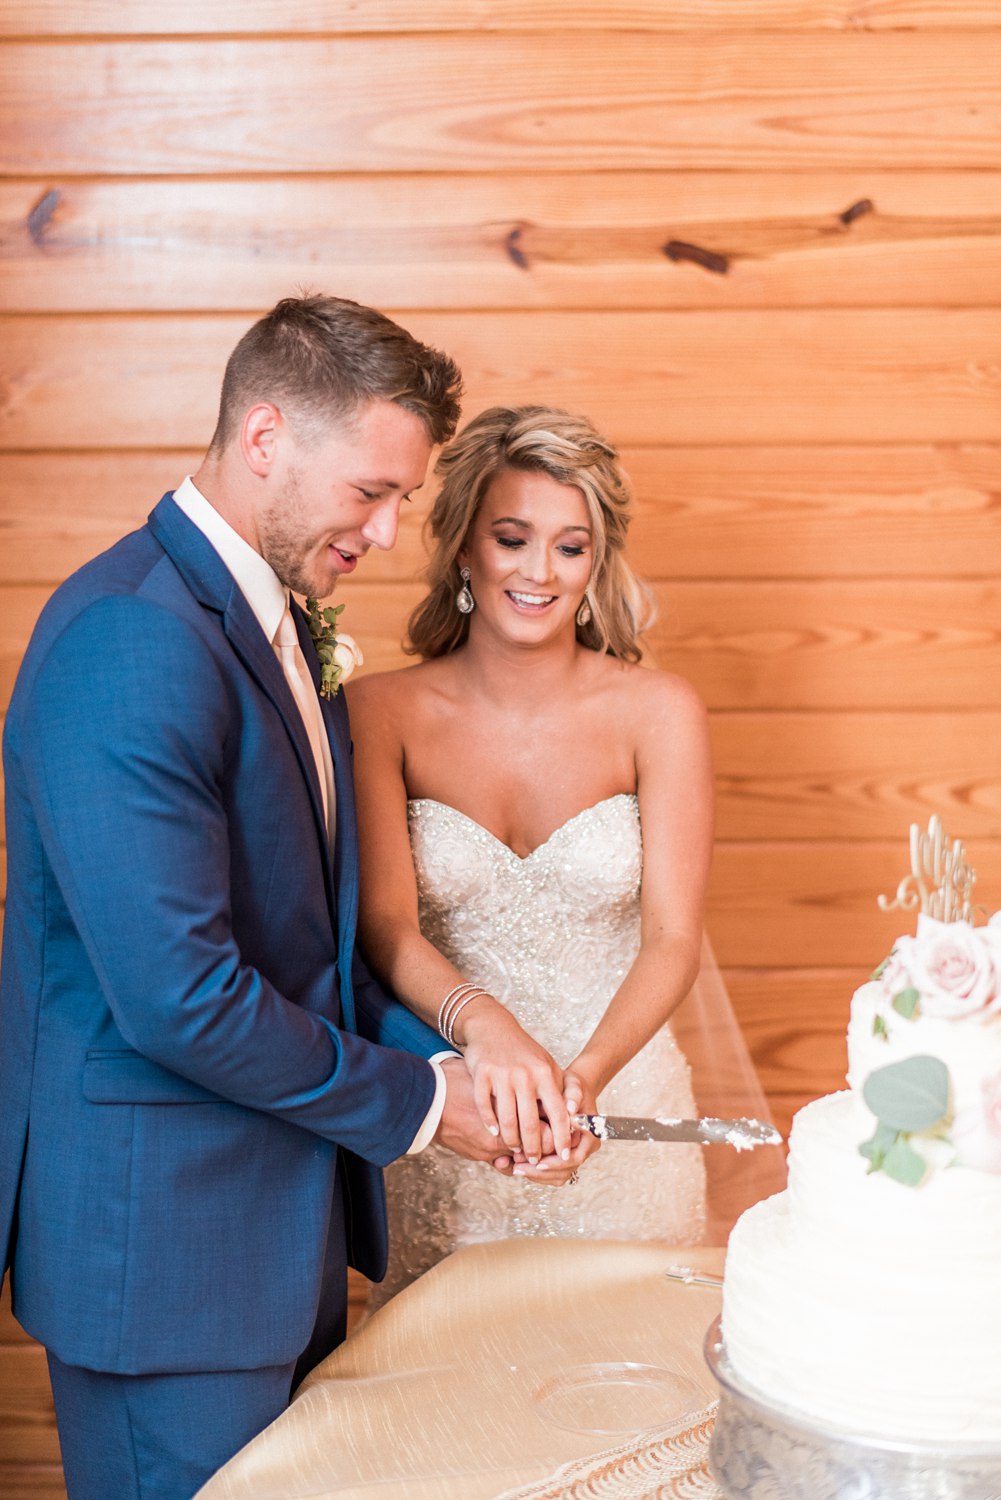
The Carriage House Wedding - Kendall + Nathan
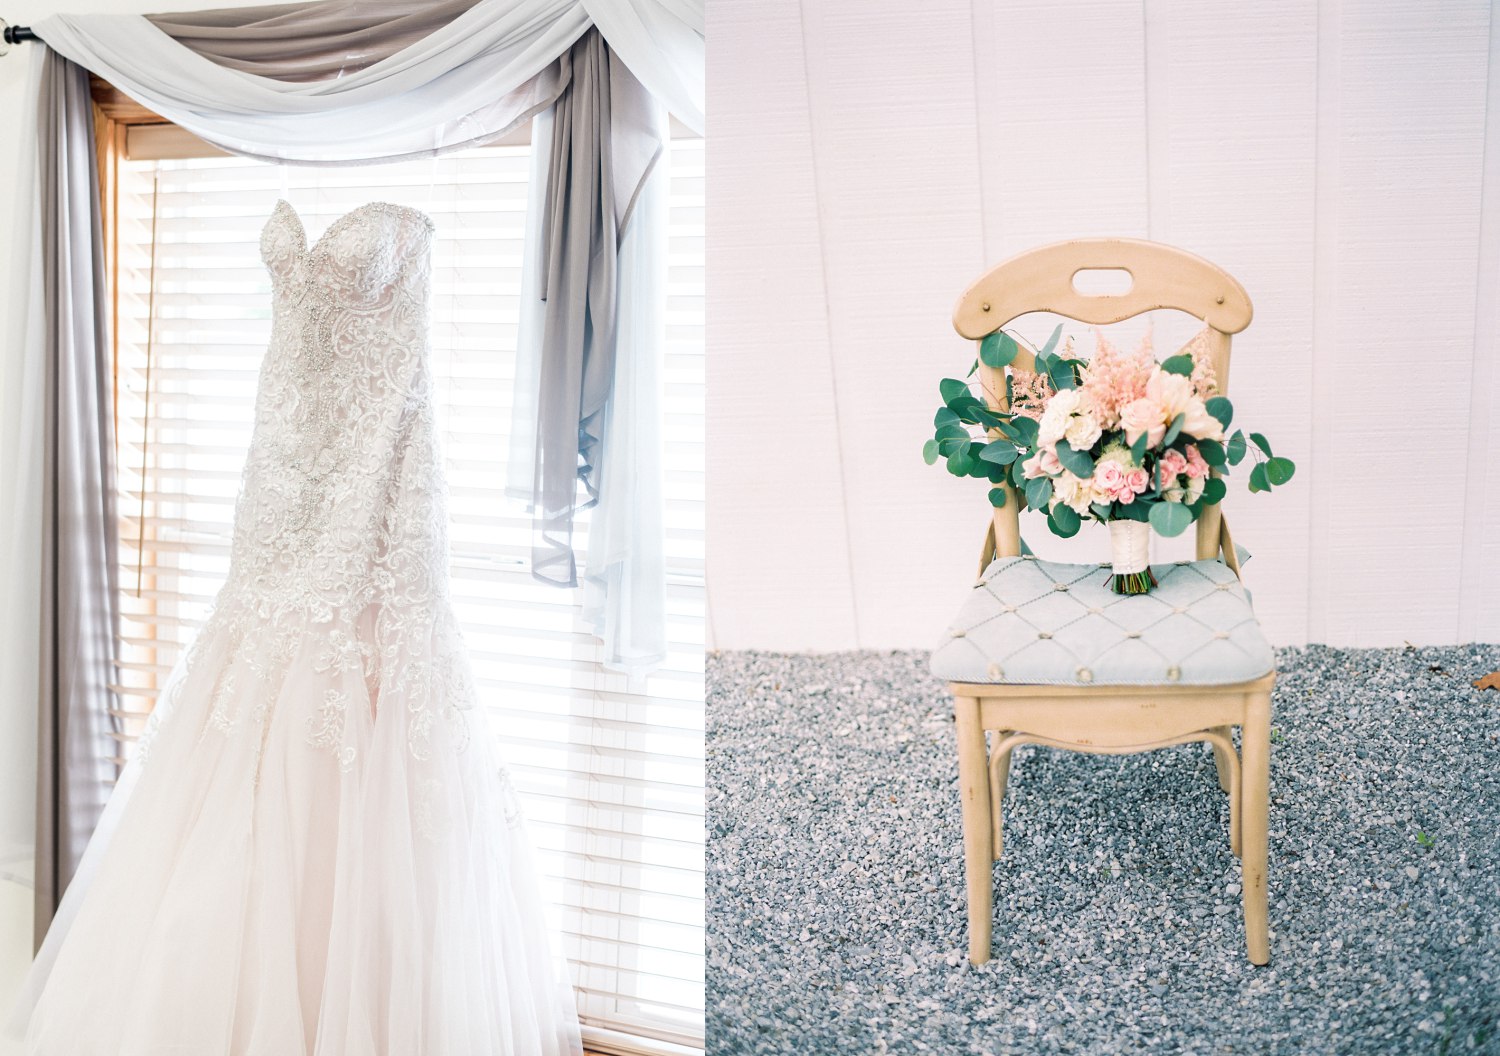
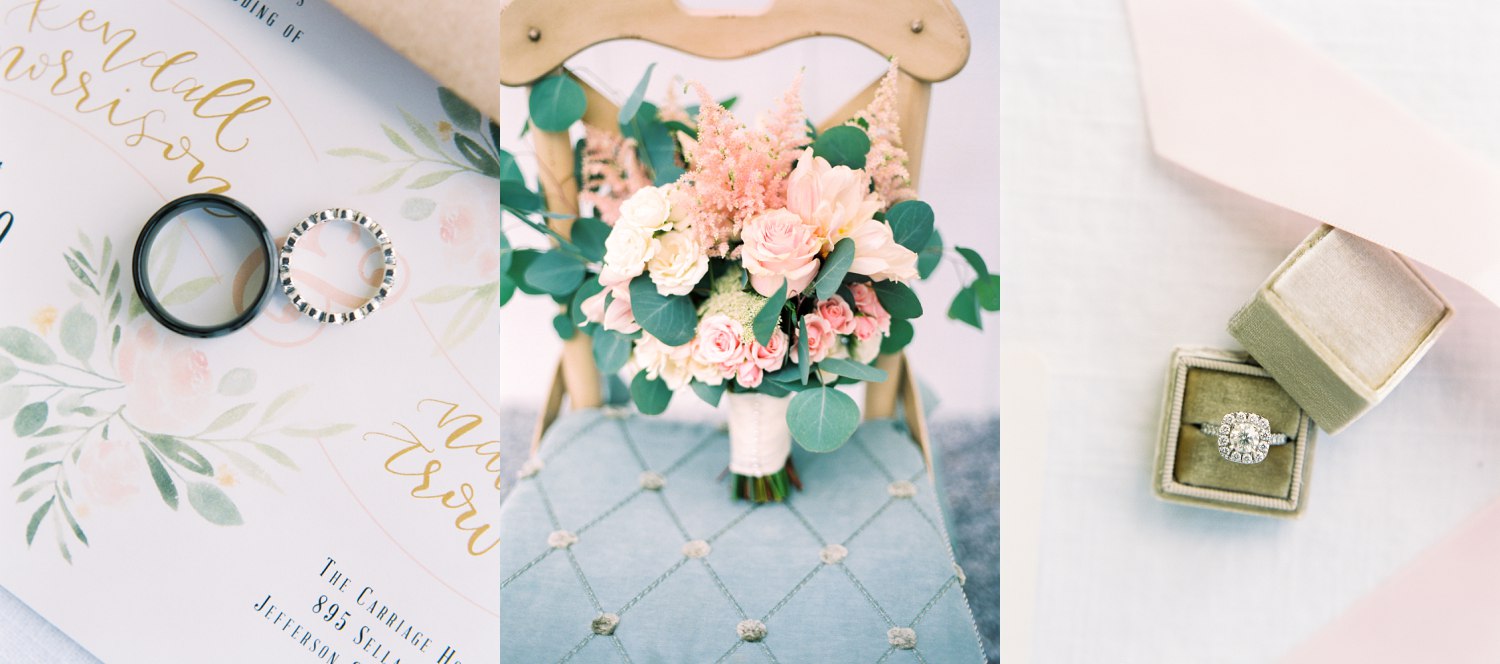
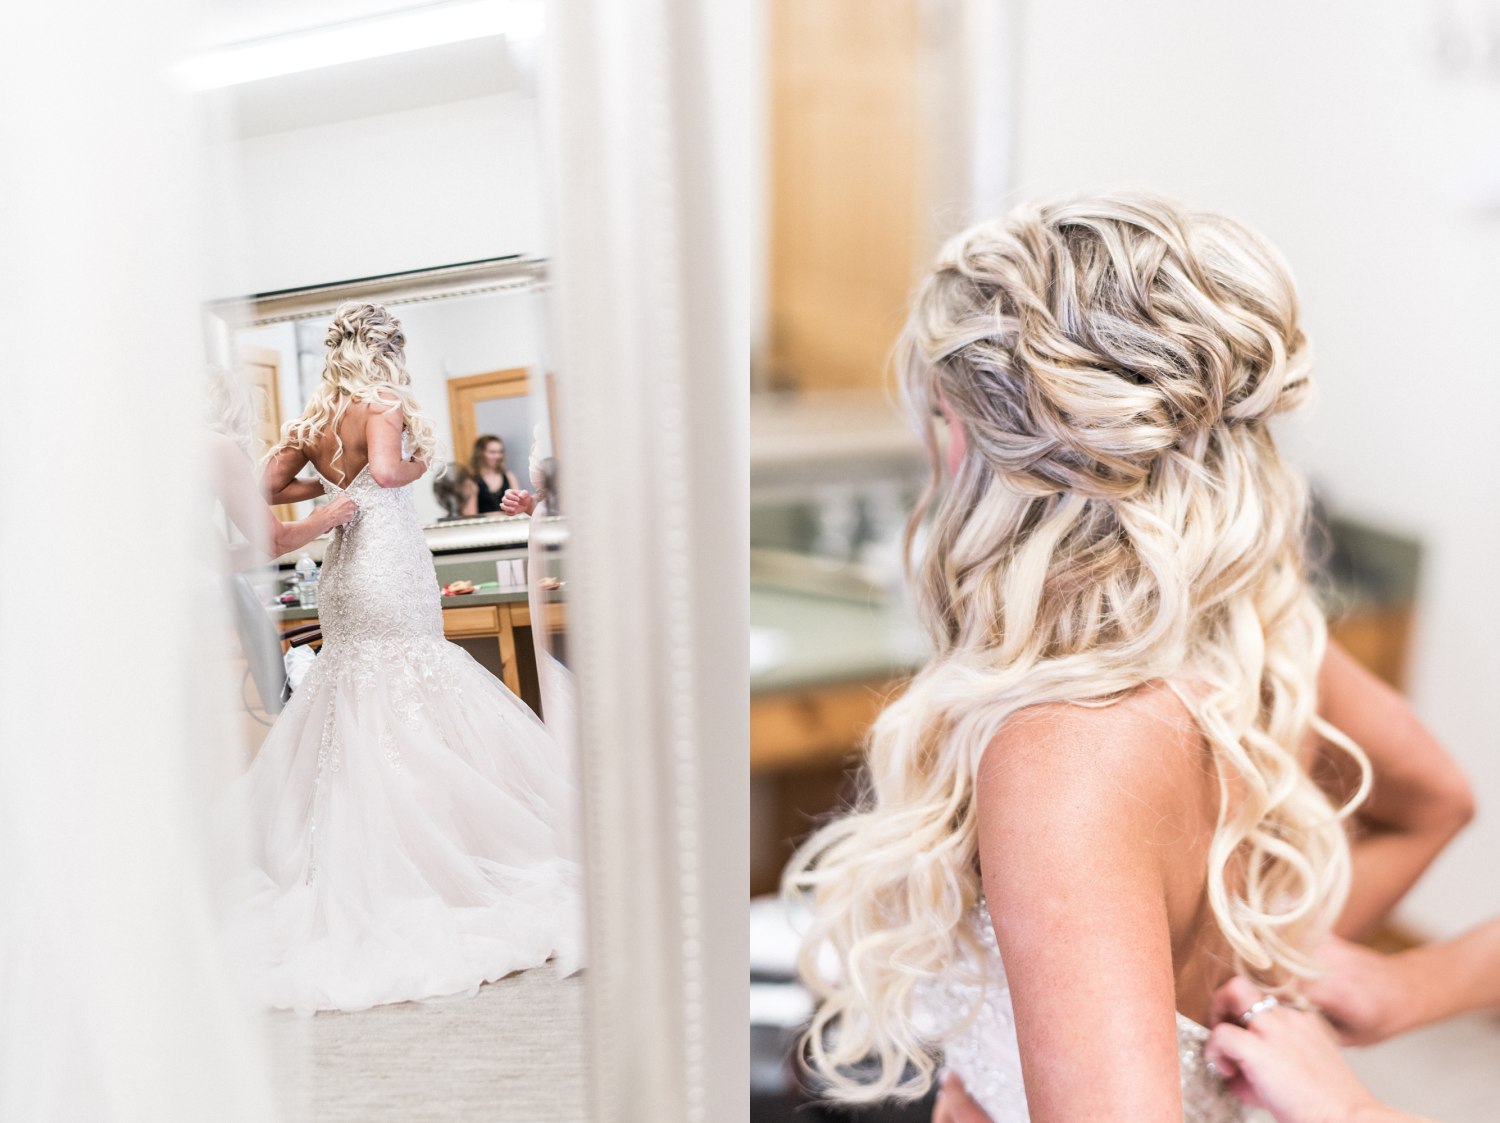
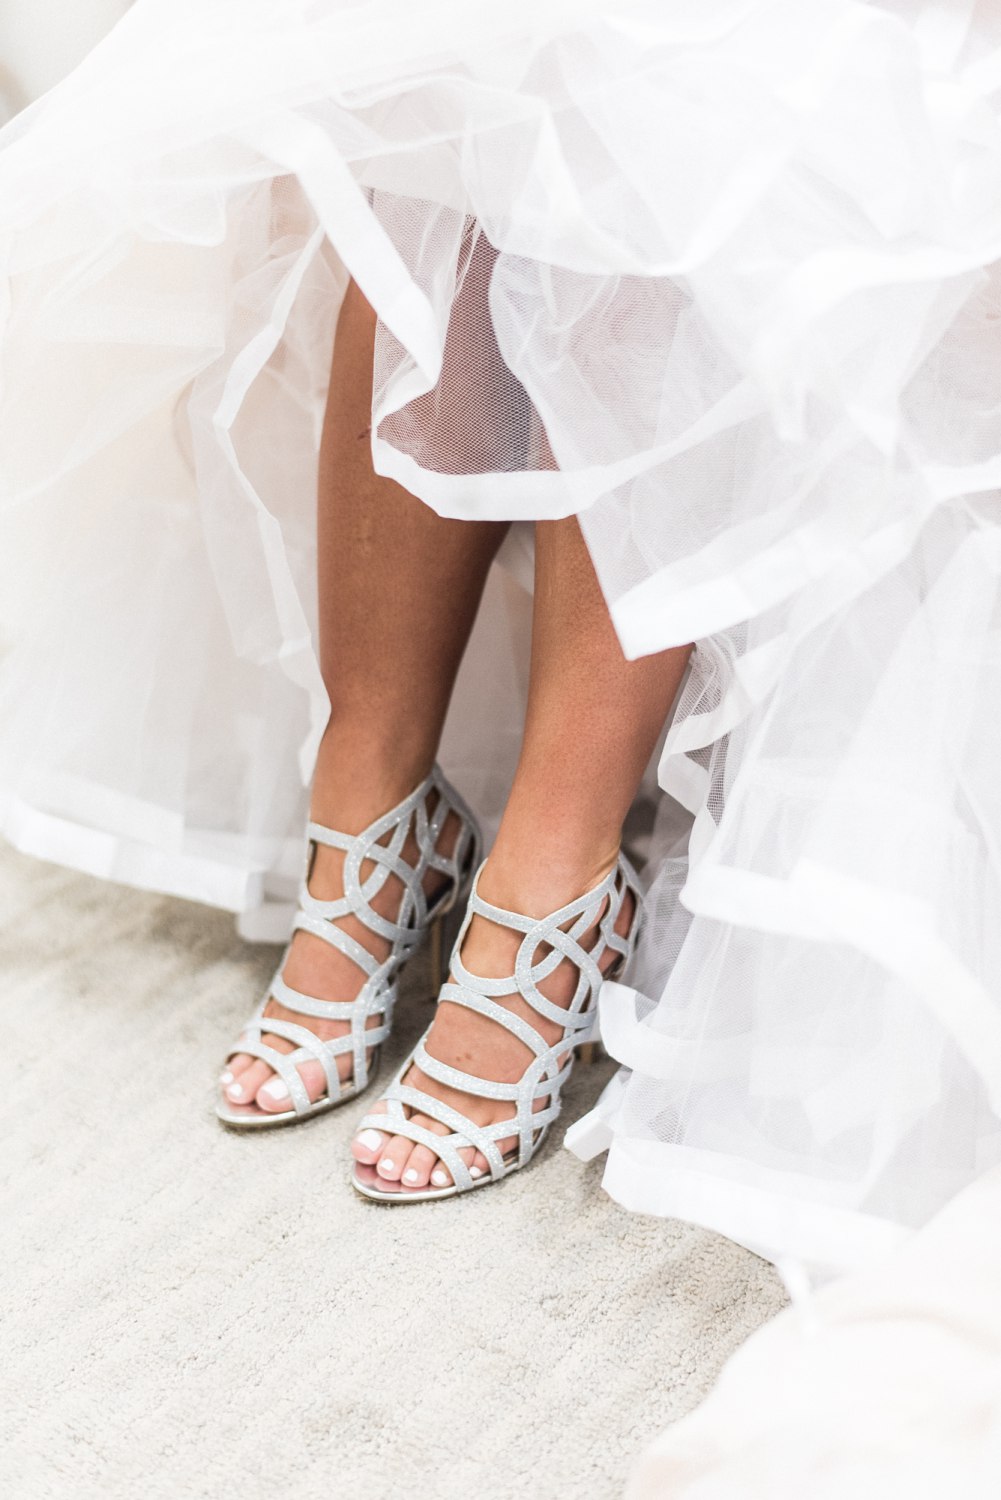
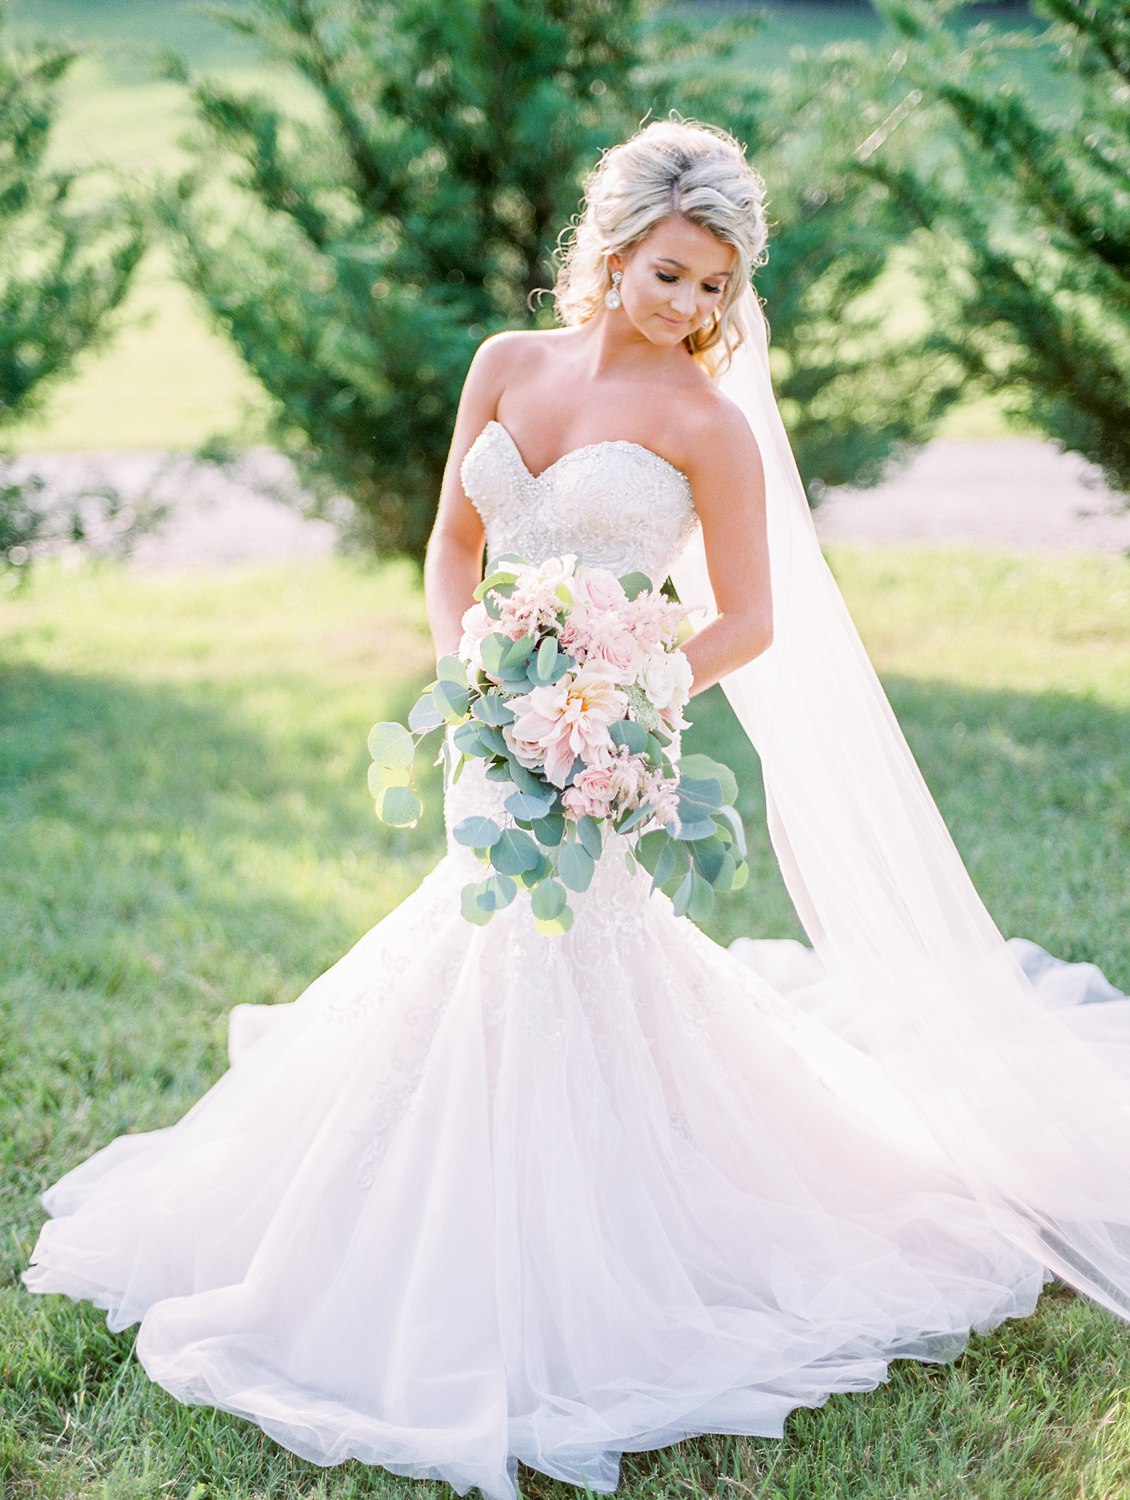
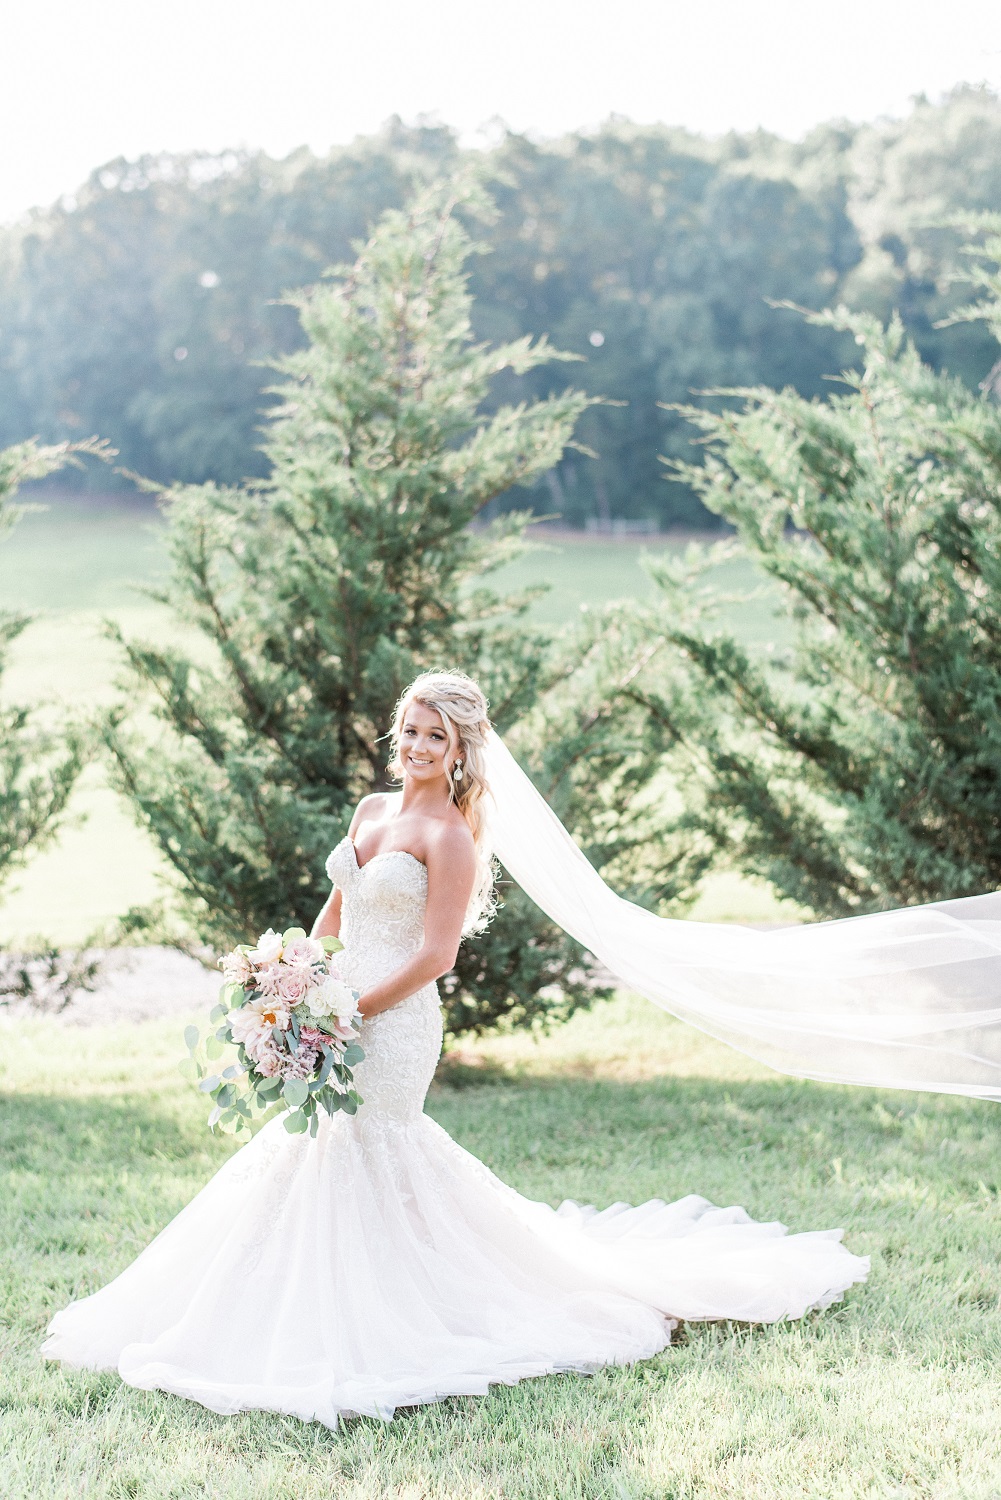
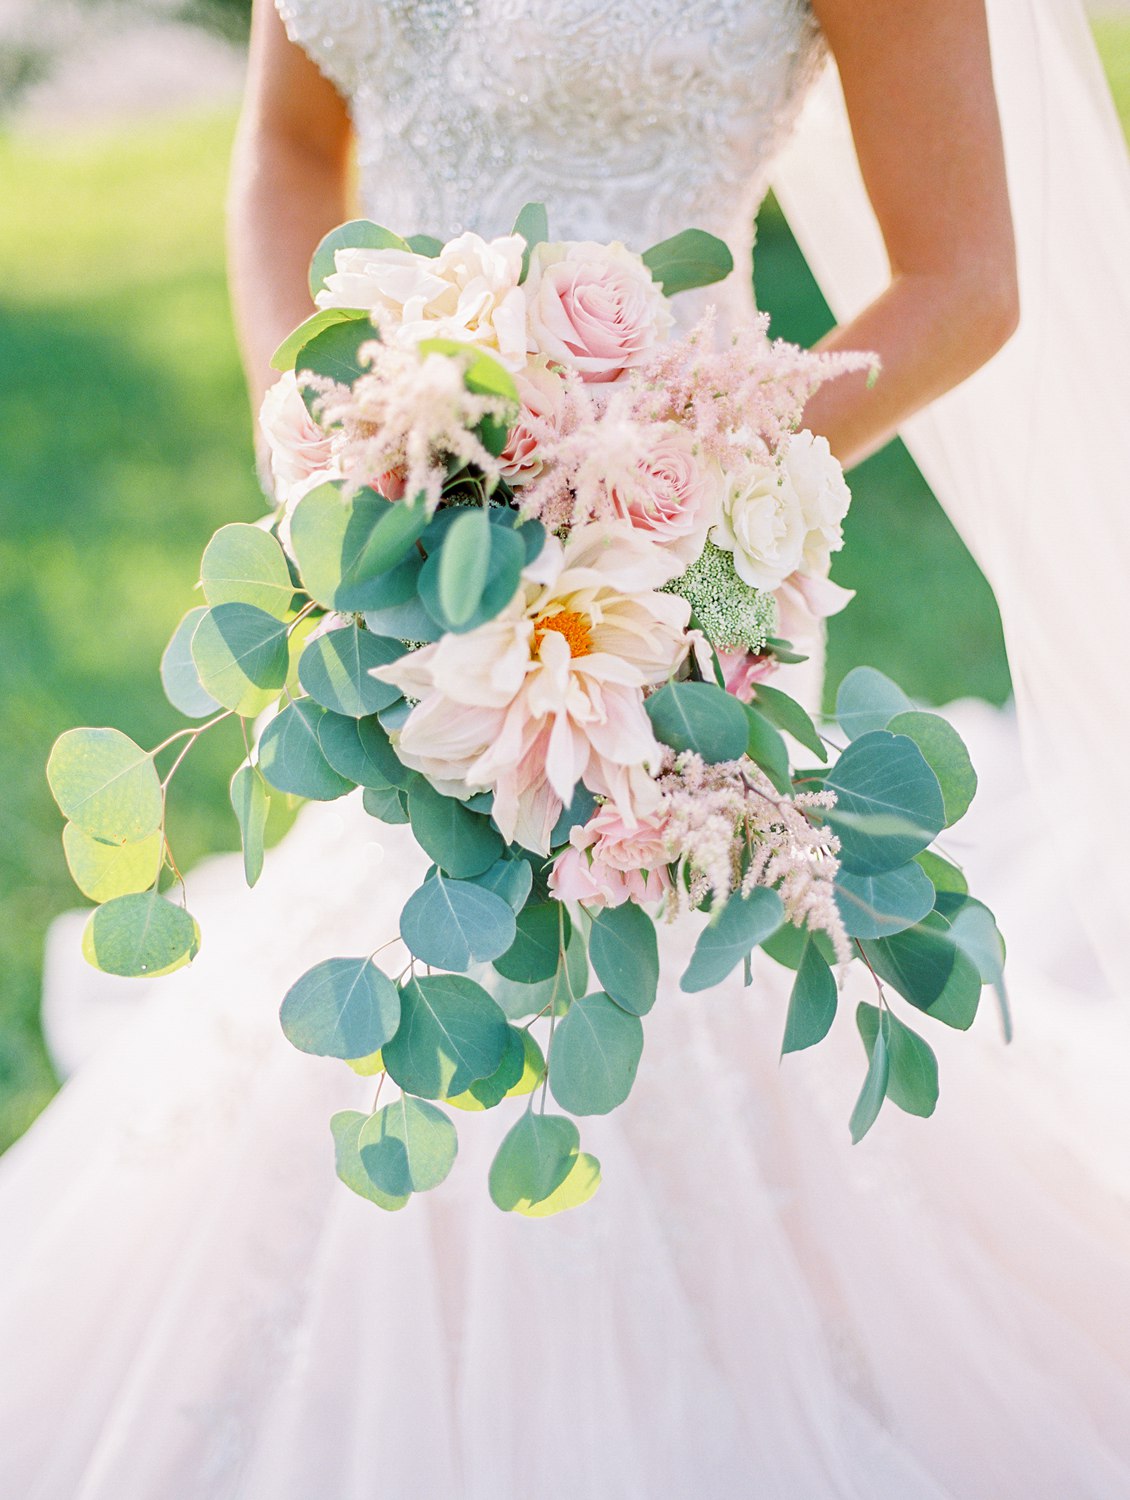
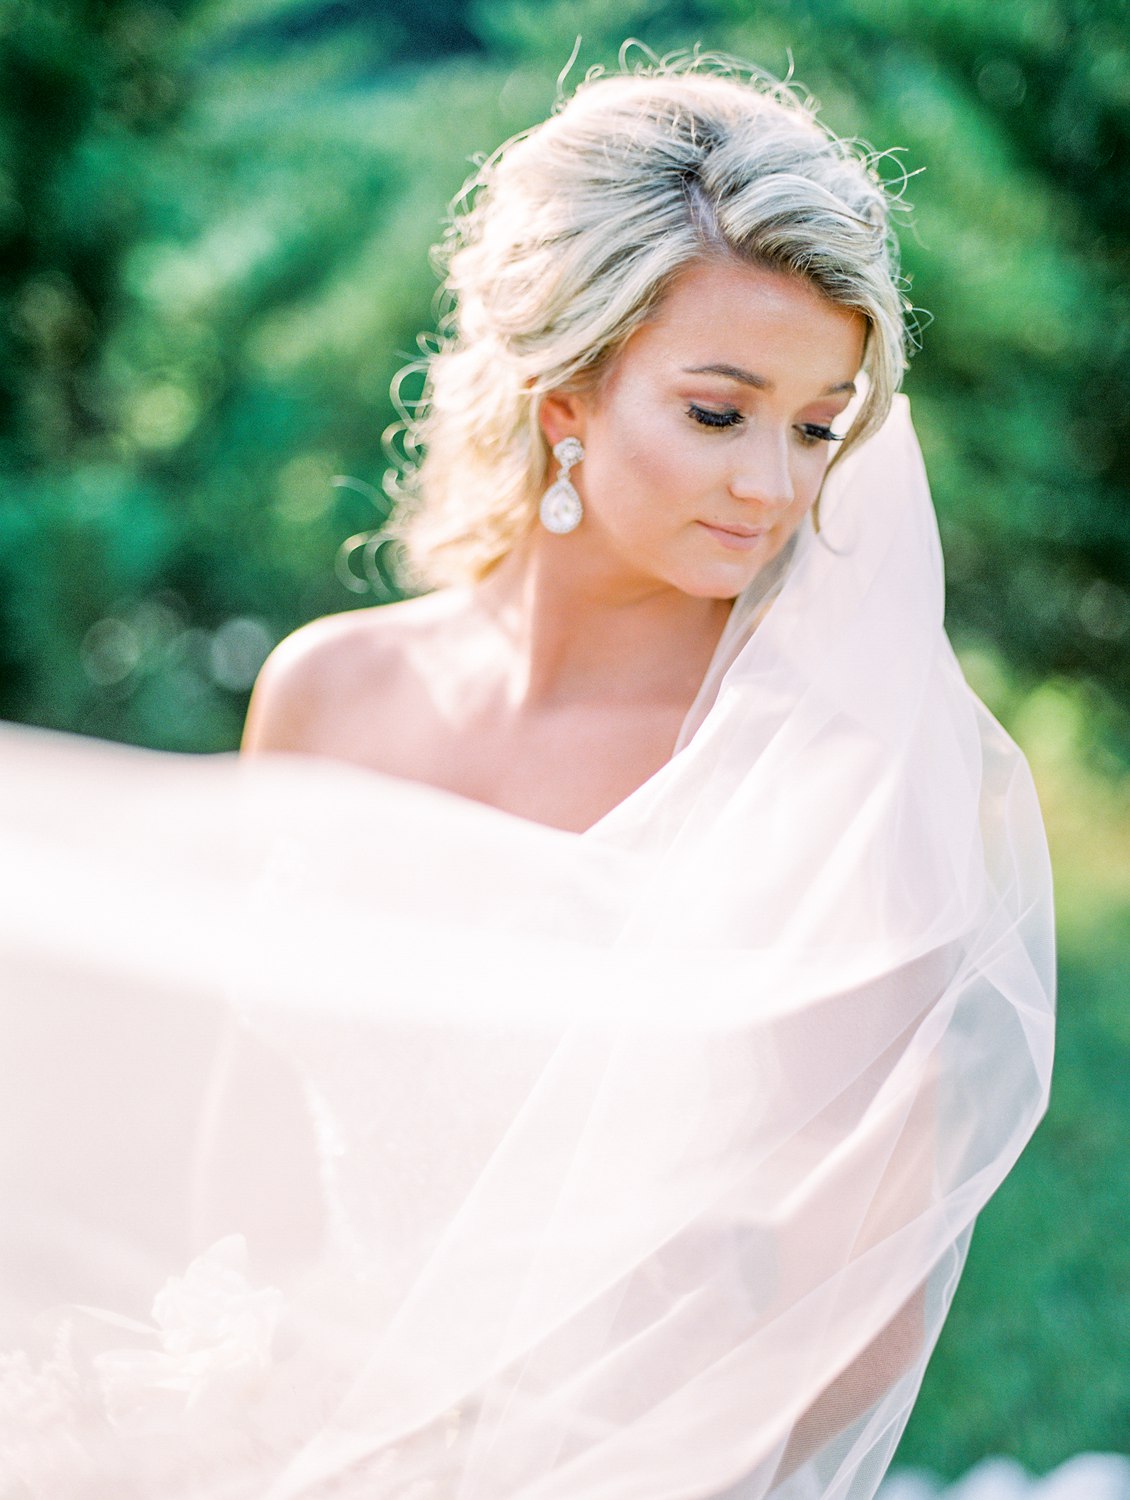
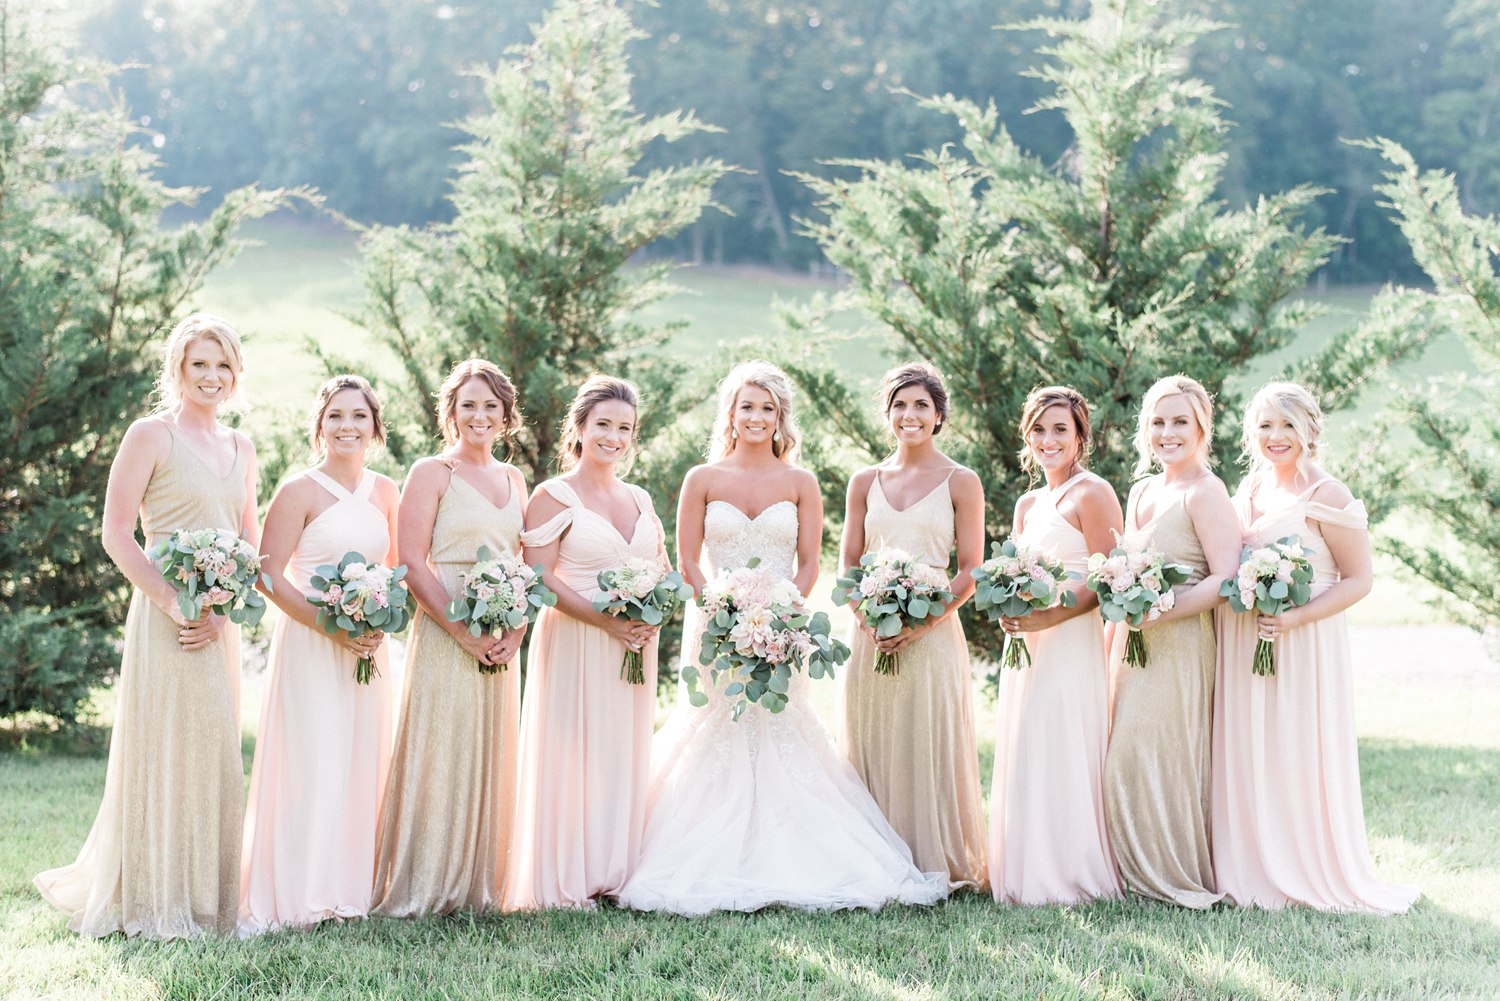
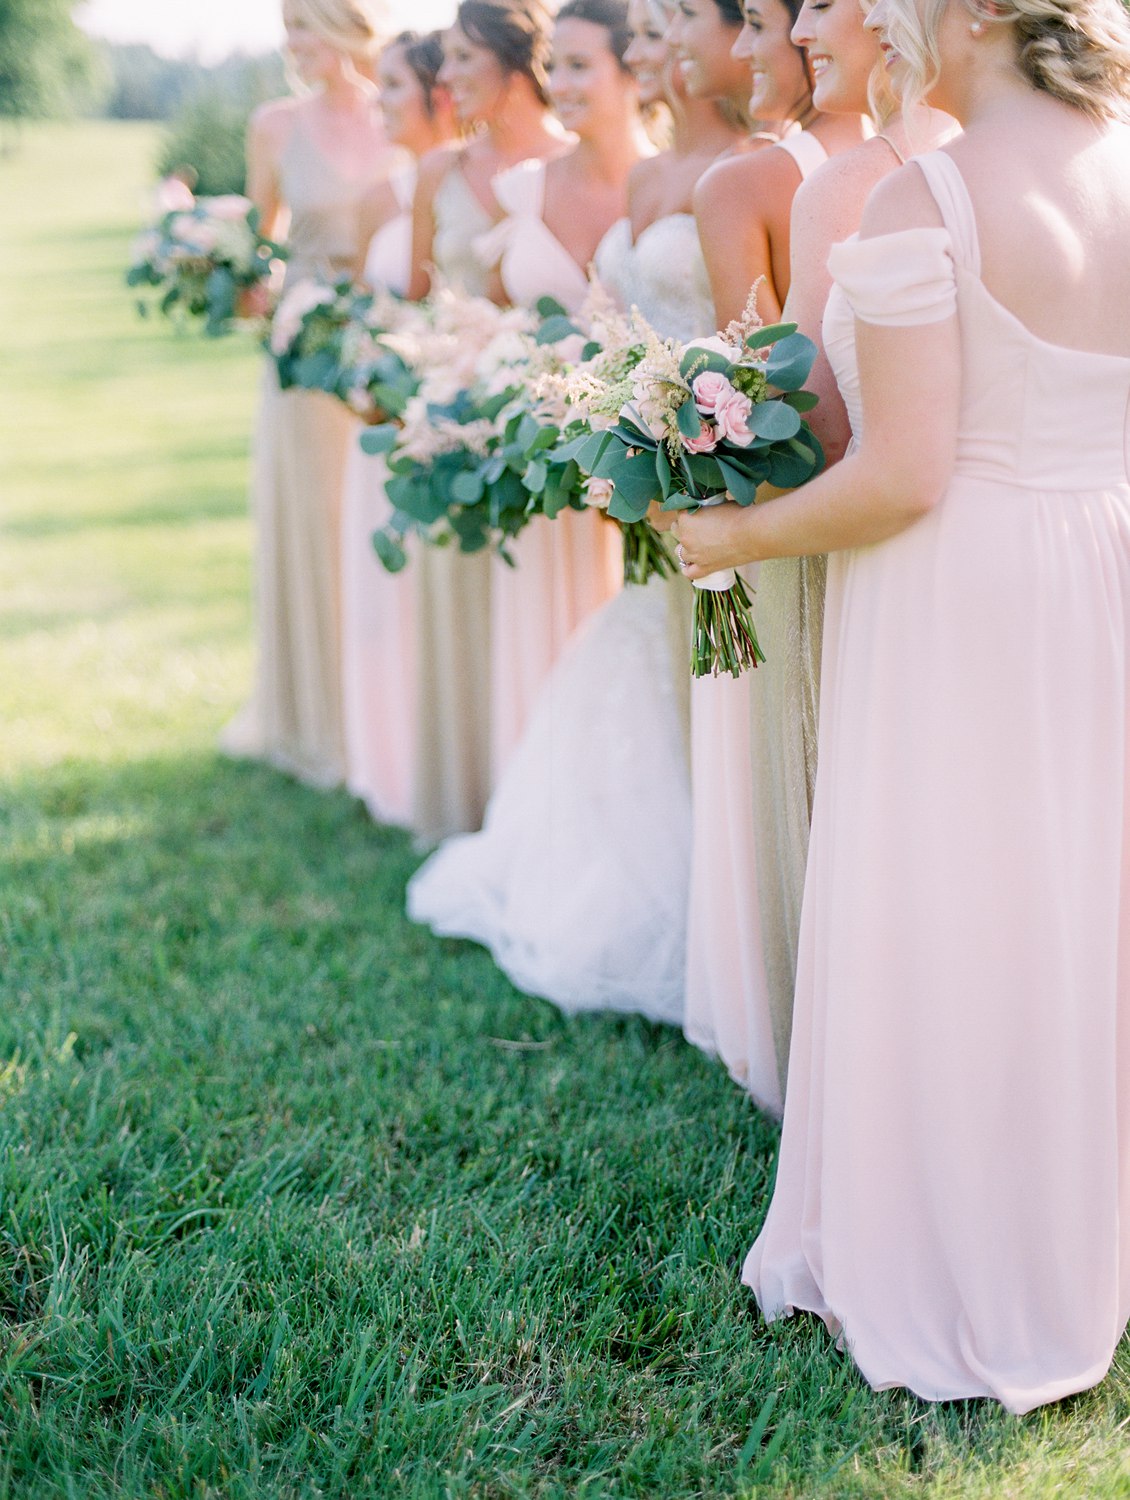
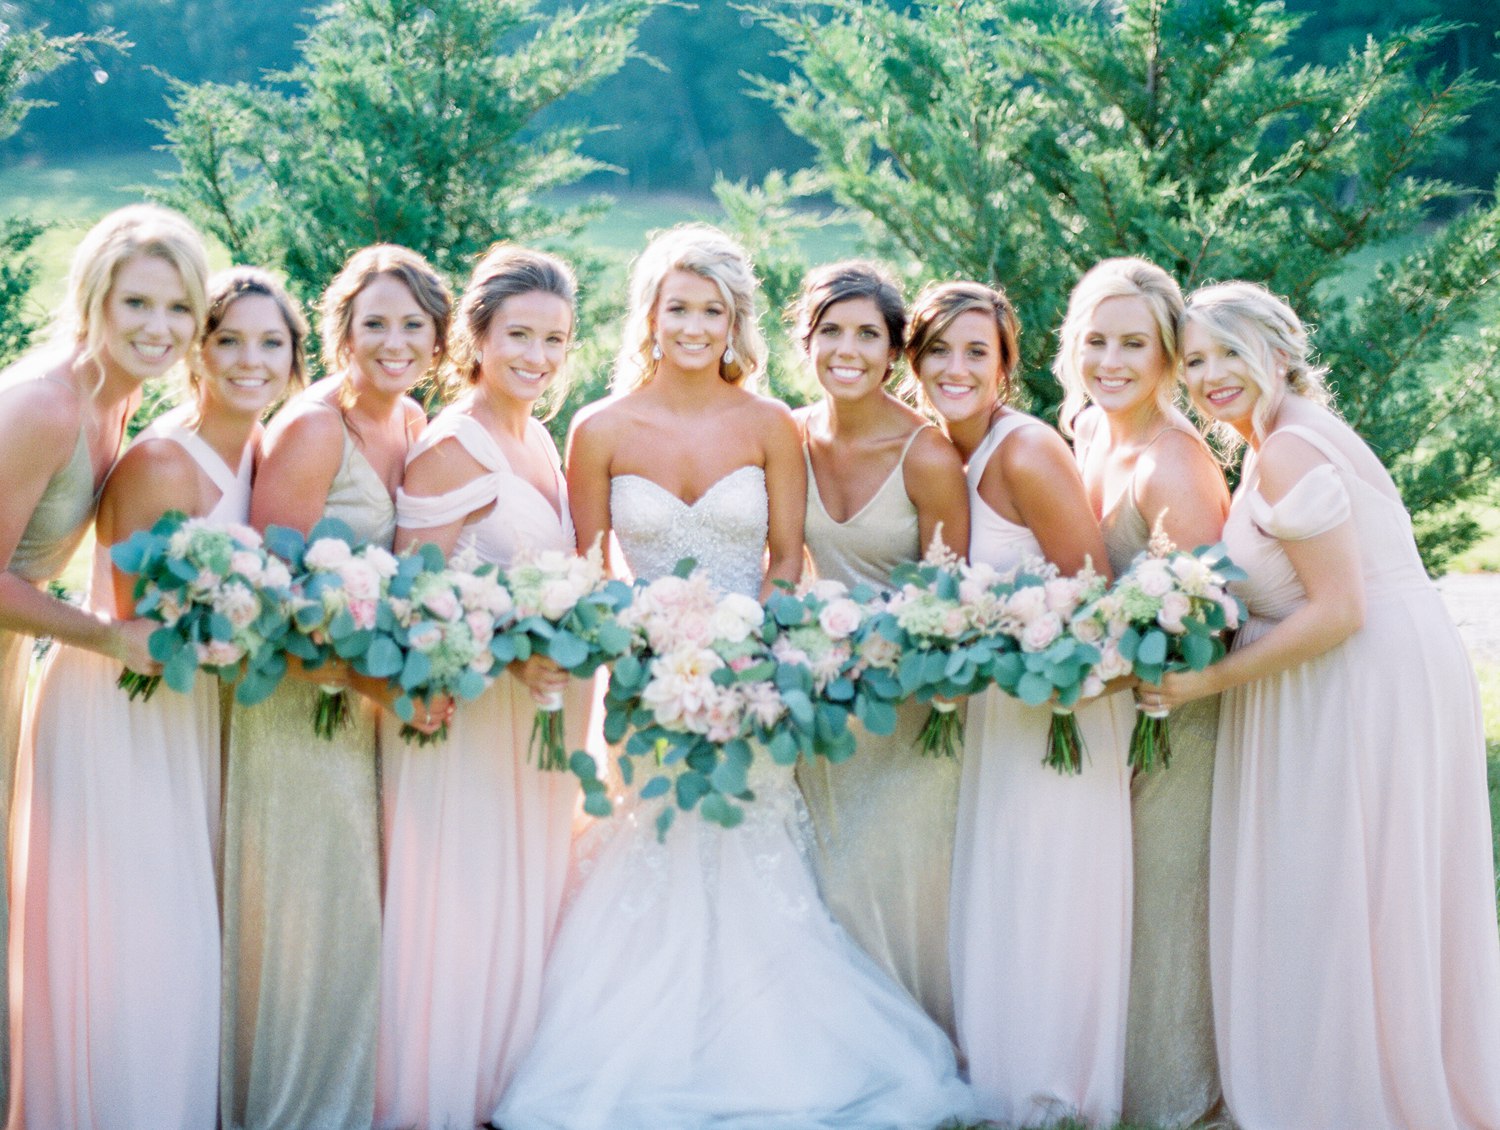
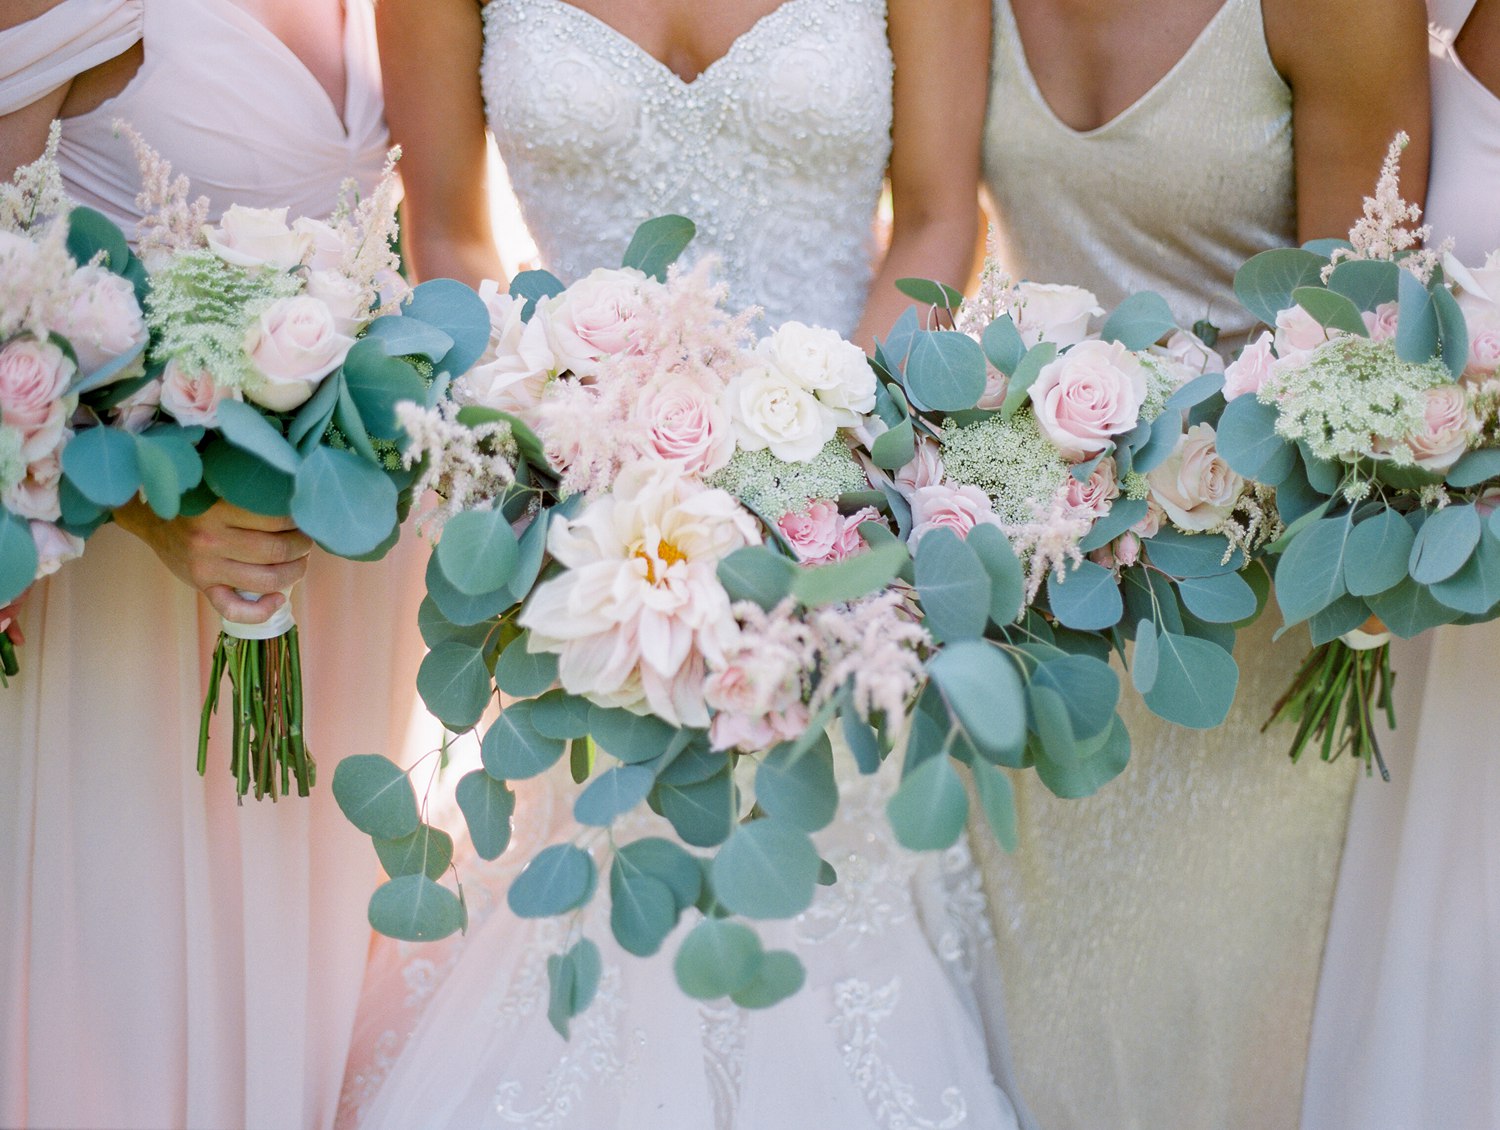
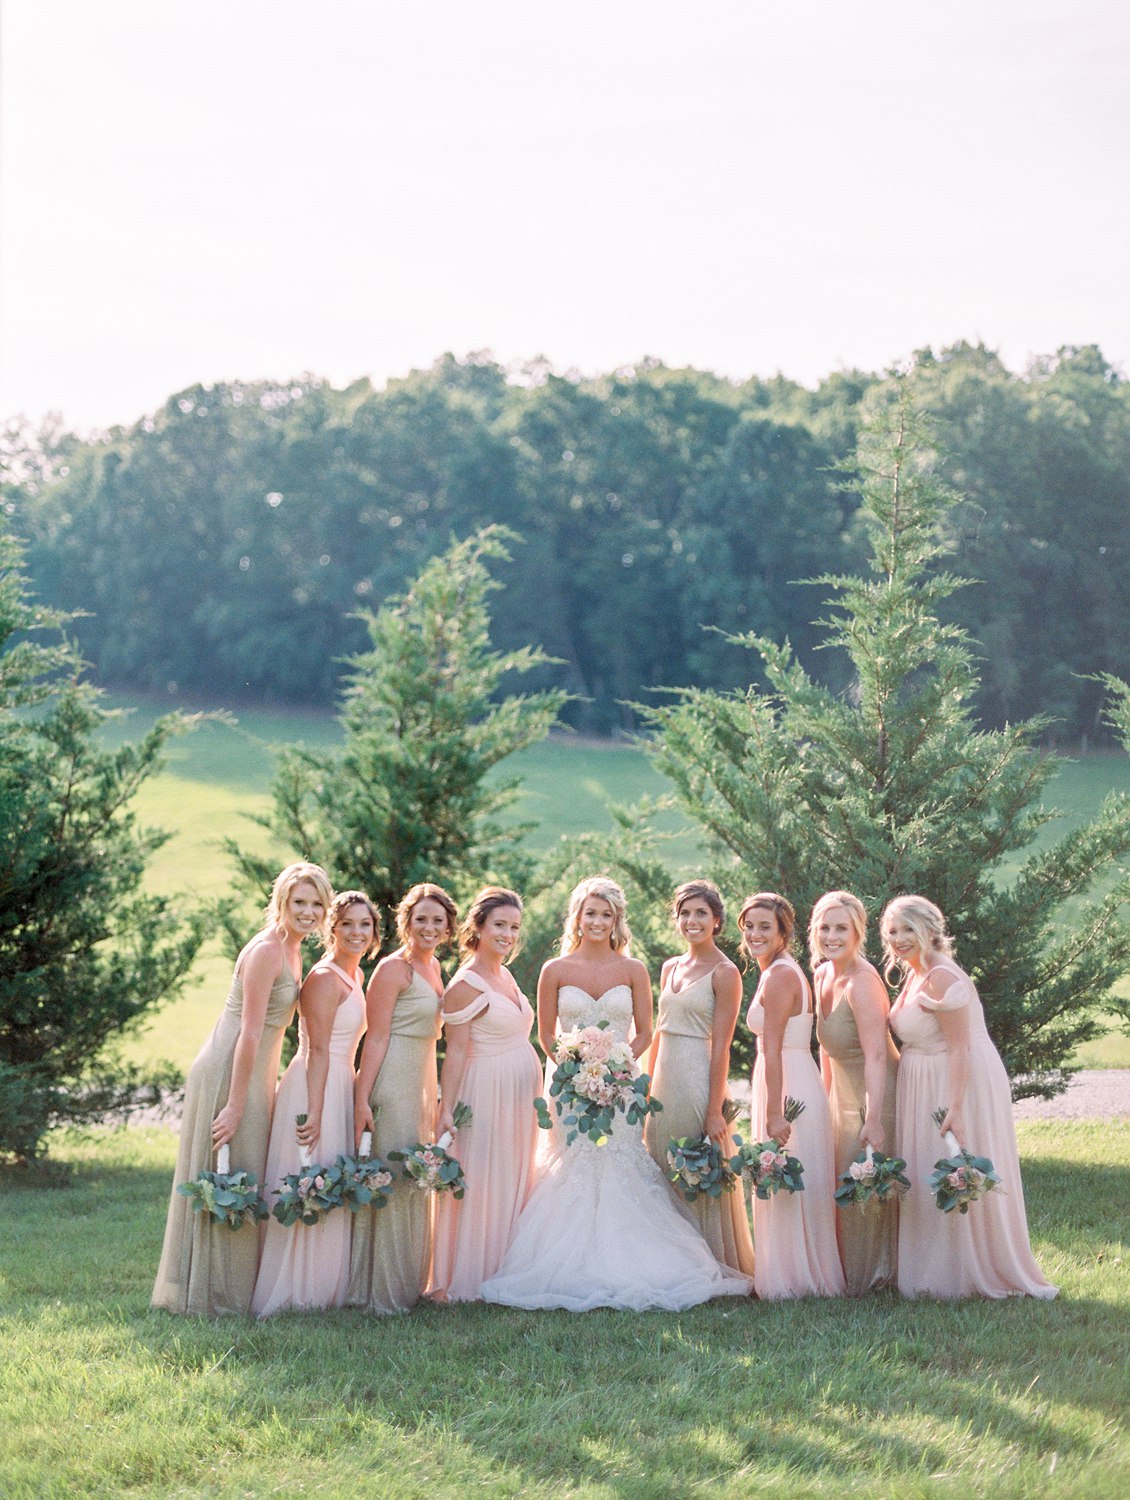
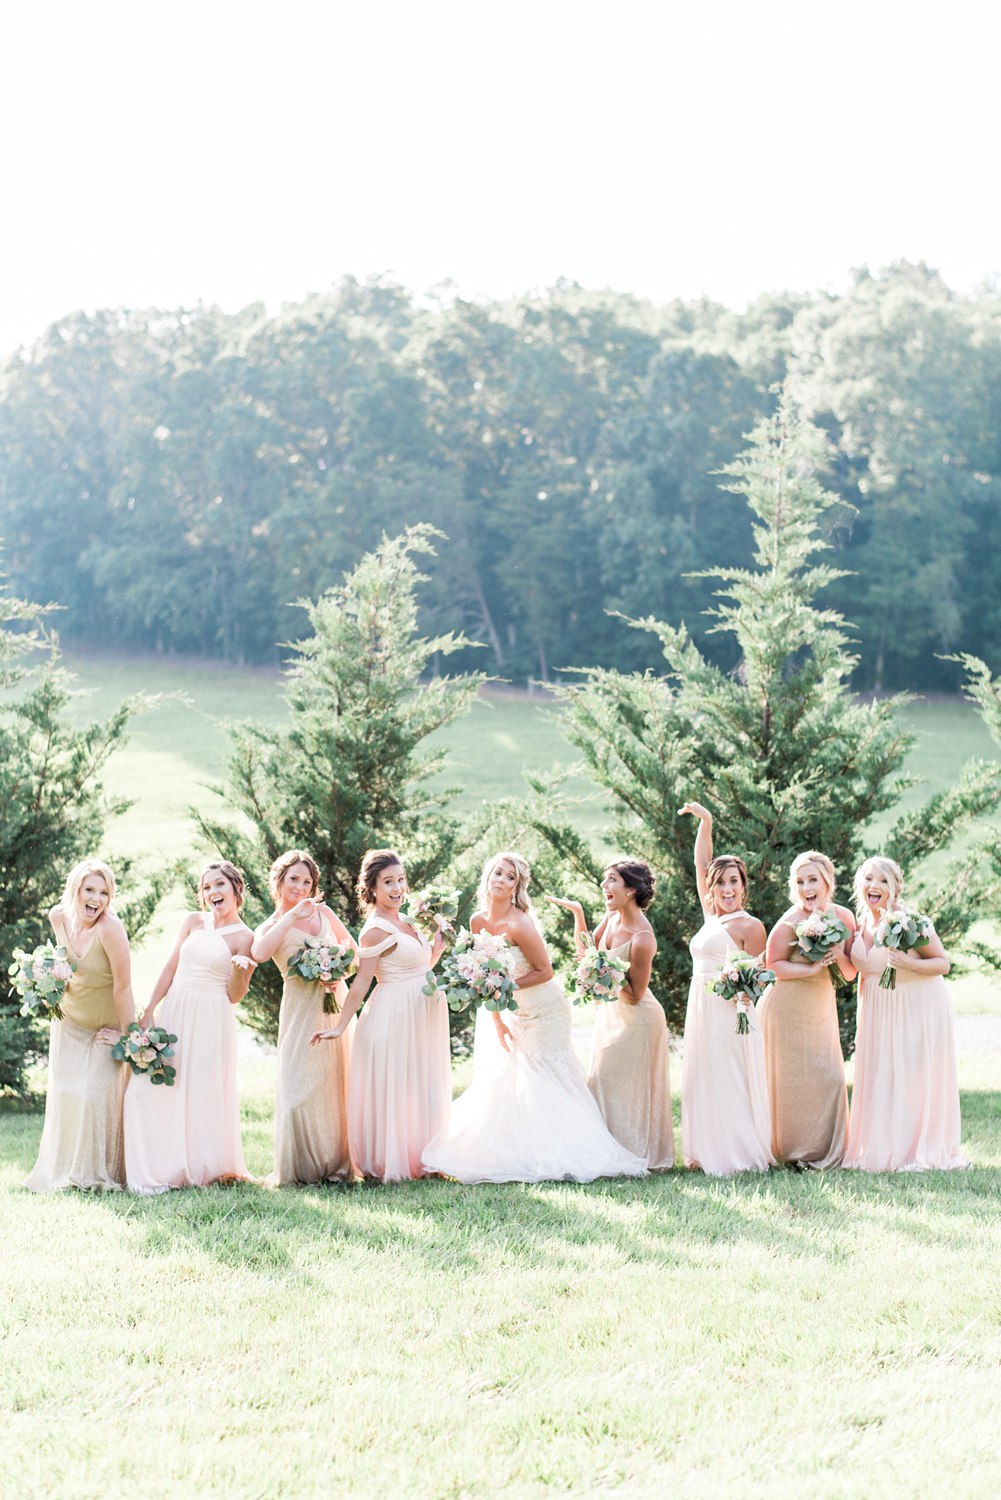
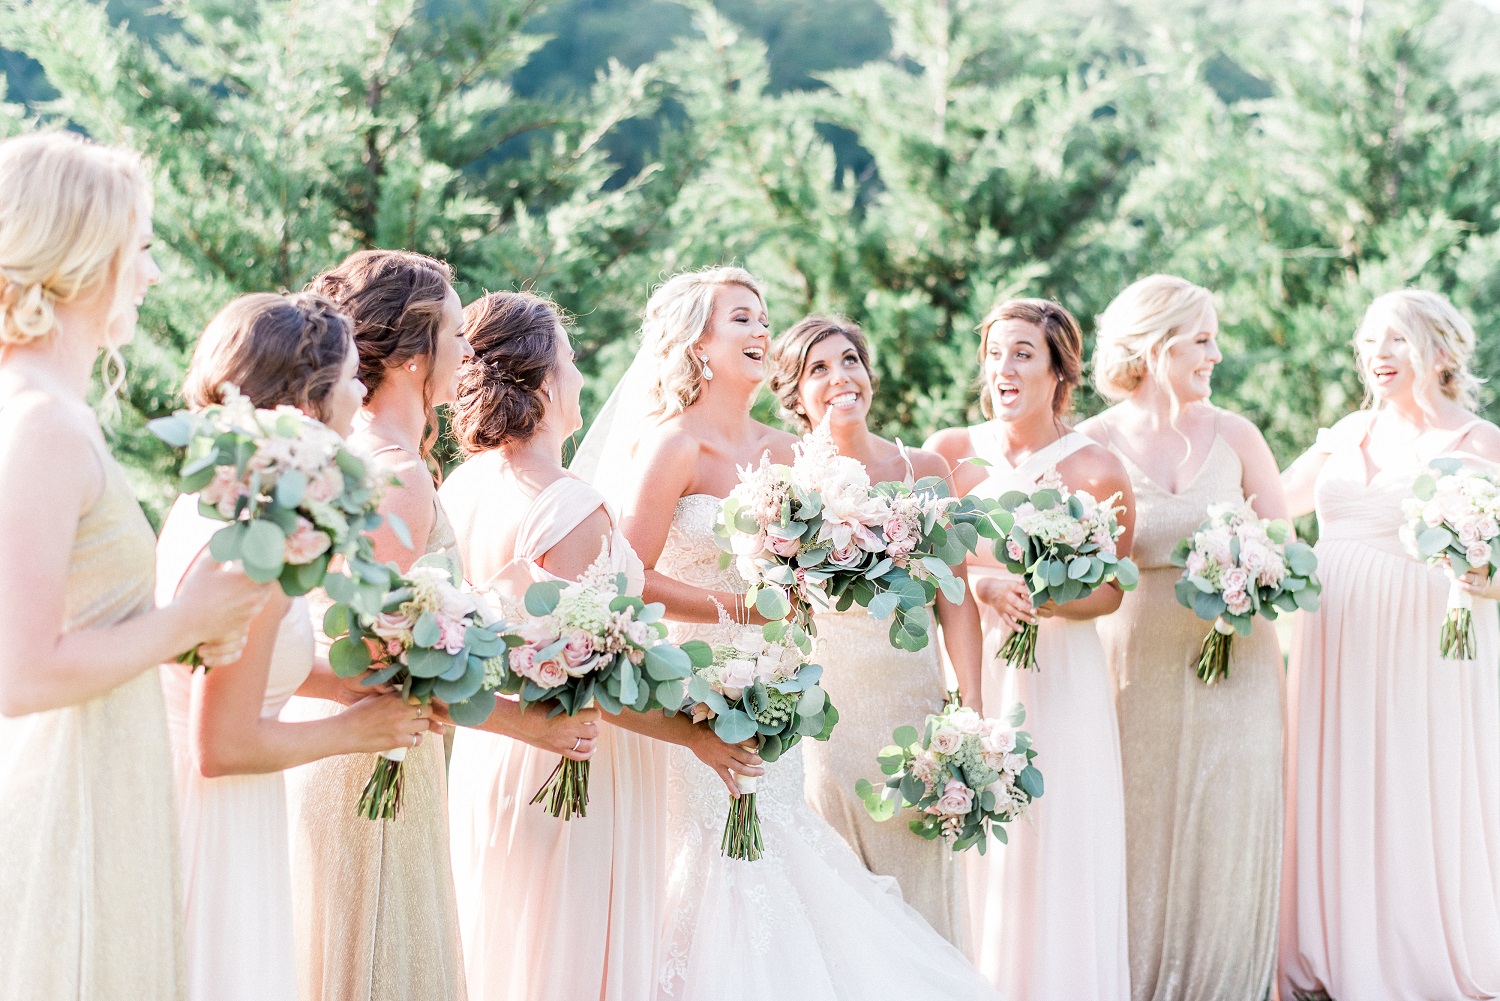
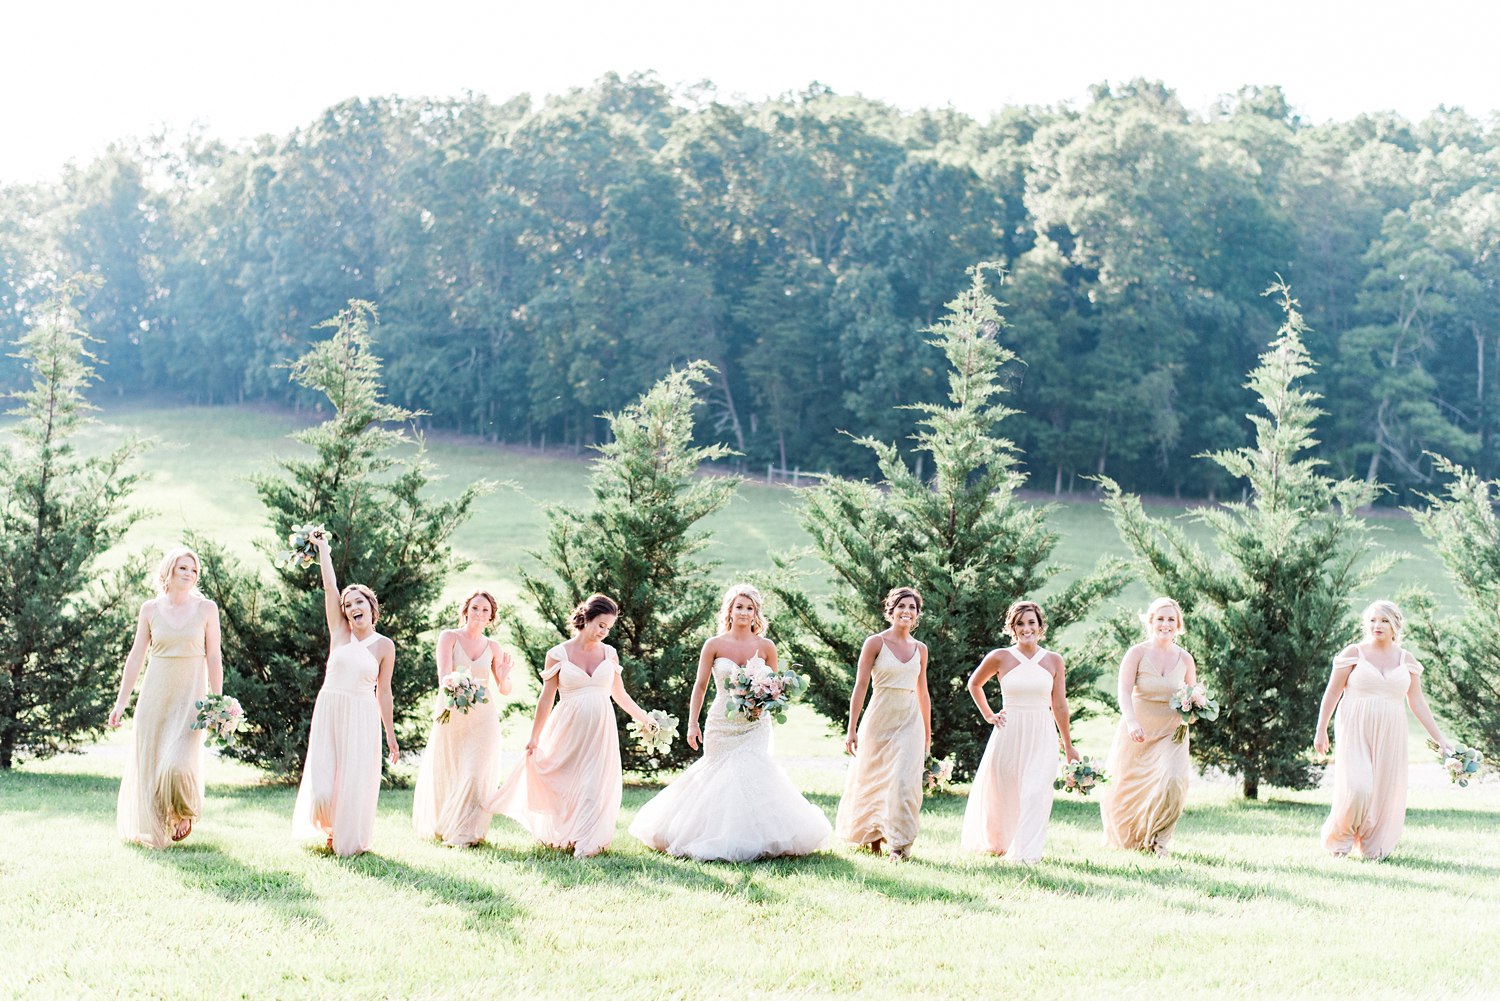
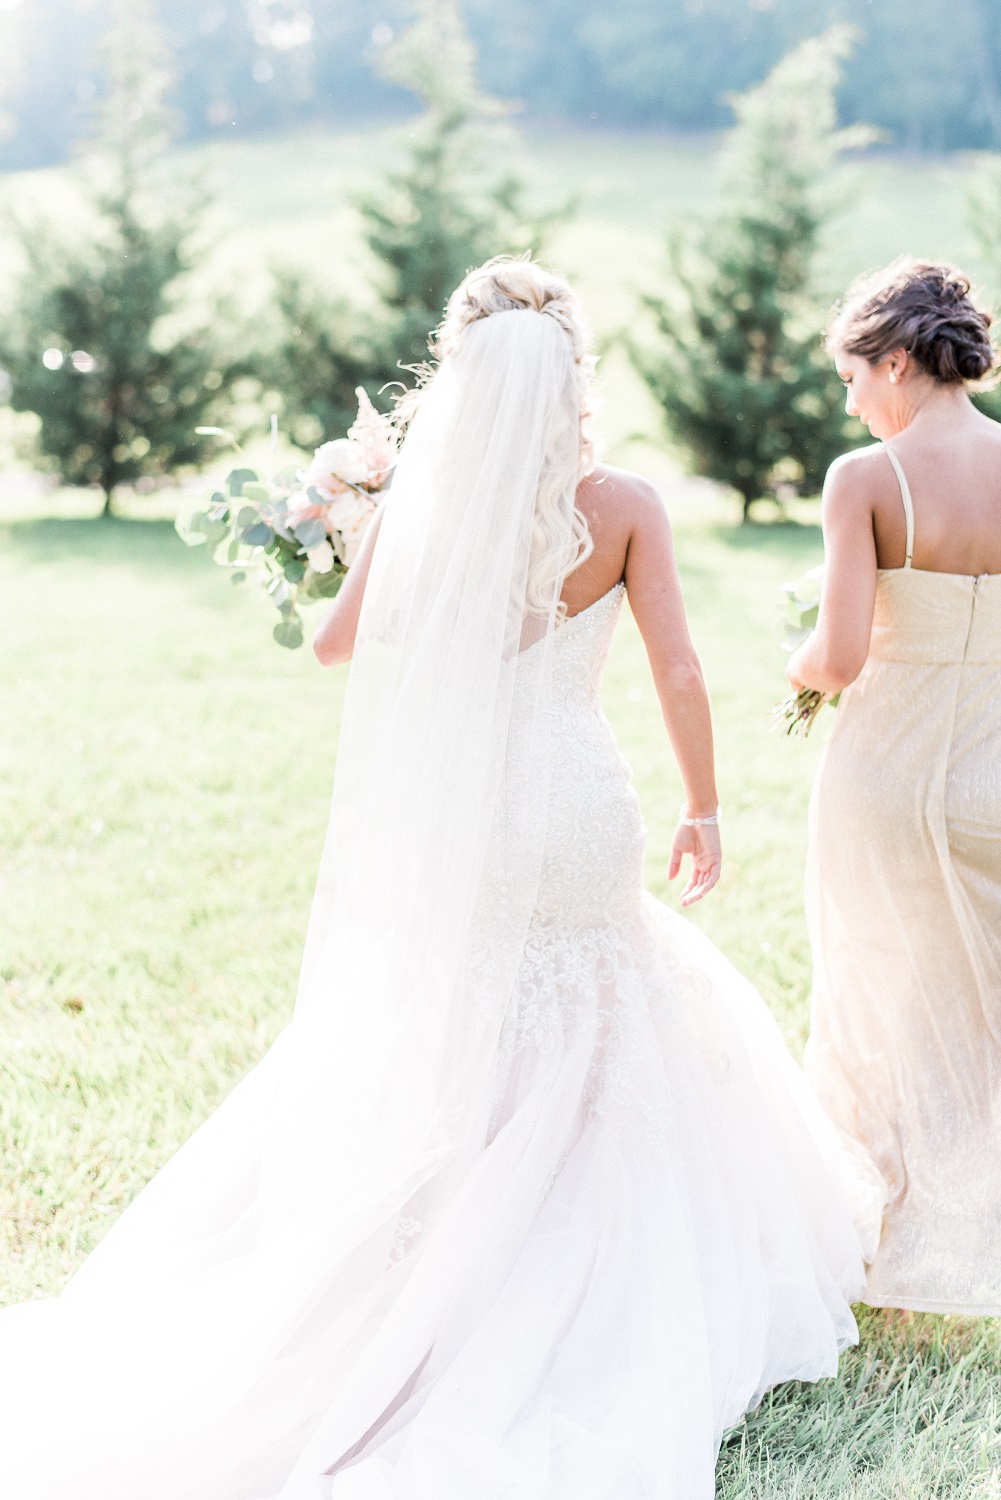
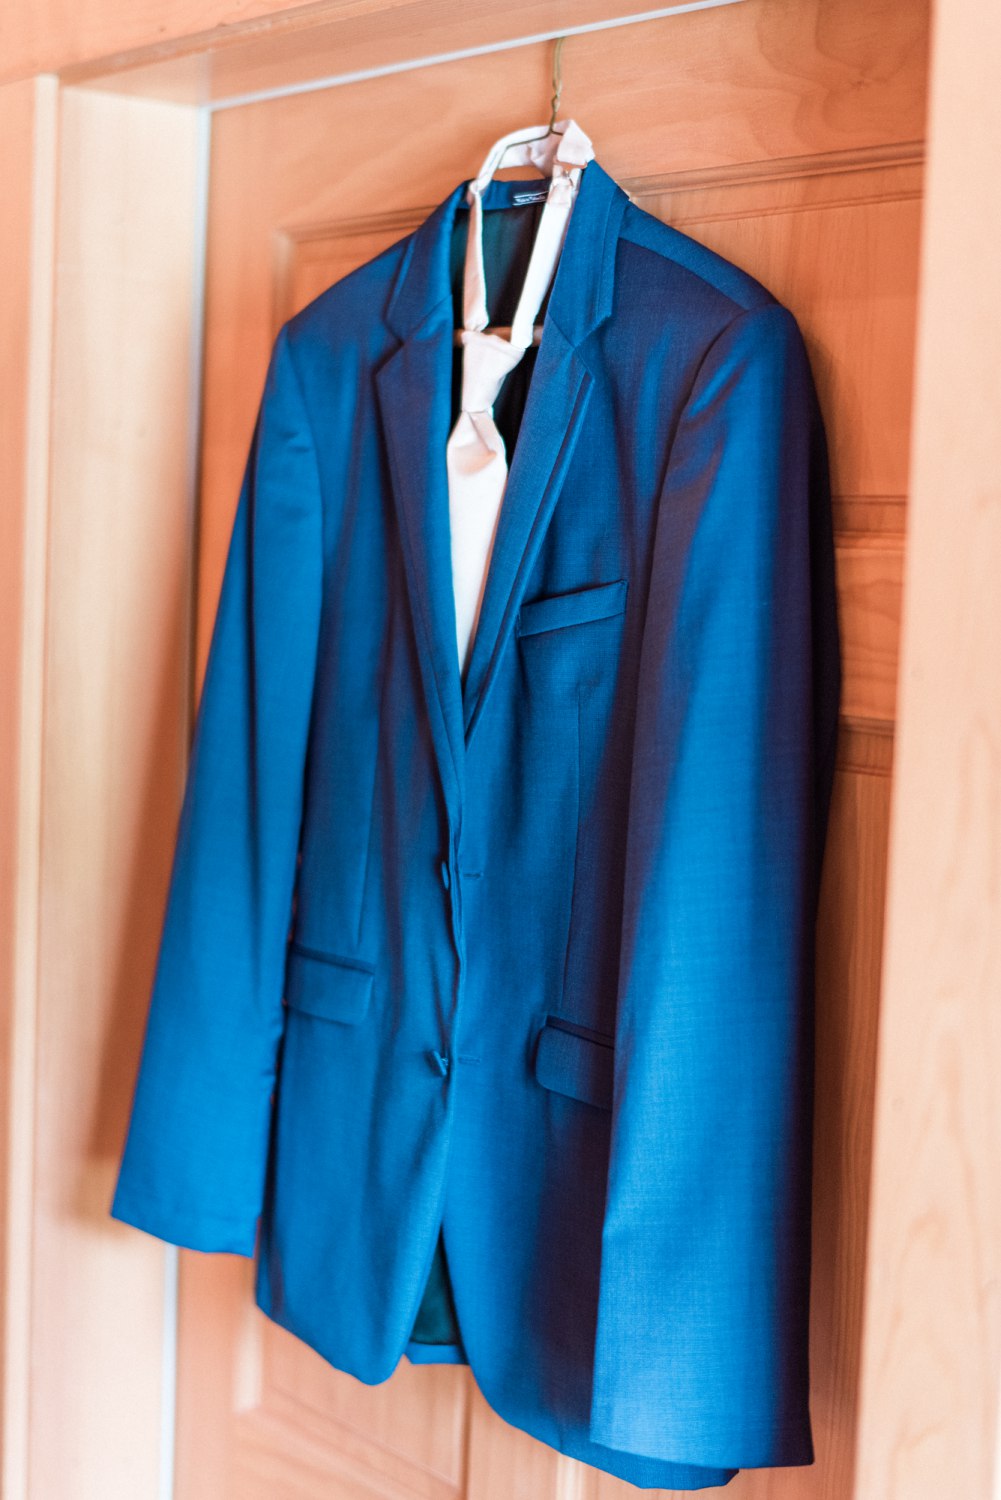
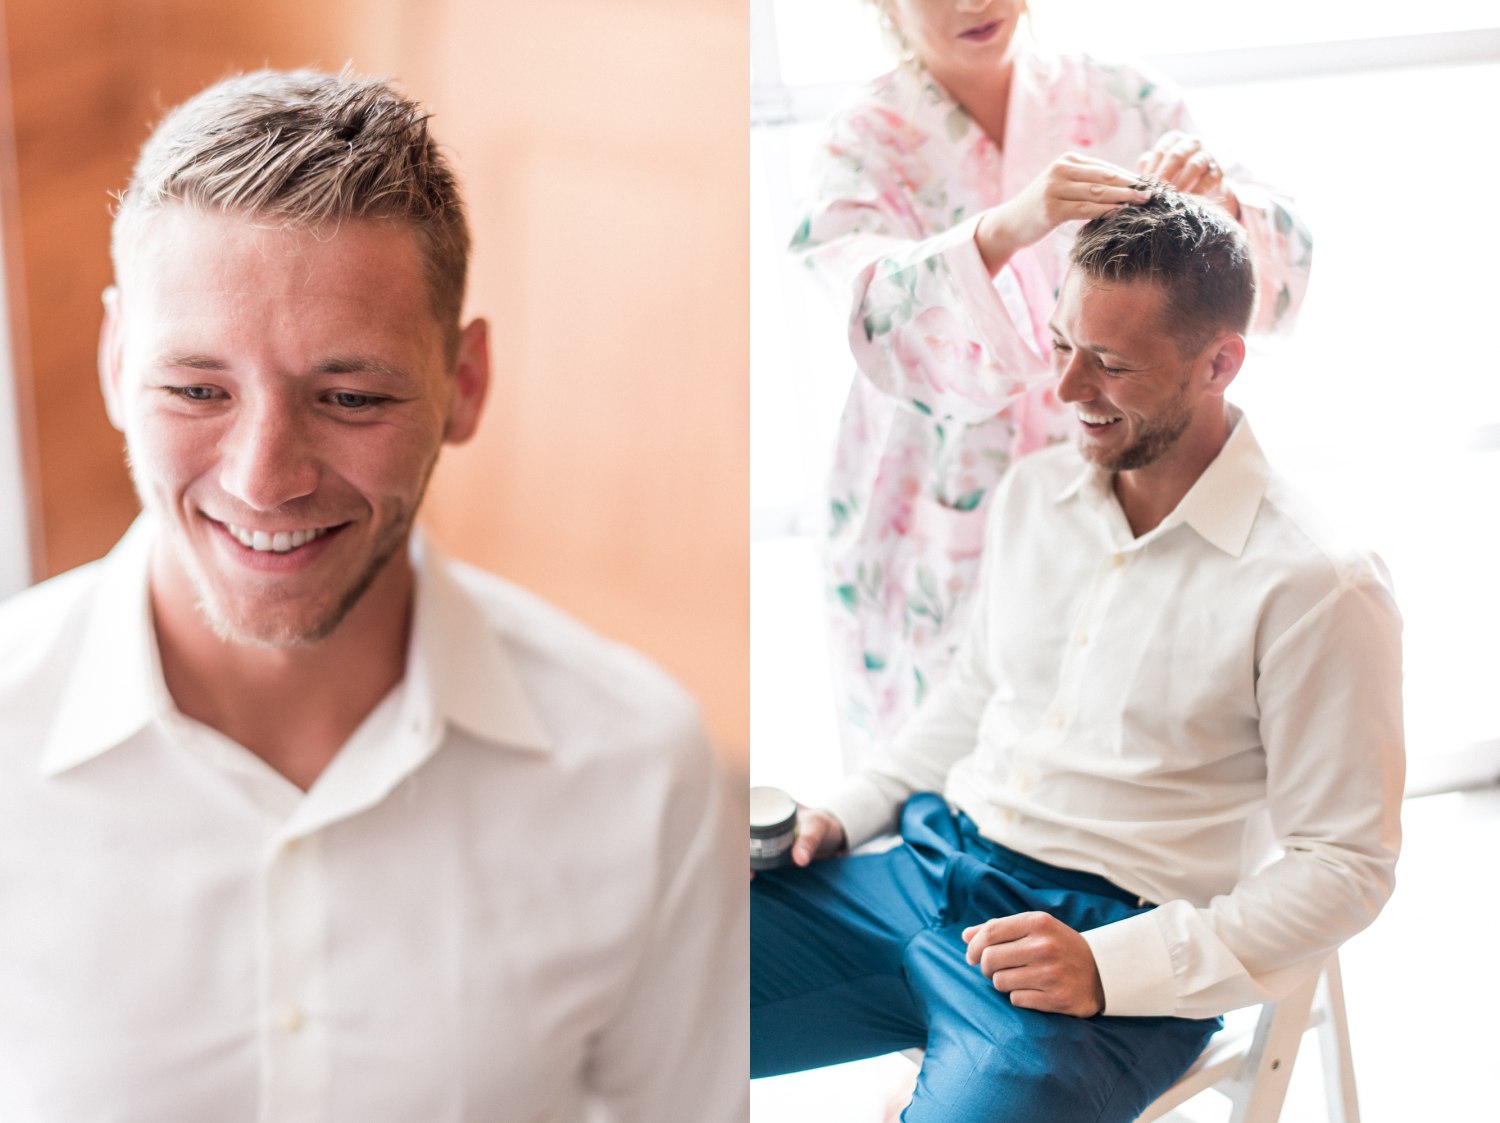
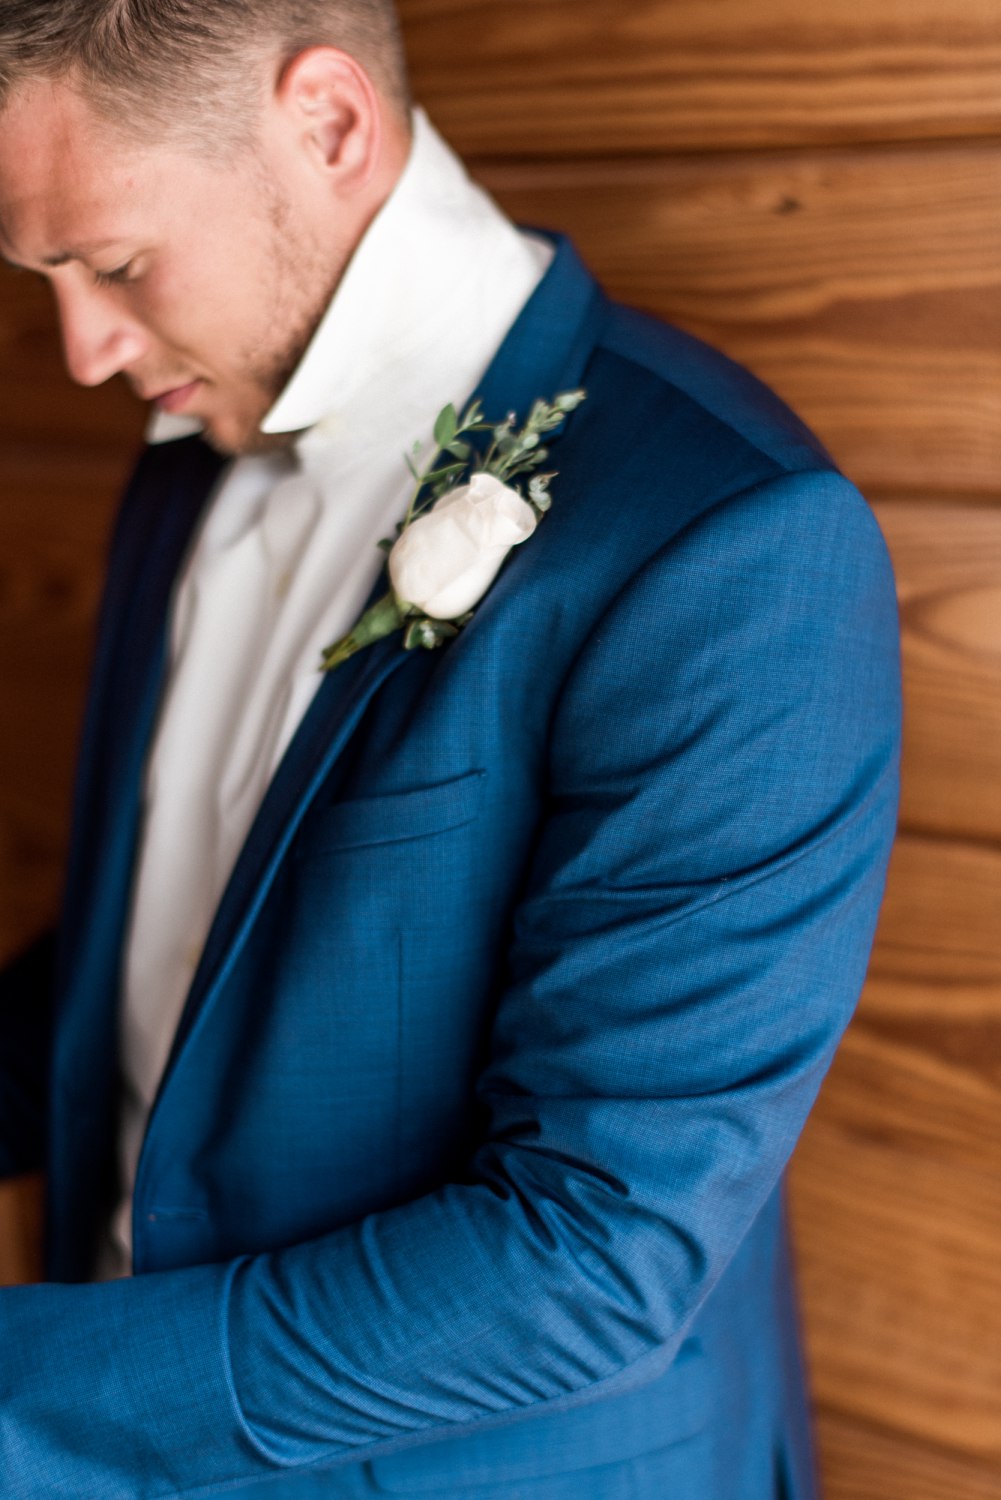
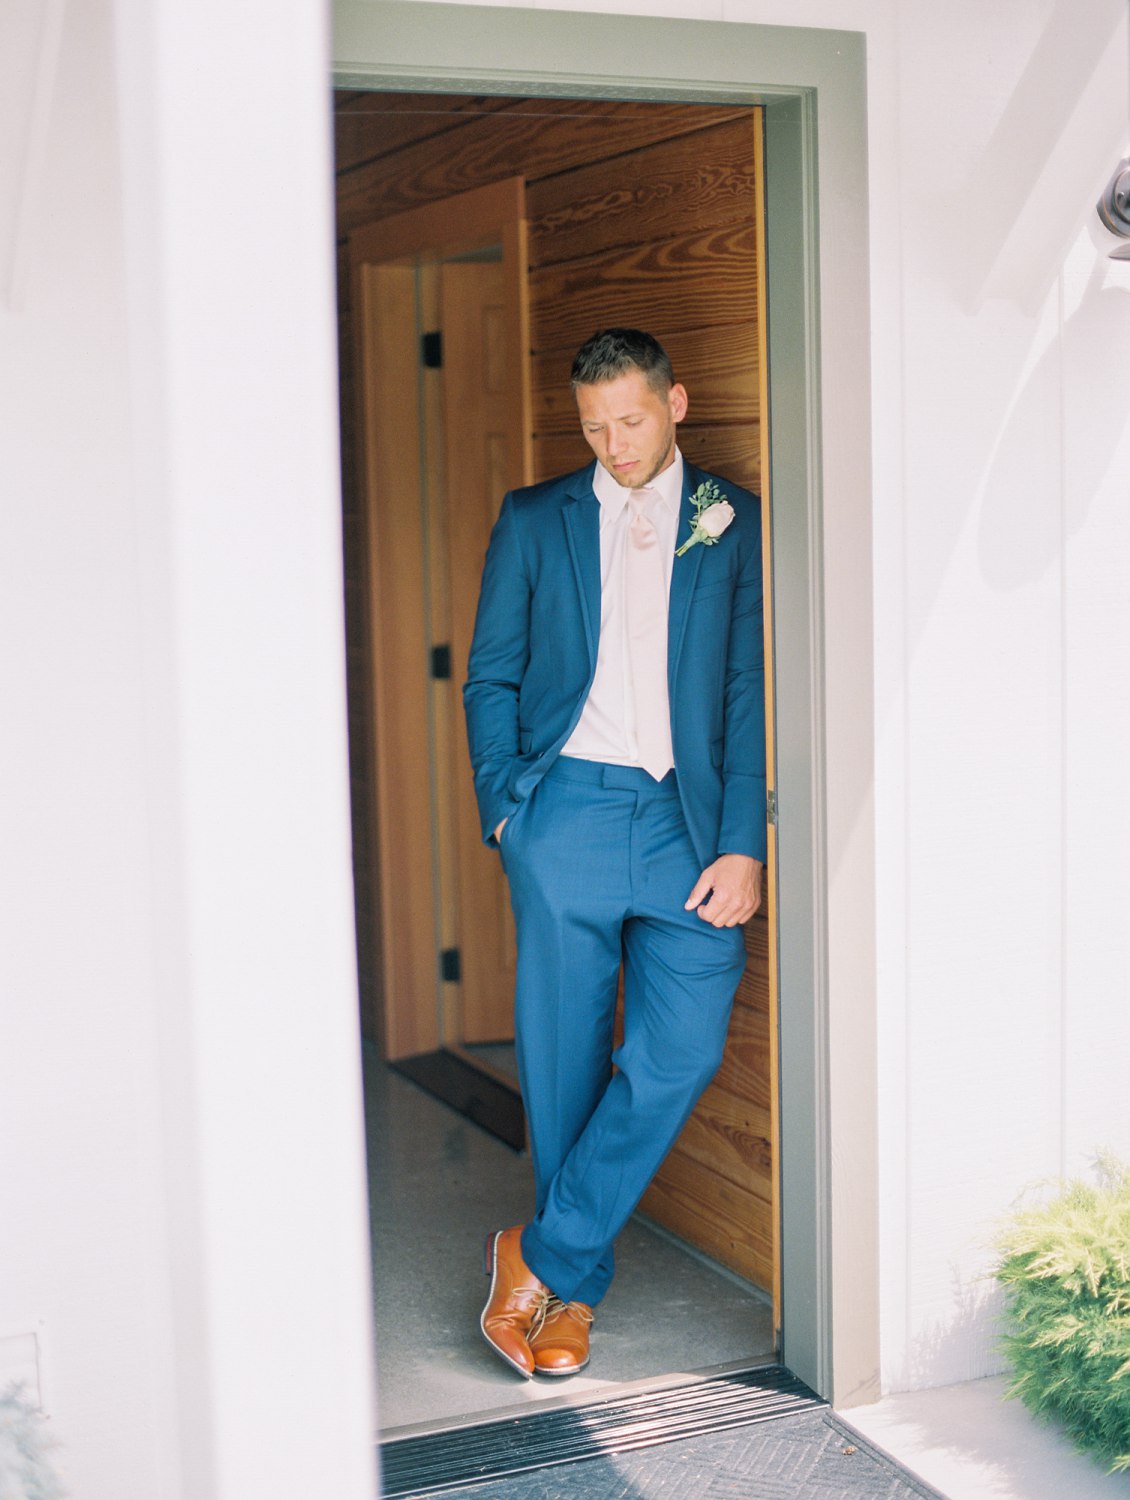
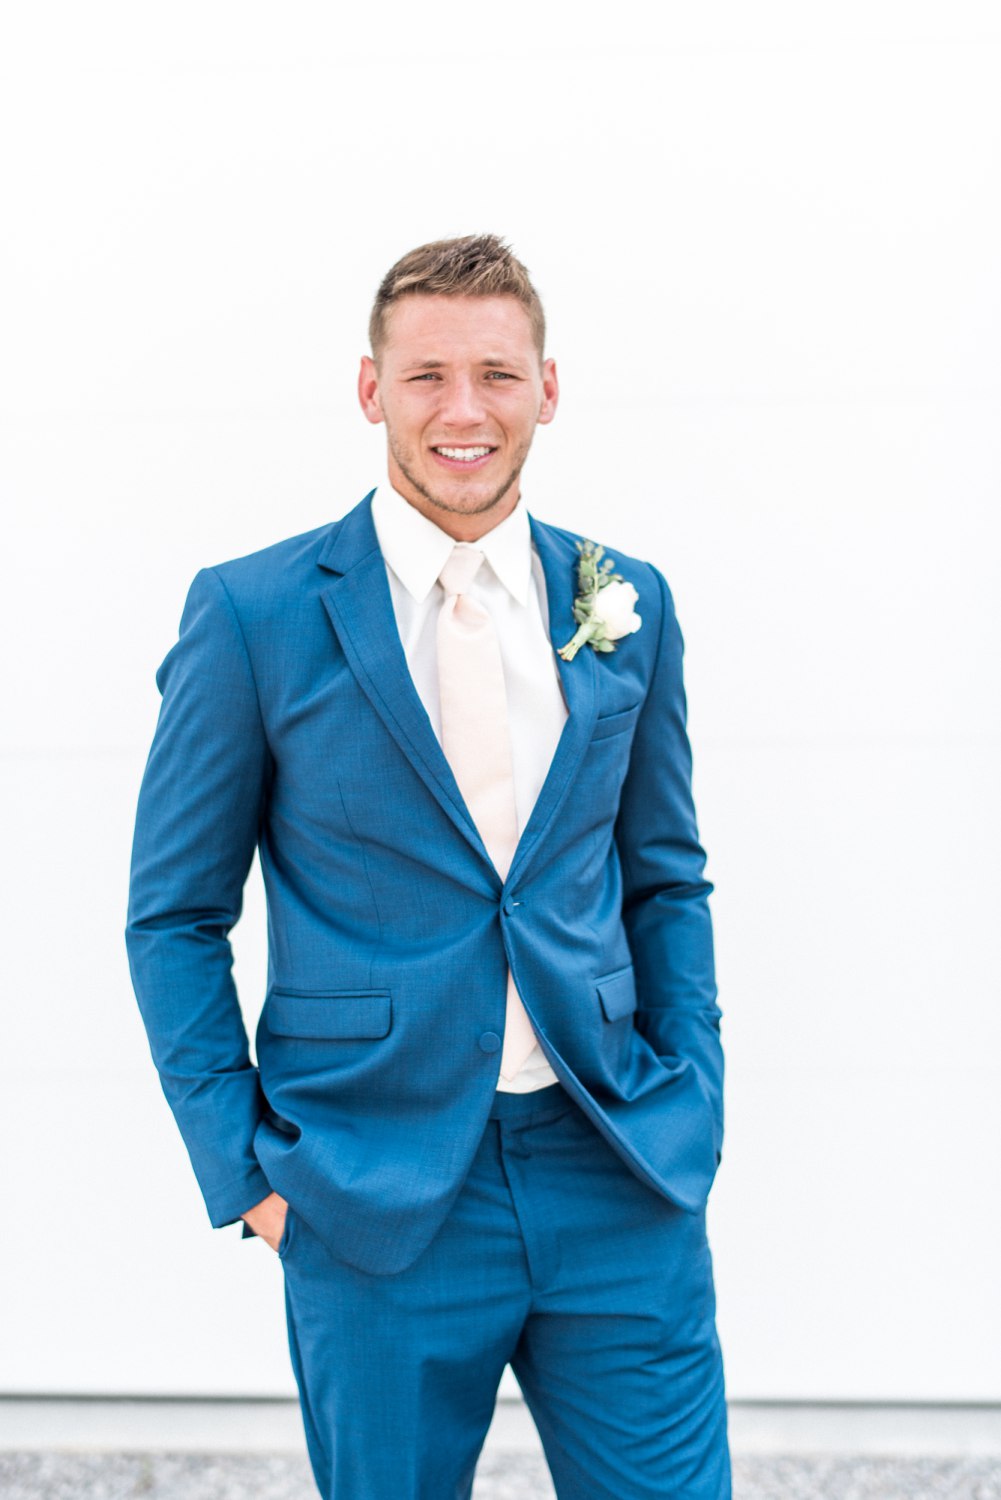
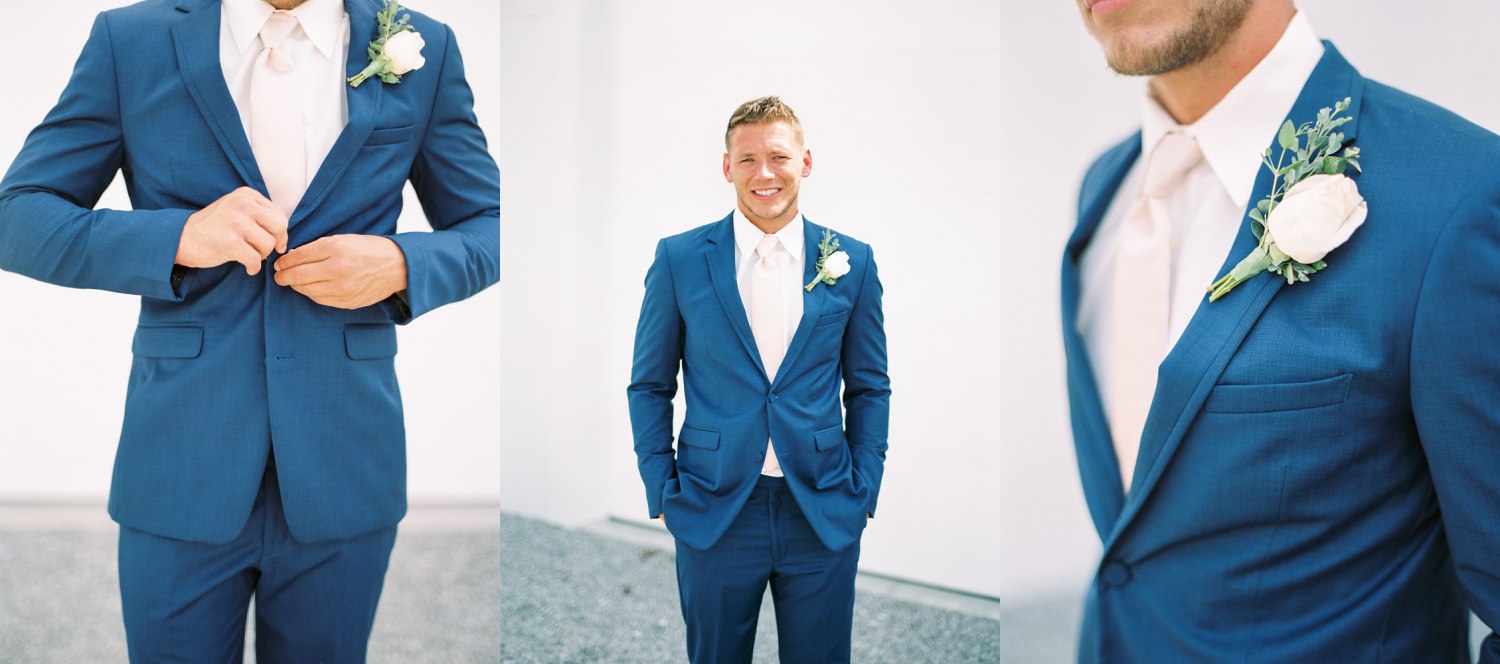
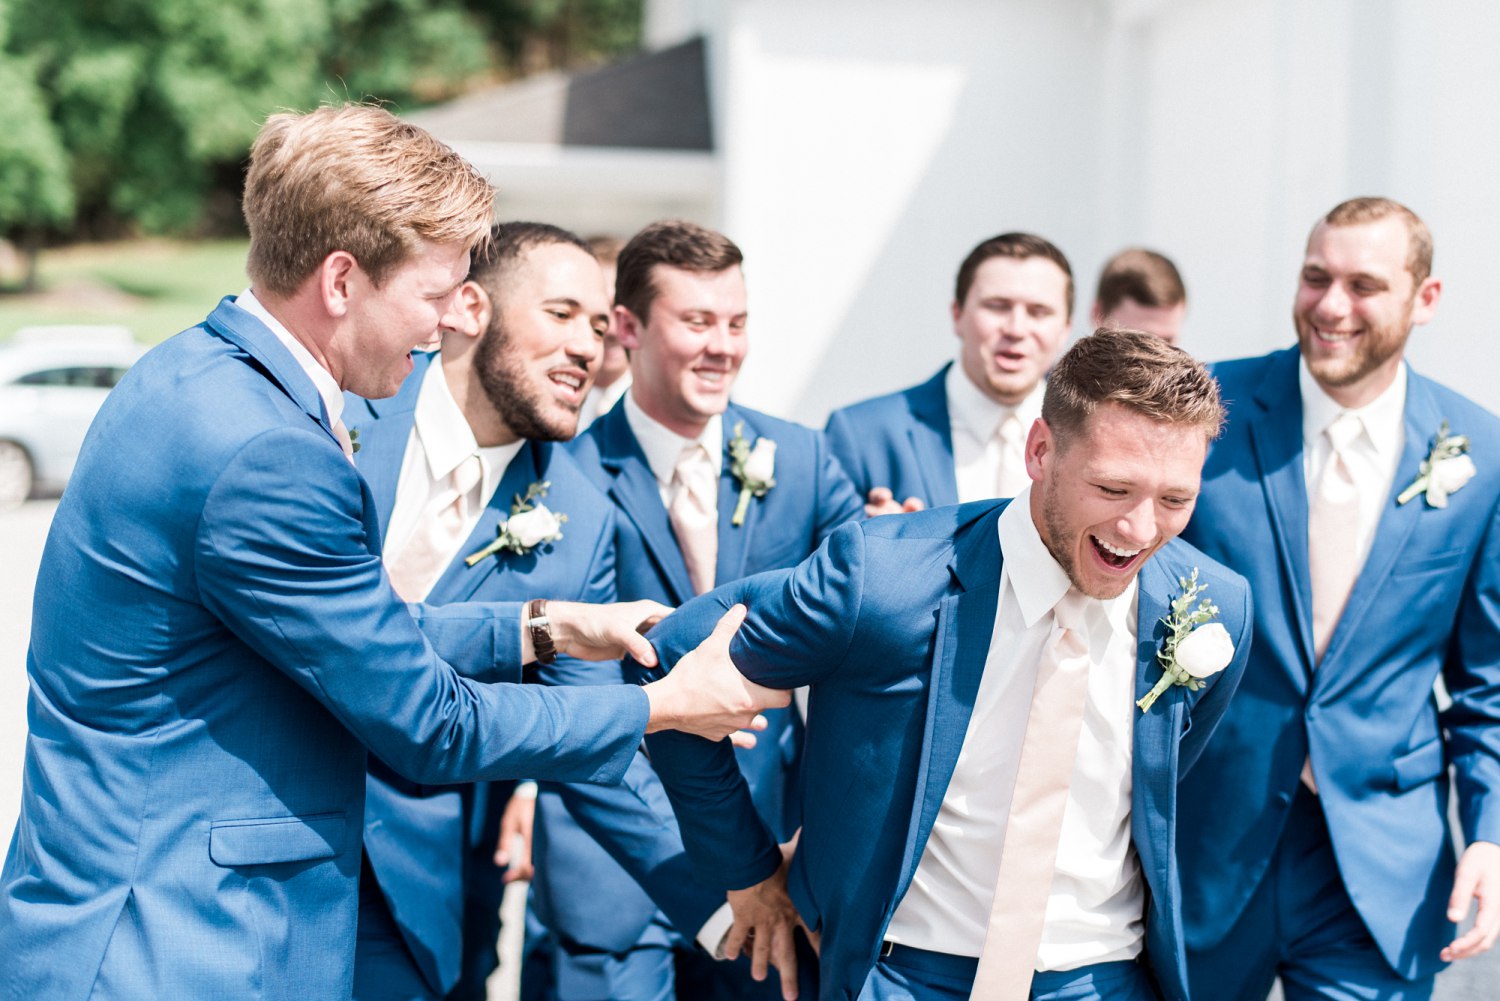
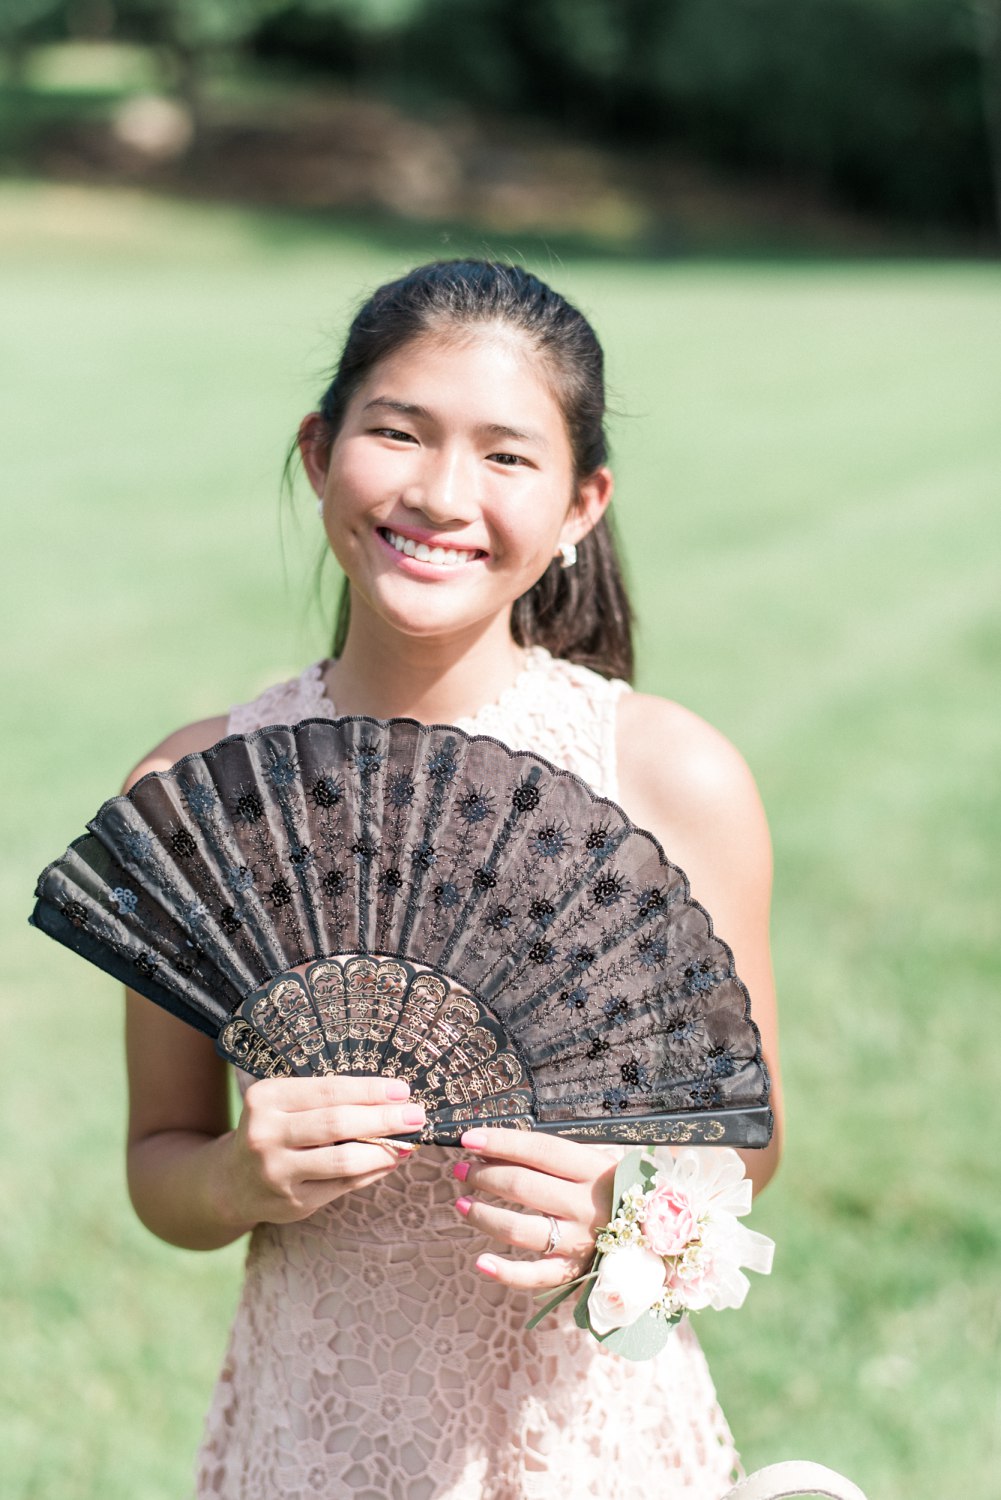
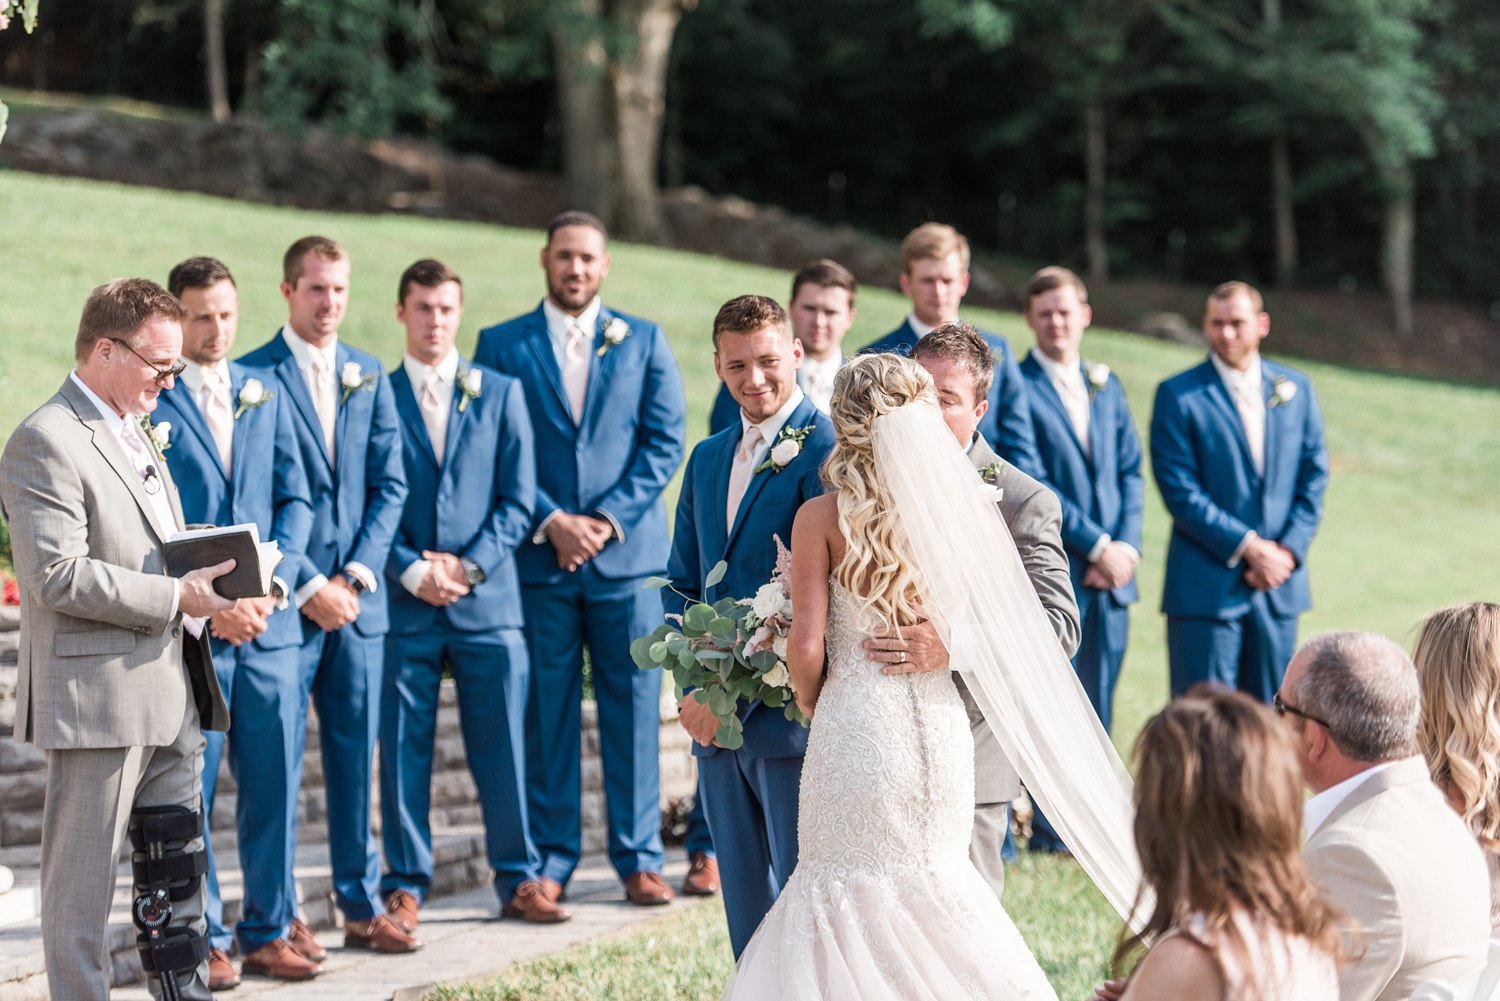
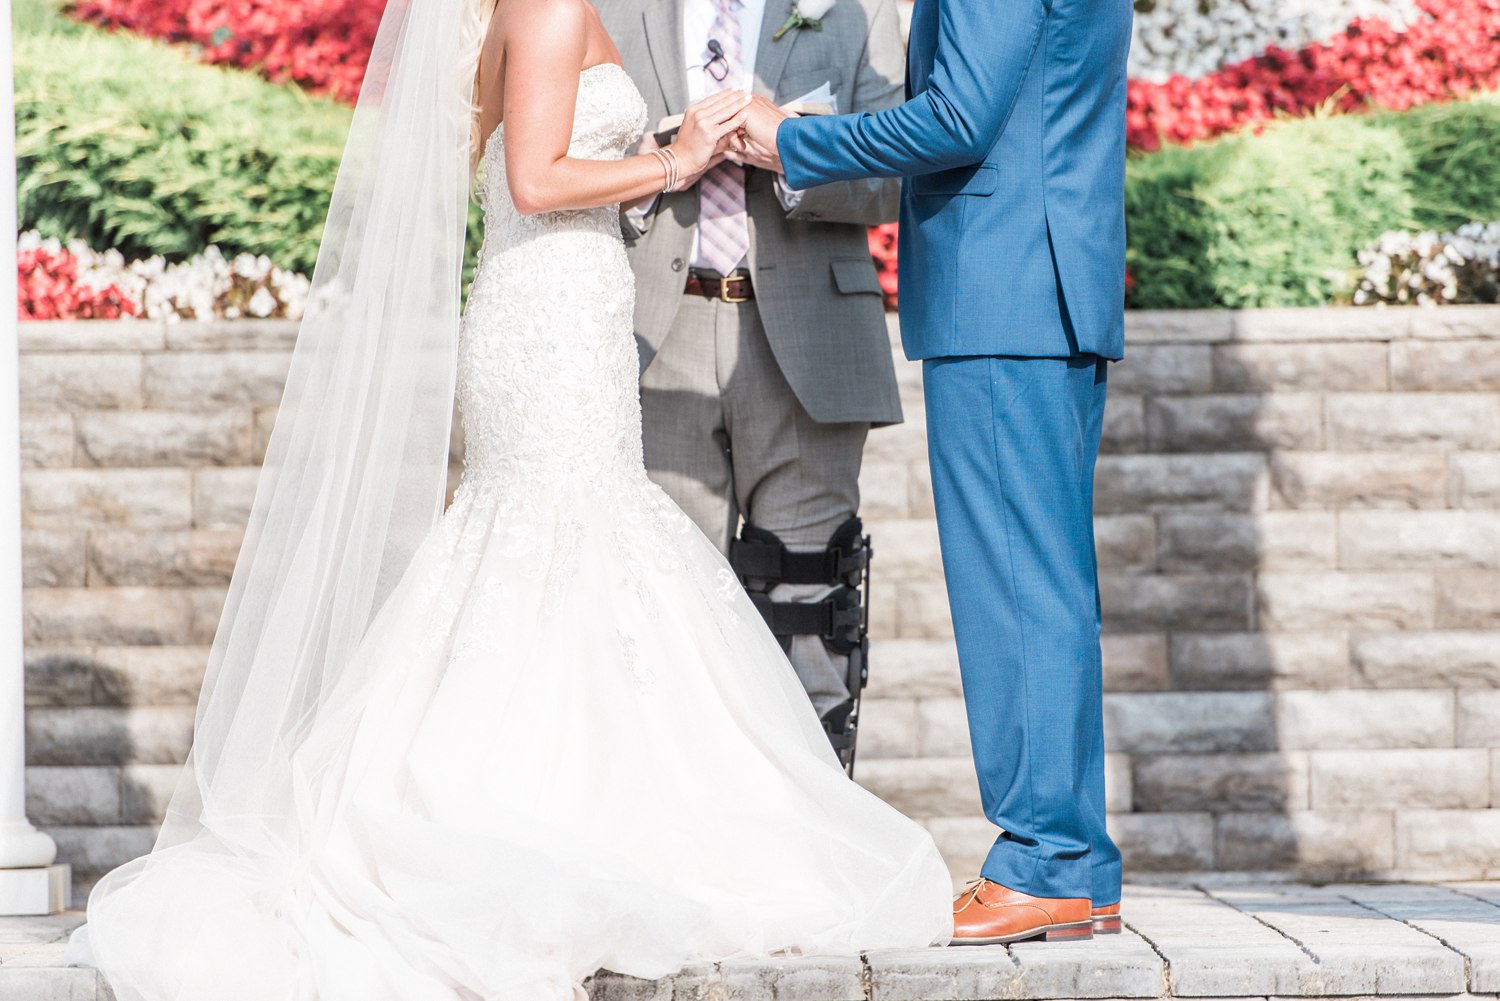
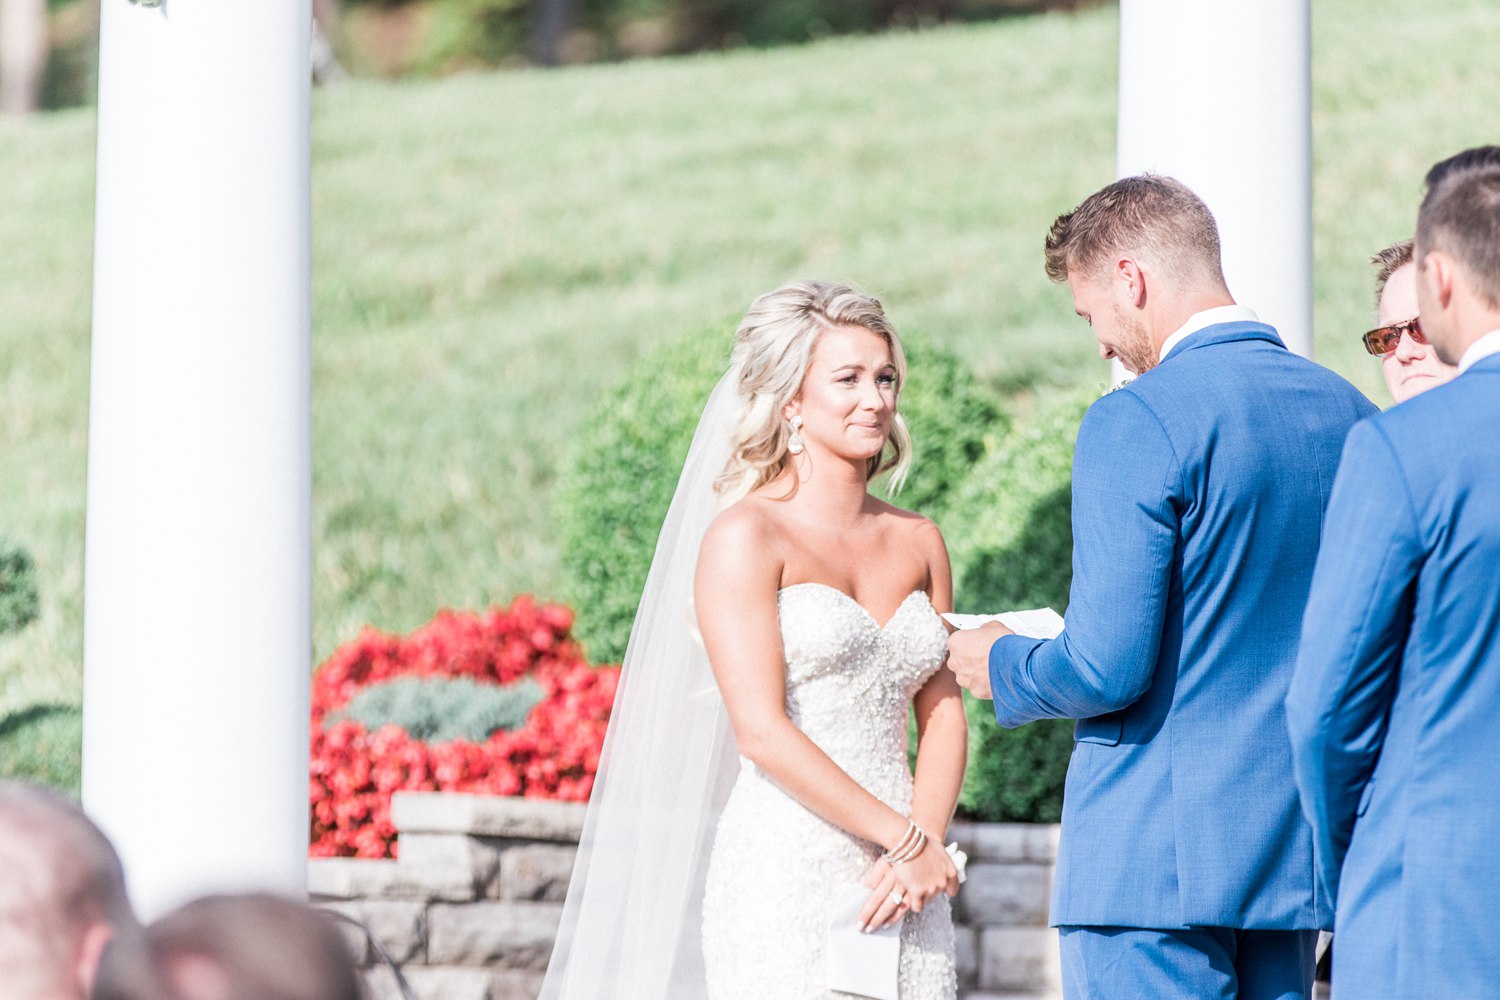
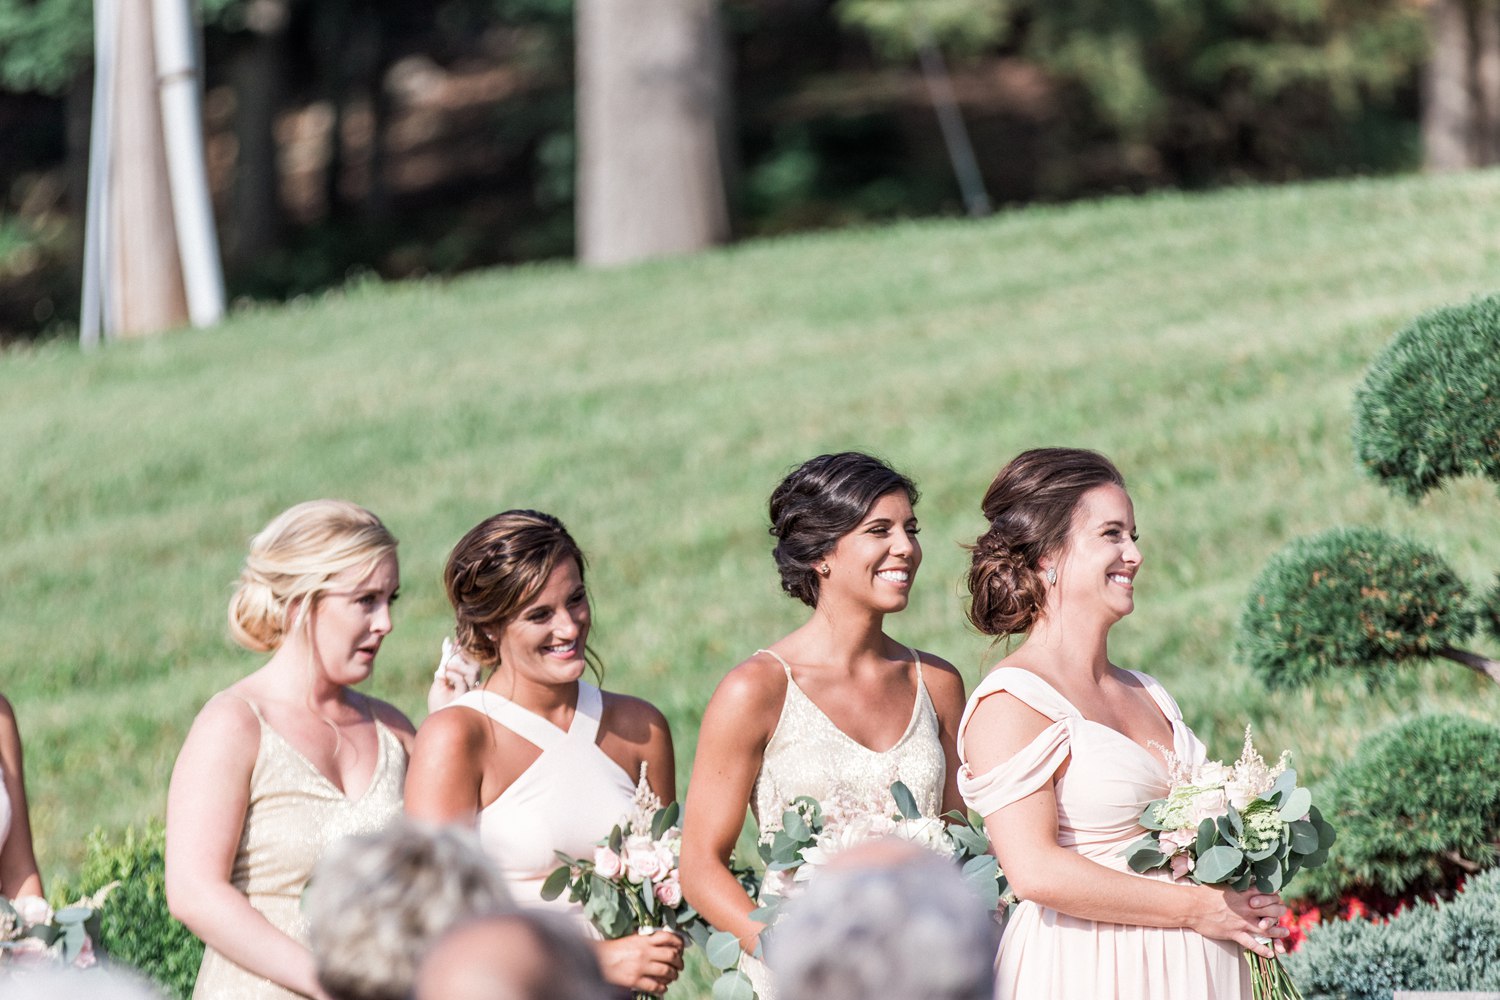
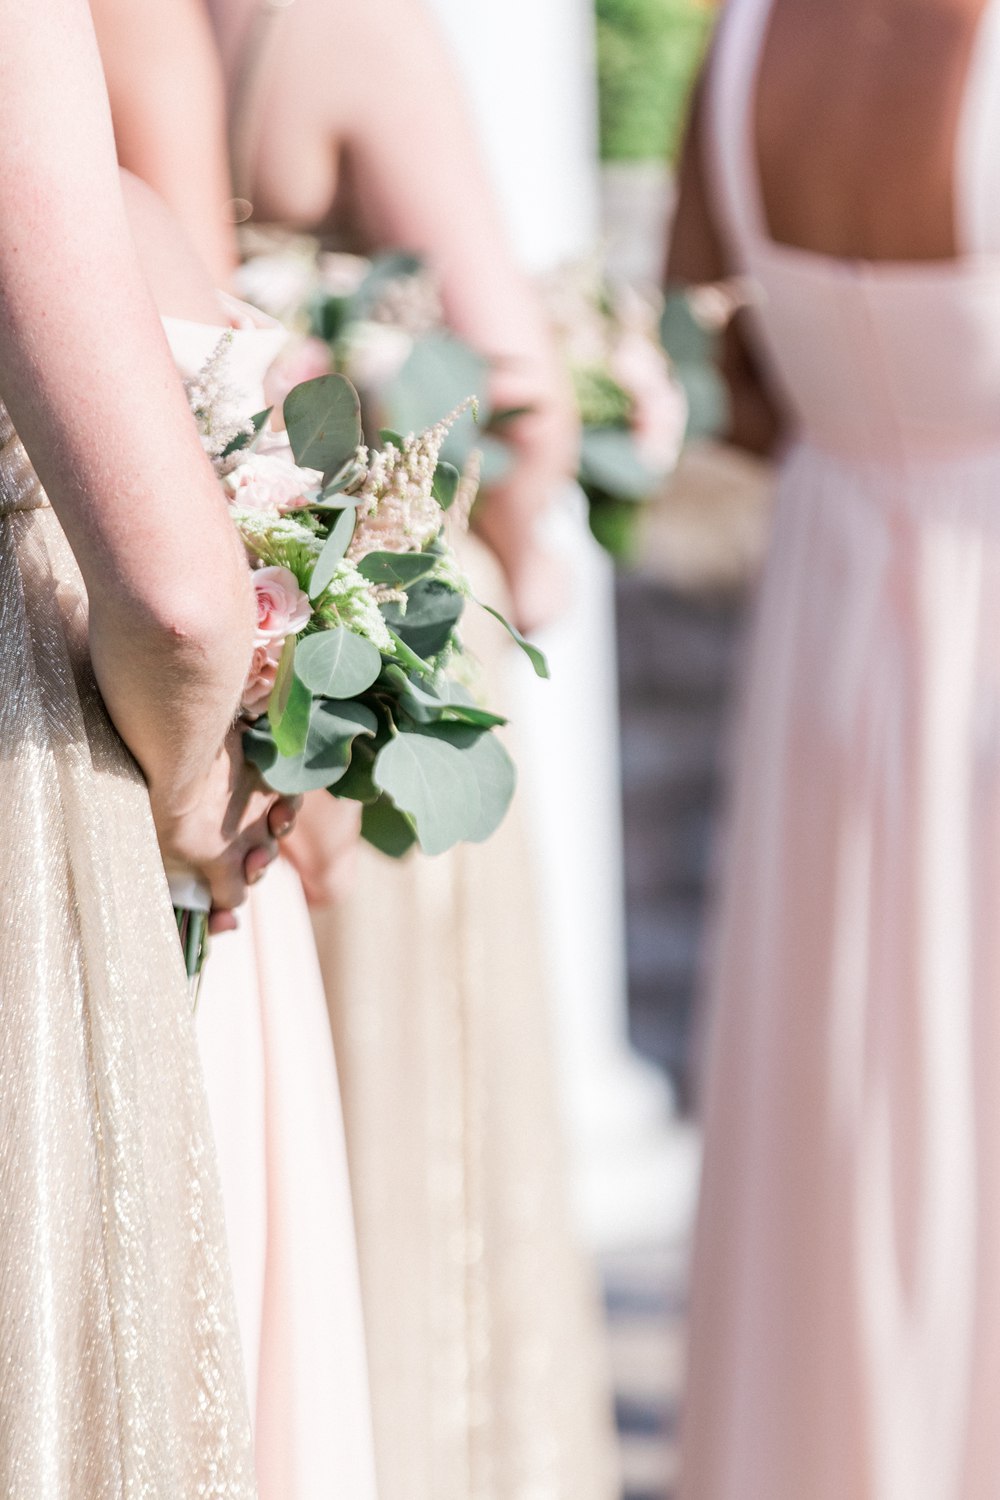
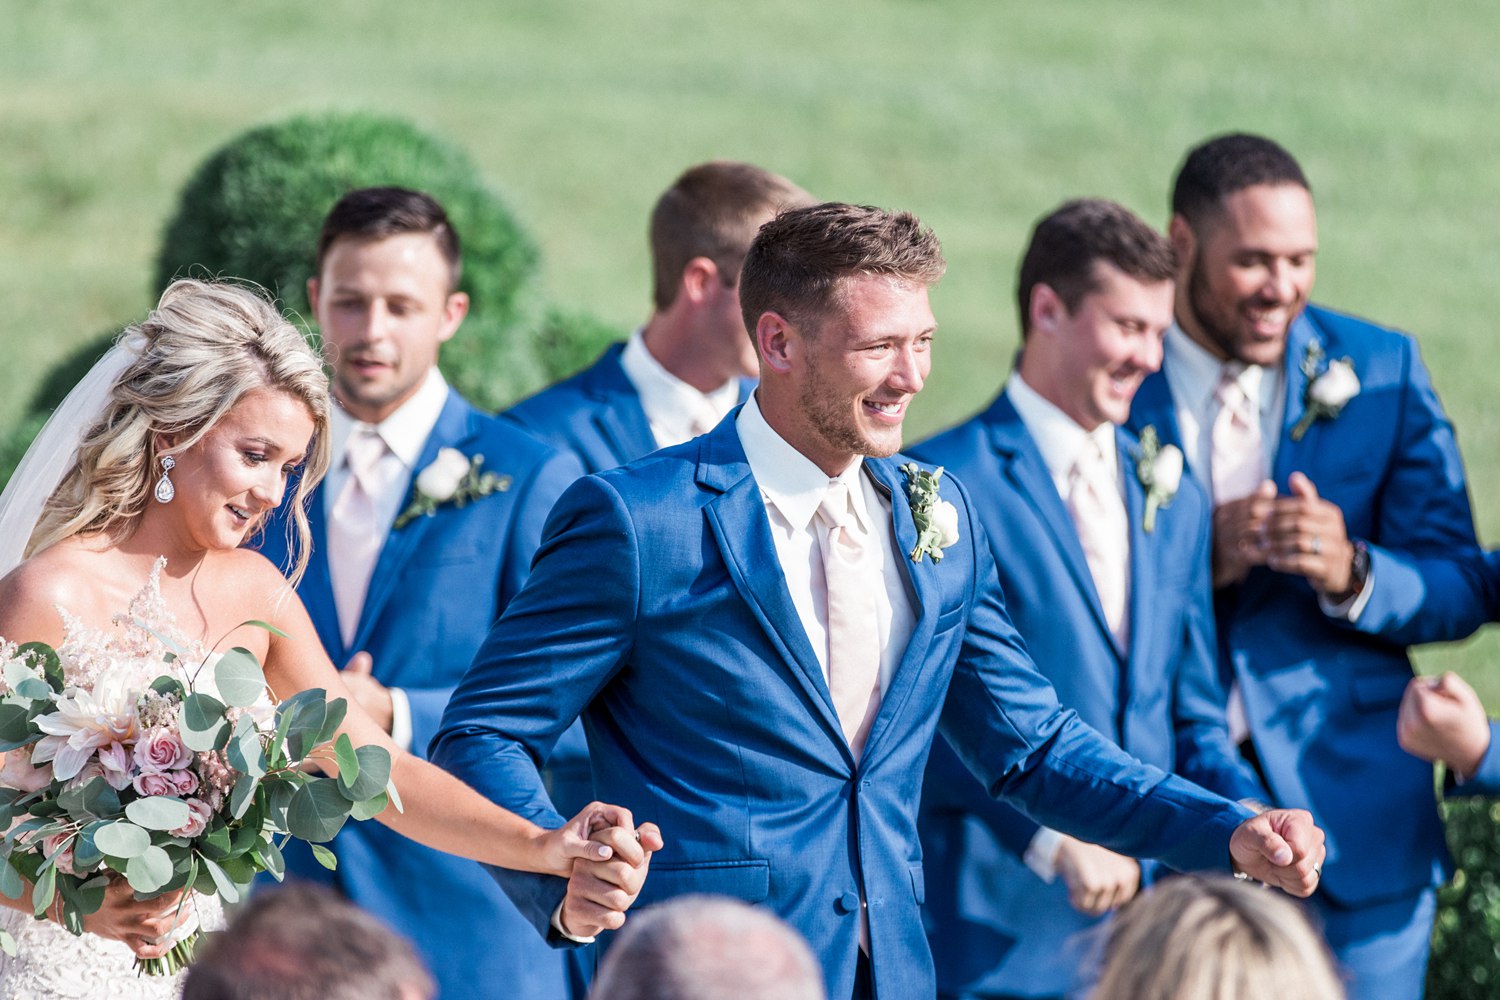
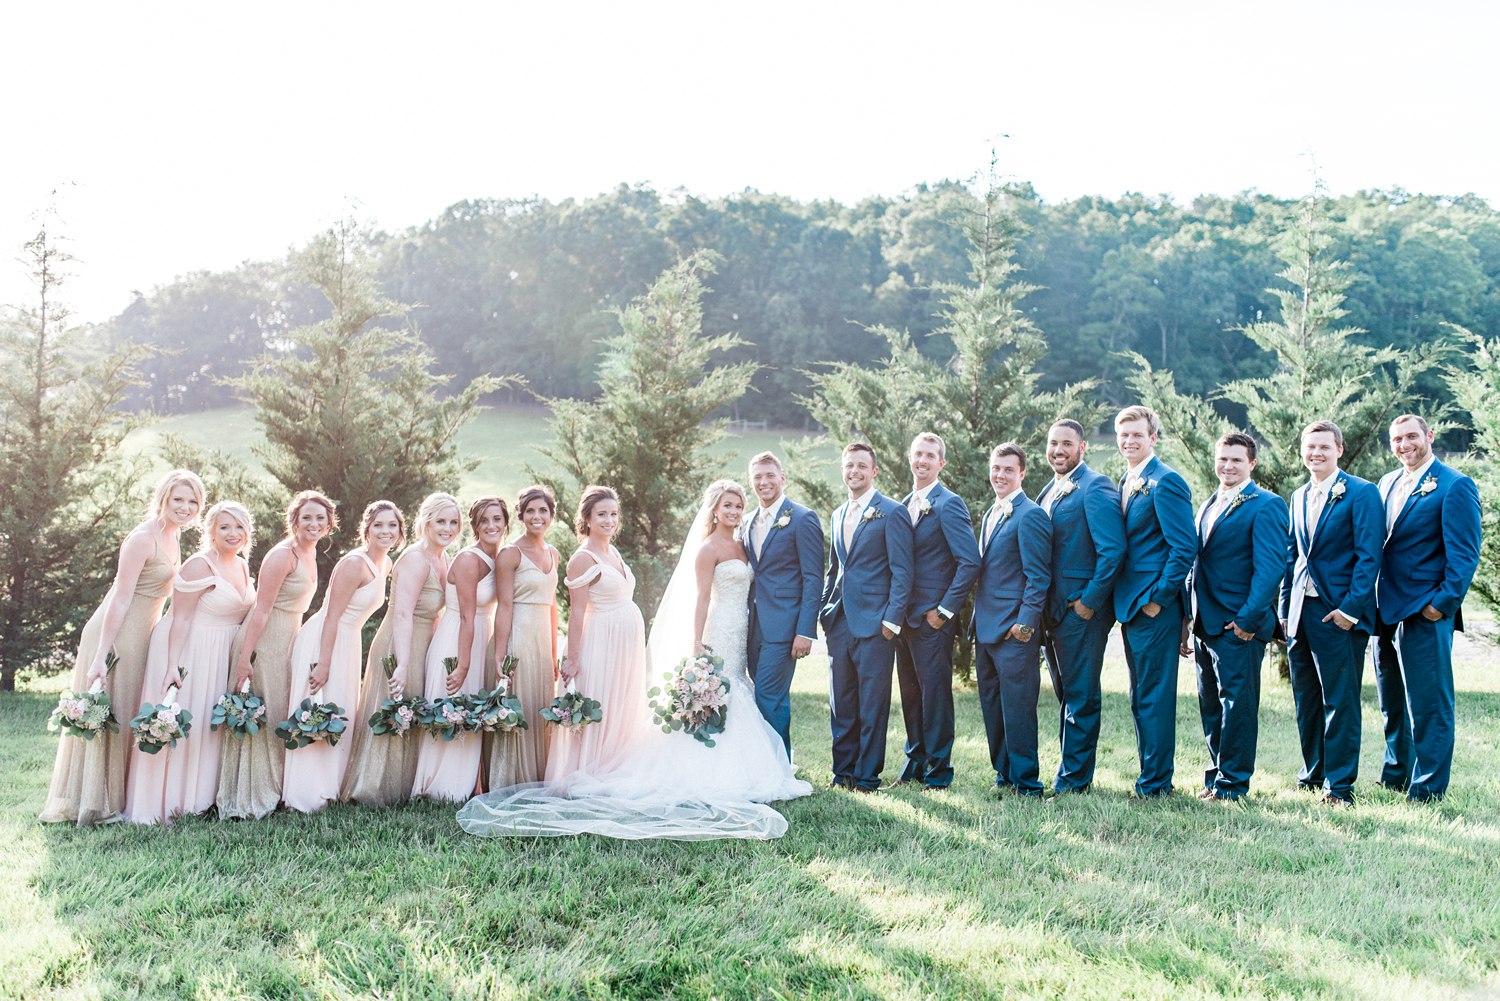
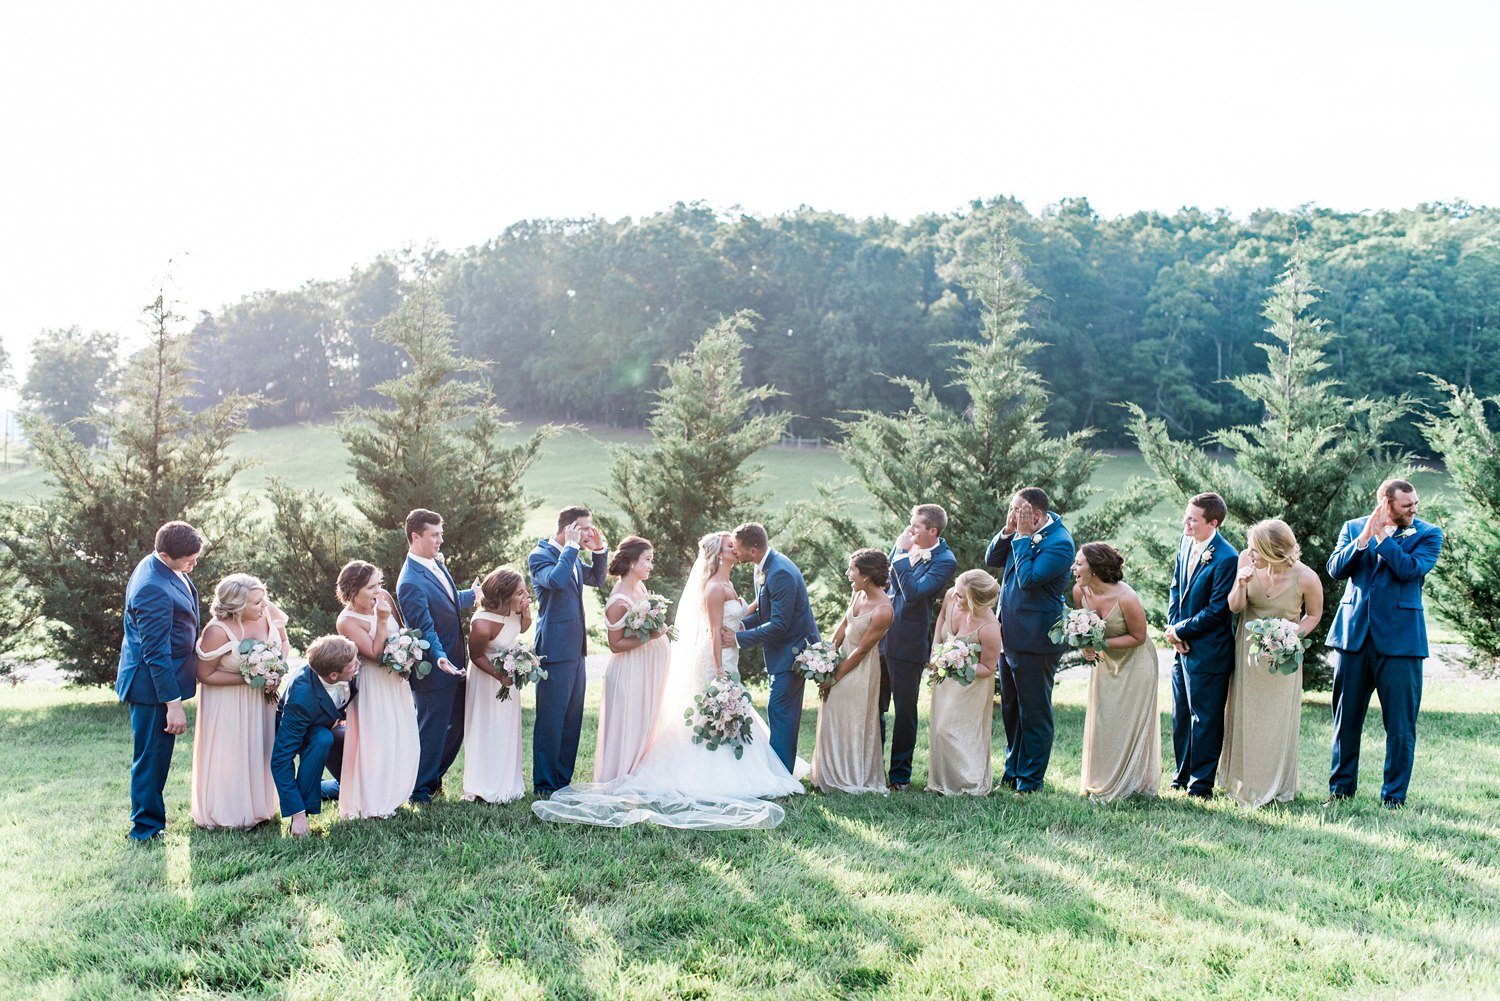
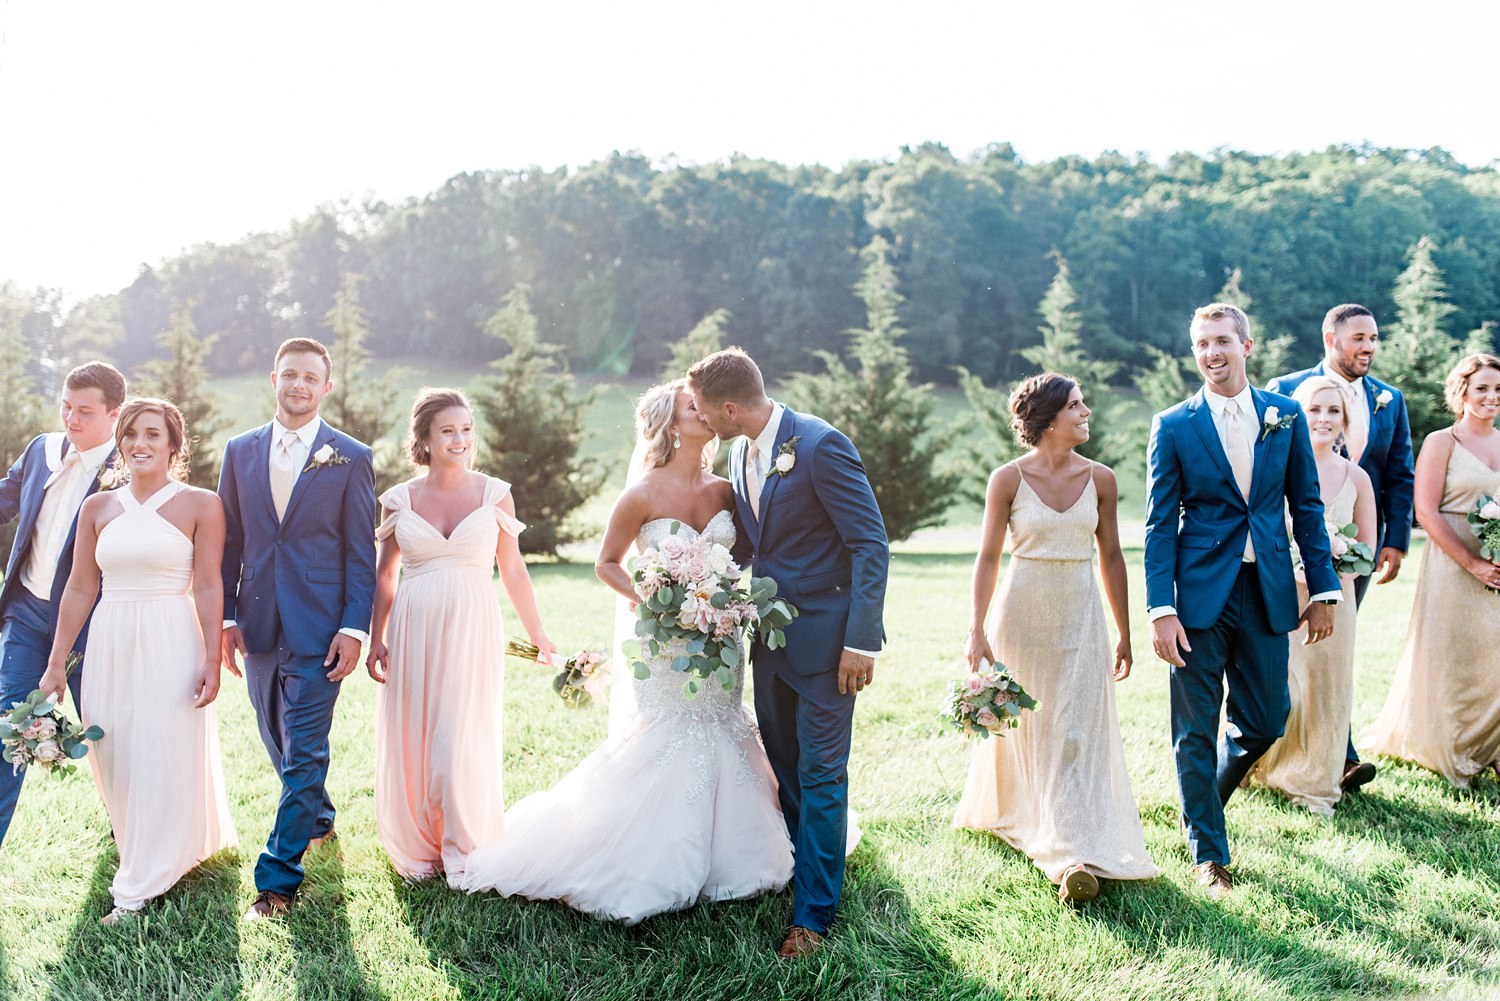
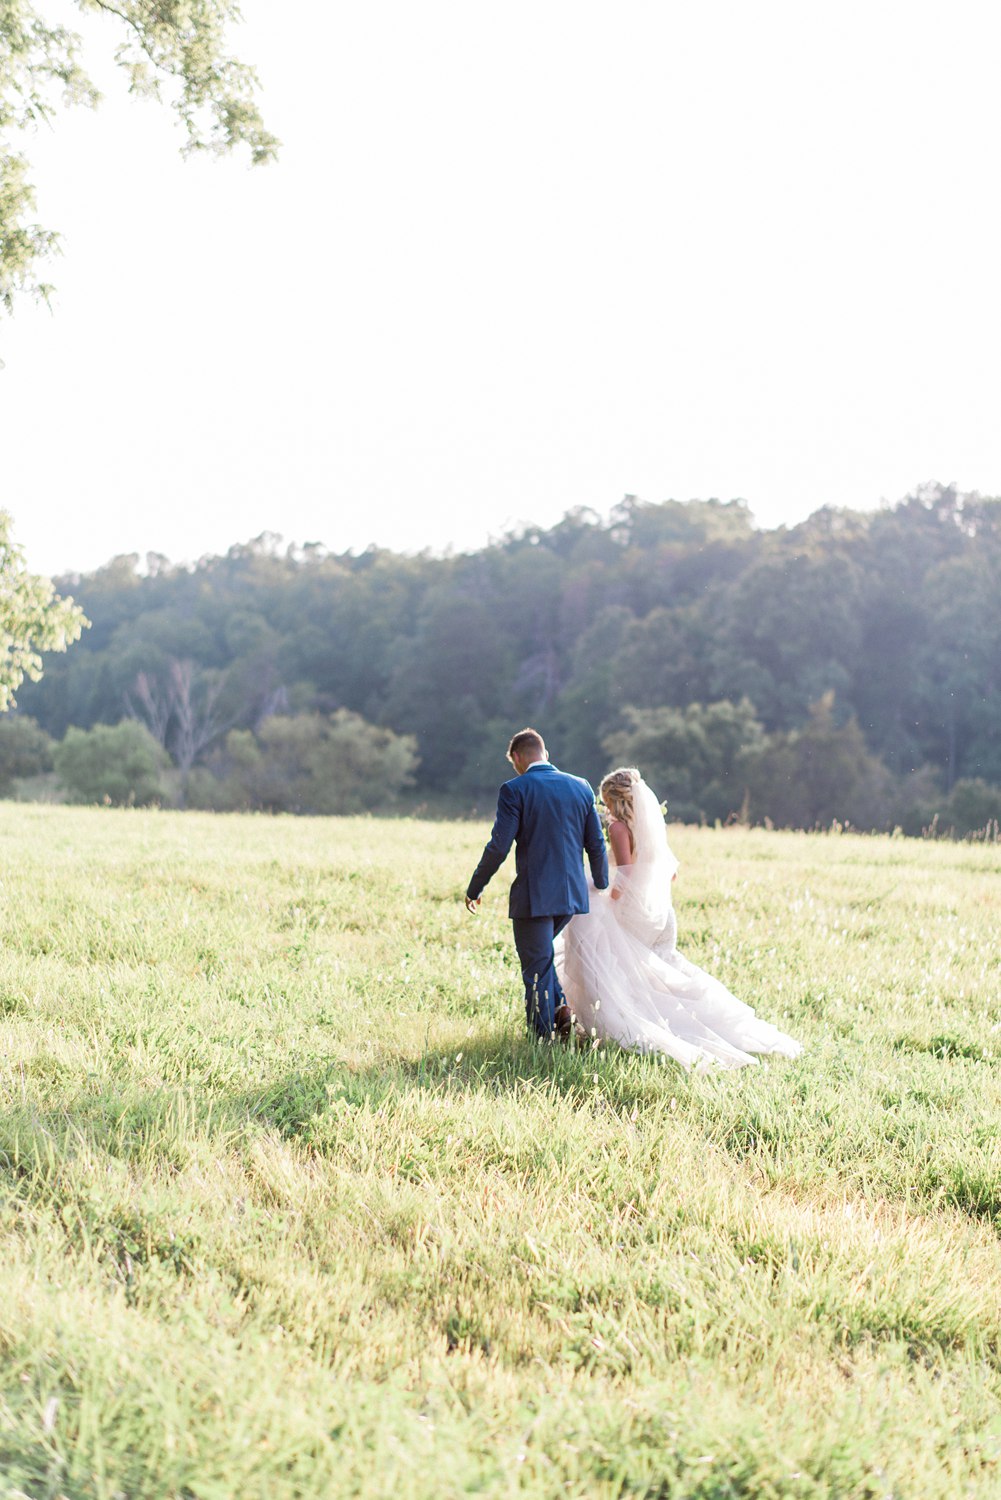
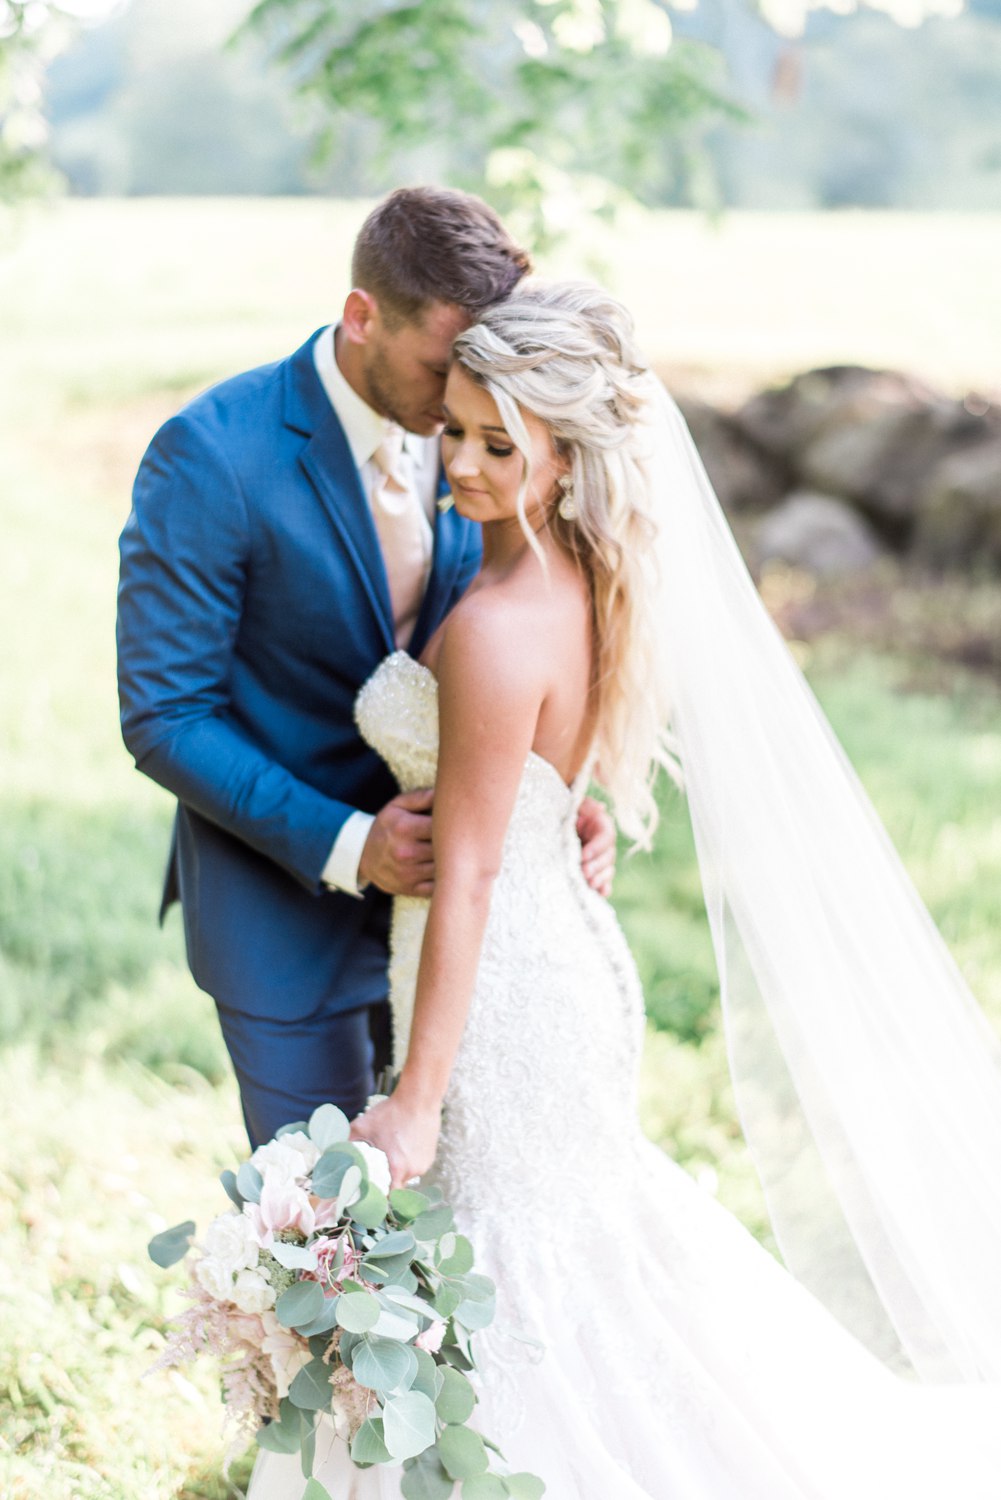
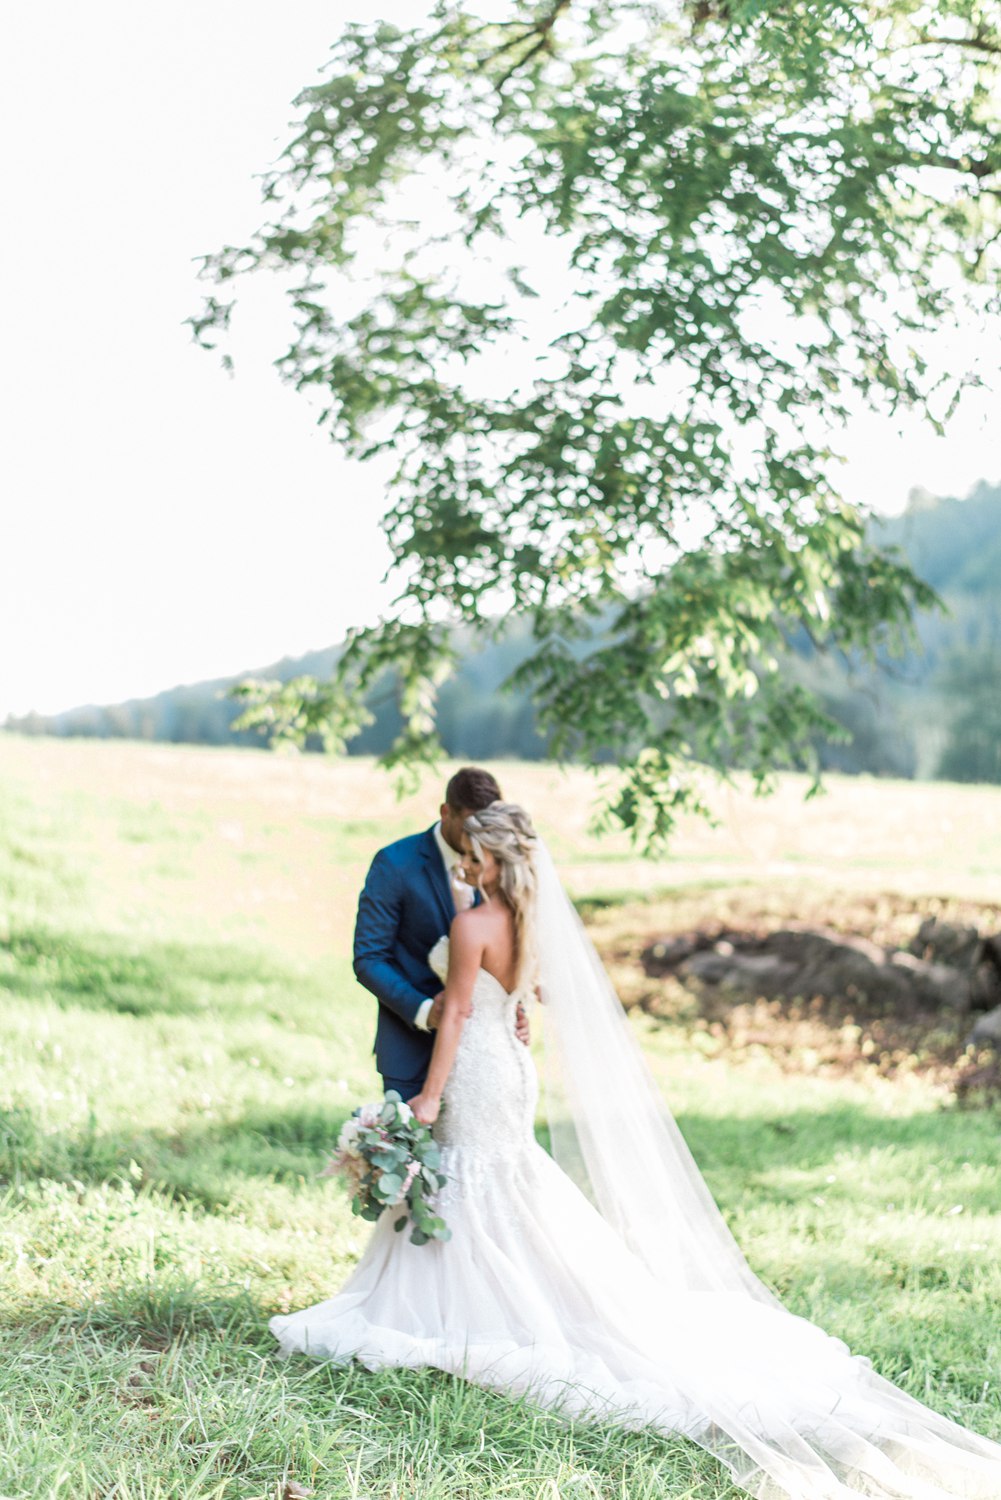
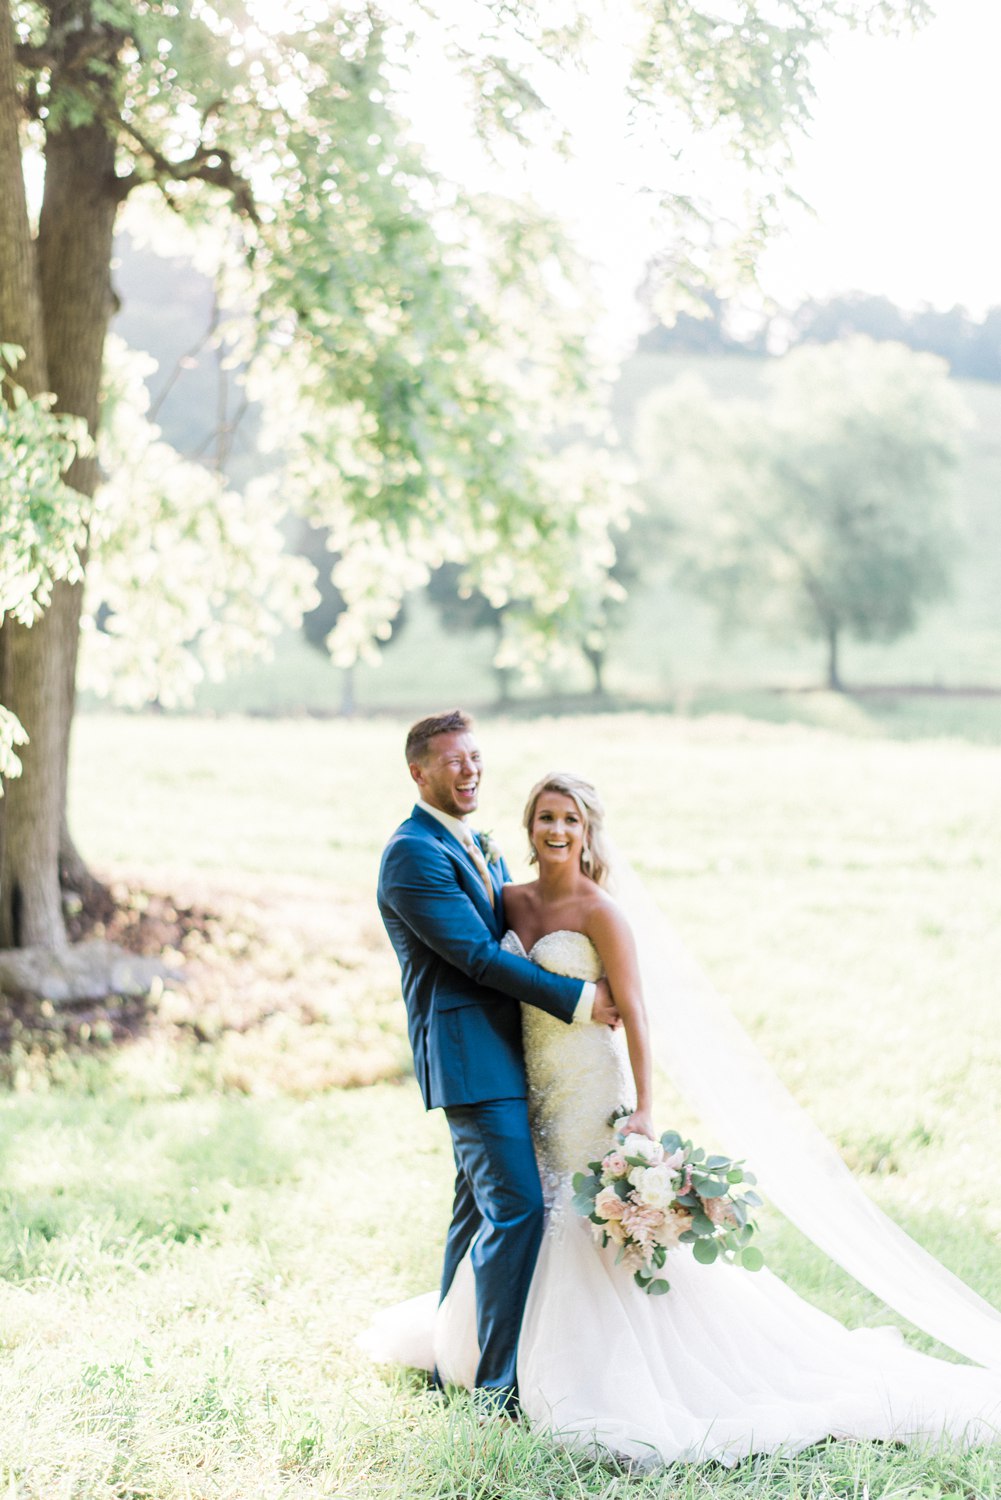
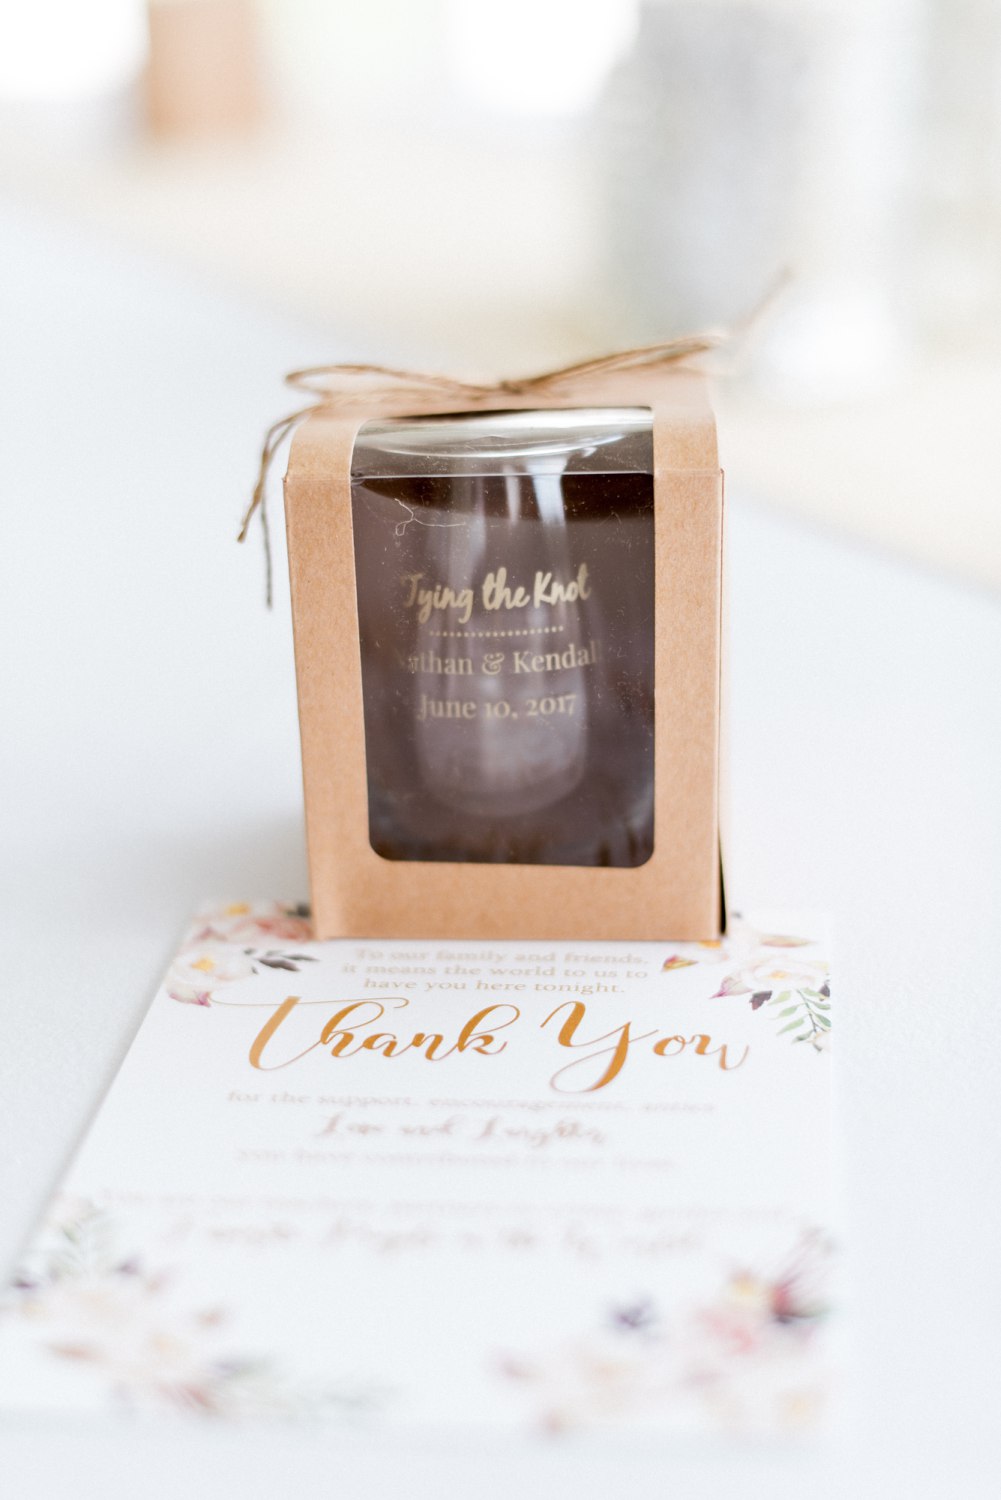
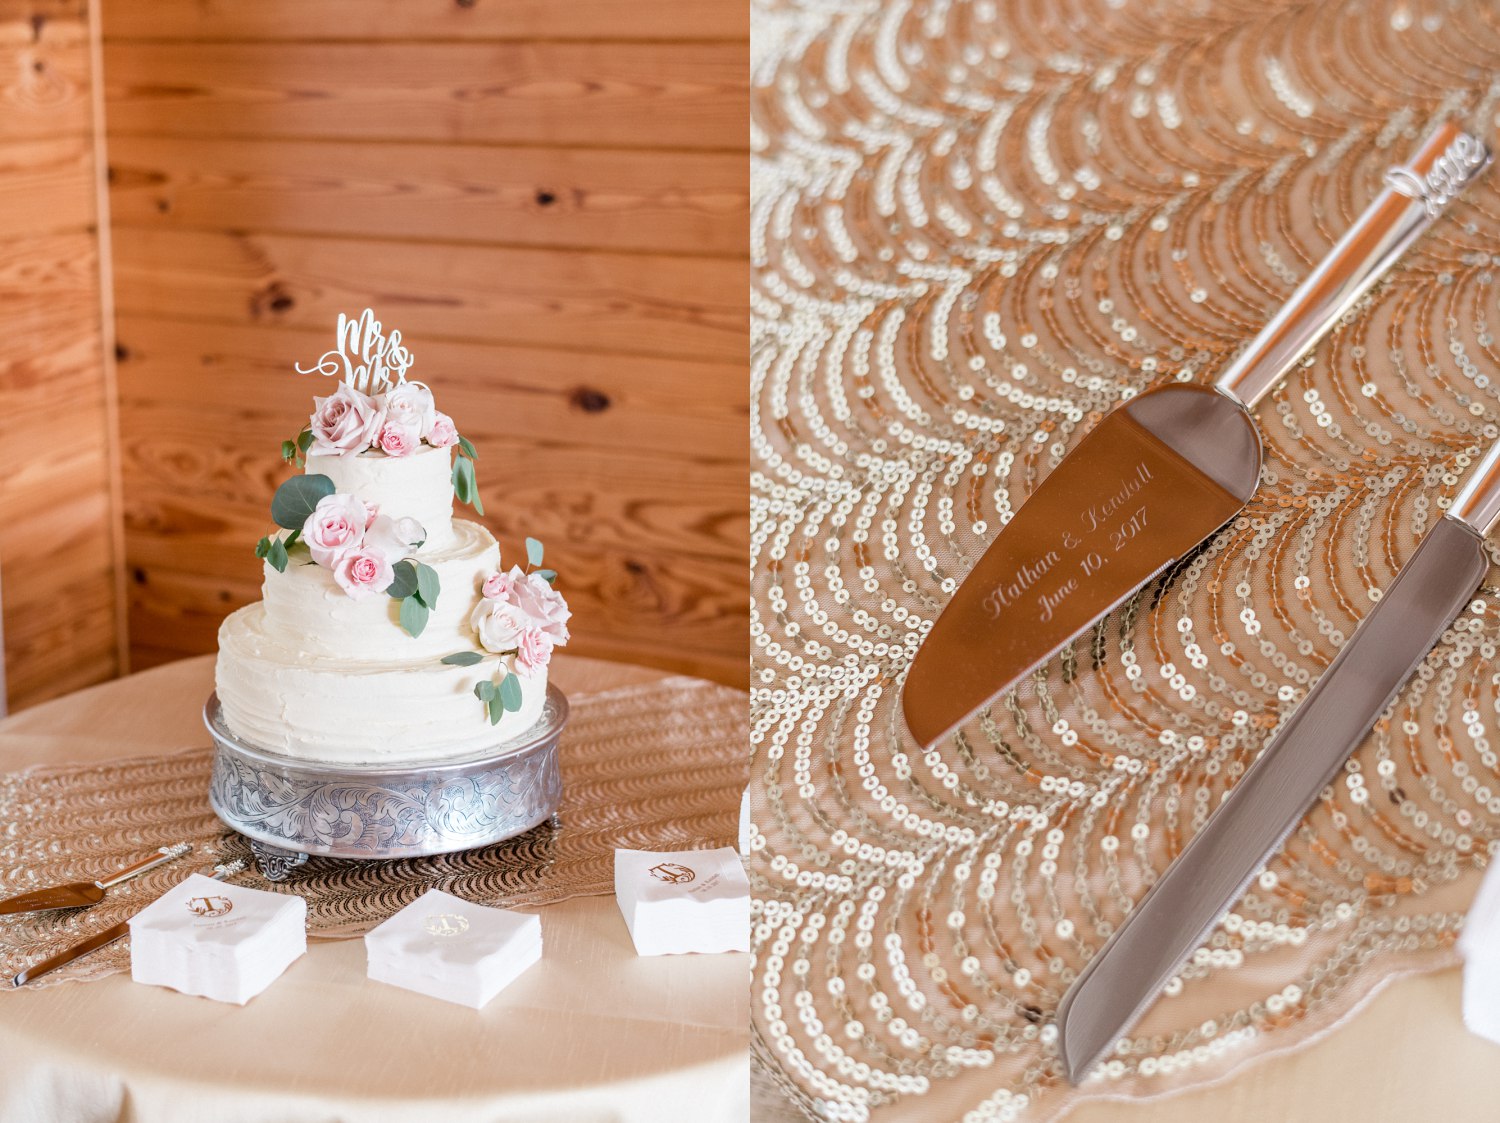
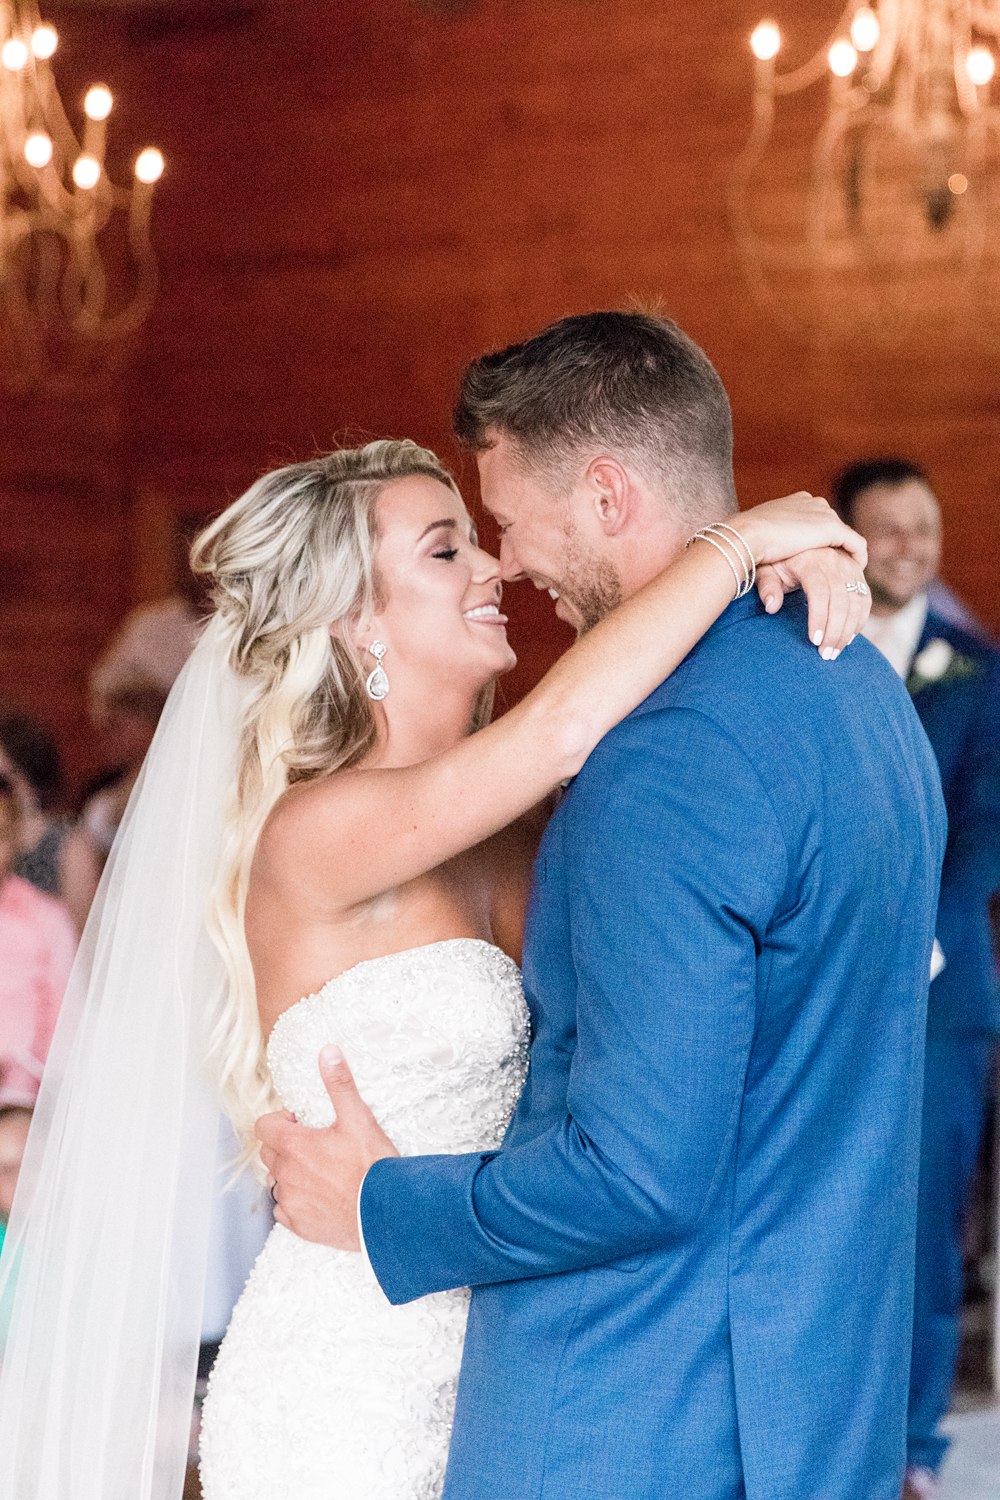
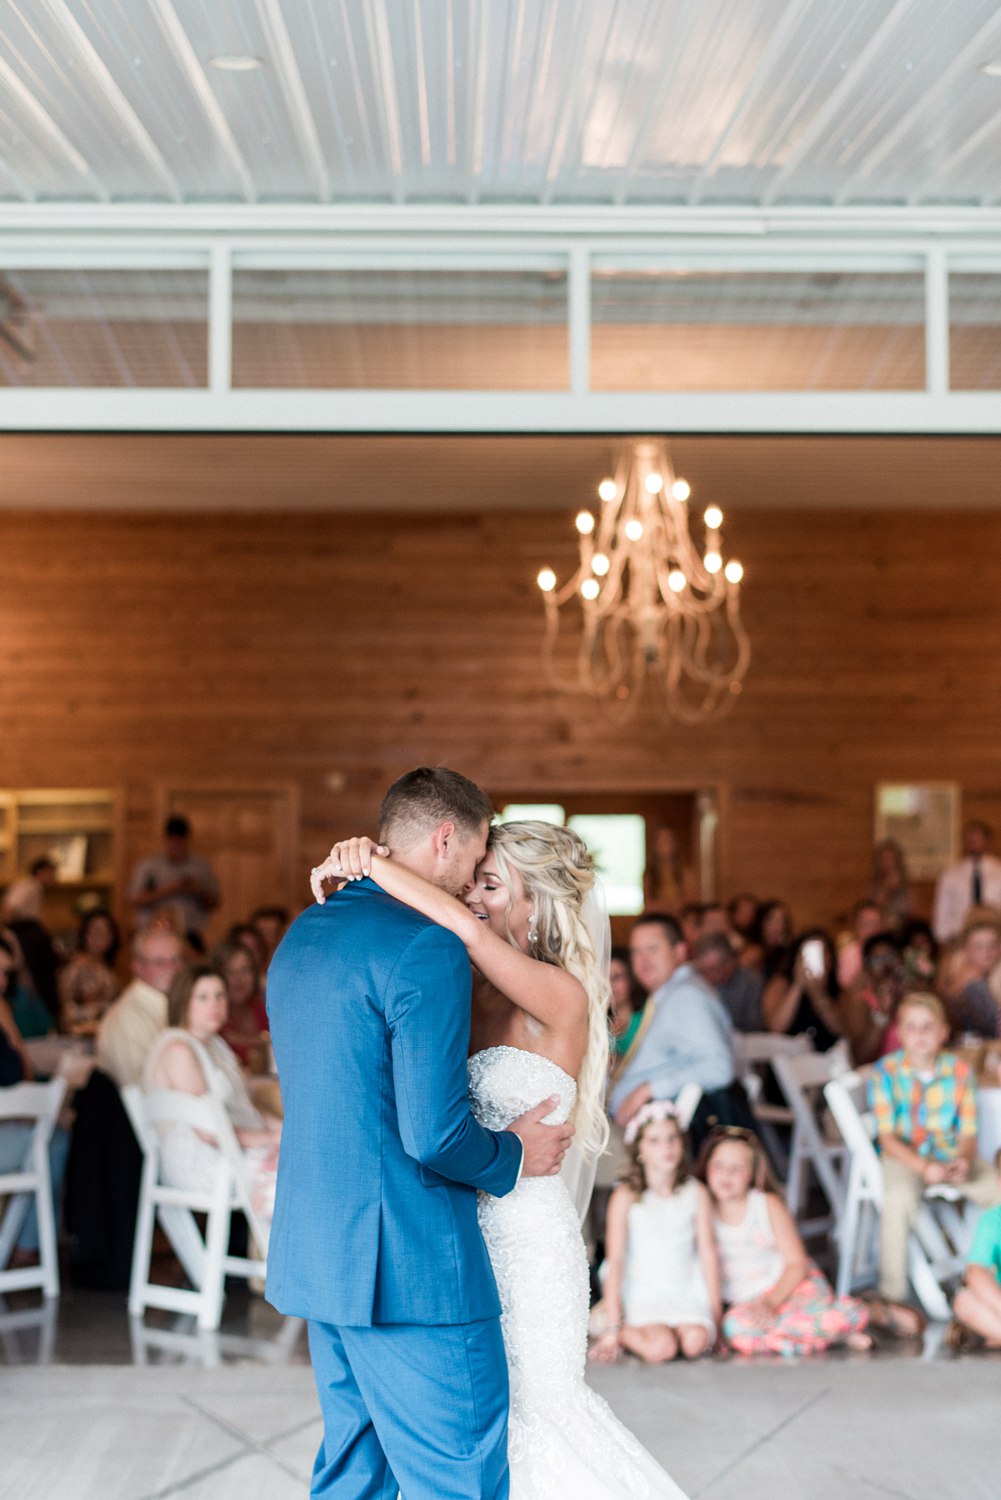
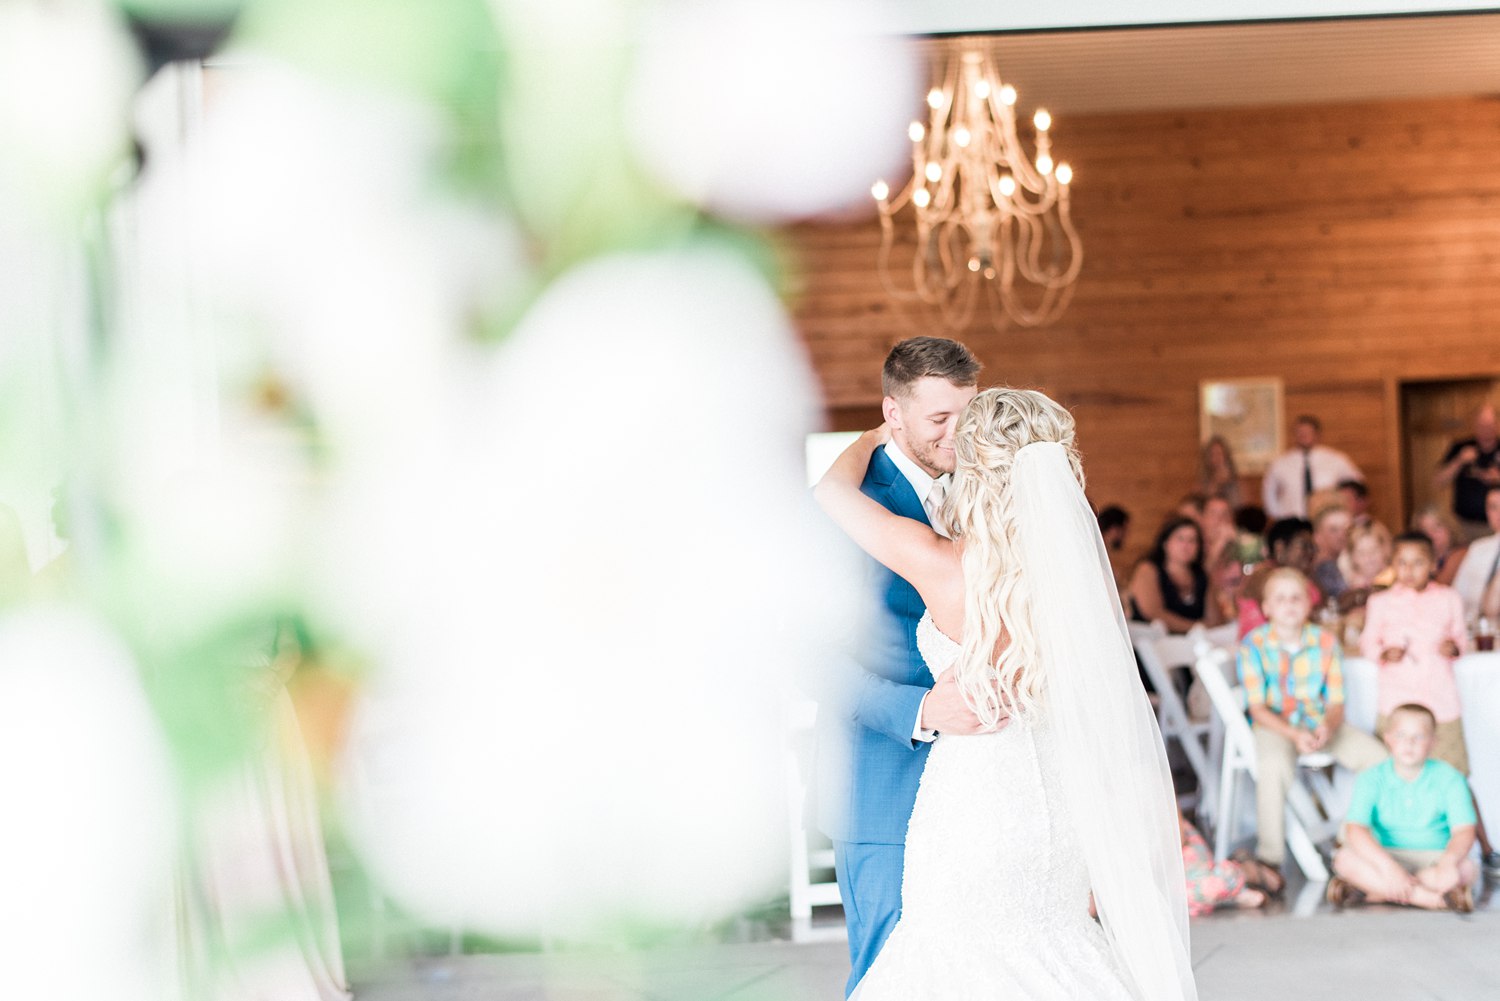
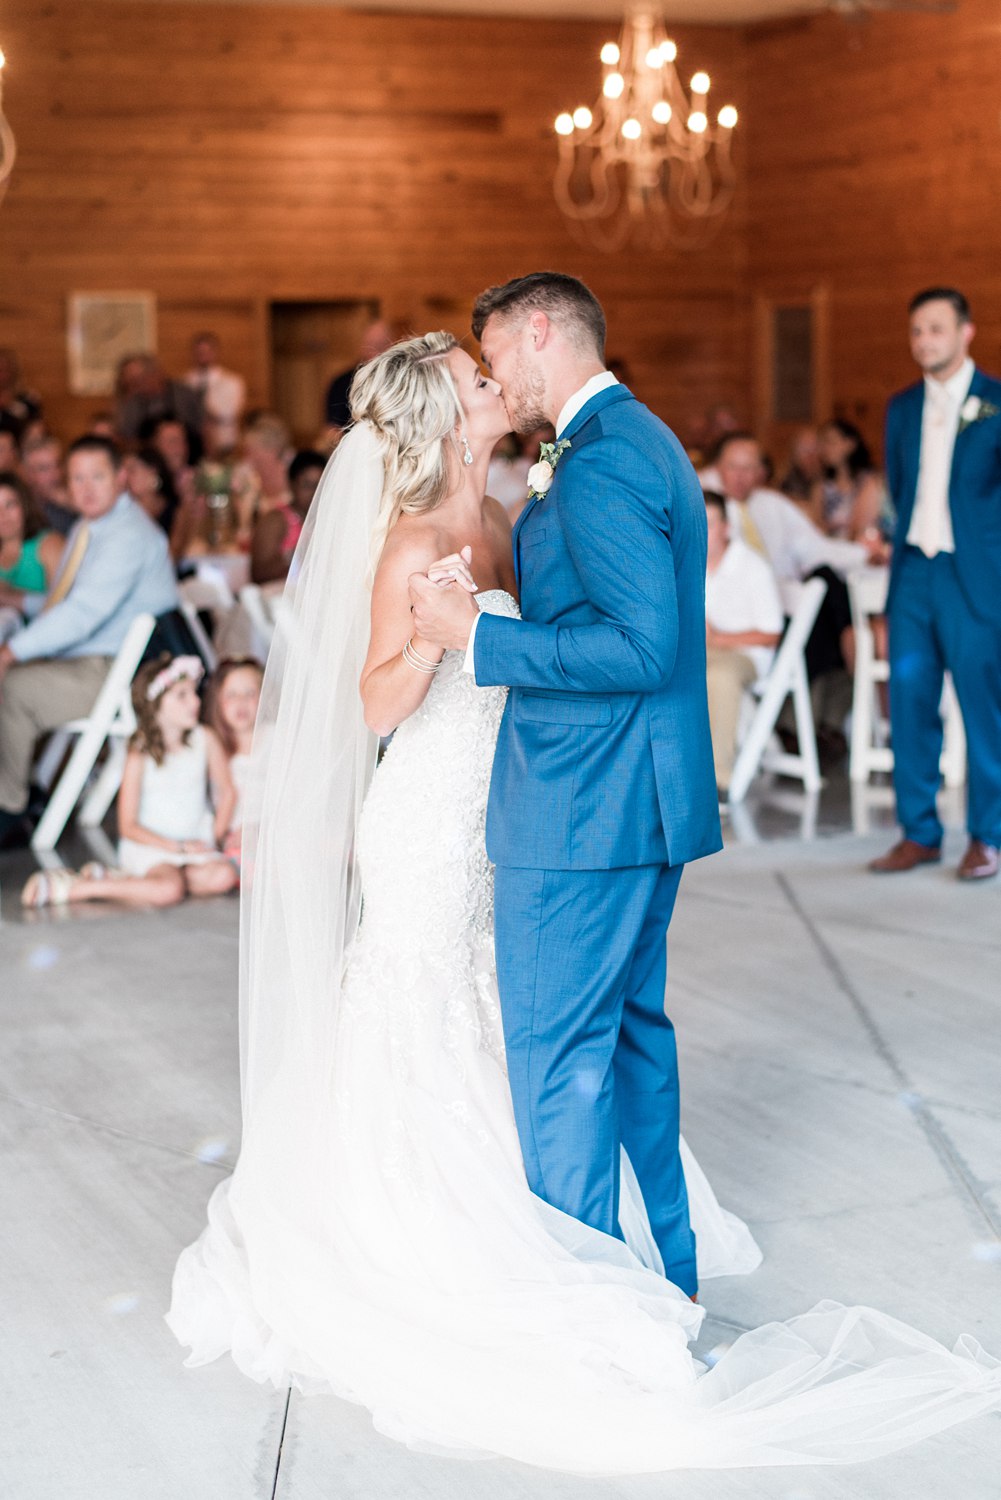
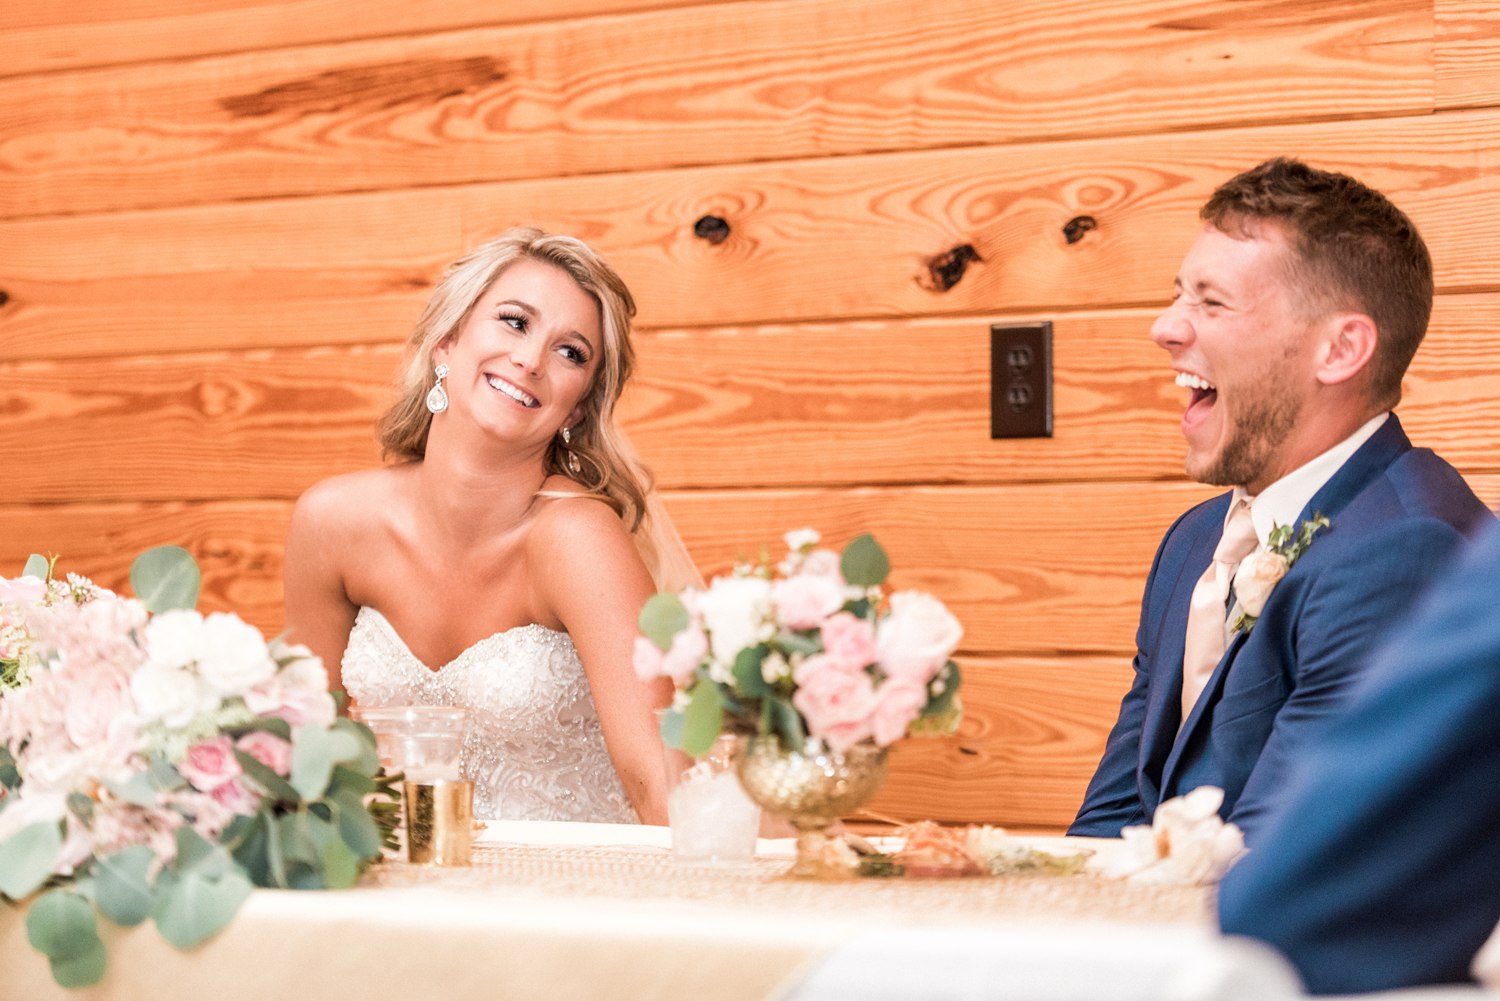
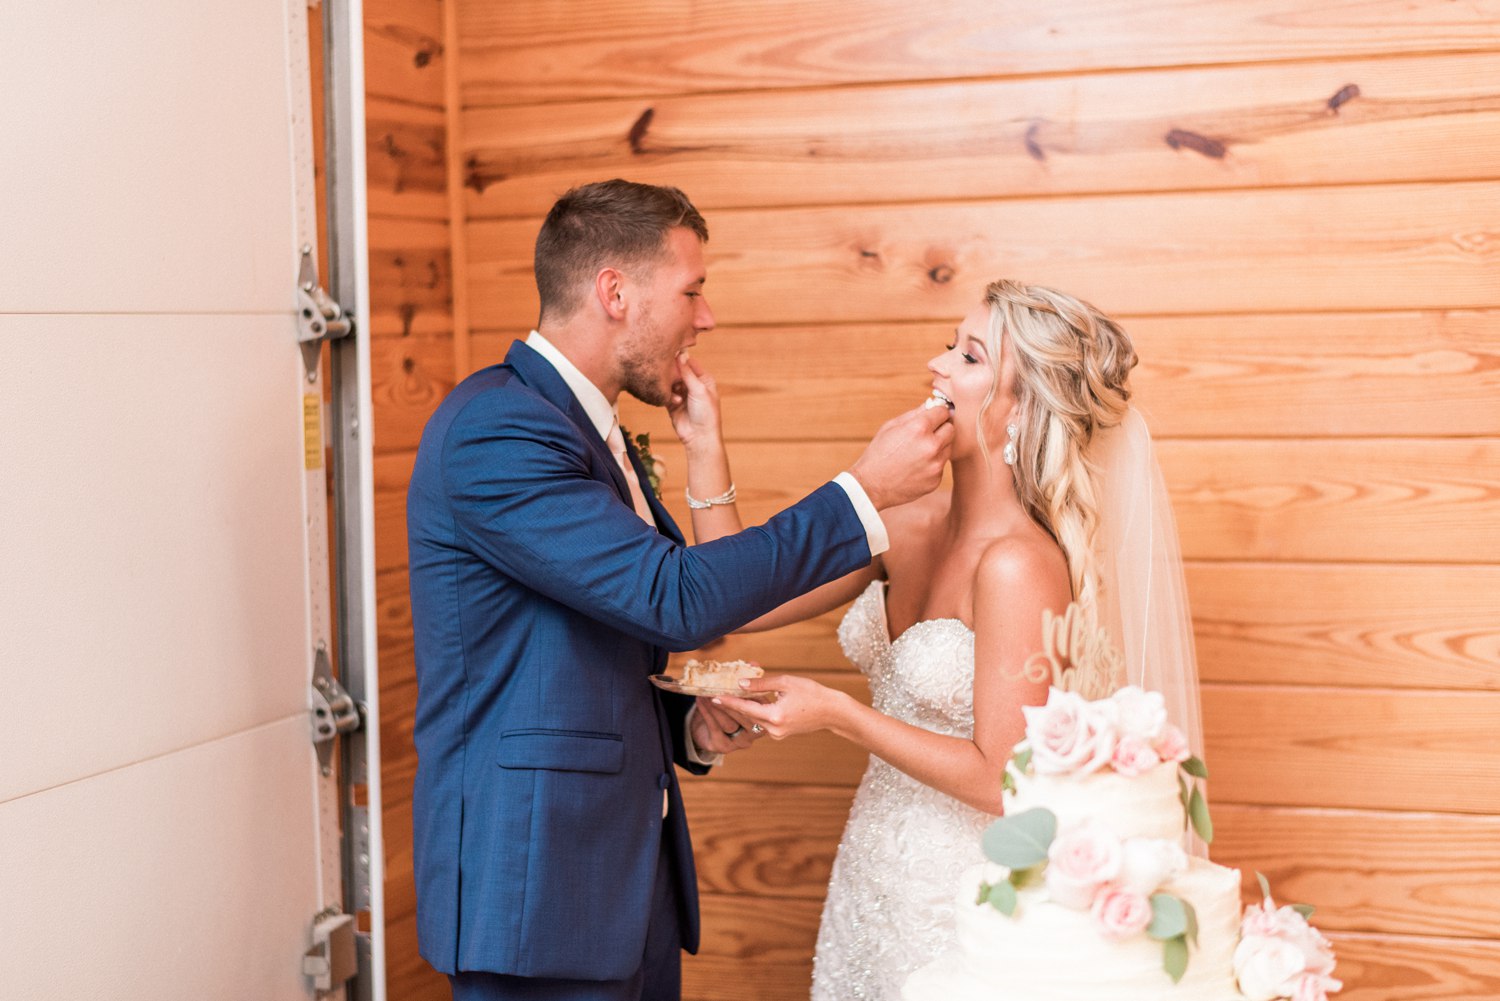
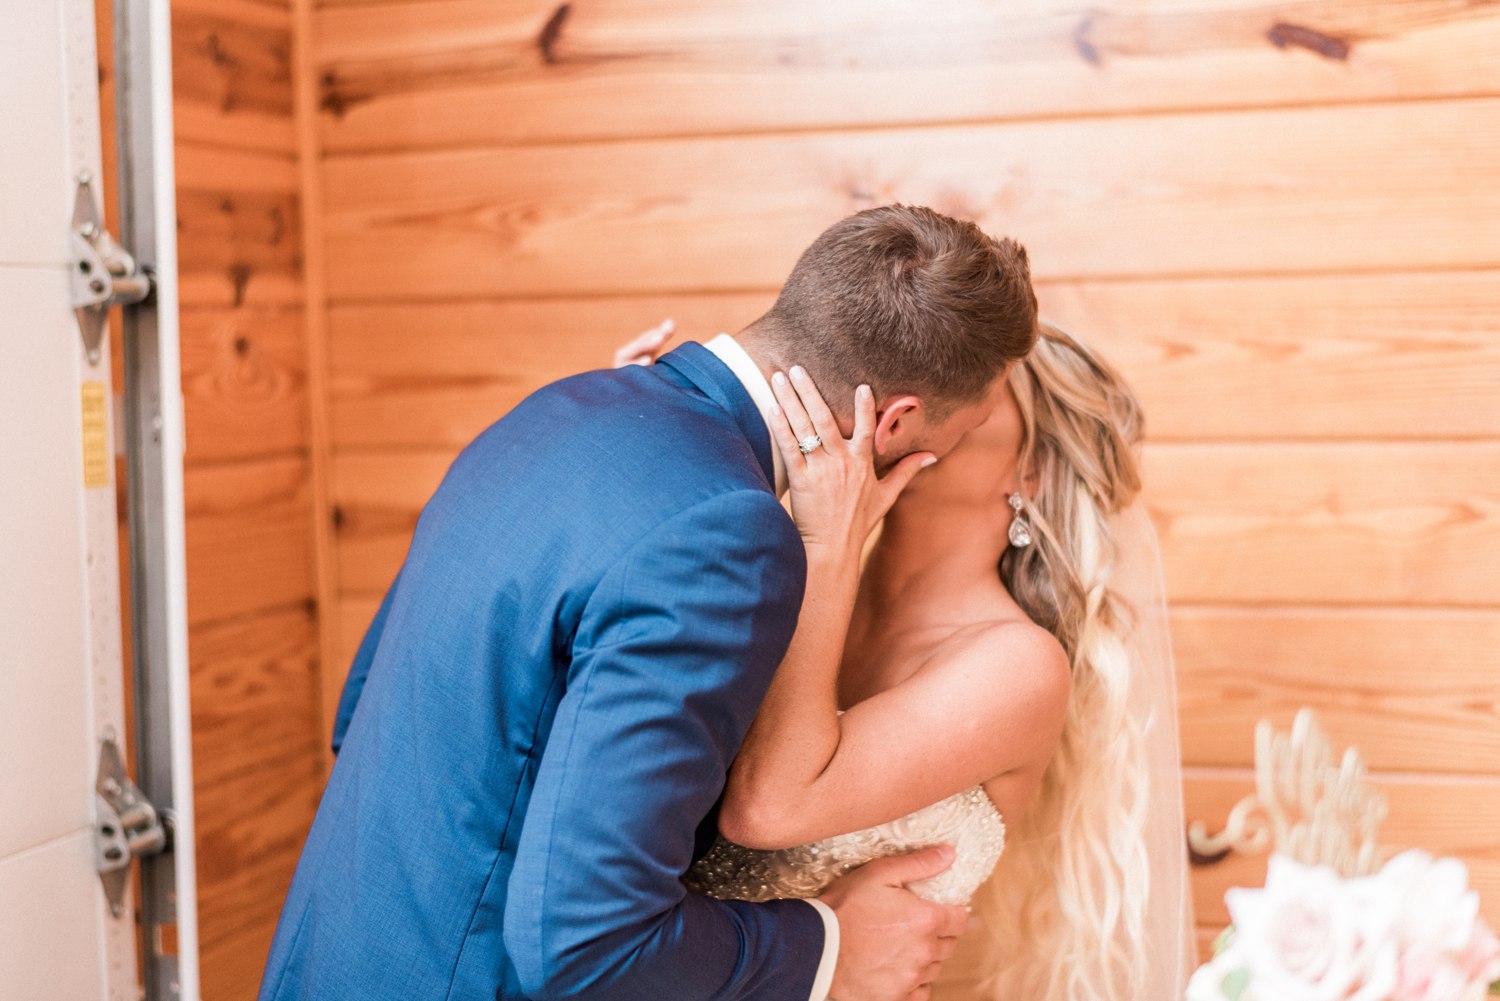
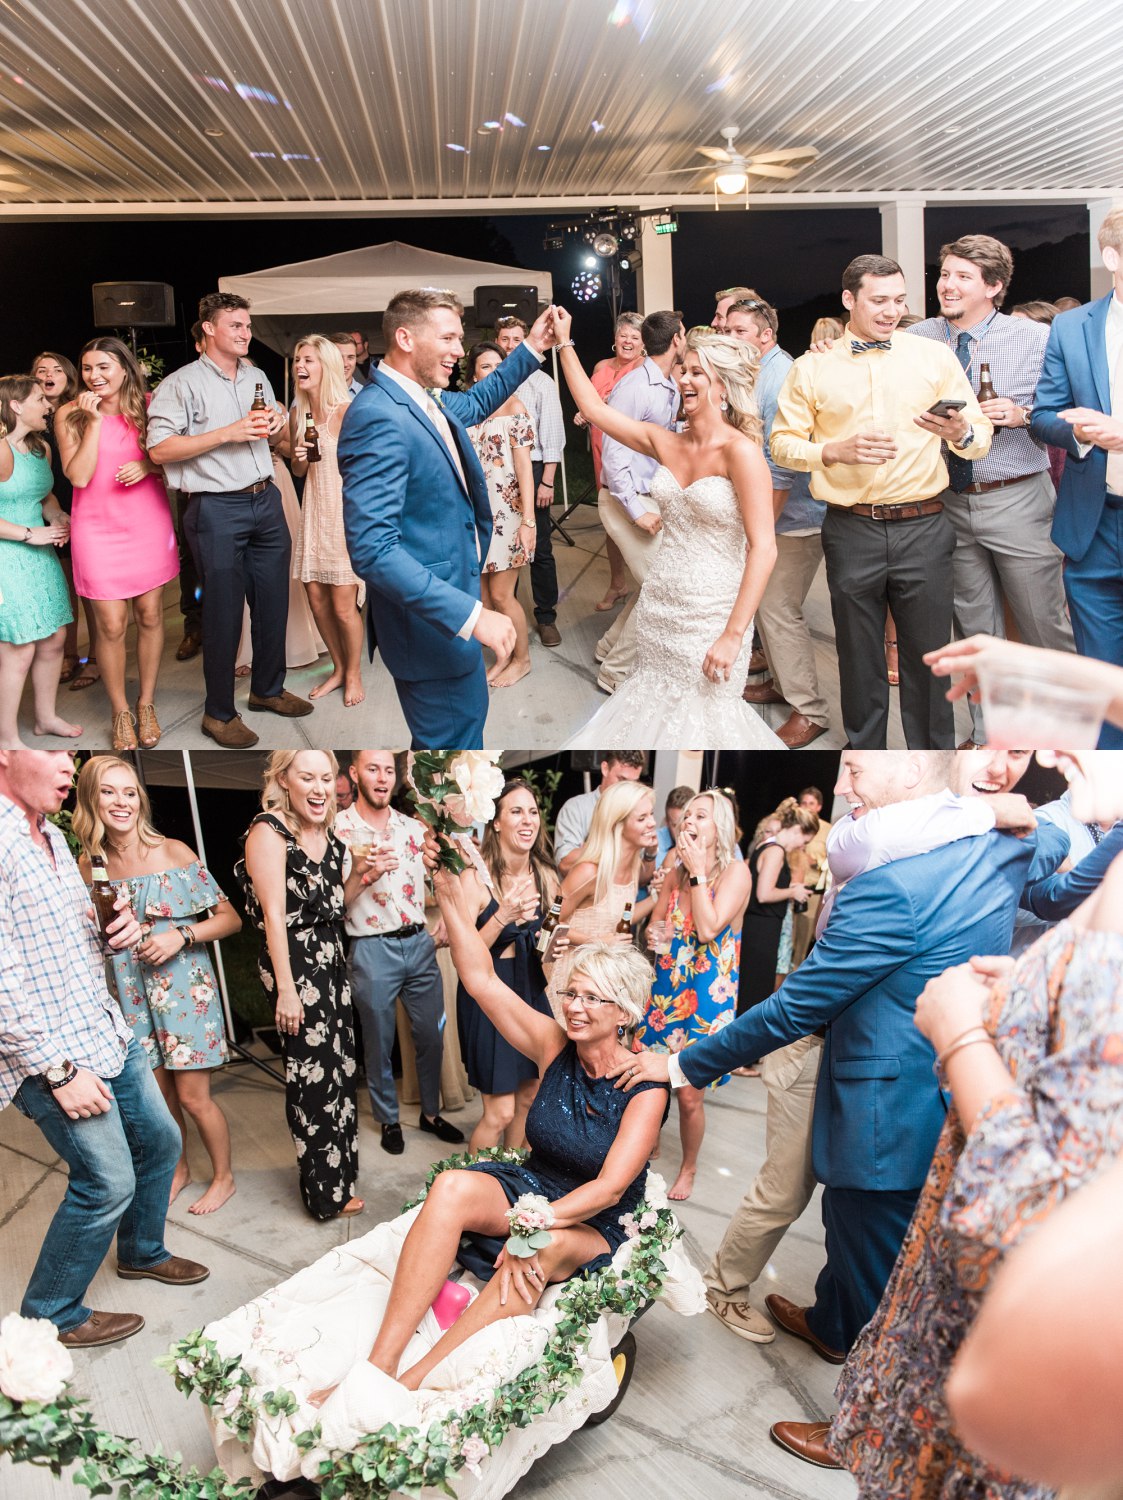
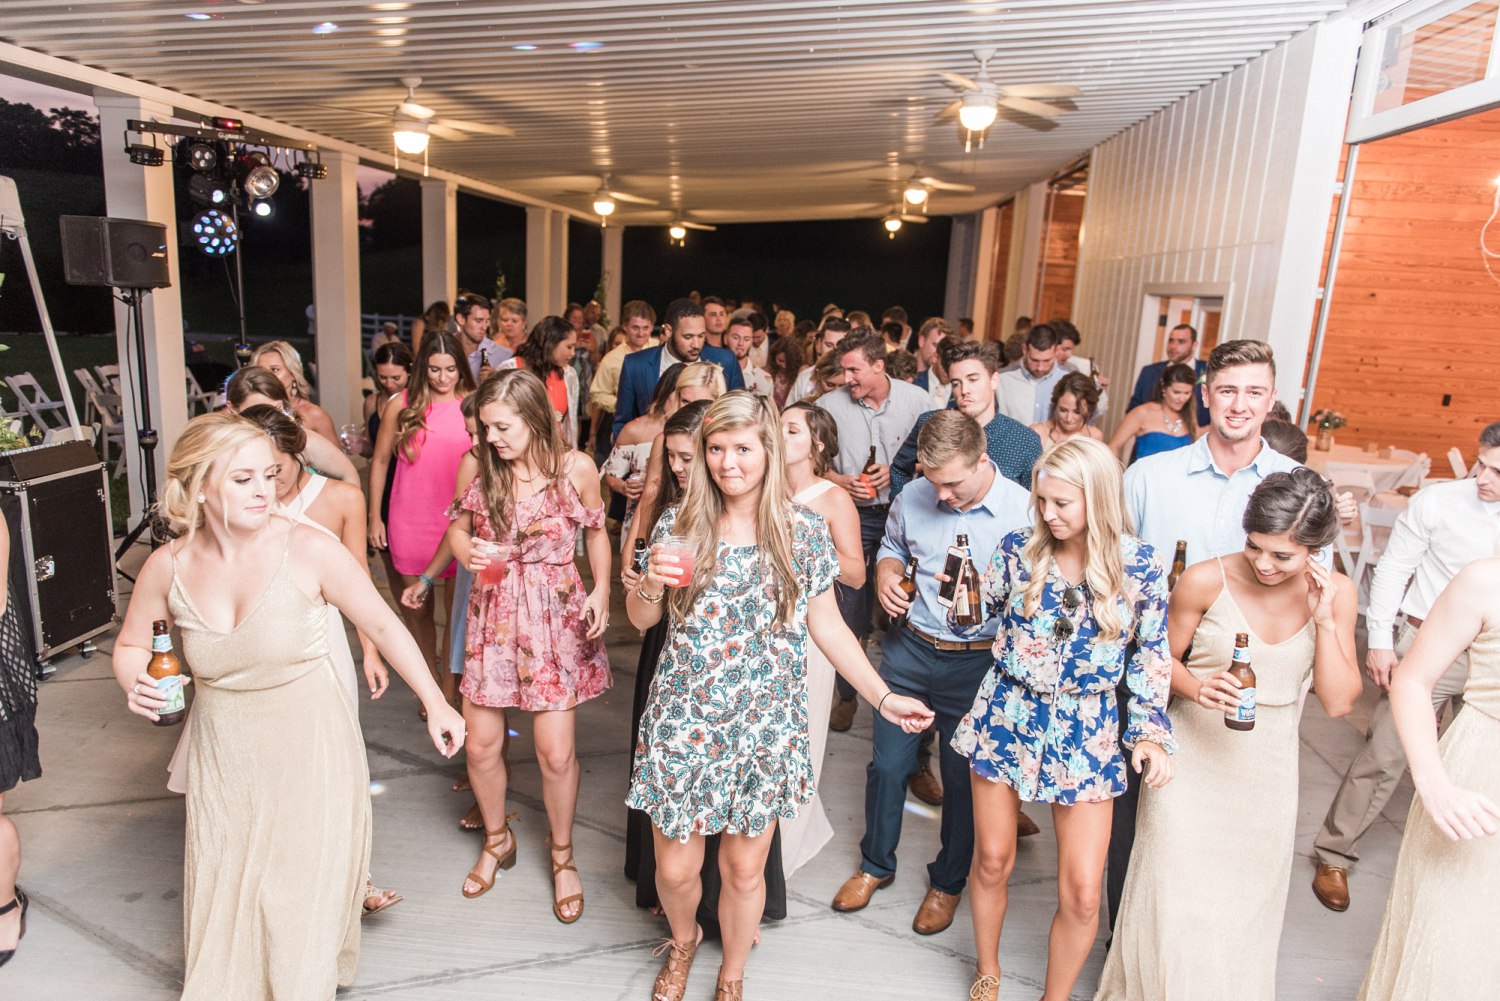
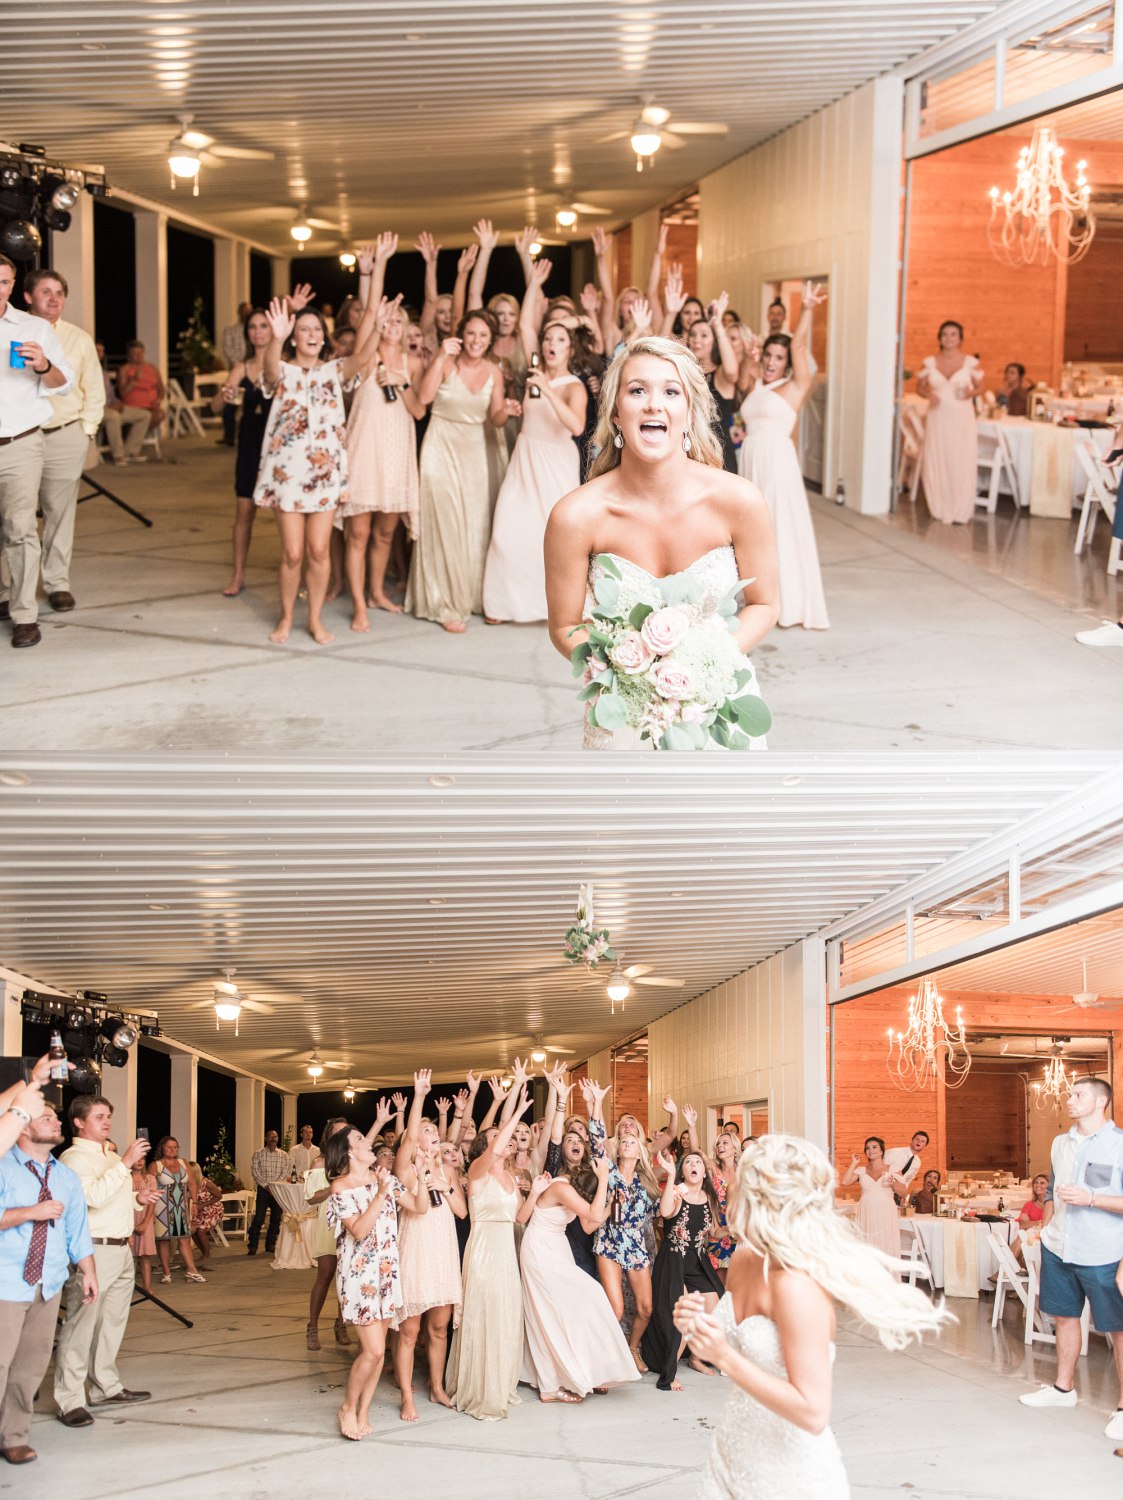
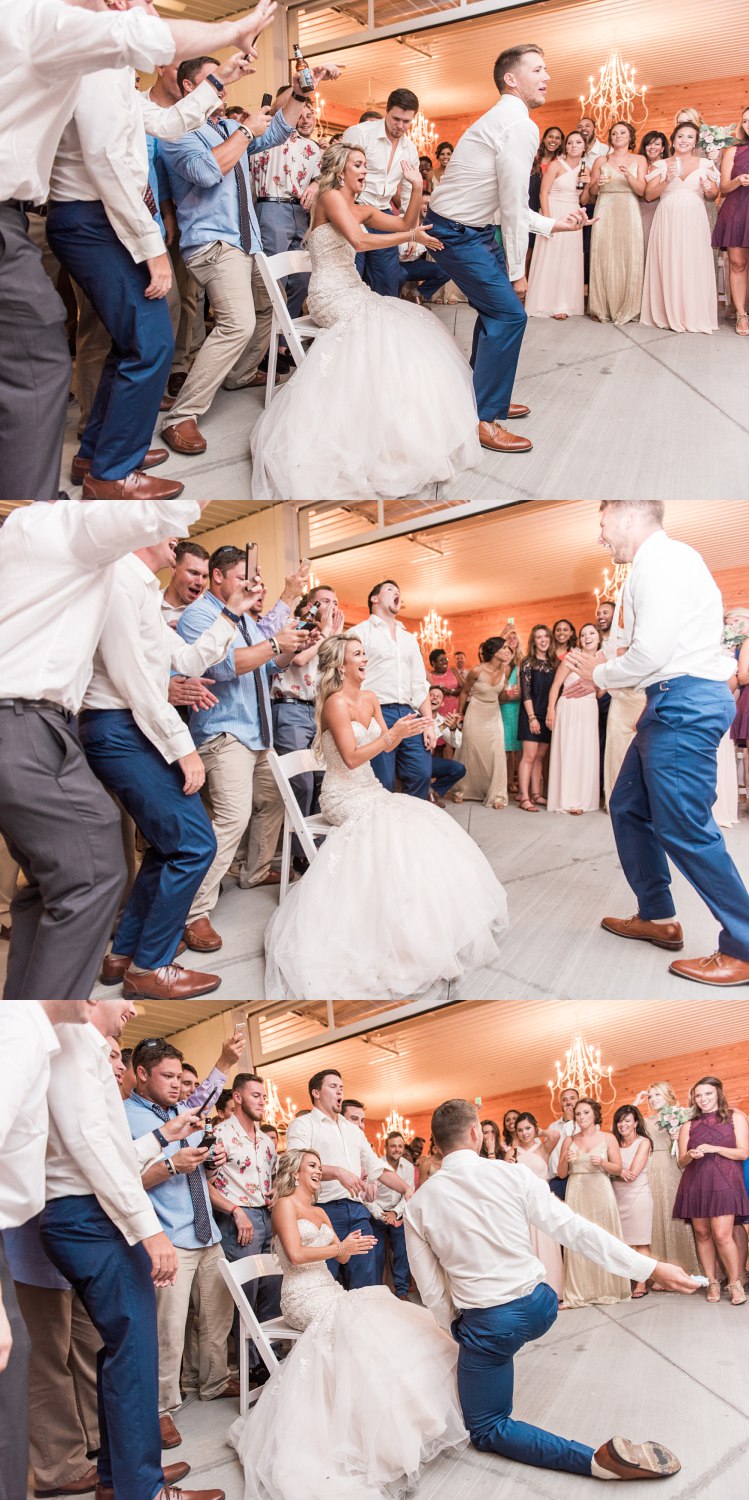
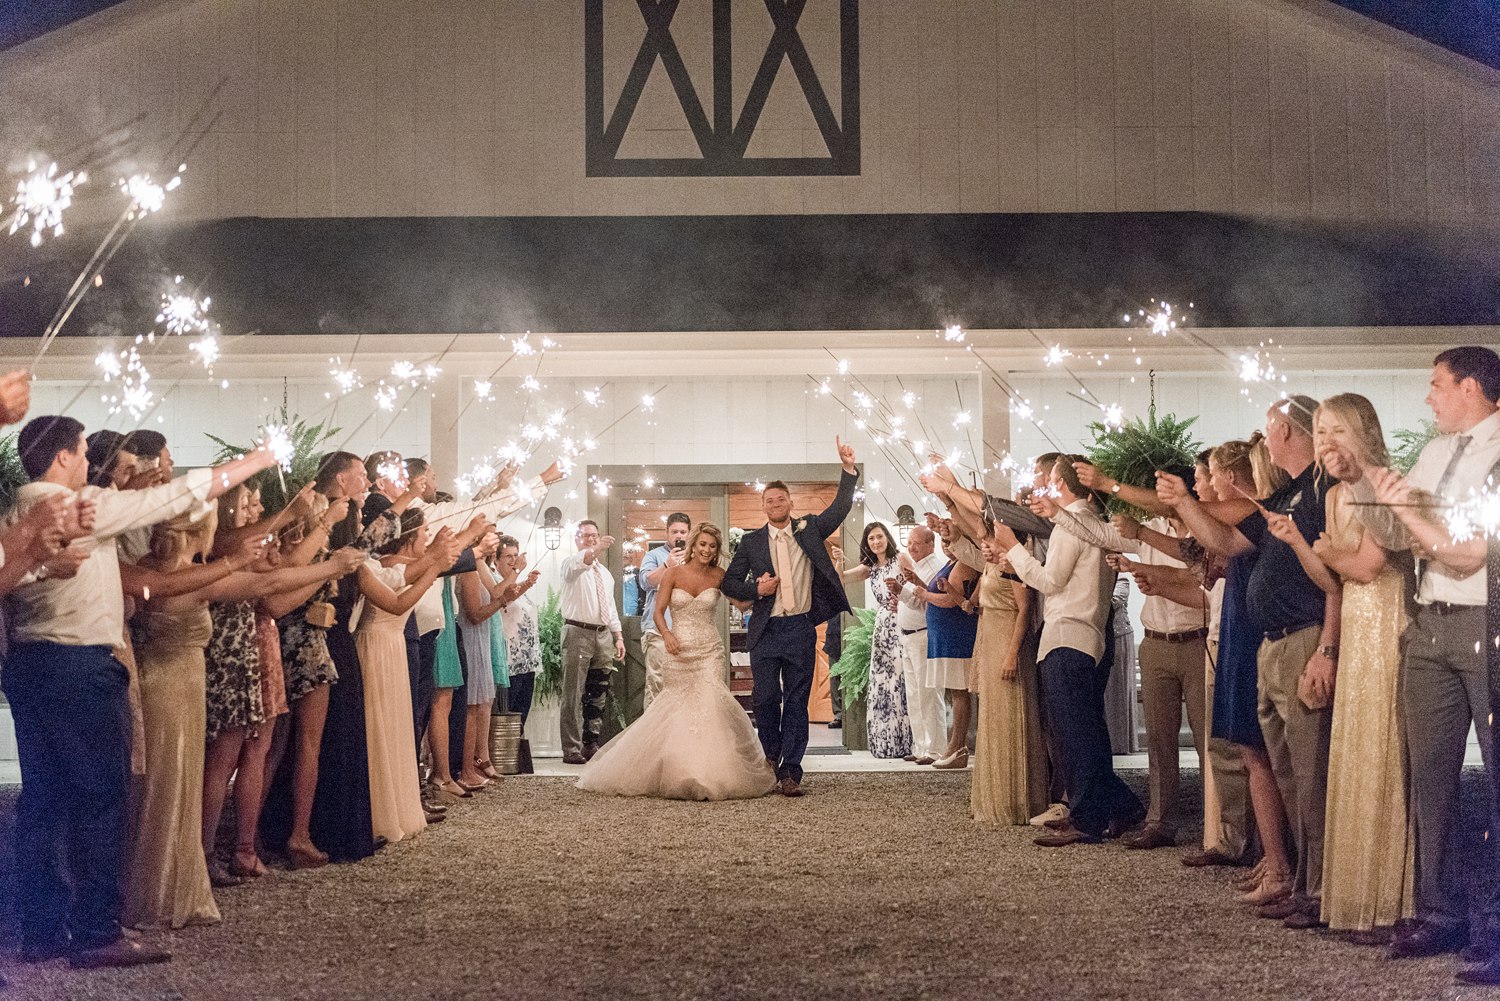
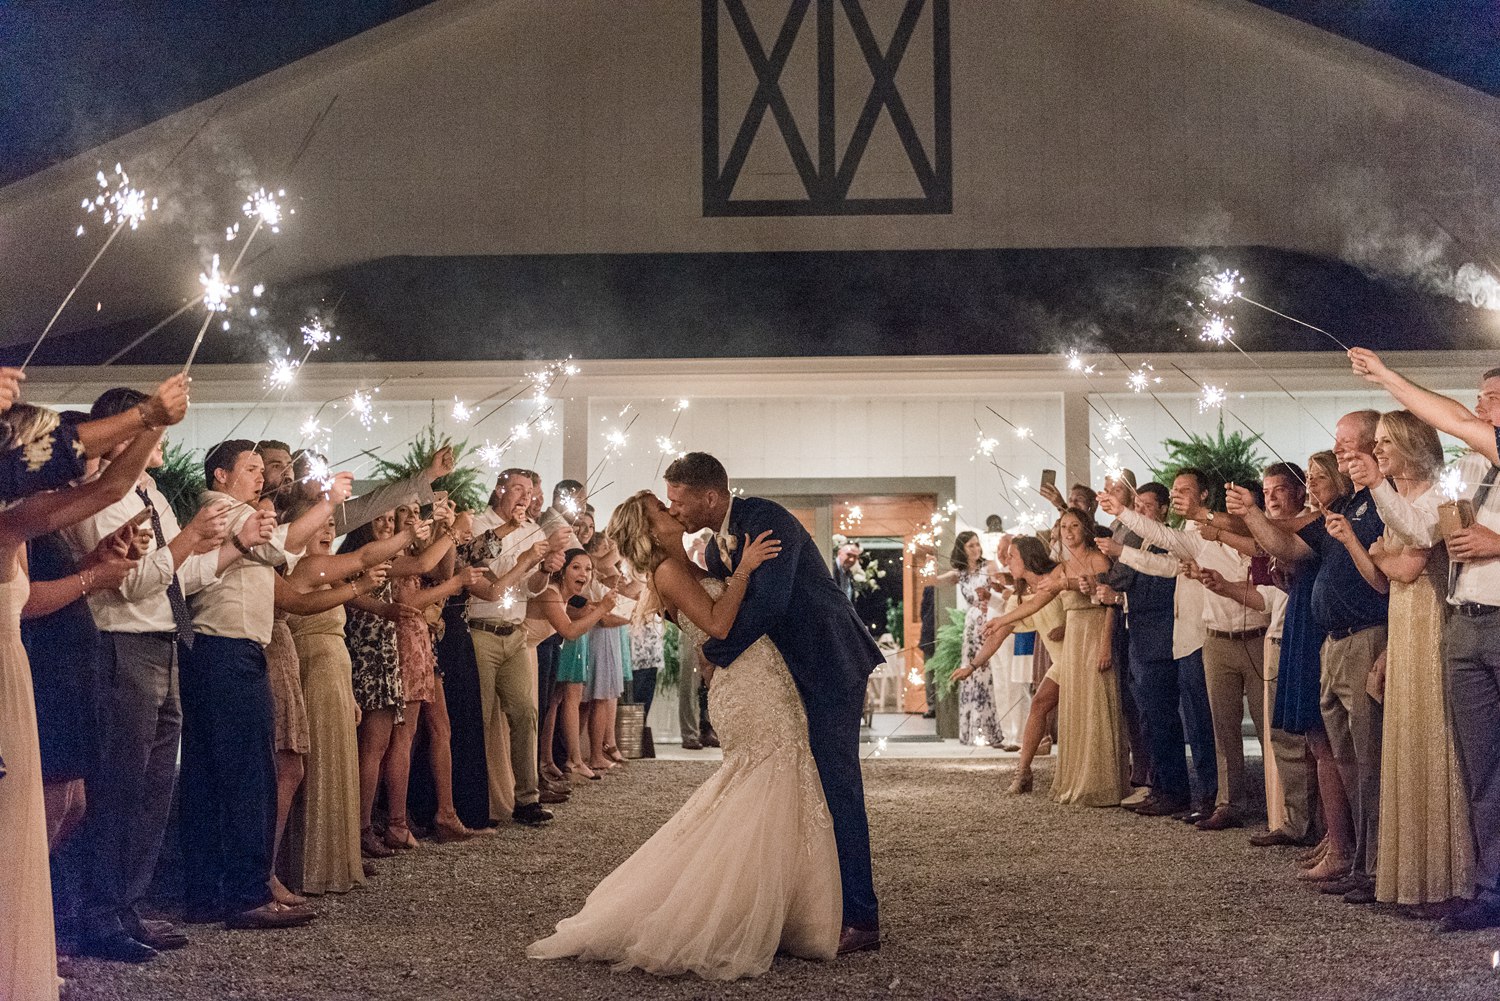
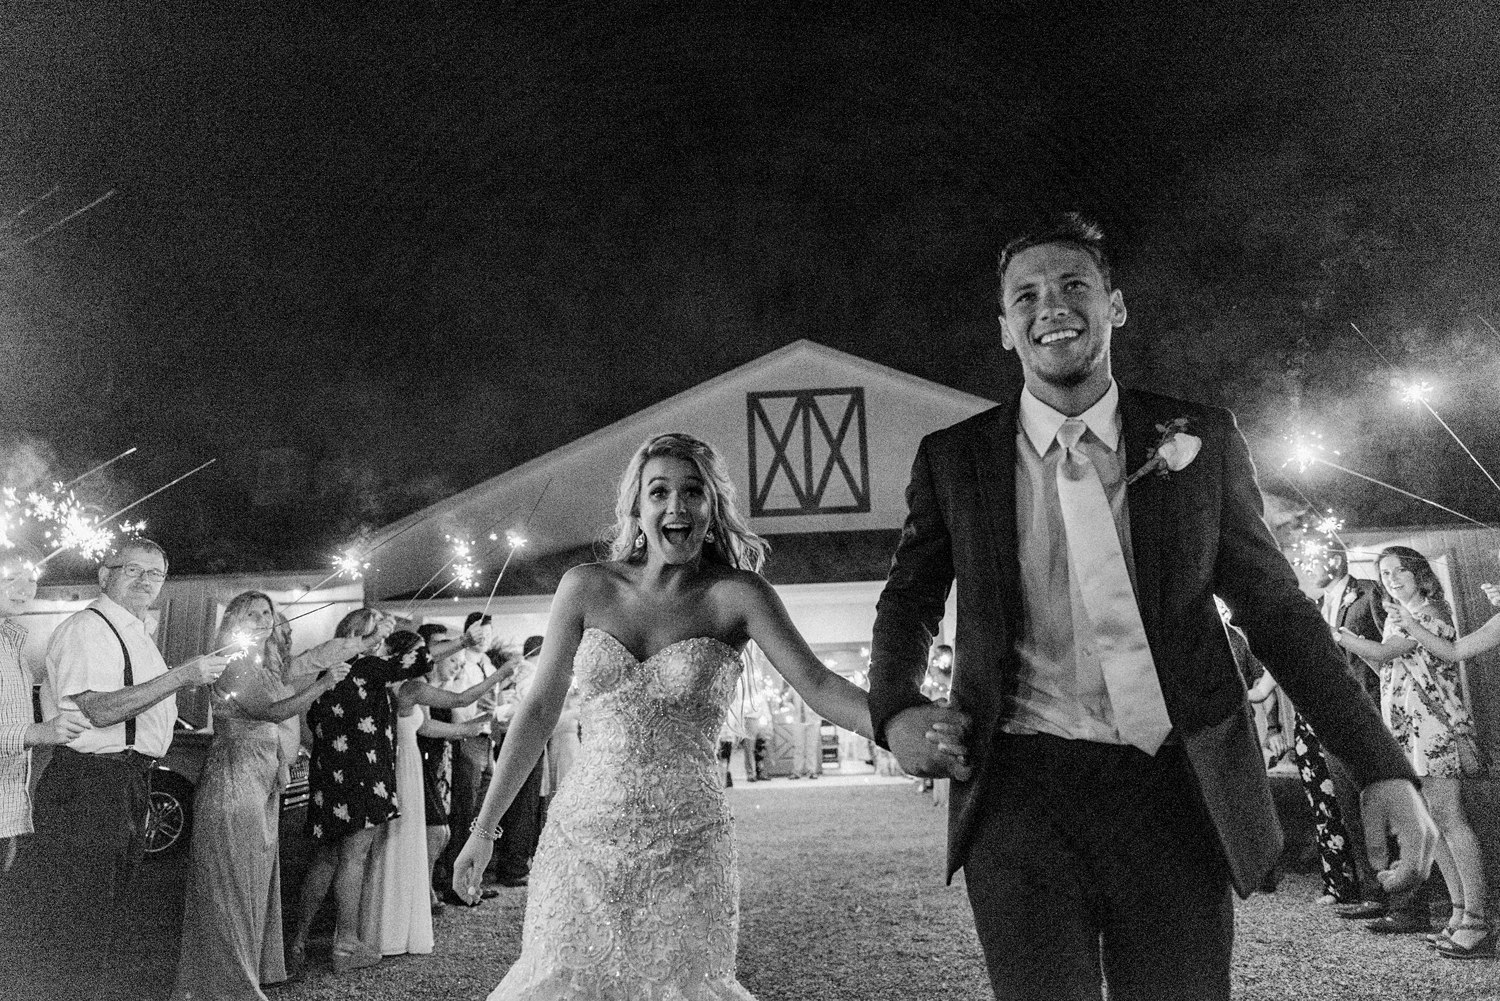
A stylish bride, a dapper groom, and gorgeous shades of blush, gold, and ivory came together for Kendall and Nathan's summer wedding. It was an extremely hot day, but these two warmed it up even more strolling among the green fields of their venue and breaking it down on the dance floor with their friends and family. This couple completely rocked their engagement, and Kendall stunned us at her bridal session. Throughout our interactions with this couple, though, we were most impressed by their honesty with us and one another and just how darn fun they were. They may have started a little rocky on their first meeting in college (and we loved hearing this hilarious story), but these two truly are destined for a happy ending.
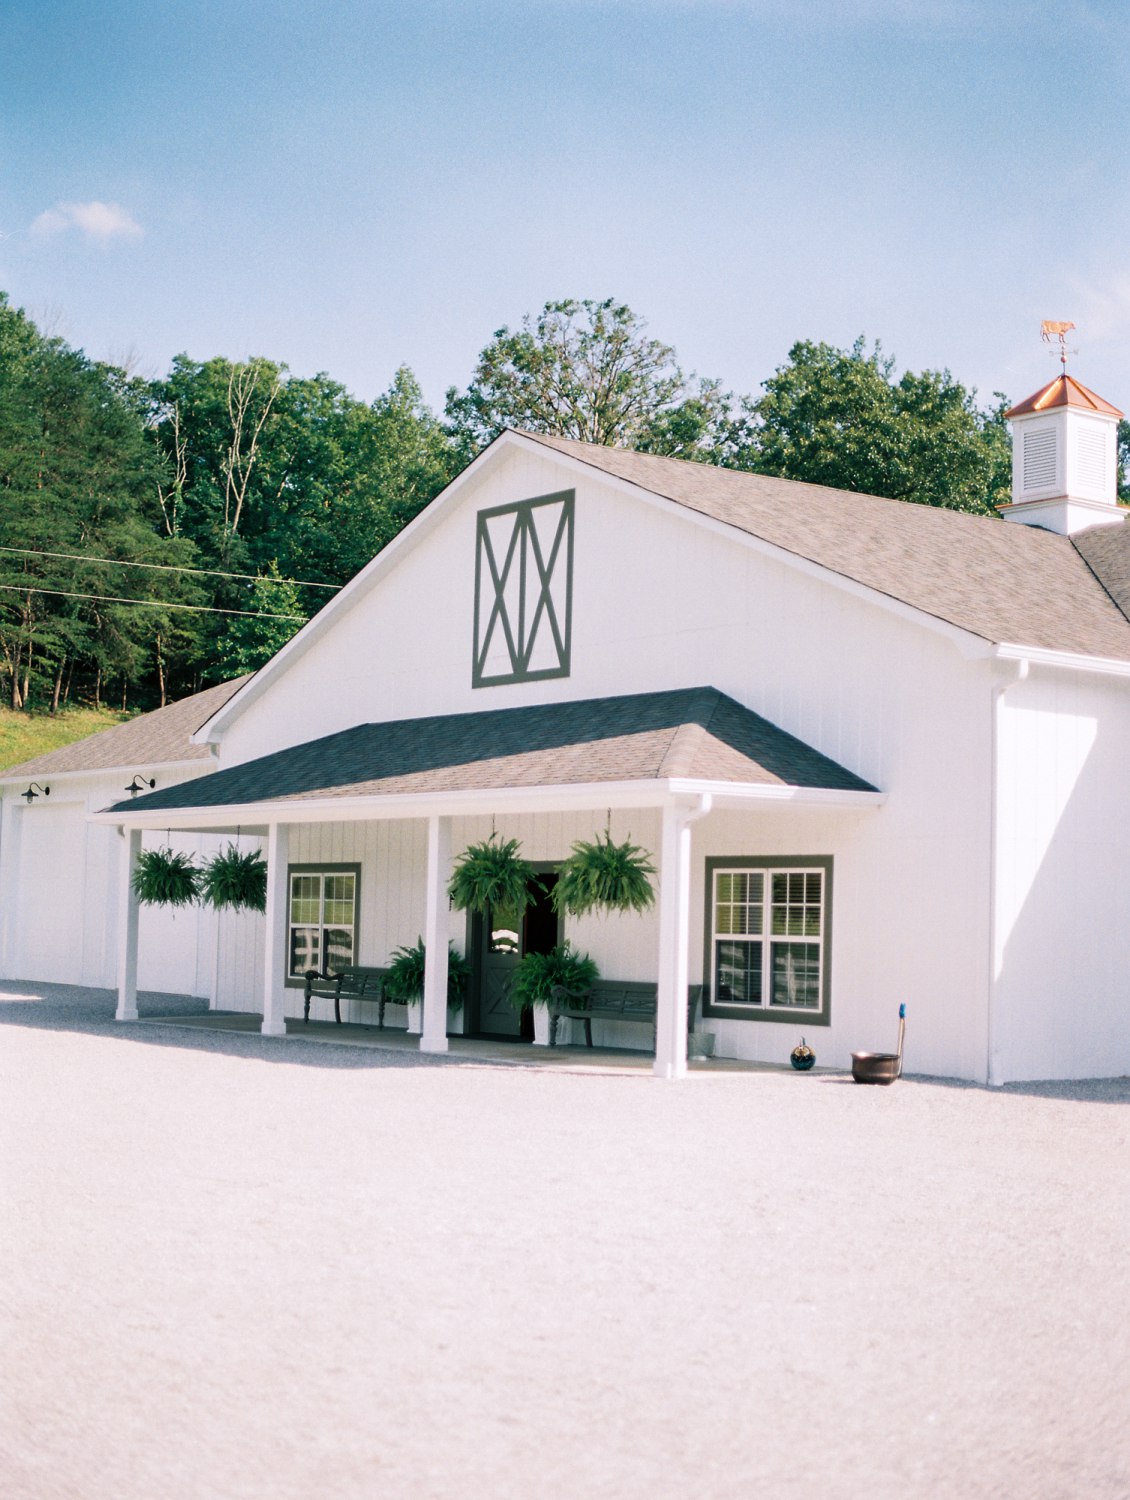
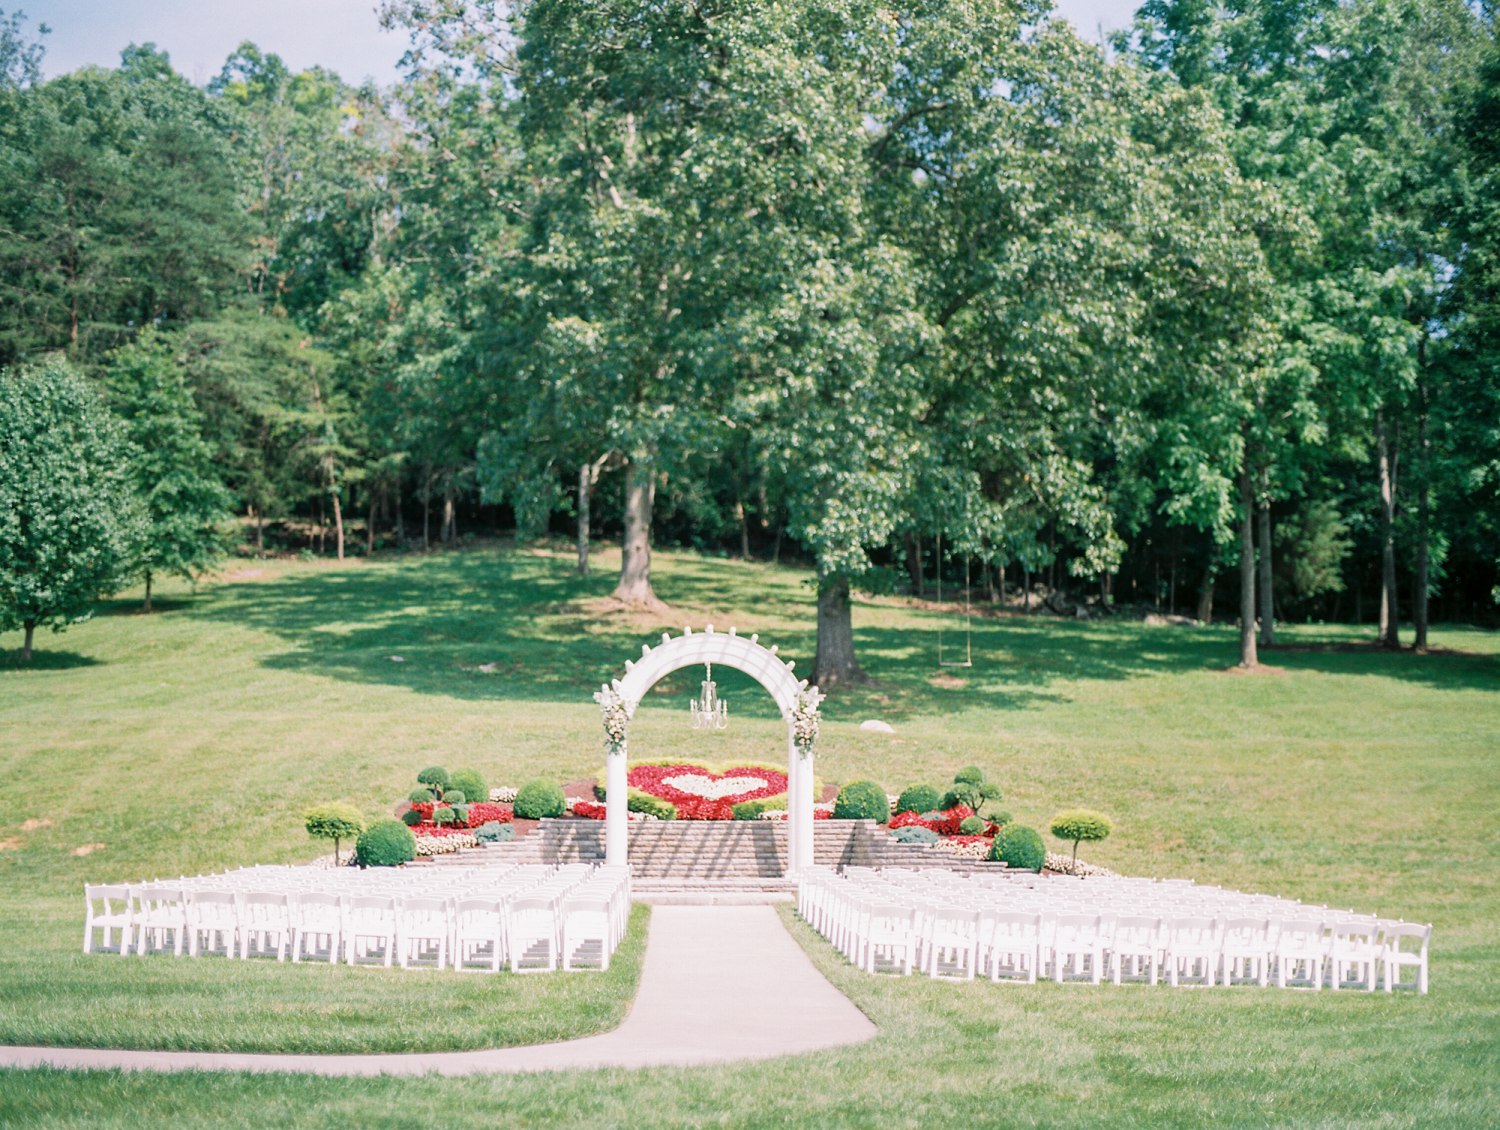
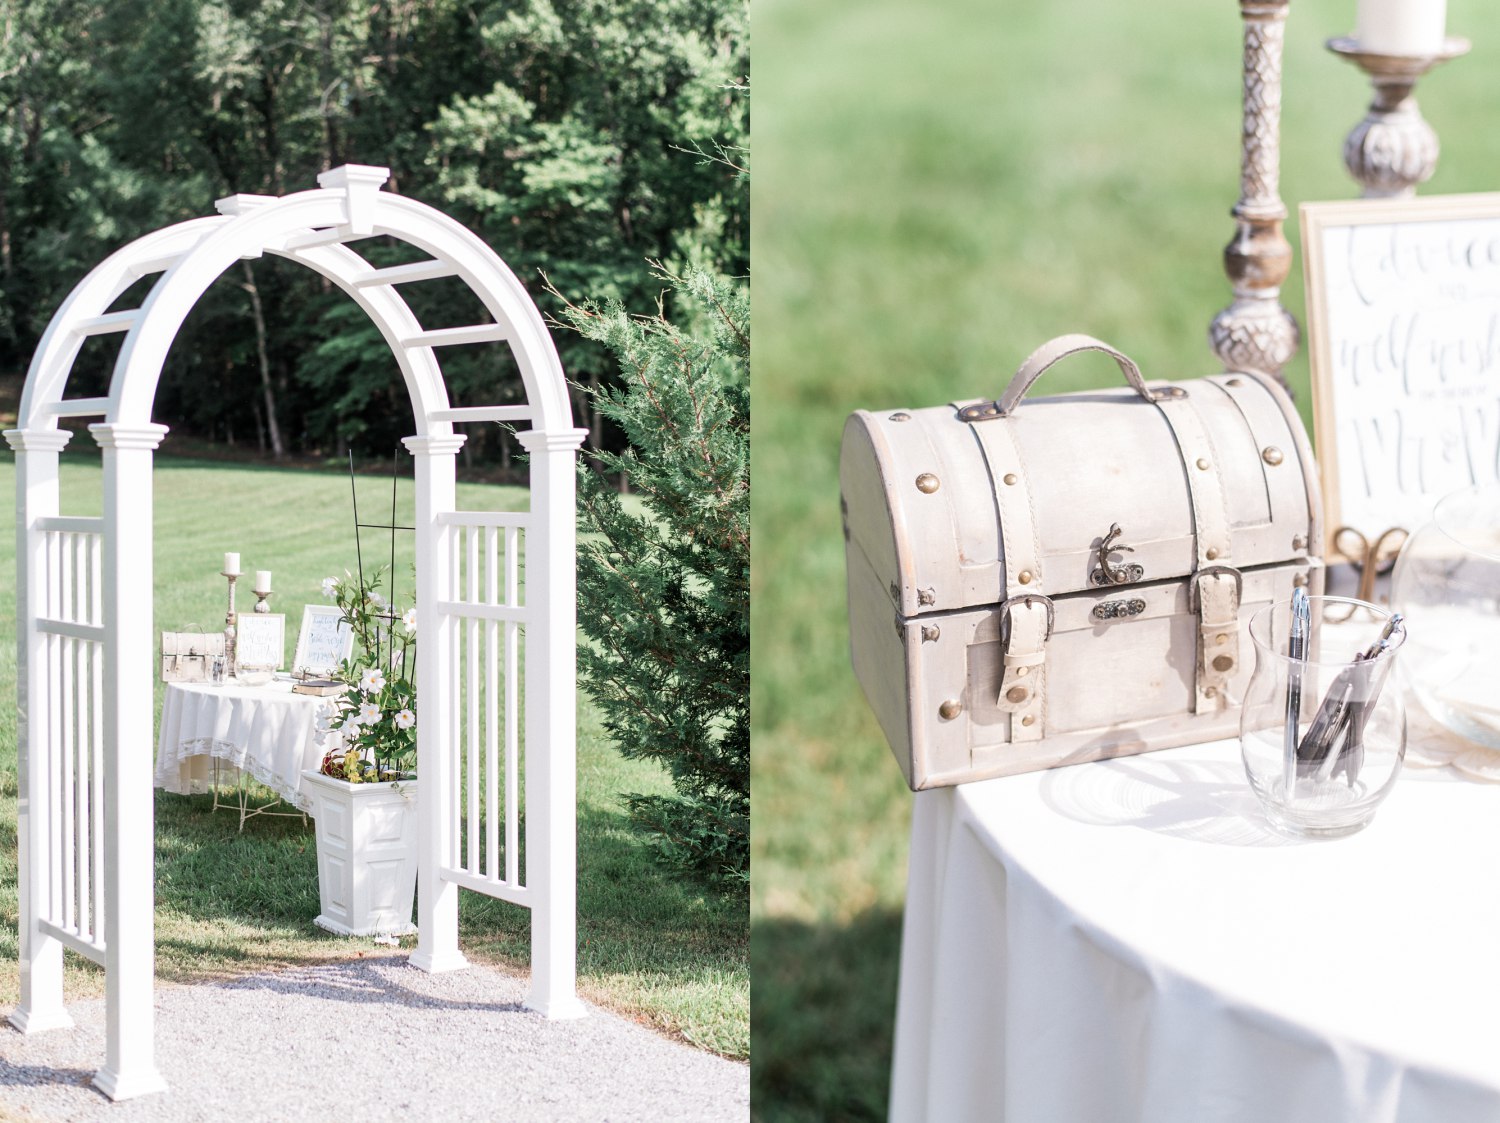
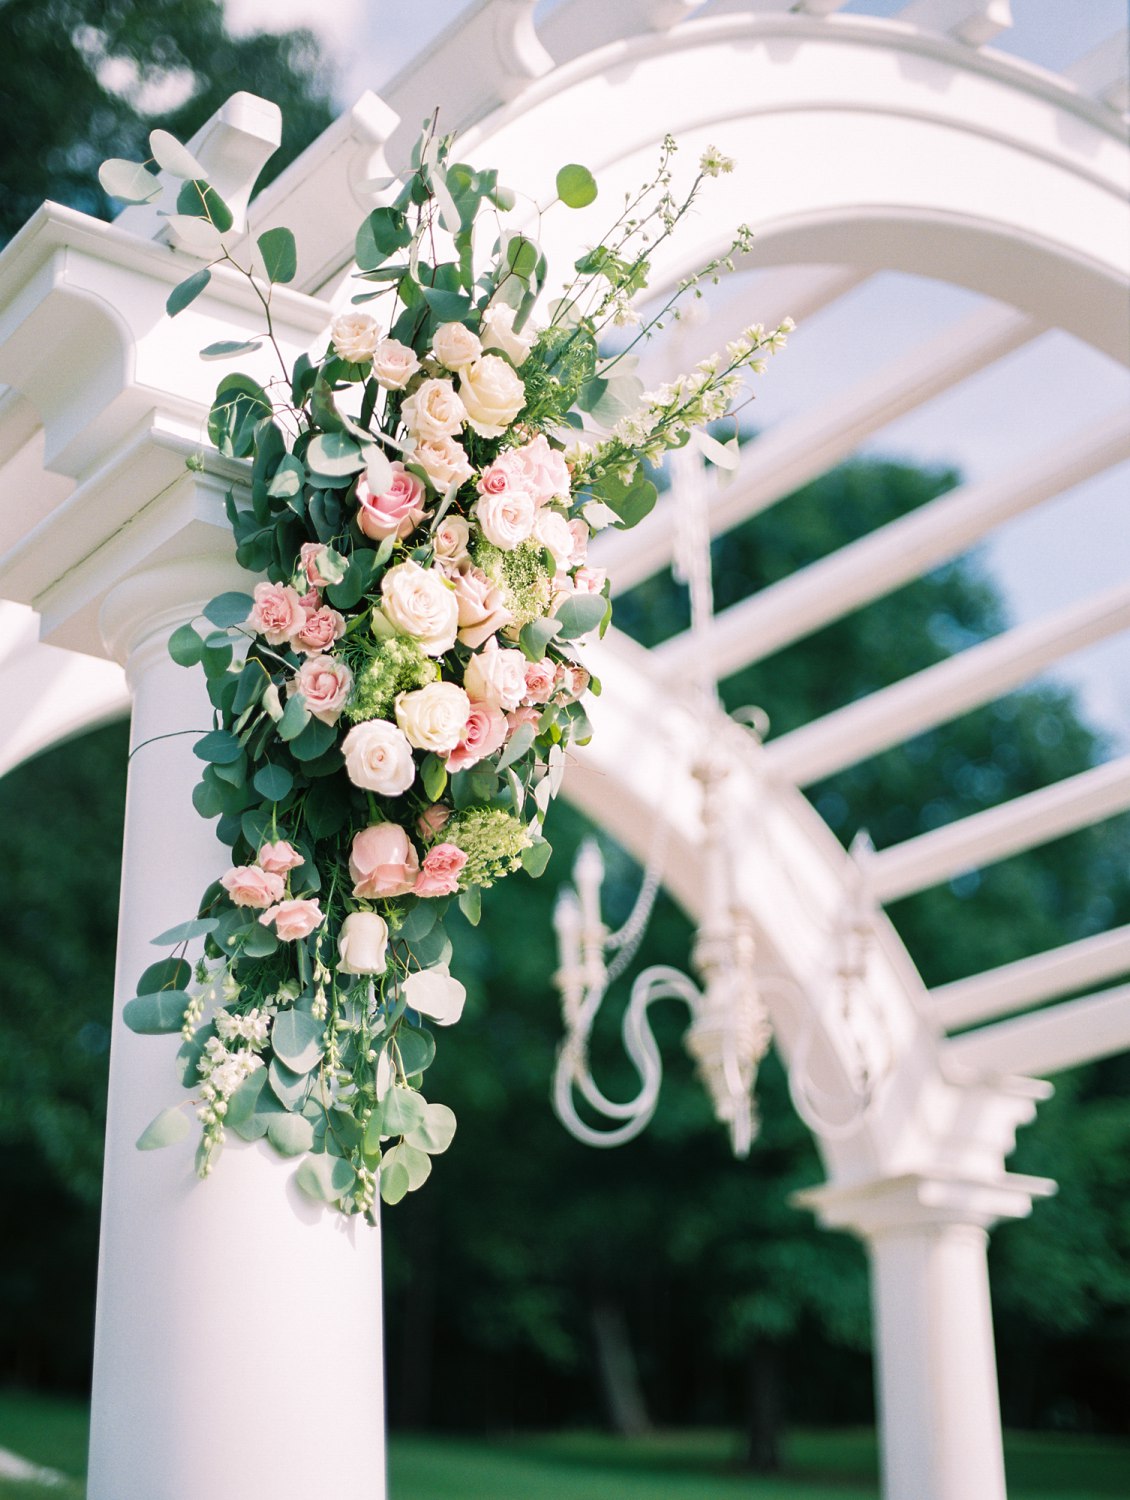
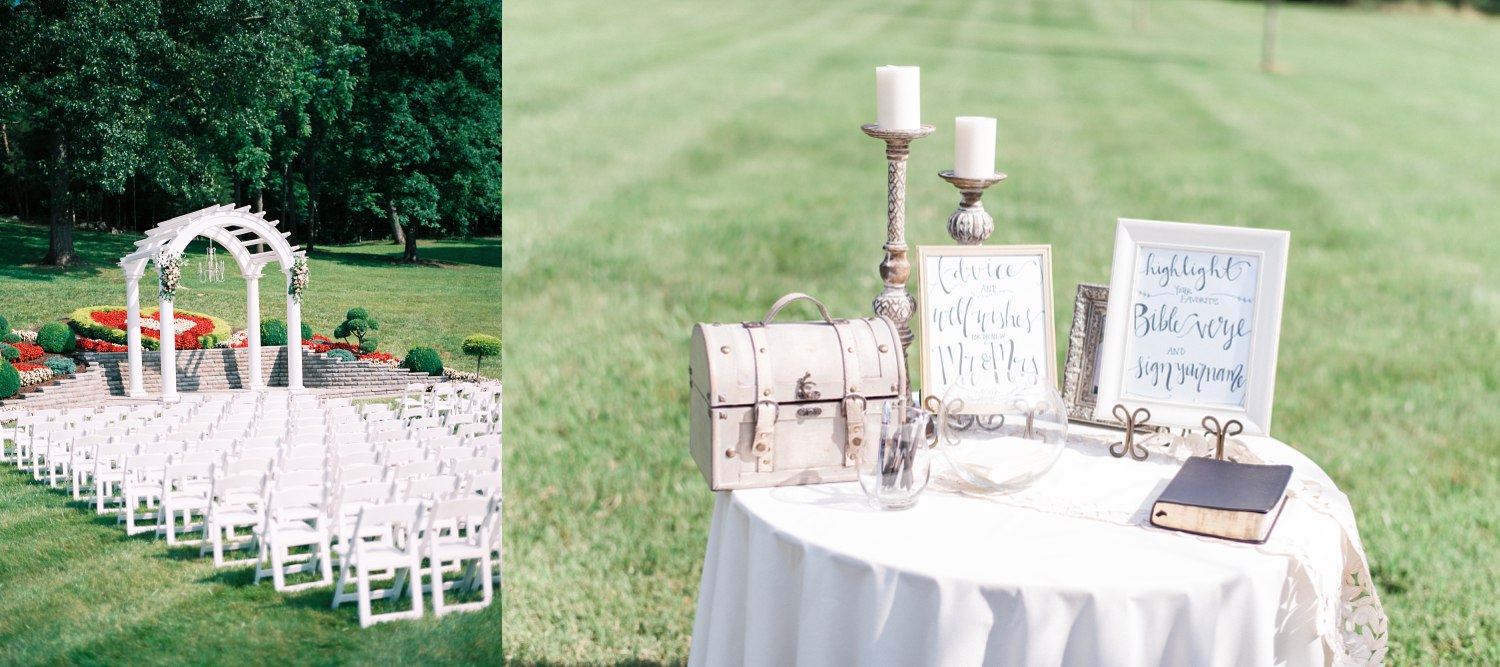
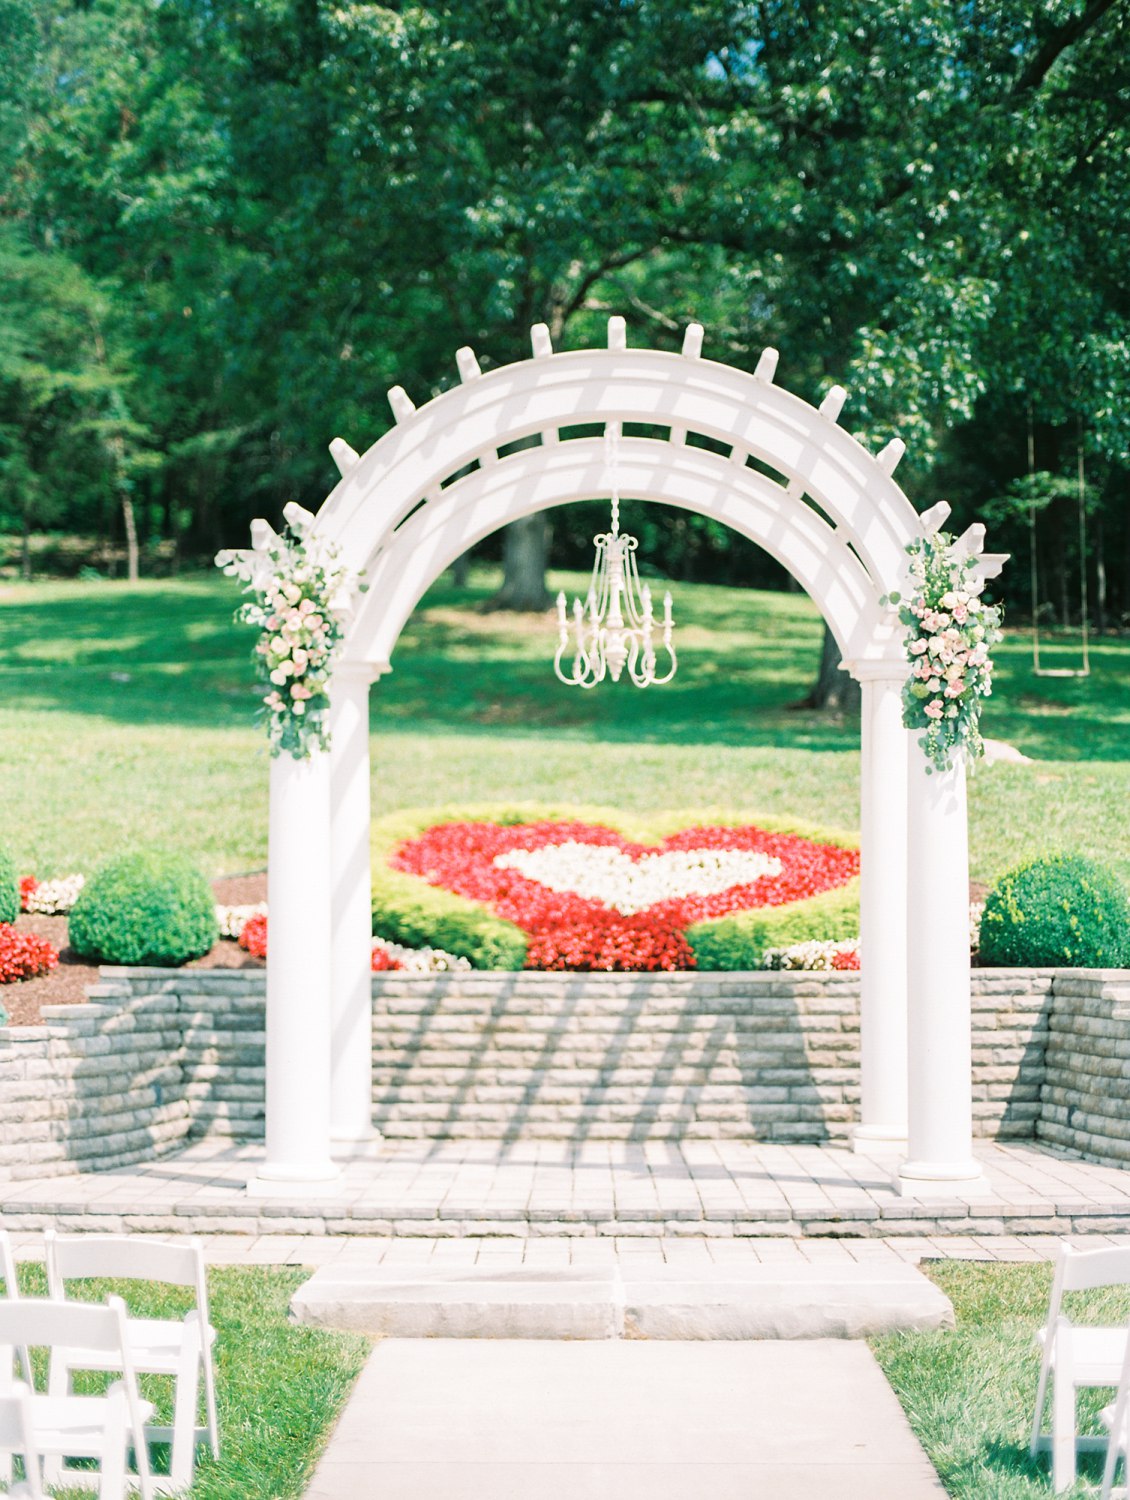
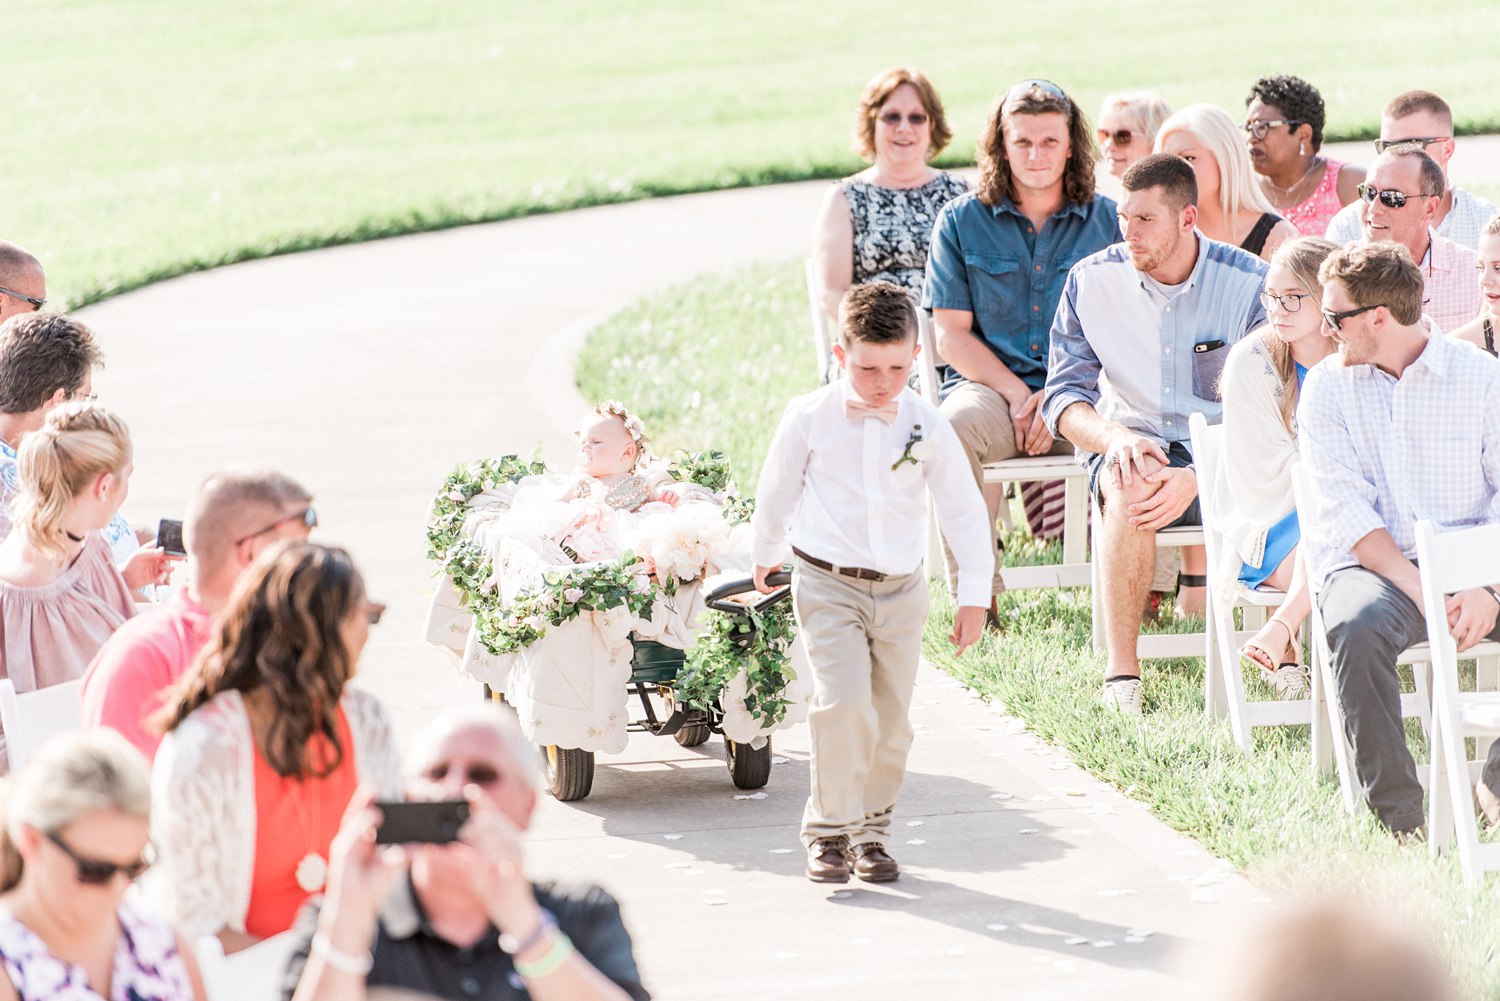
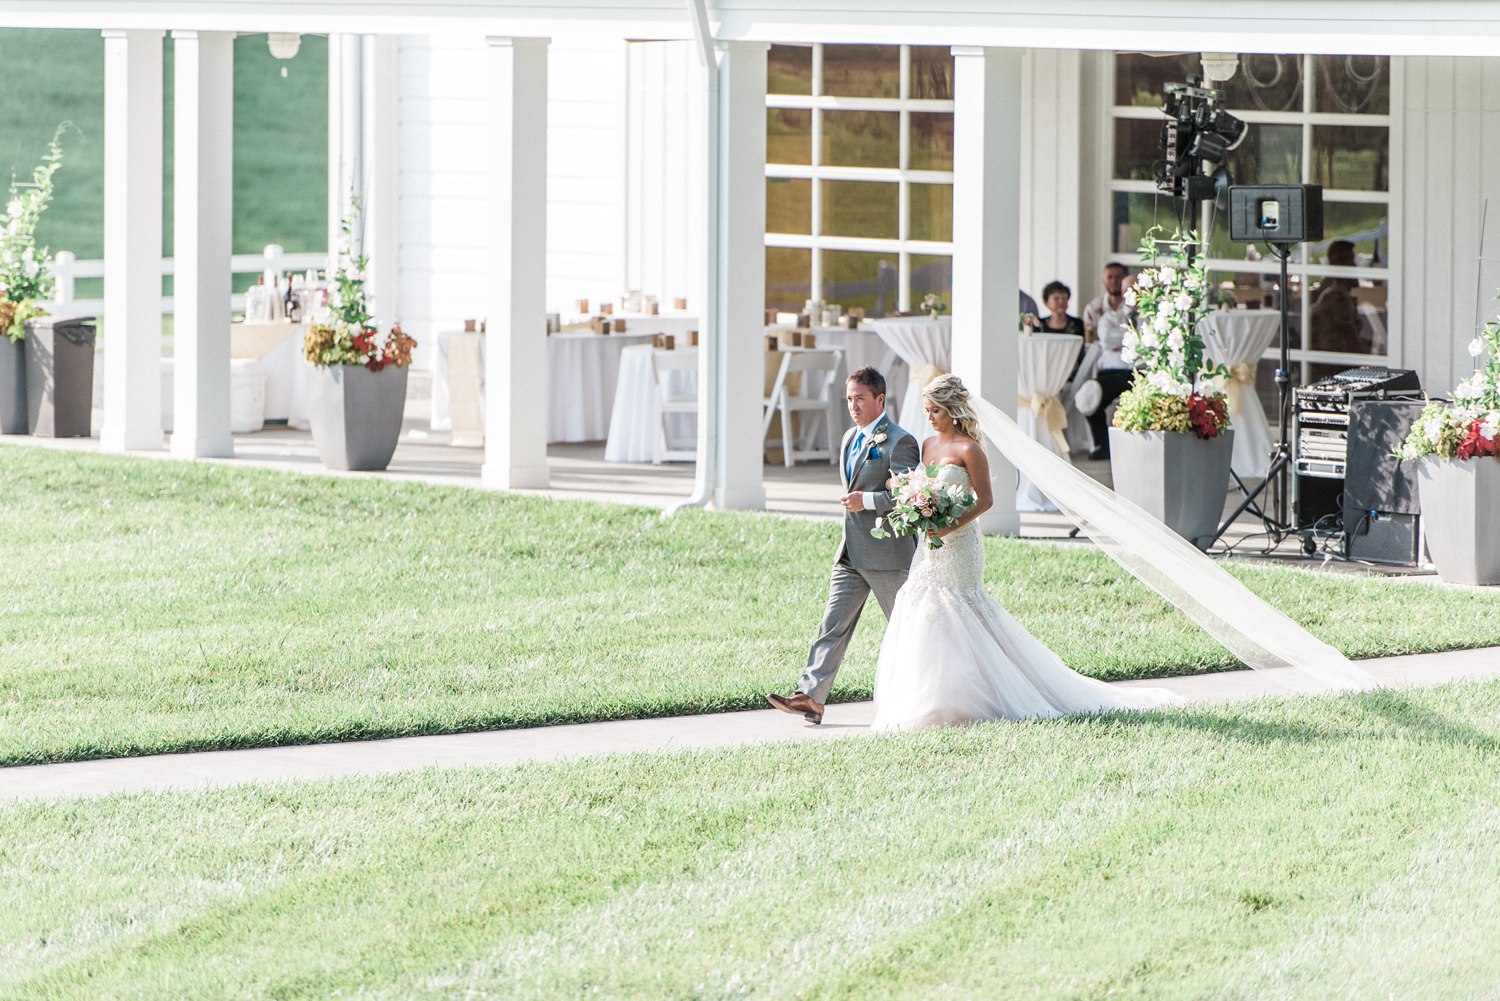
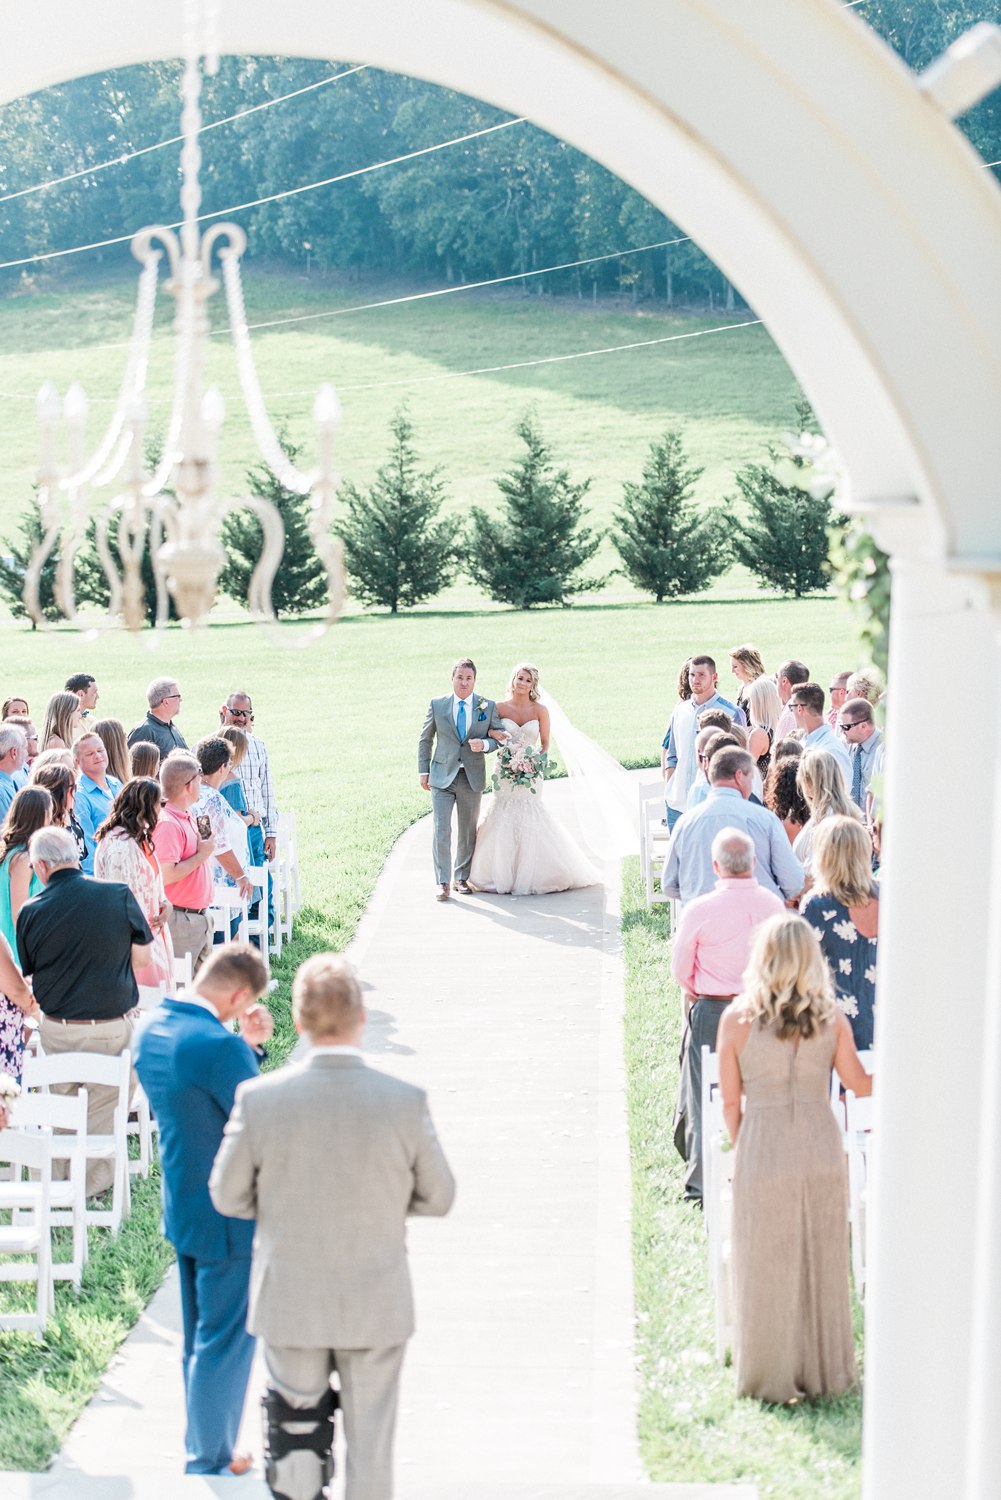
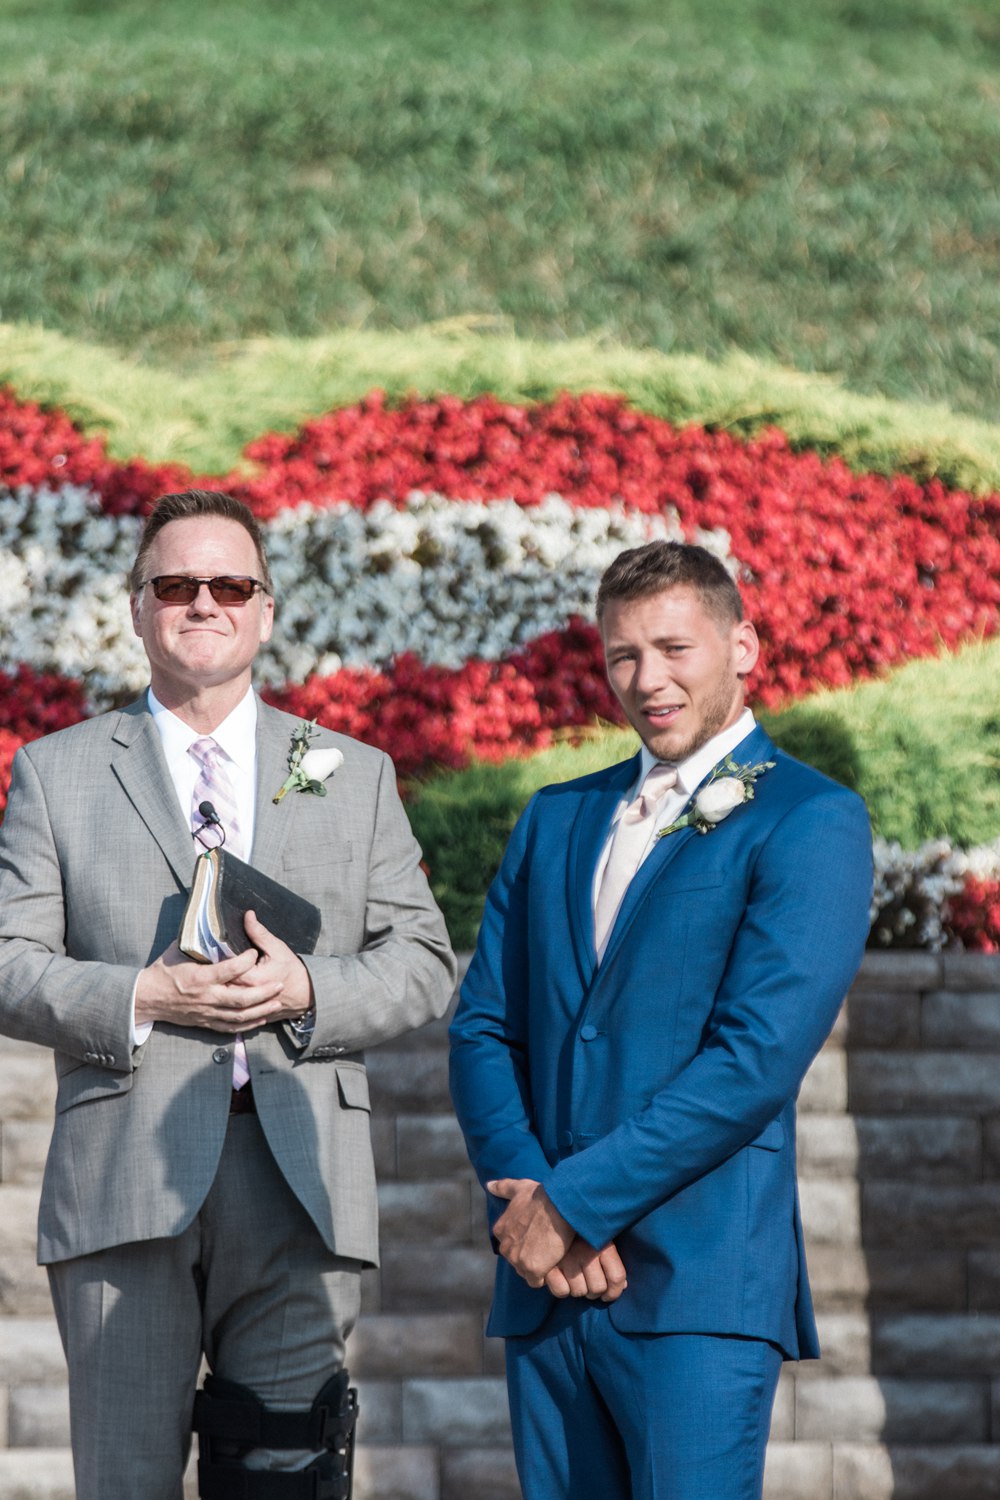
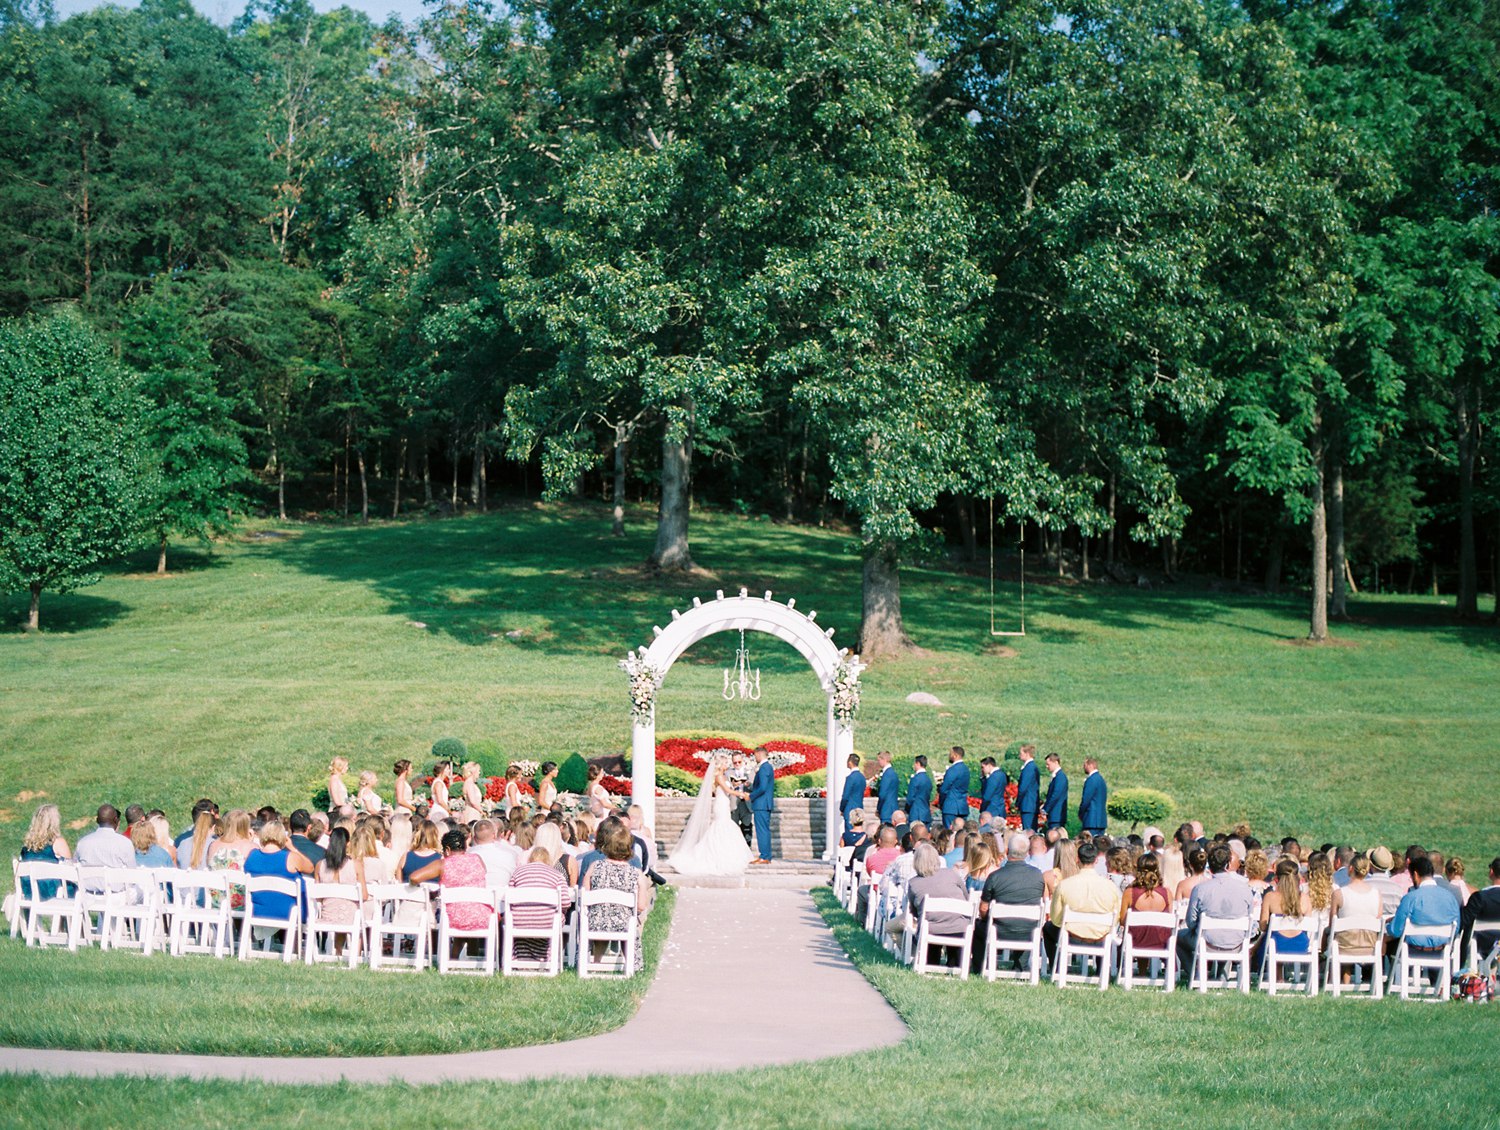
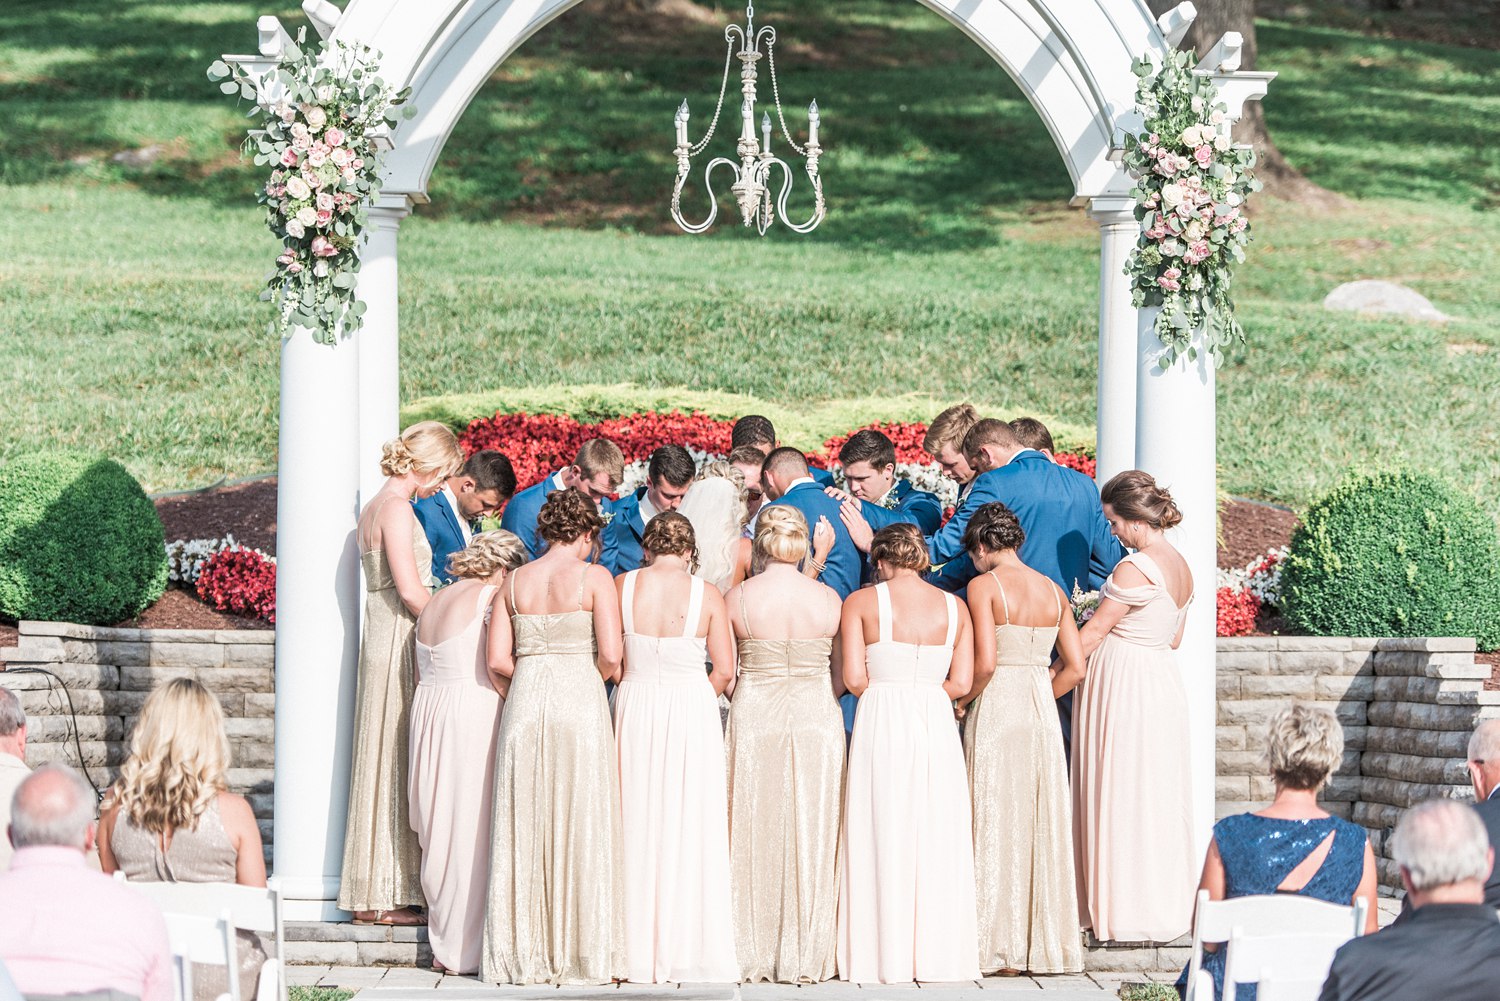
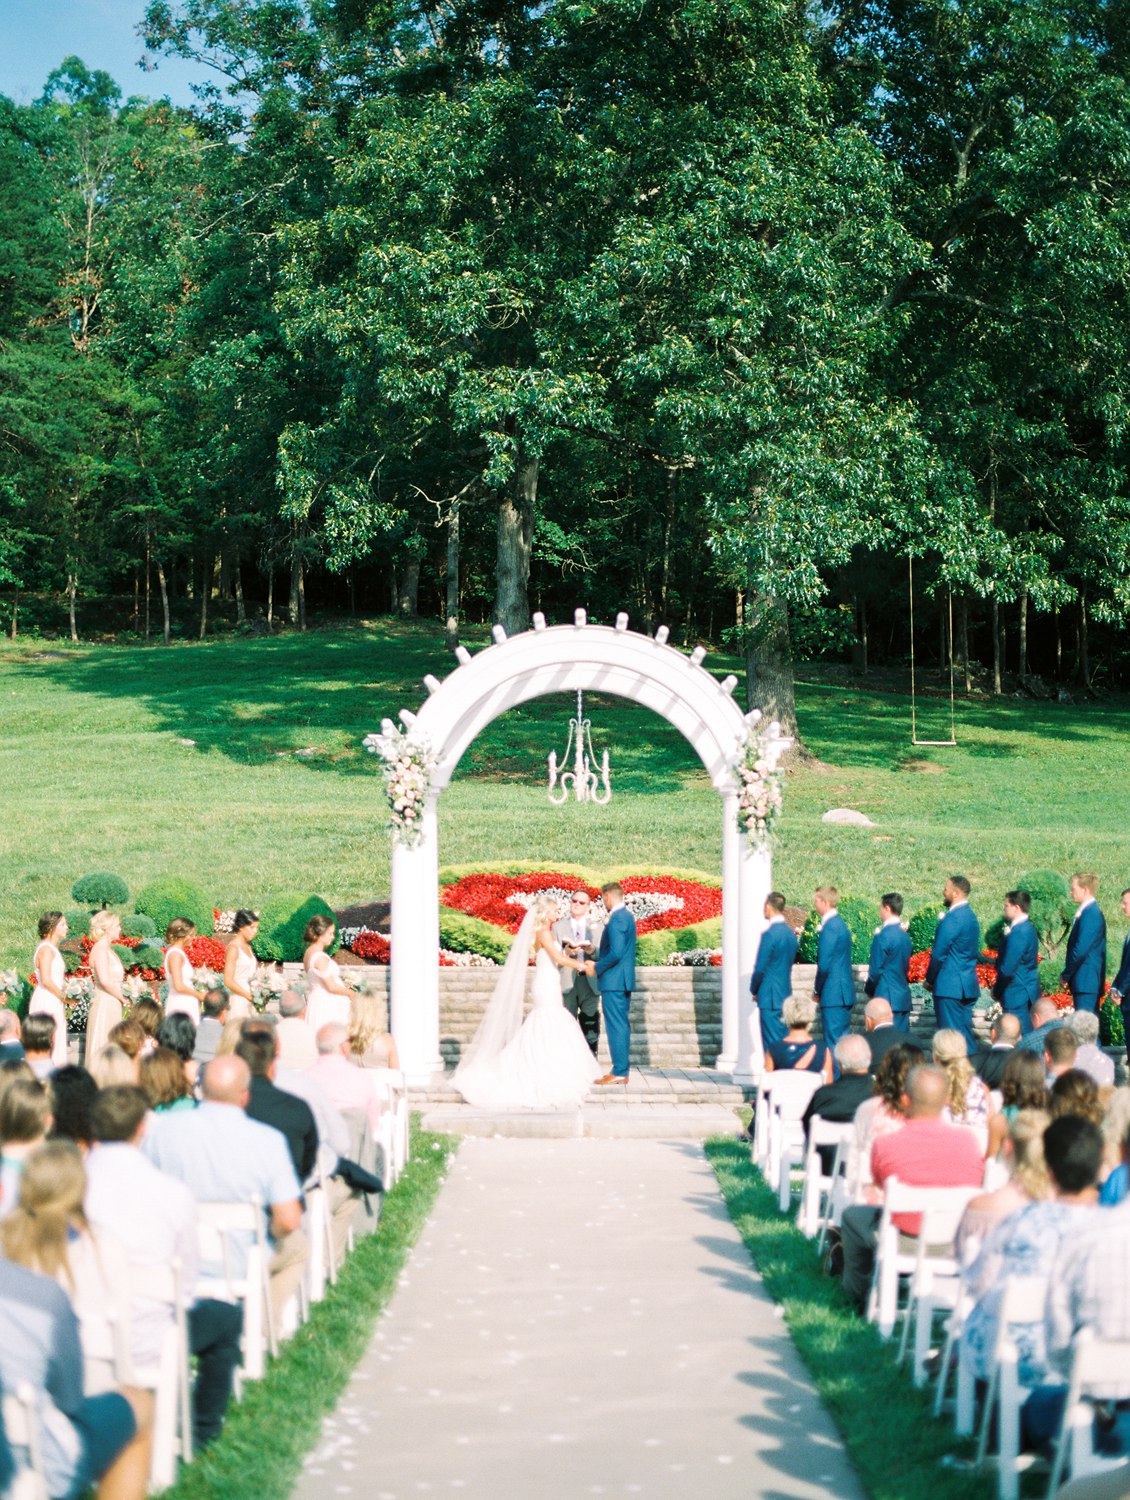
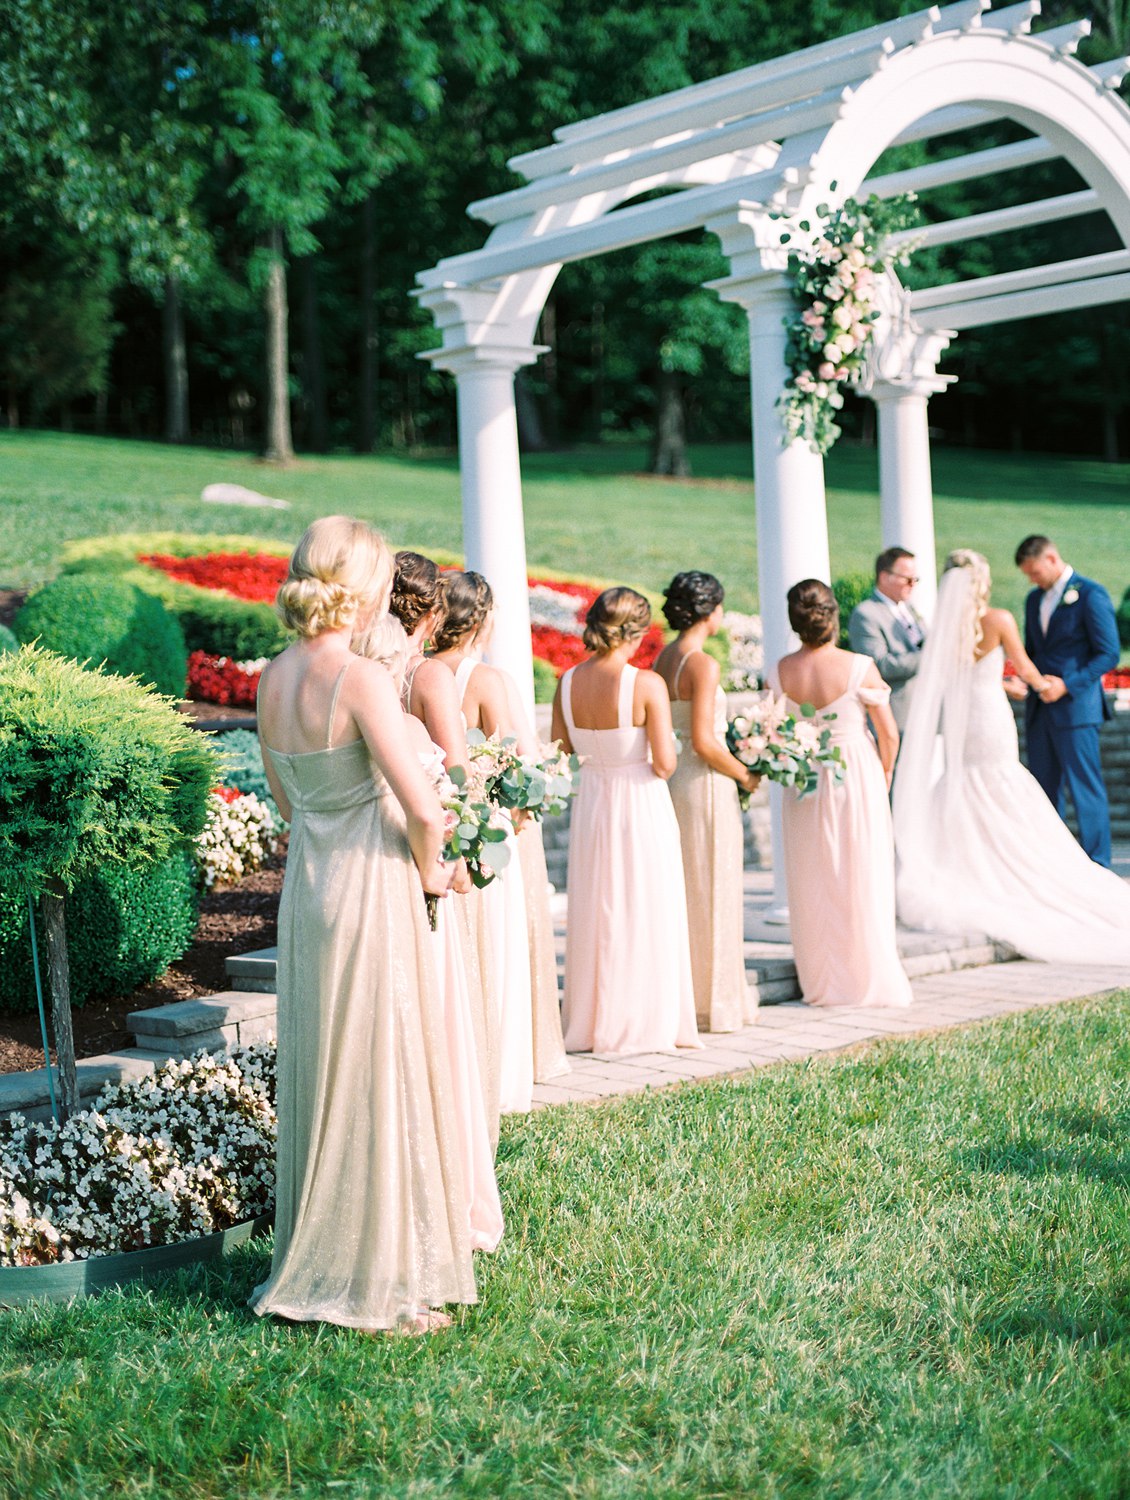
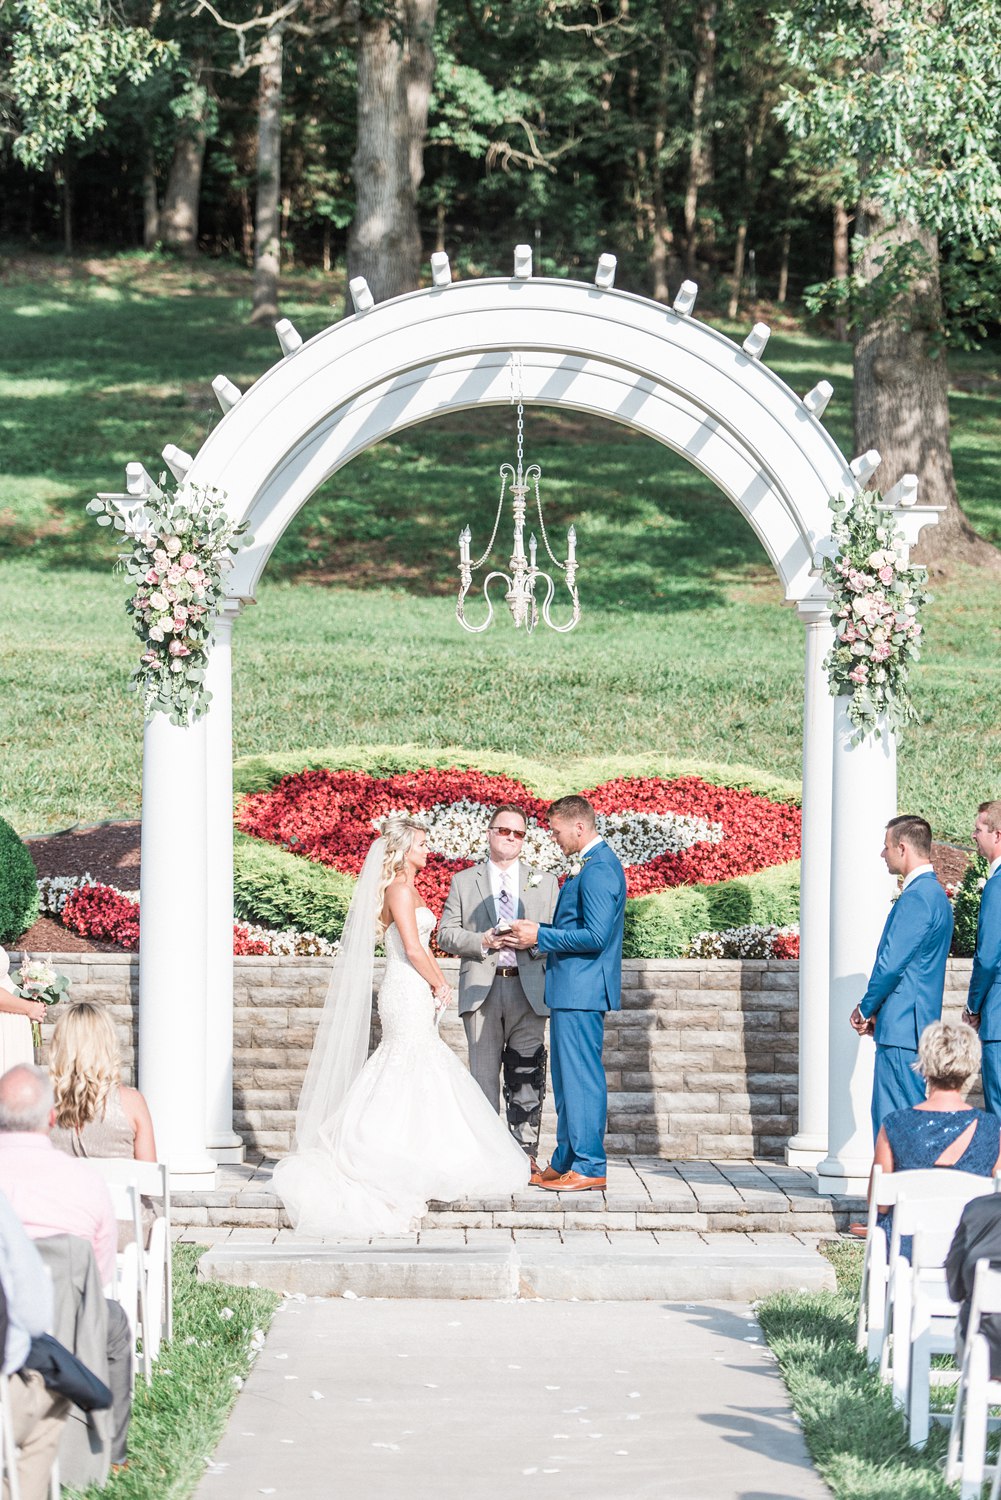
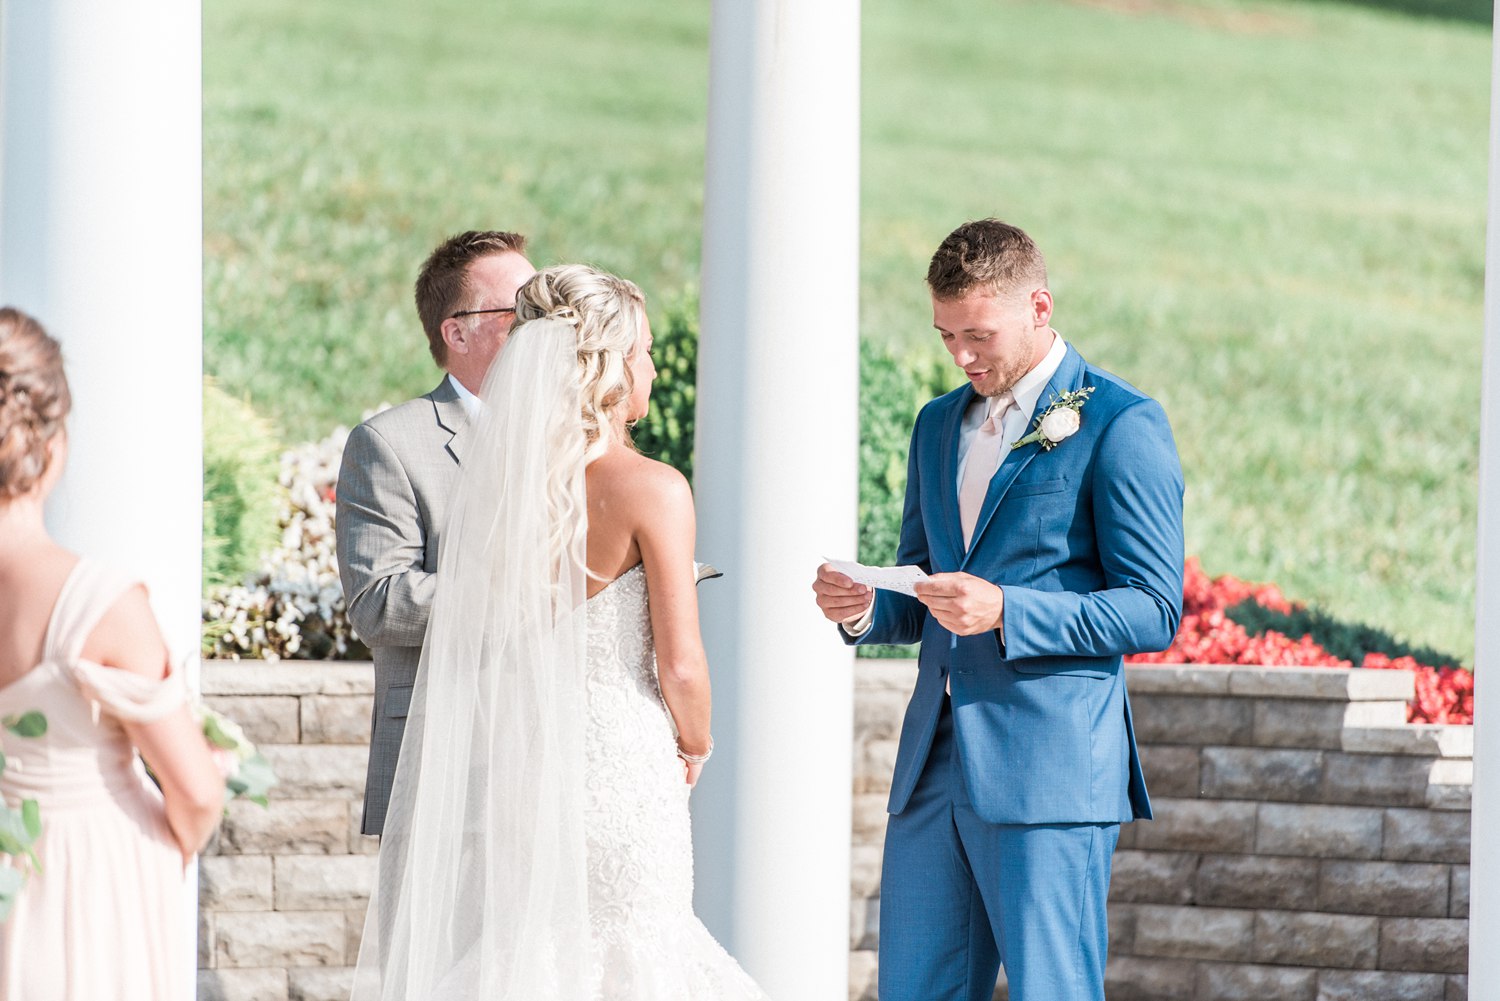
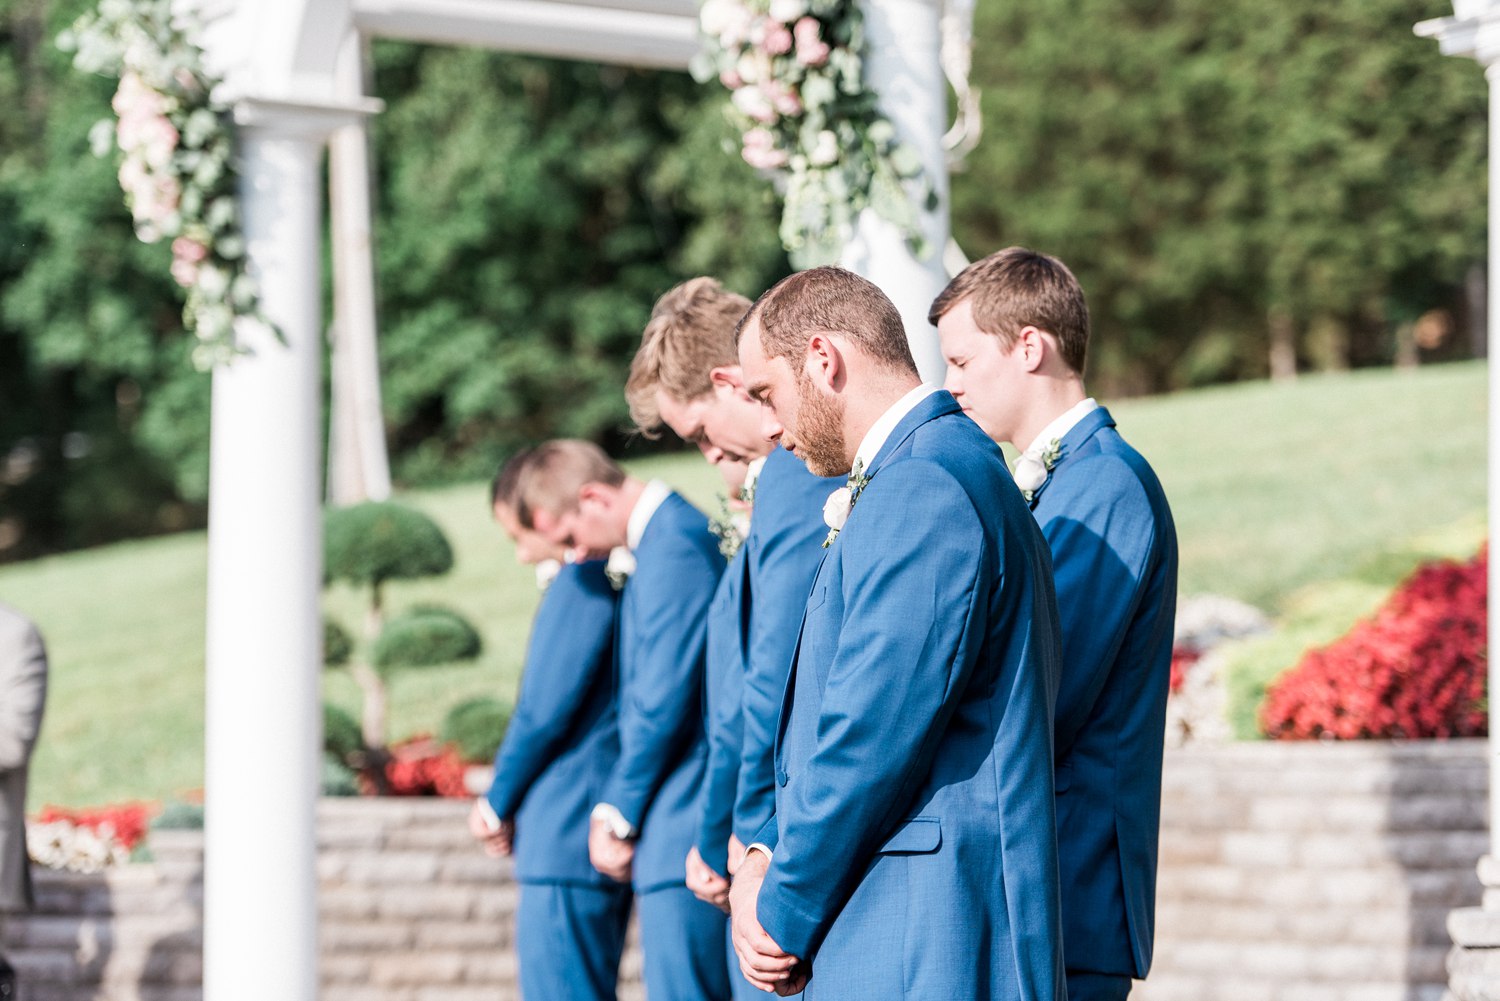
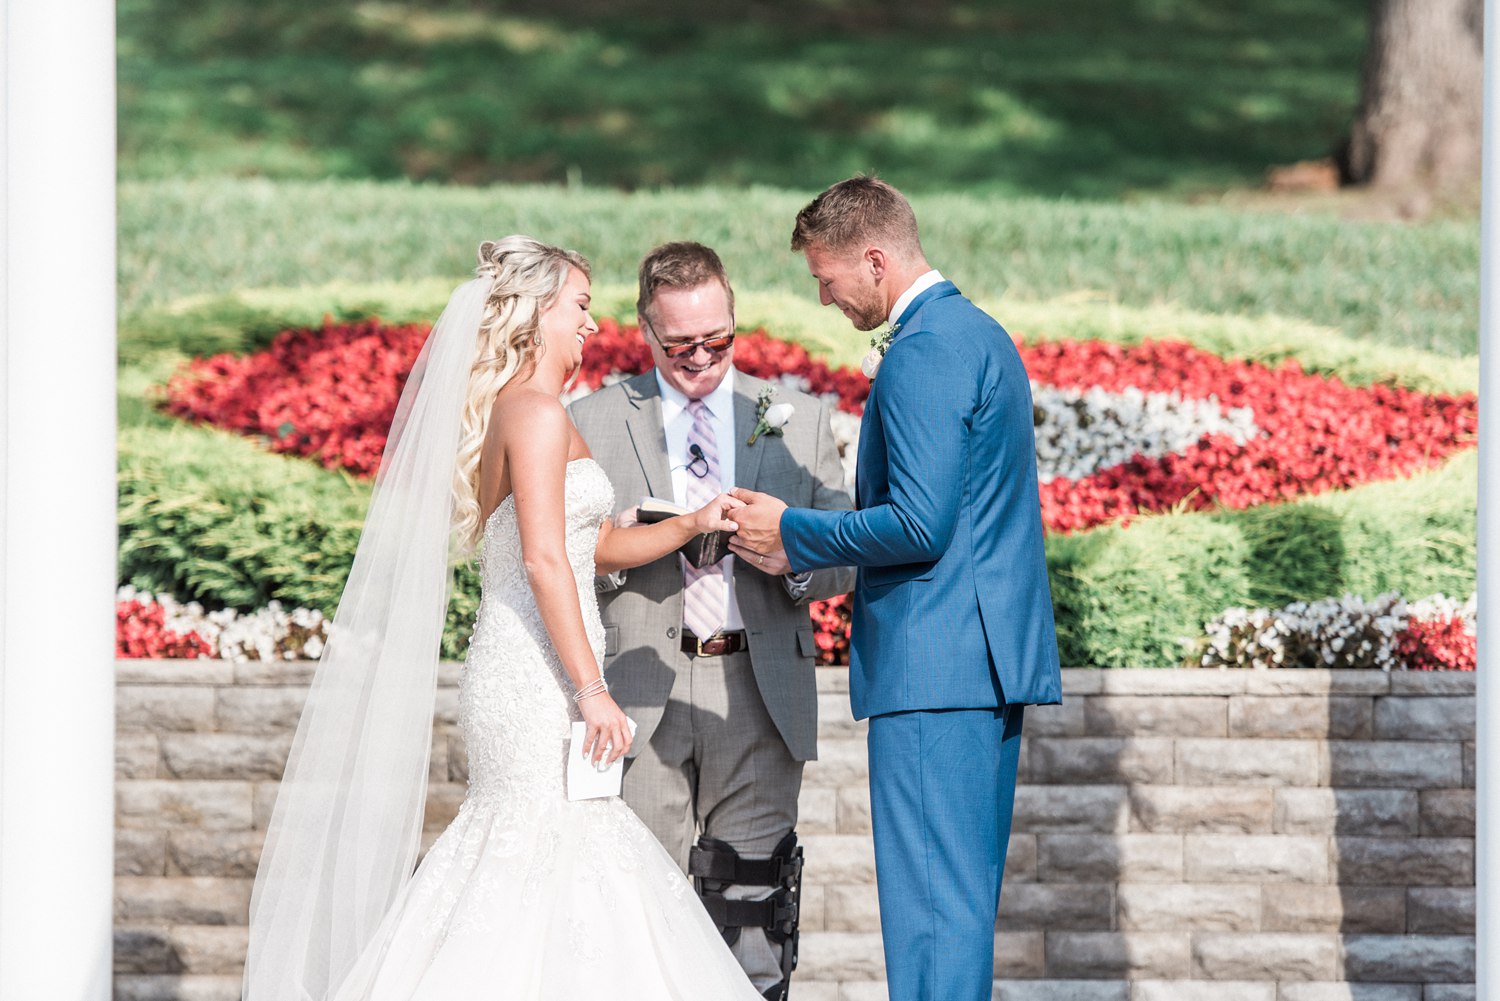
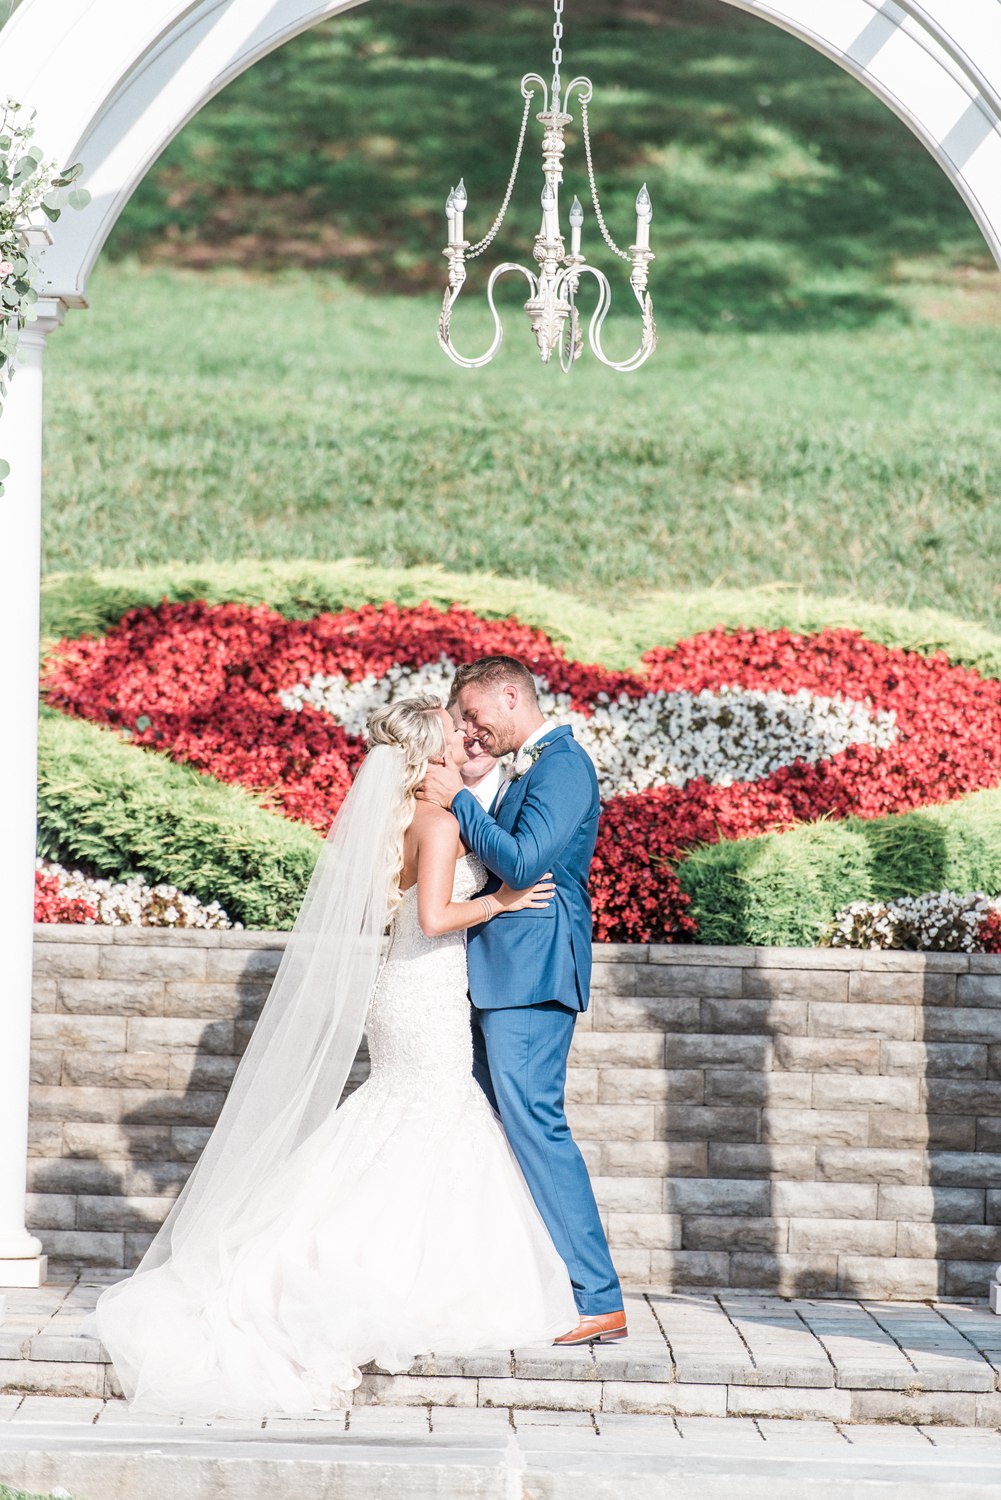
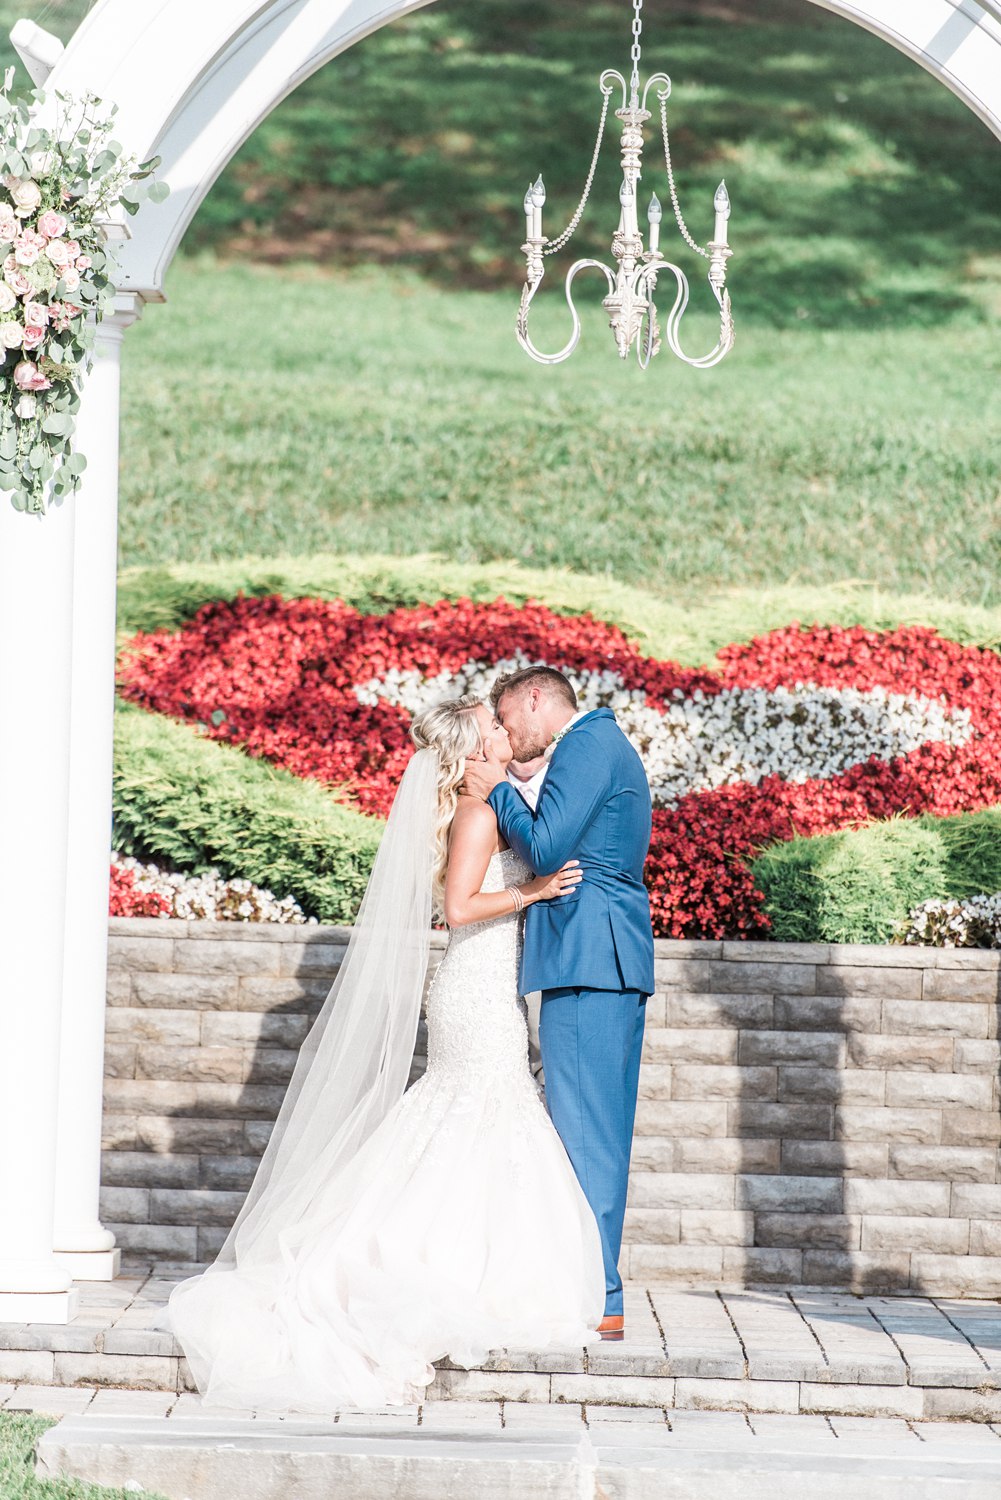
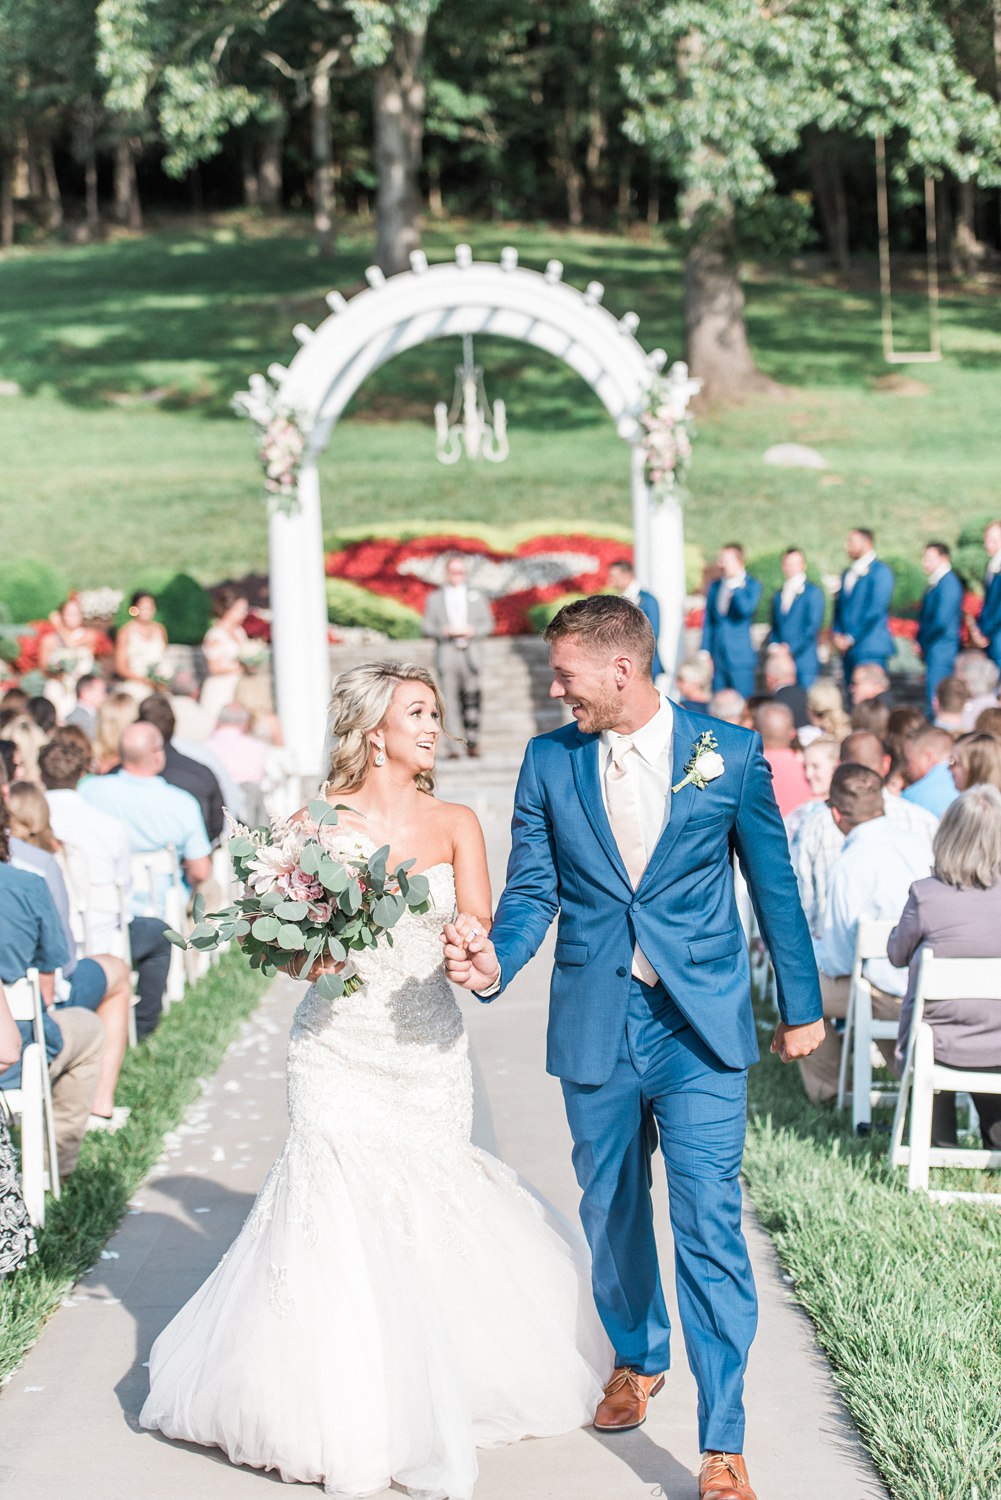
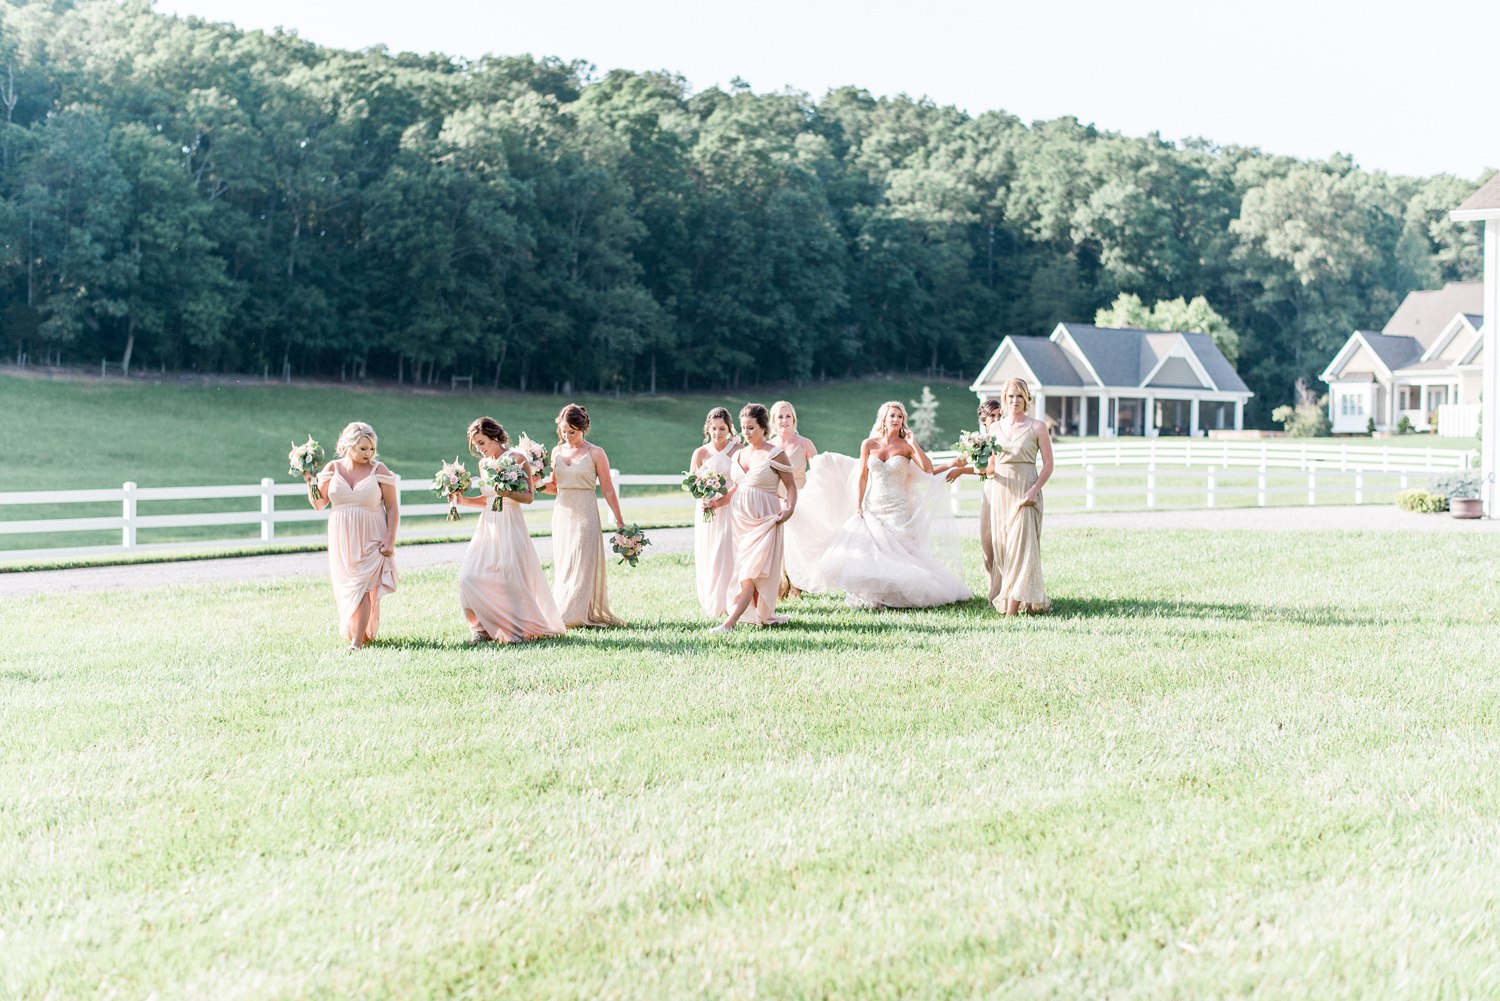
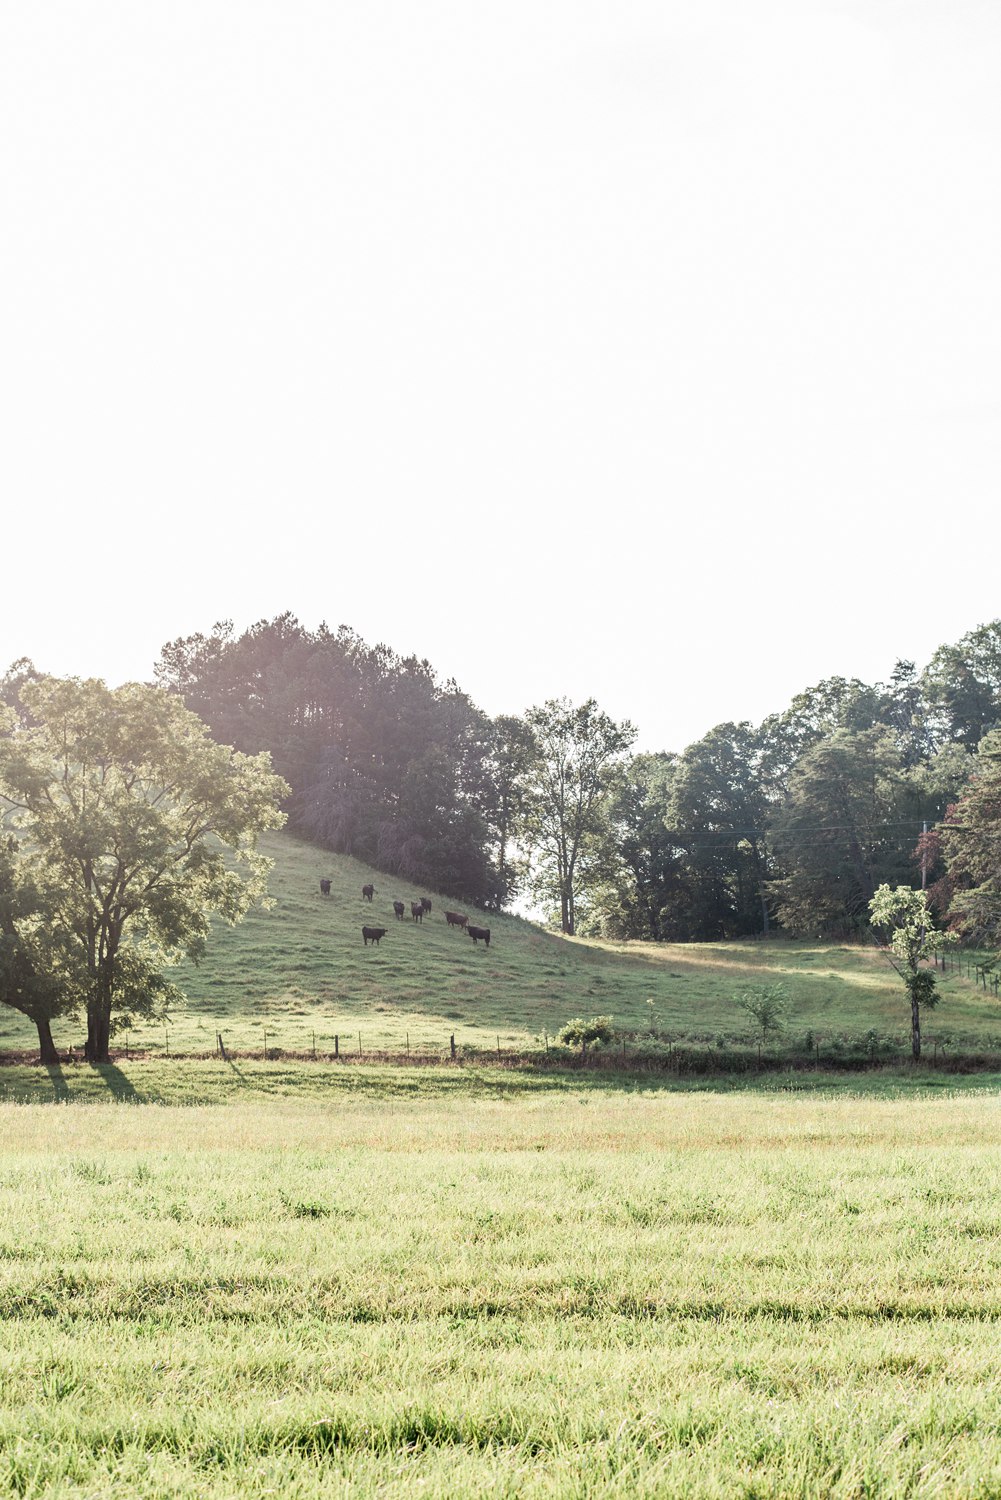
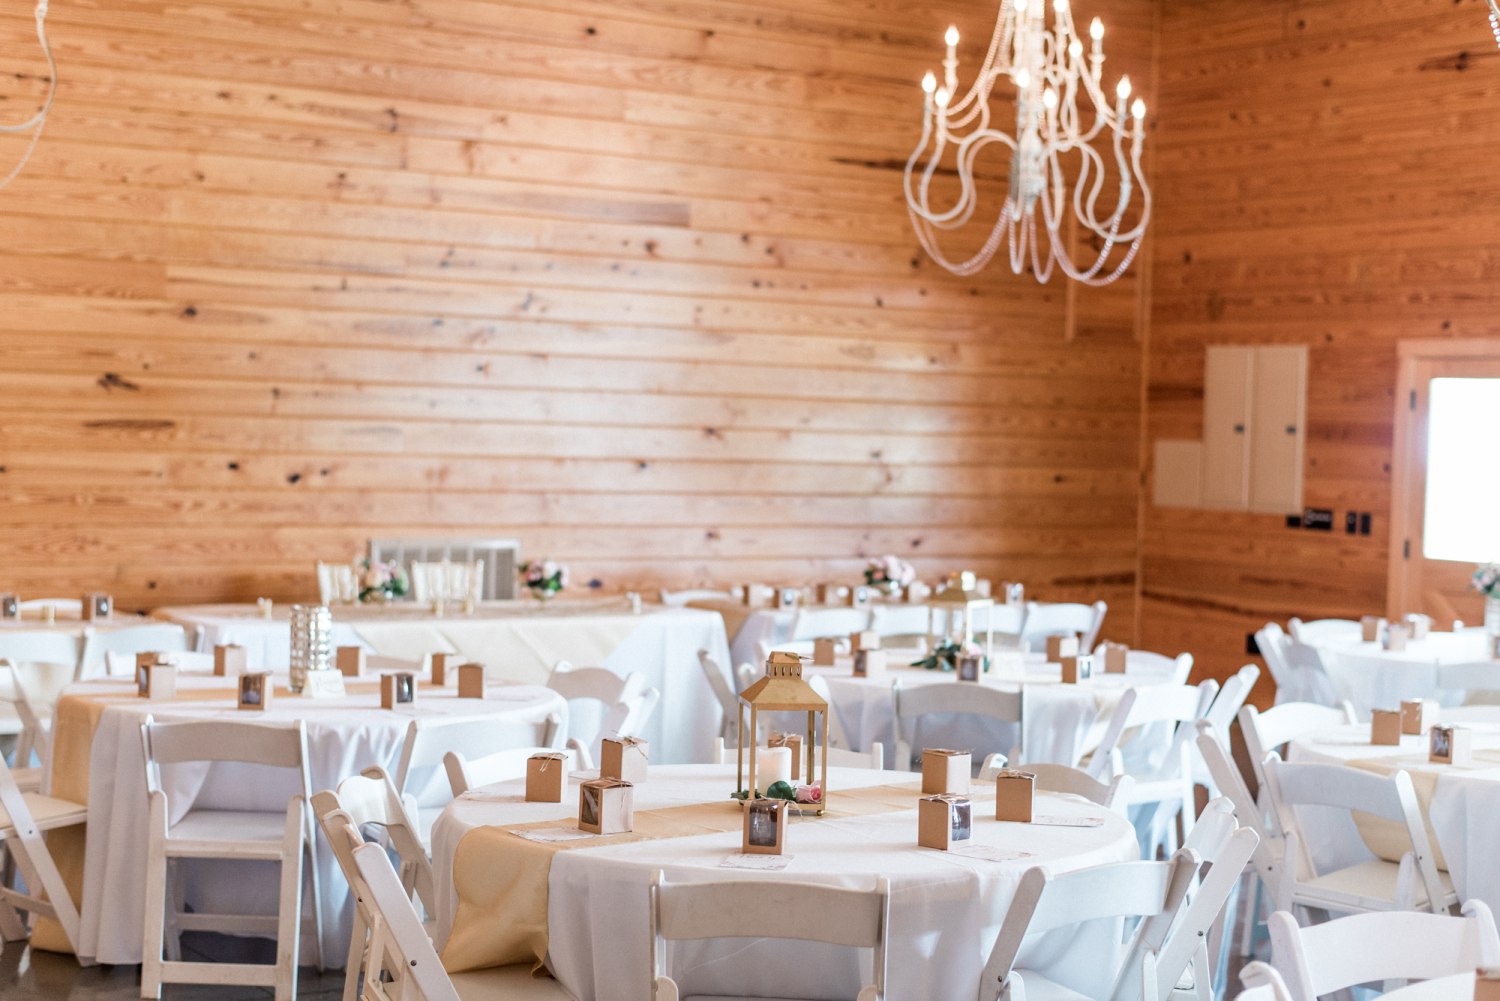
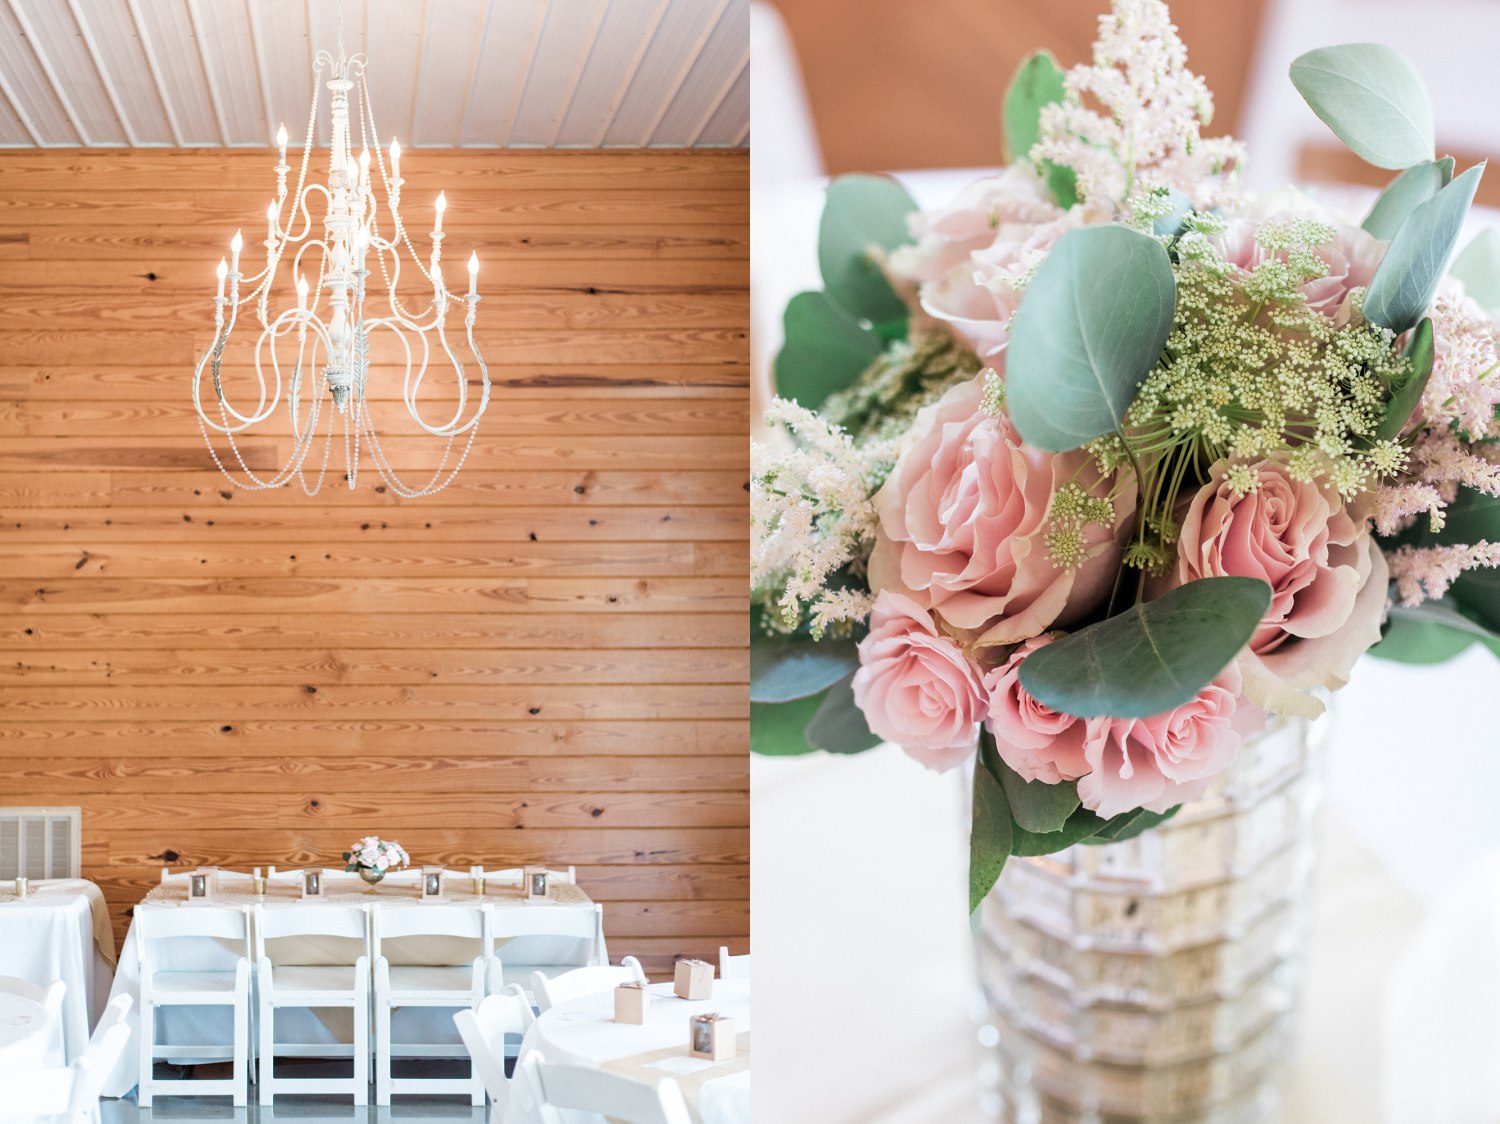
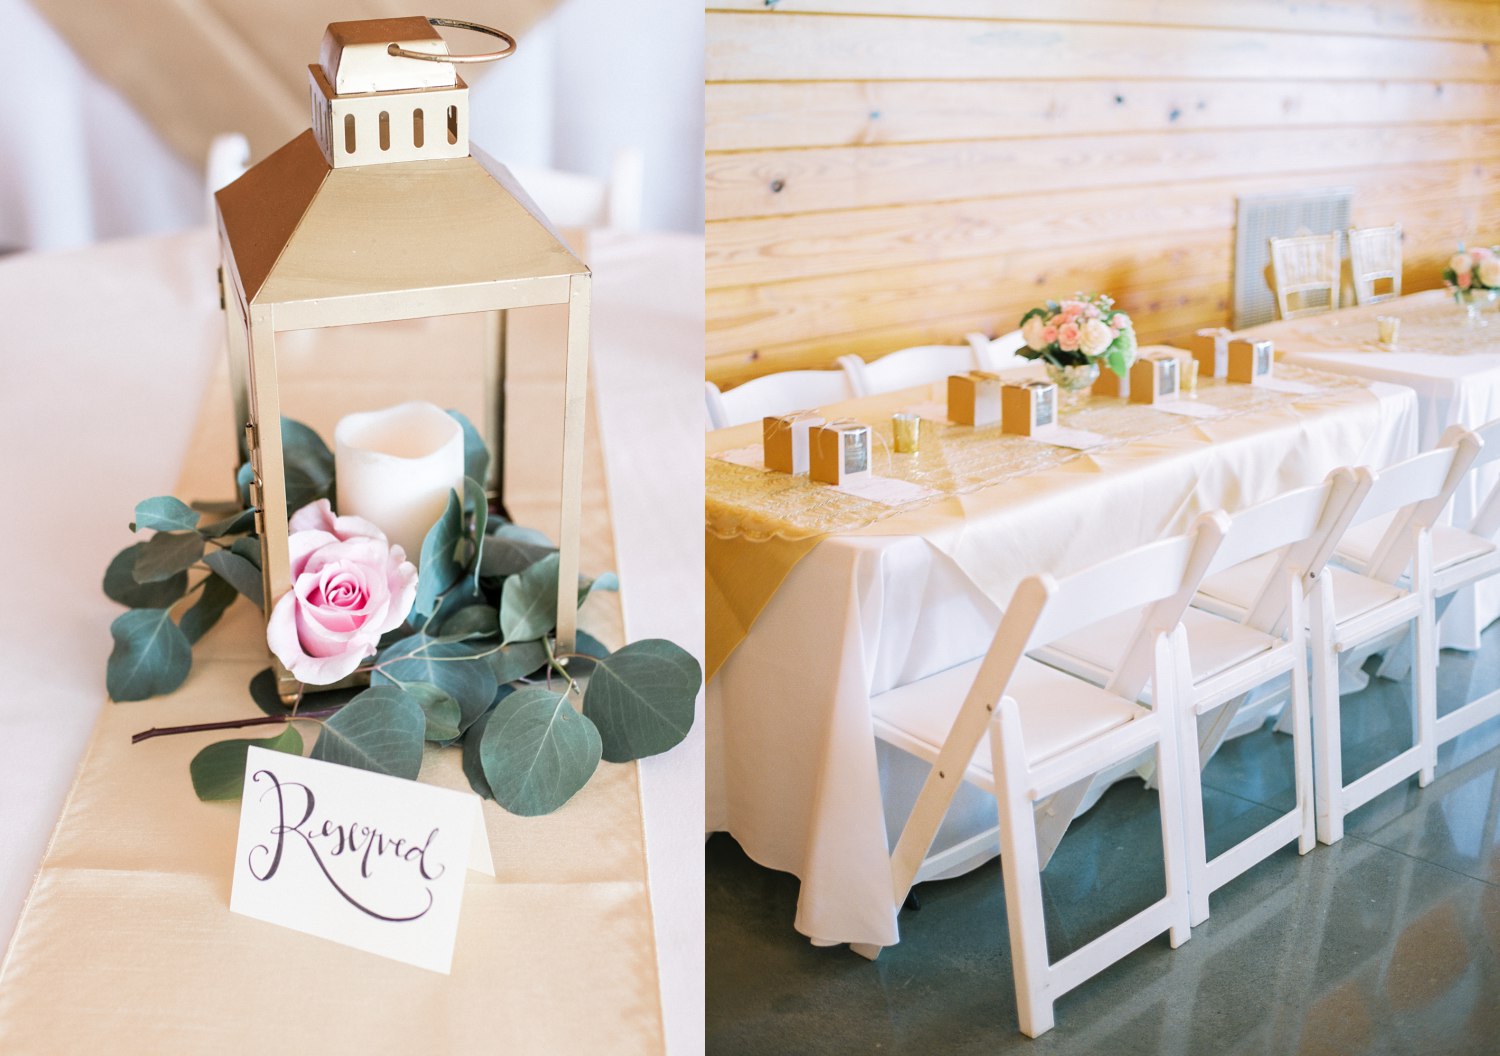
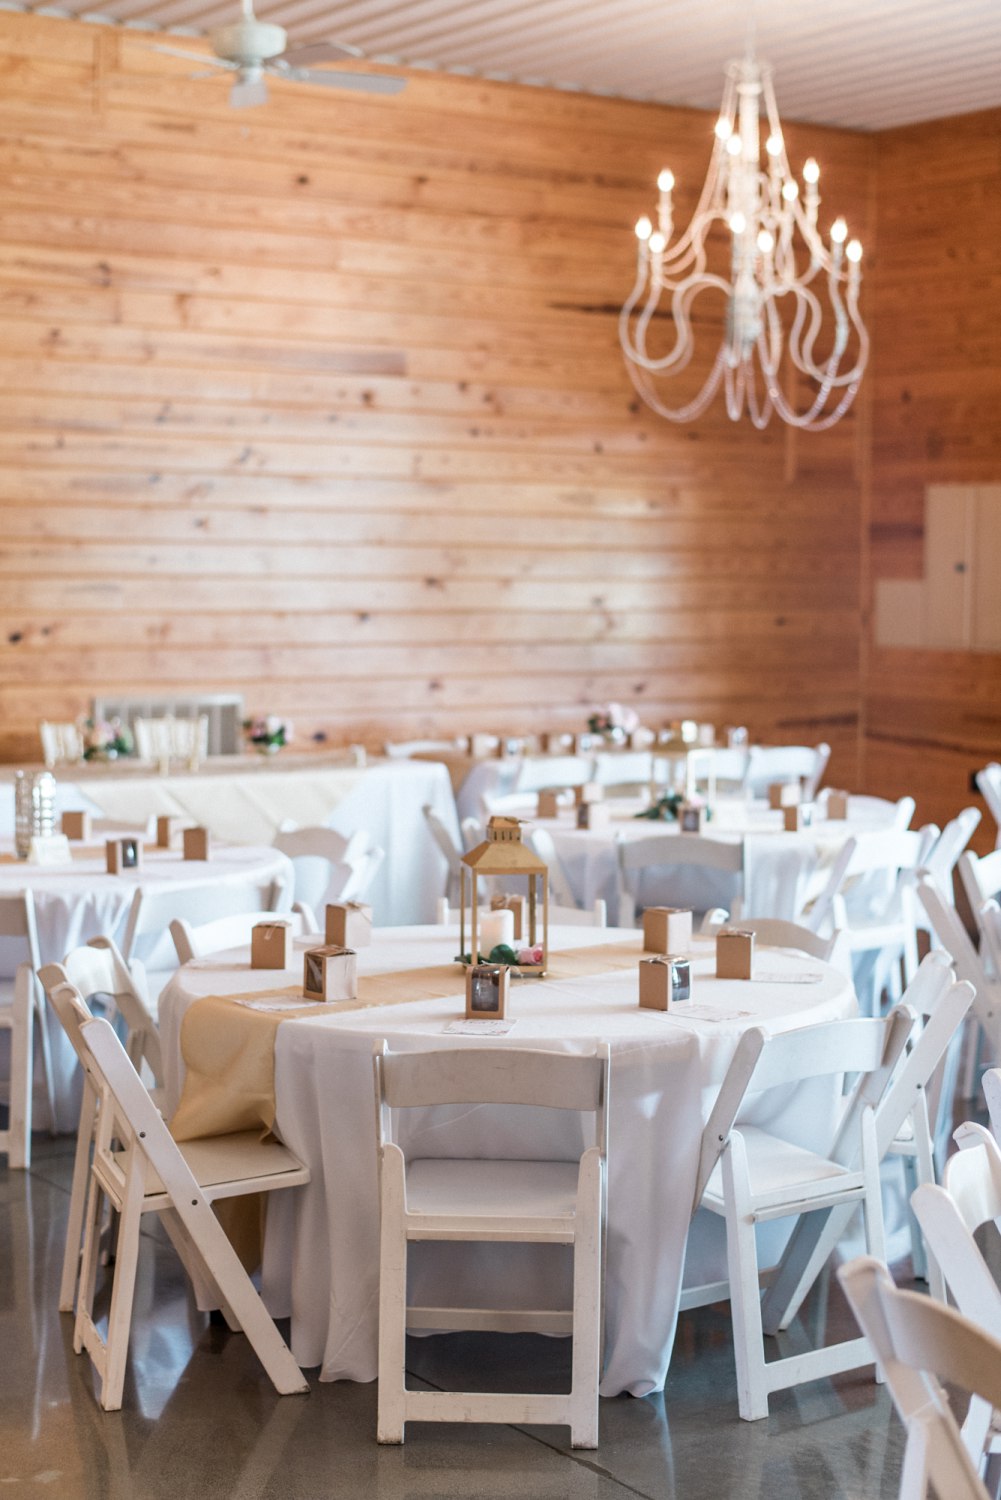
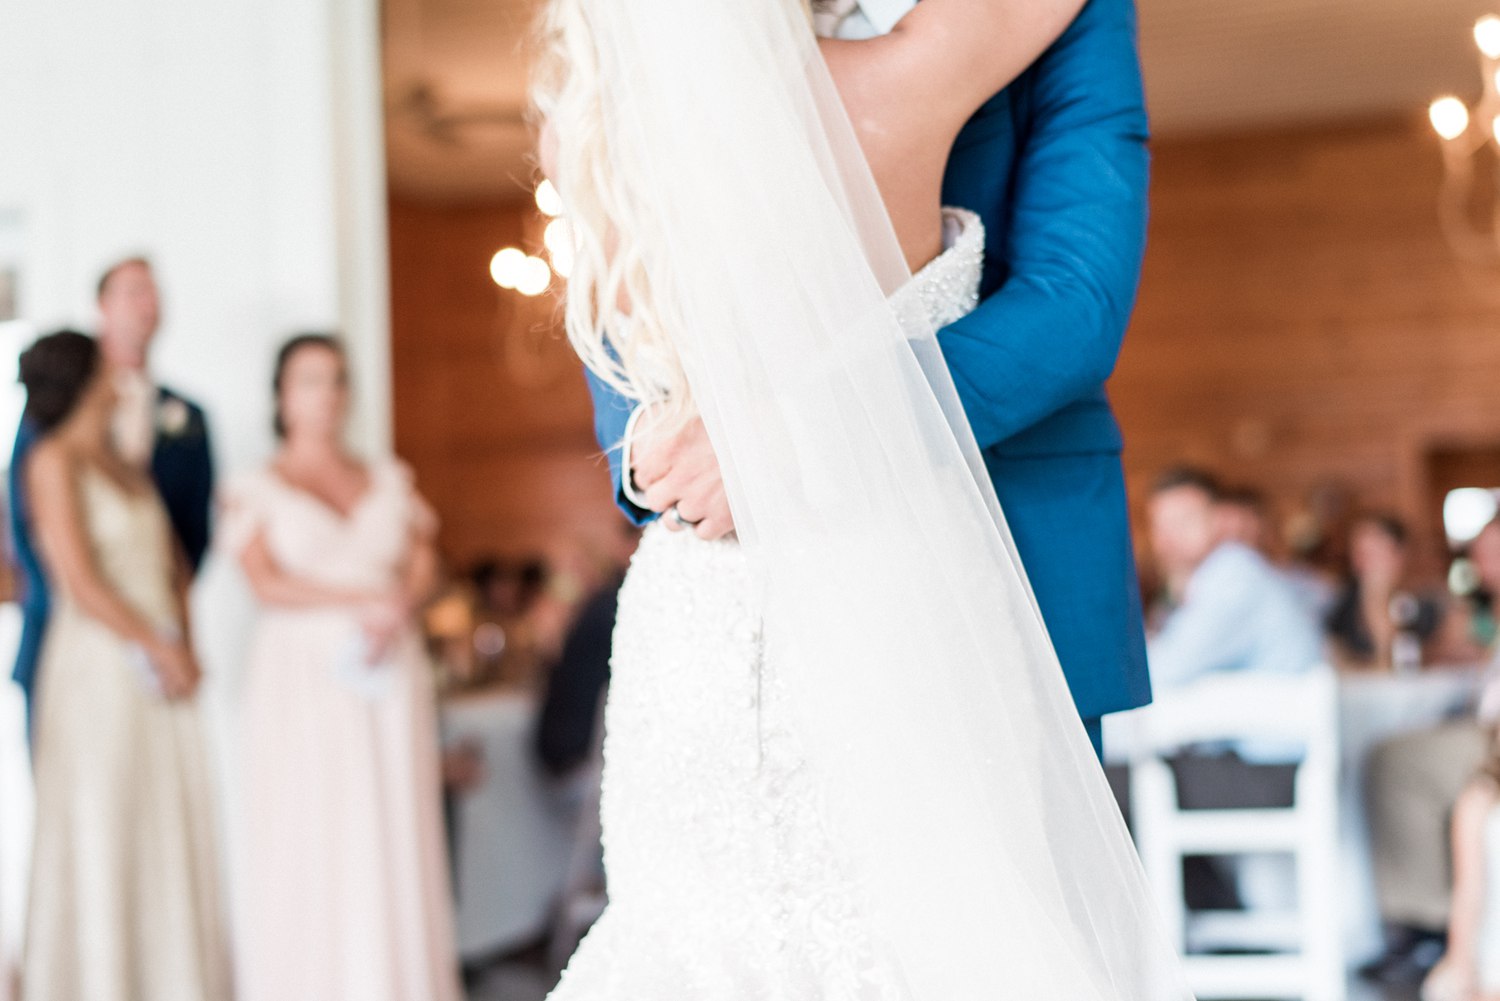
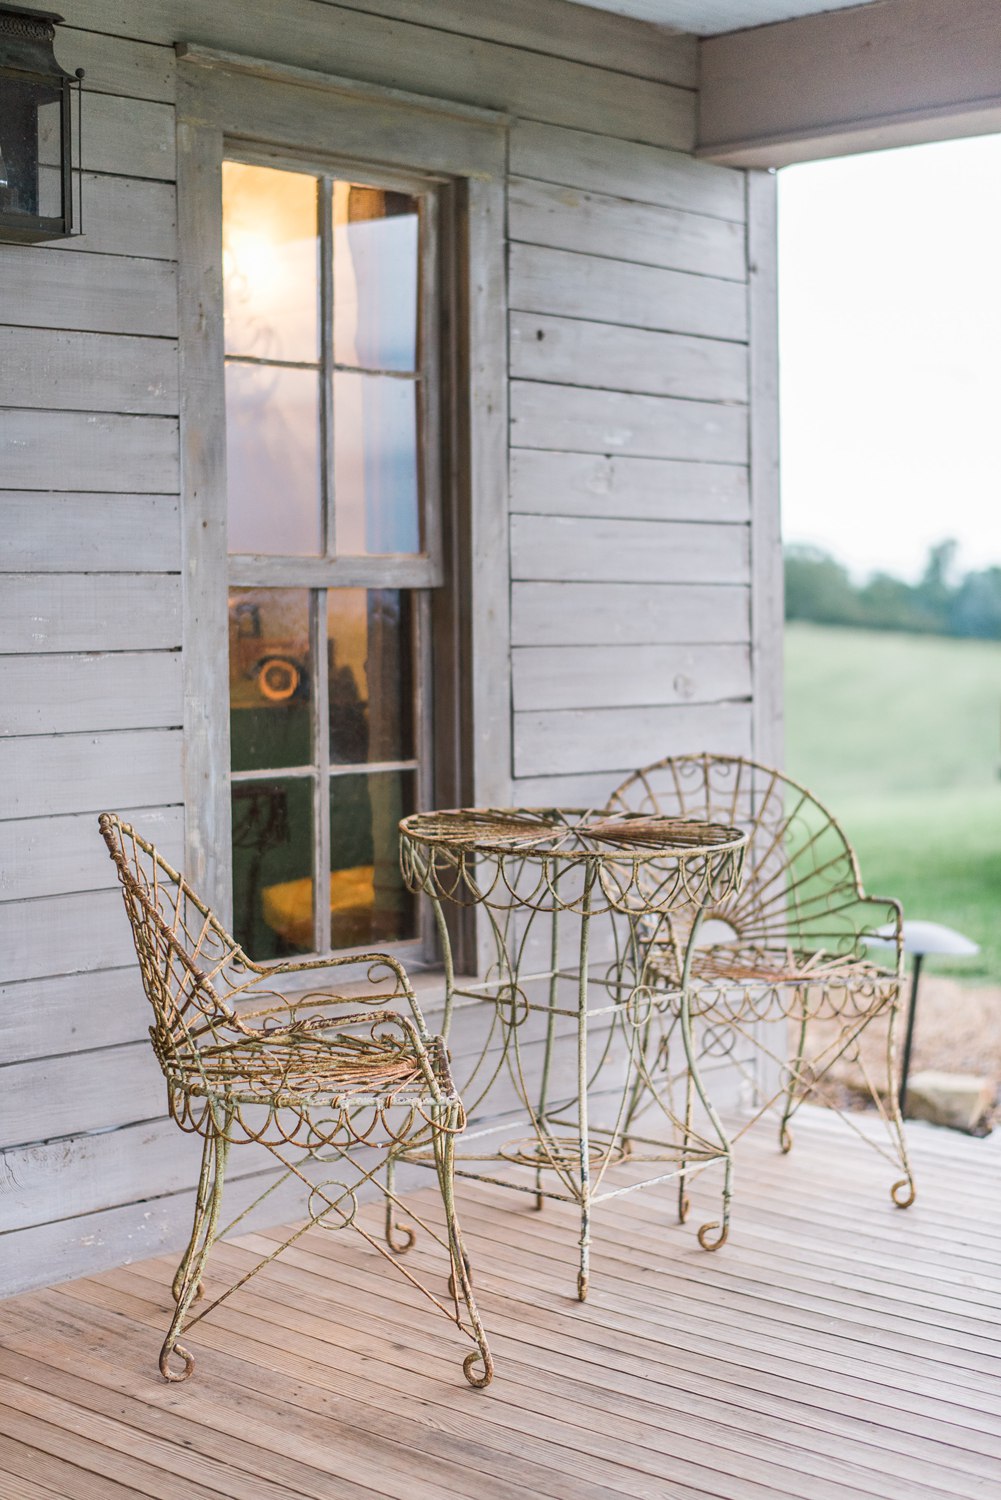
Both Kendall's bridal session and the couple's wedding day took place at this Jefferson City venue, The Carriage House. True to its name, this venue features a huge carriage house building with an oversized outdoor porch (perfect for dancing under the stars or admiring the amazing views) and beautiful chandelier lighting inside. A setting with green pastures and rolling hills and a picturesque white fence make up the surroundings of The Carriage House, and the stone path at ceremony site for Kendall and Nathan features a pristine arbor and perfectly manicured red blooms in the shape of a heart. We appreciate the attention paid to these details, and this venue is nothing short of elegant.
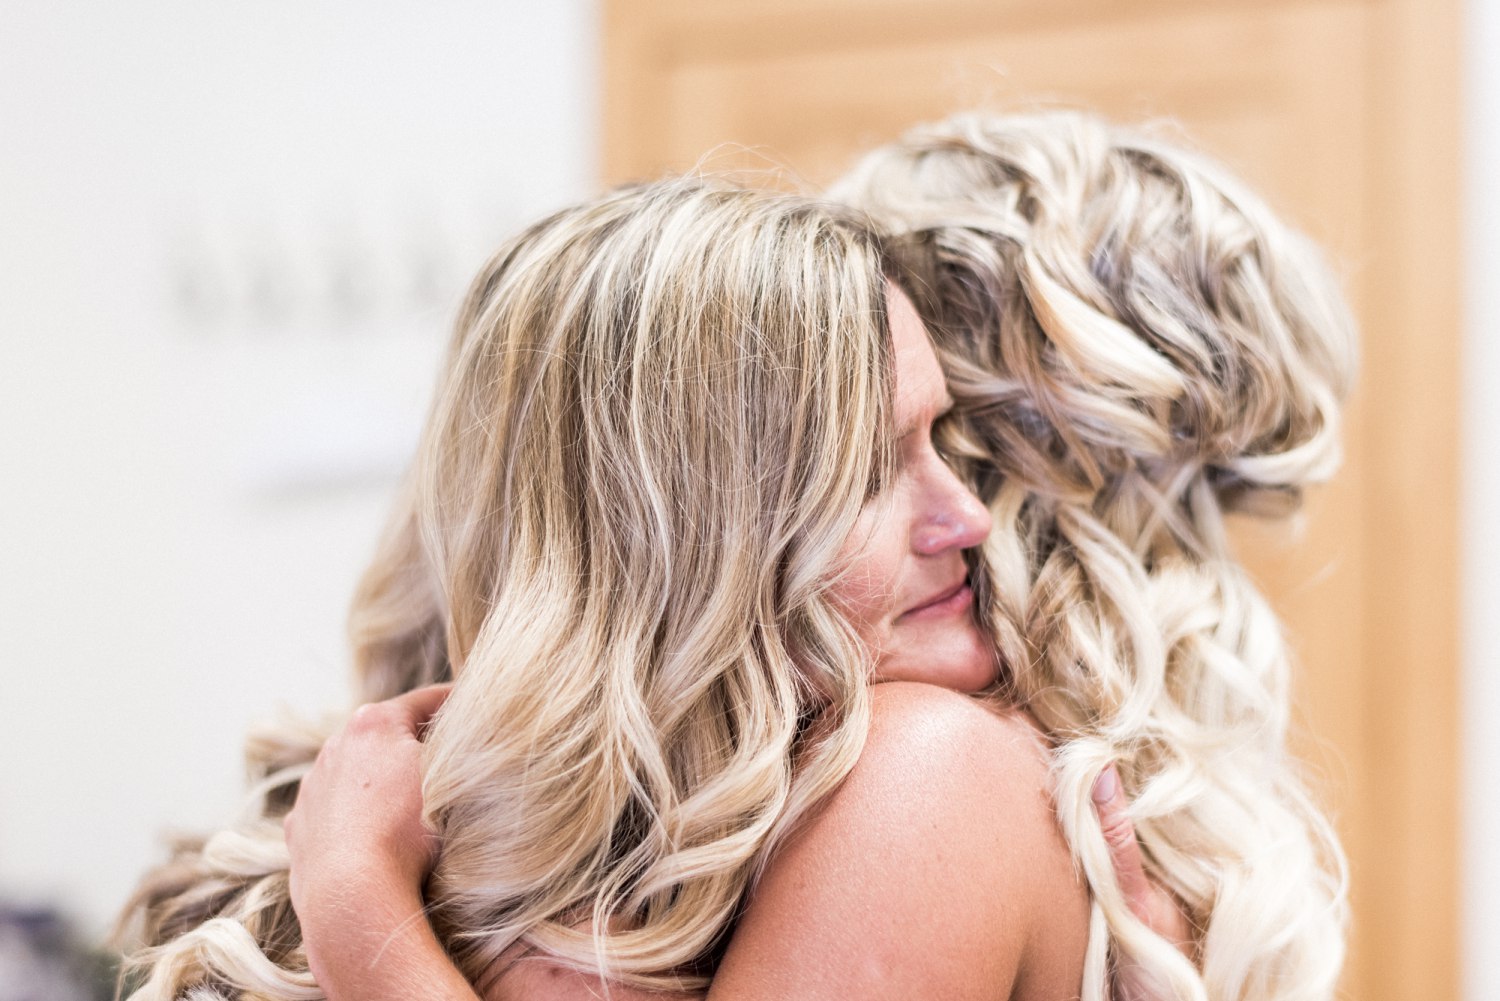
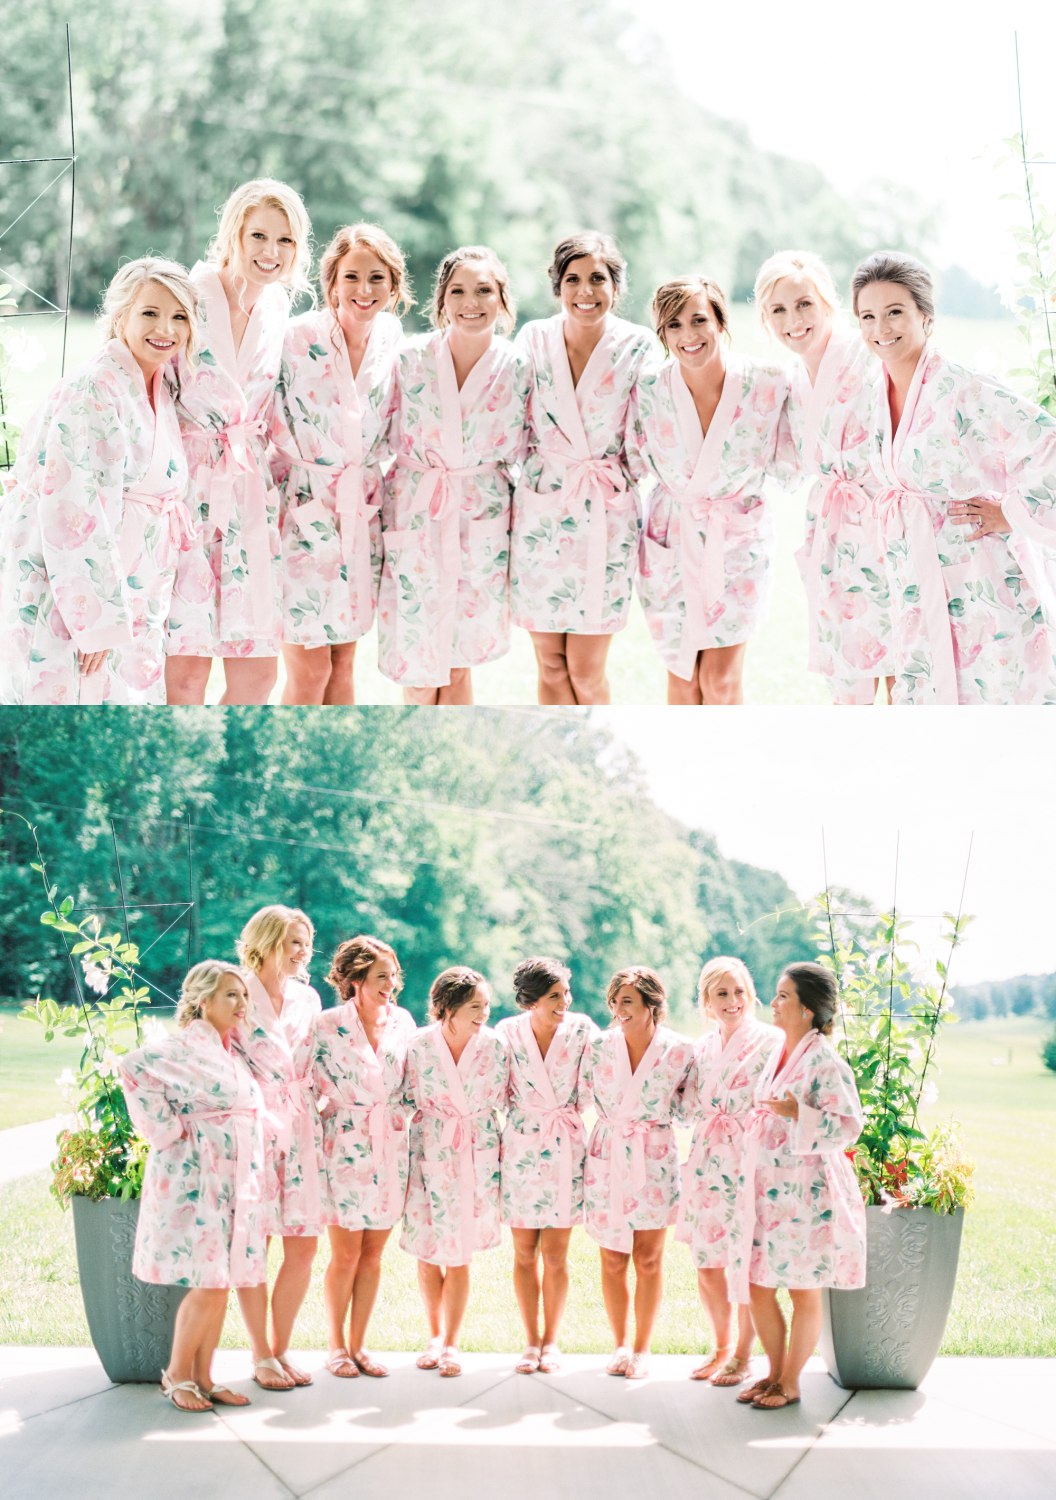
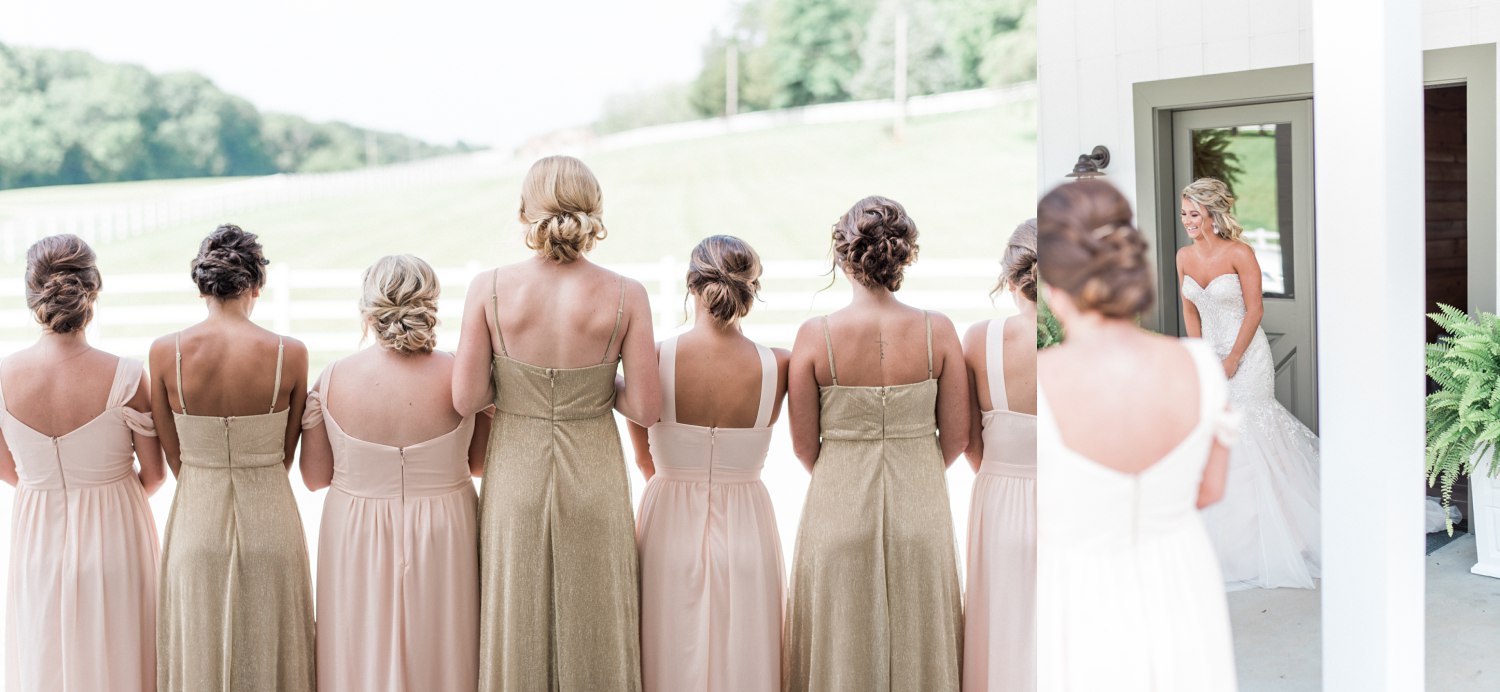
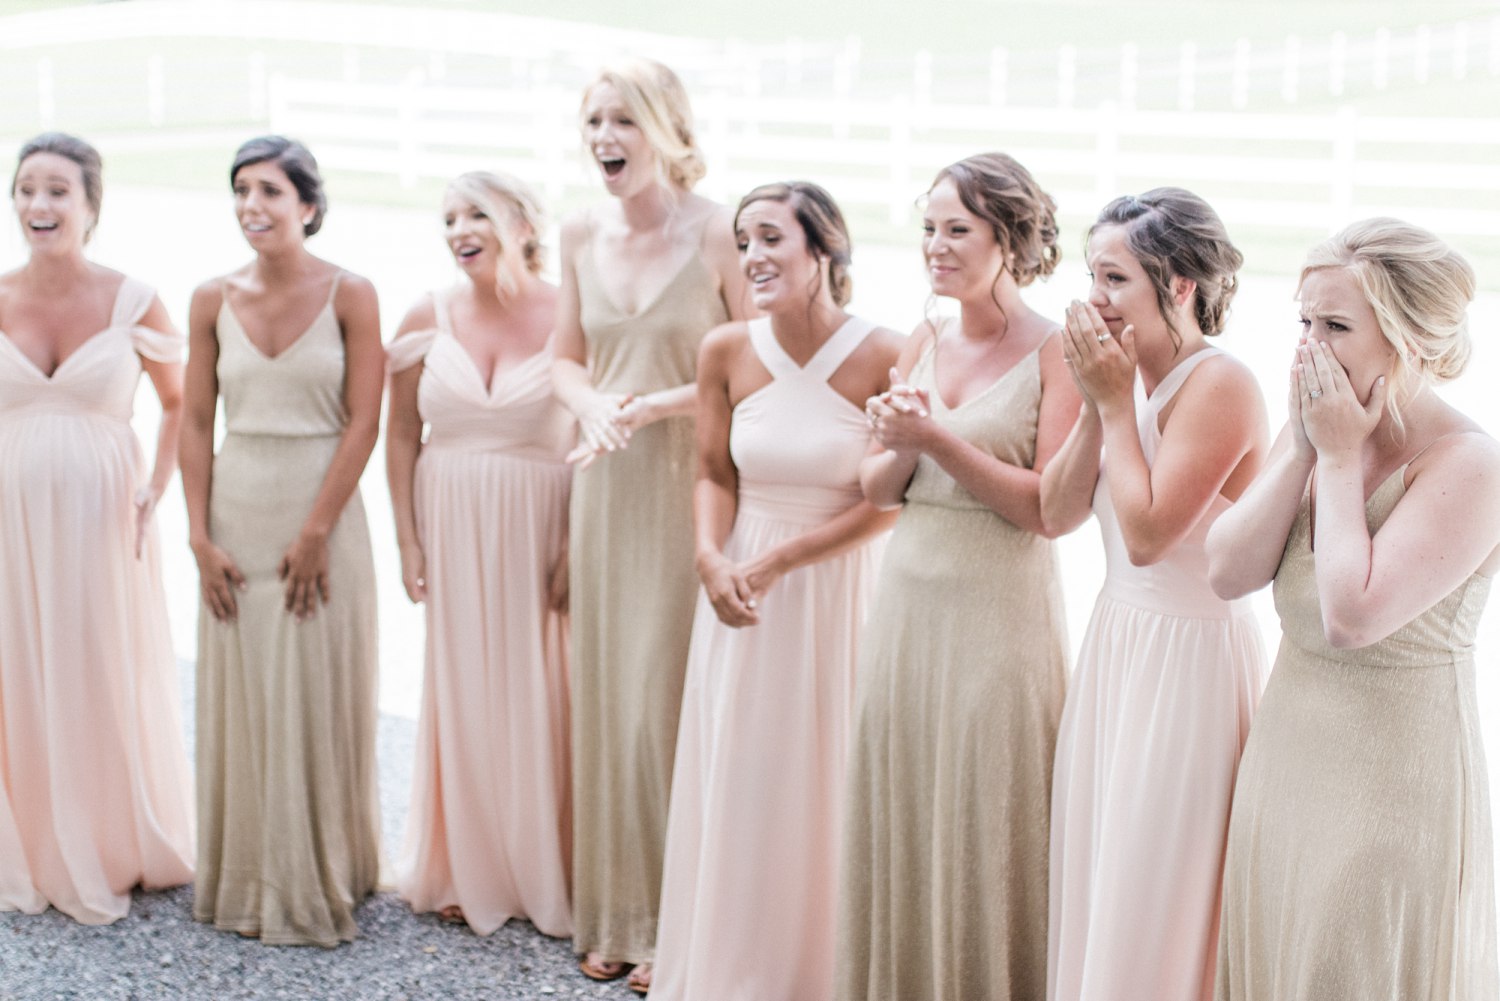
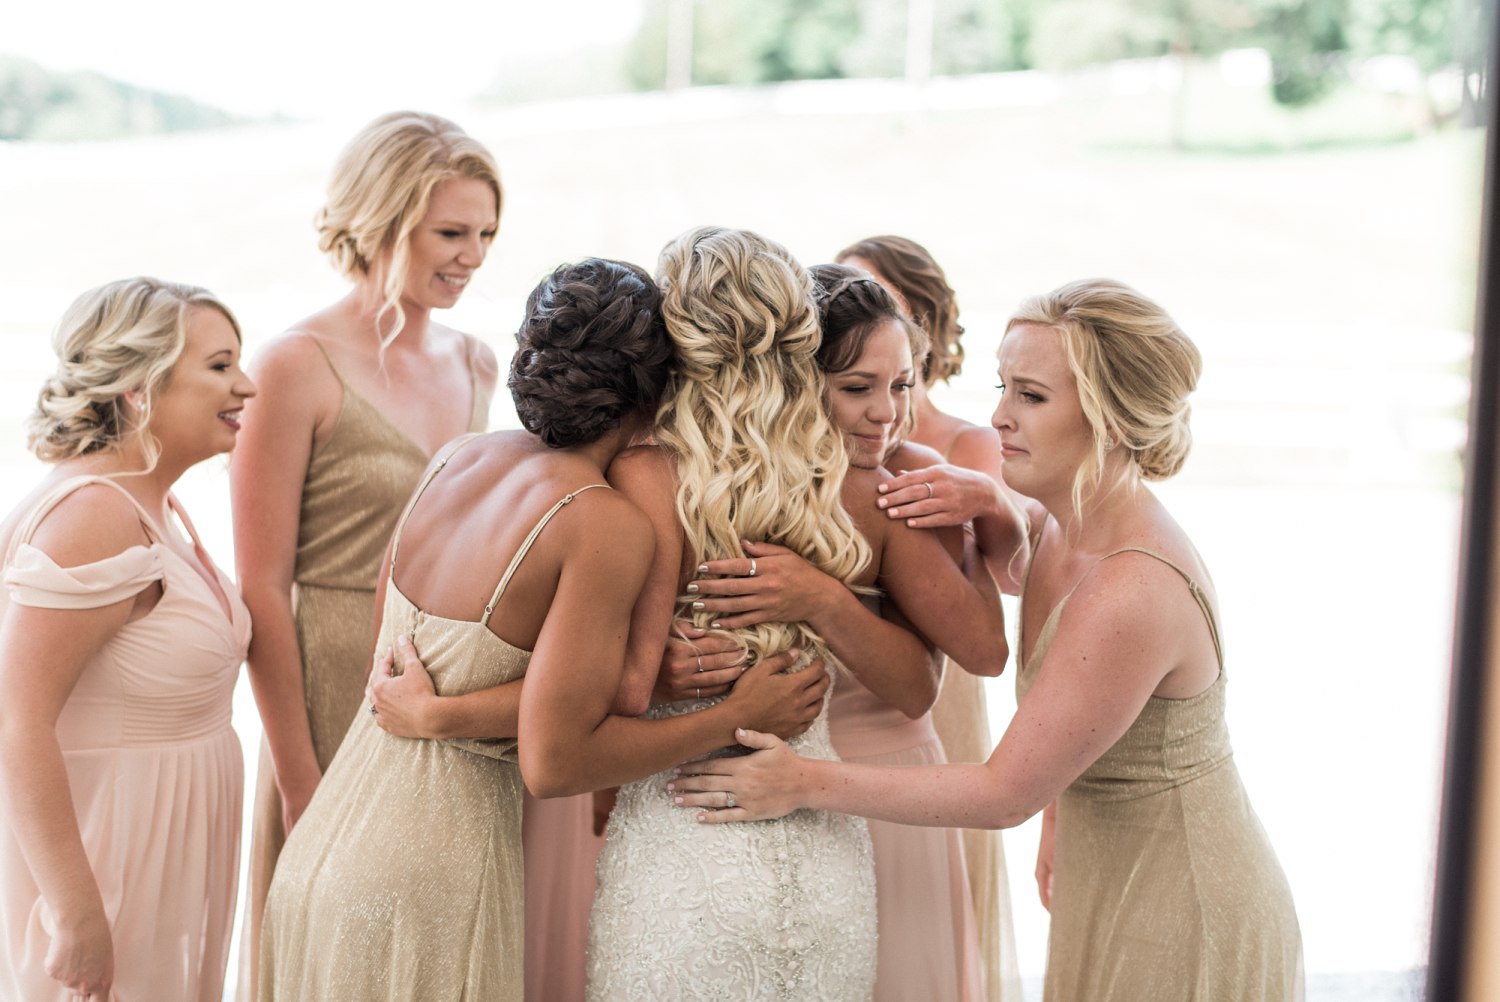
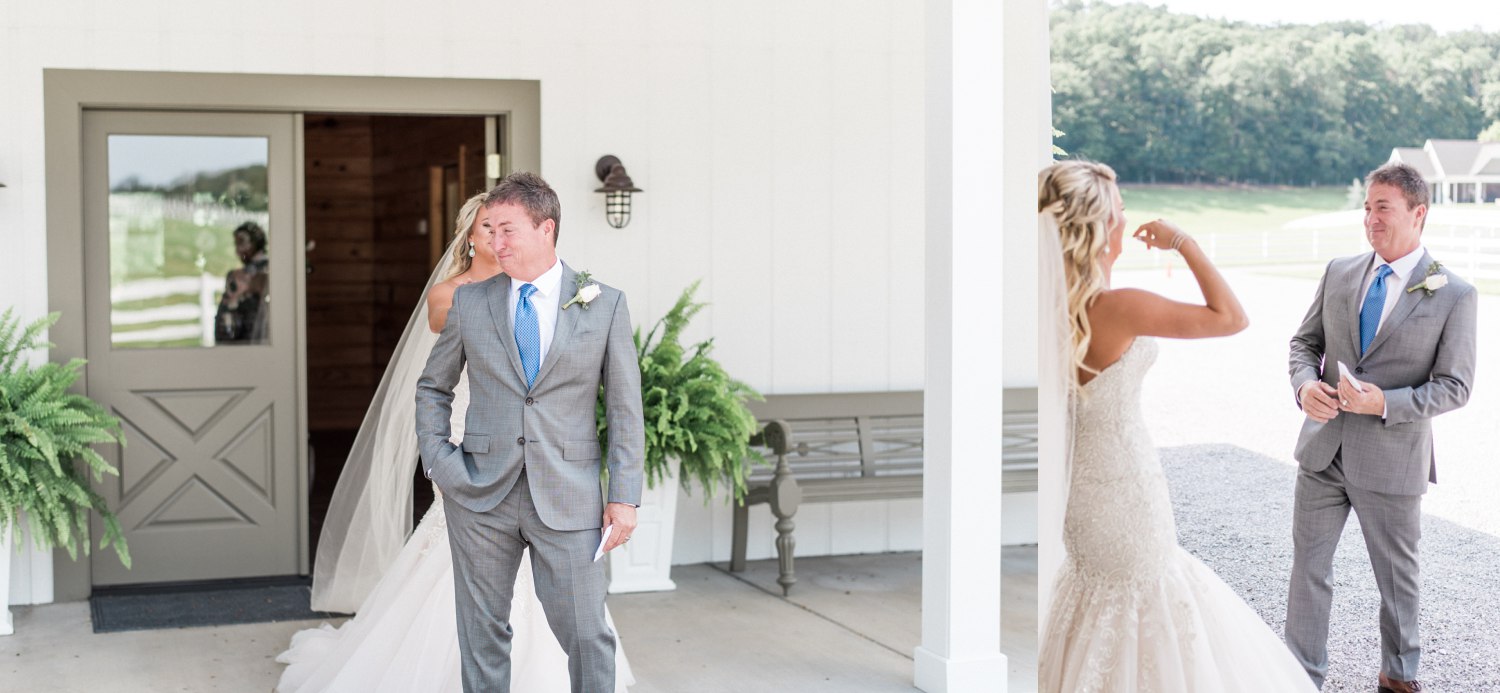
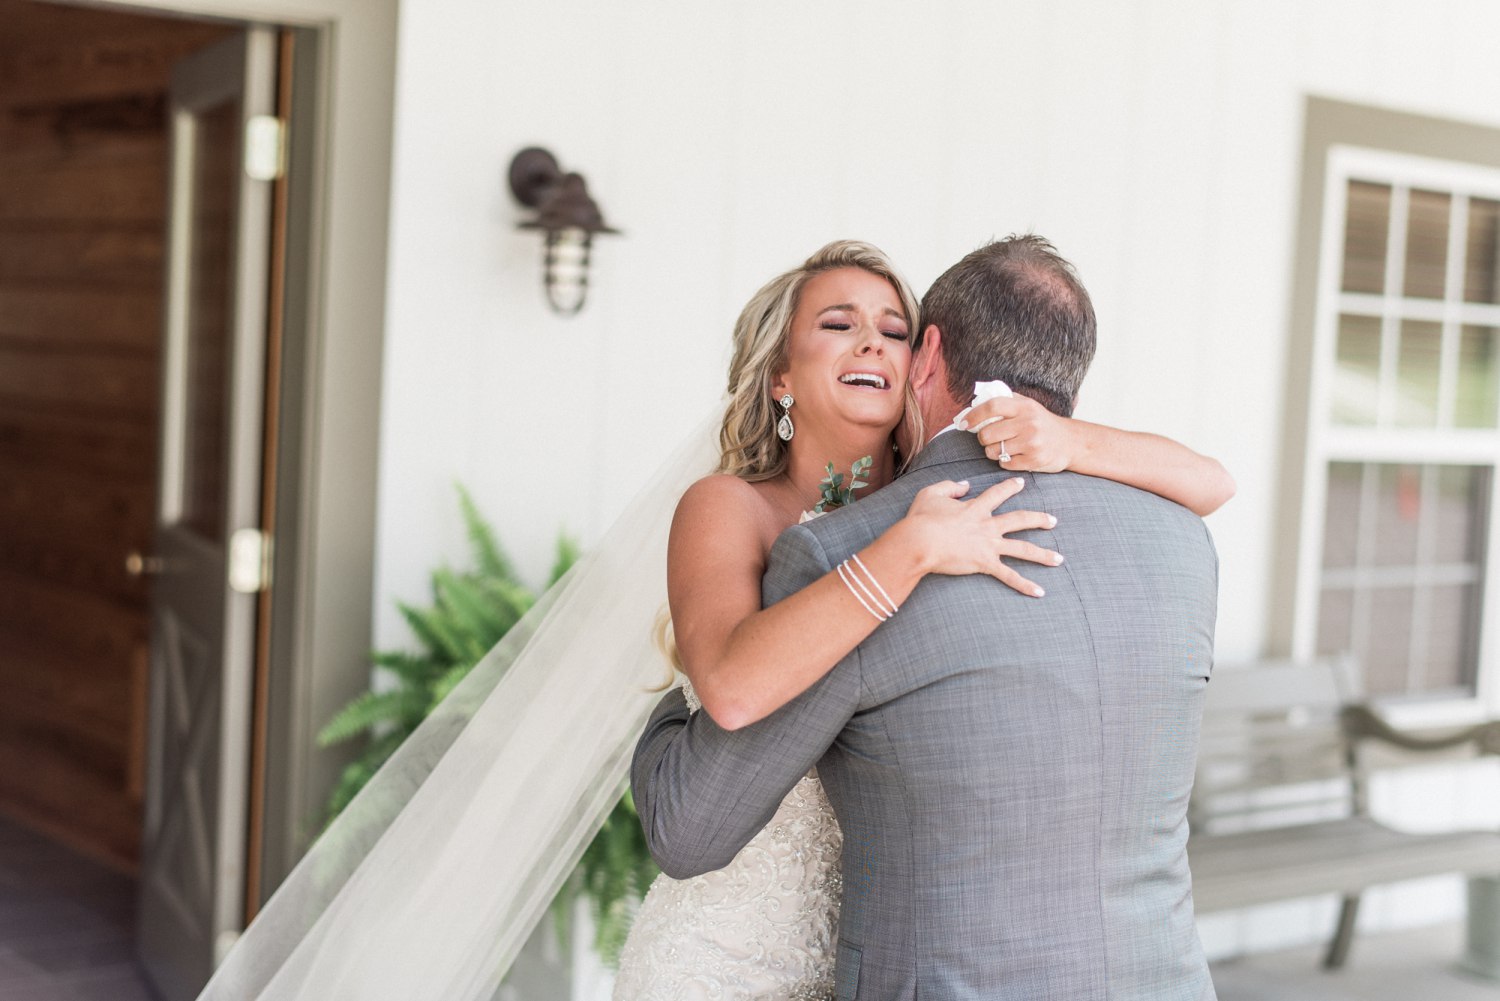
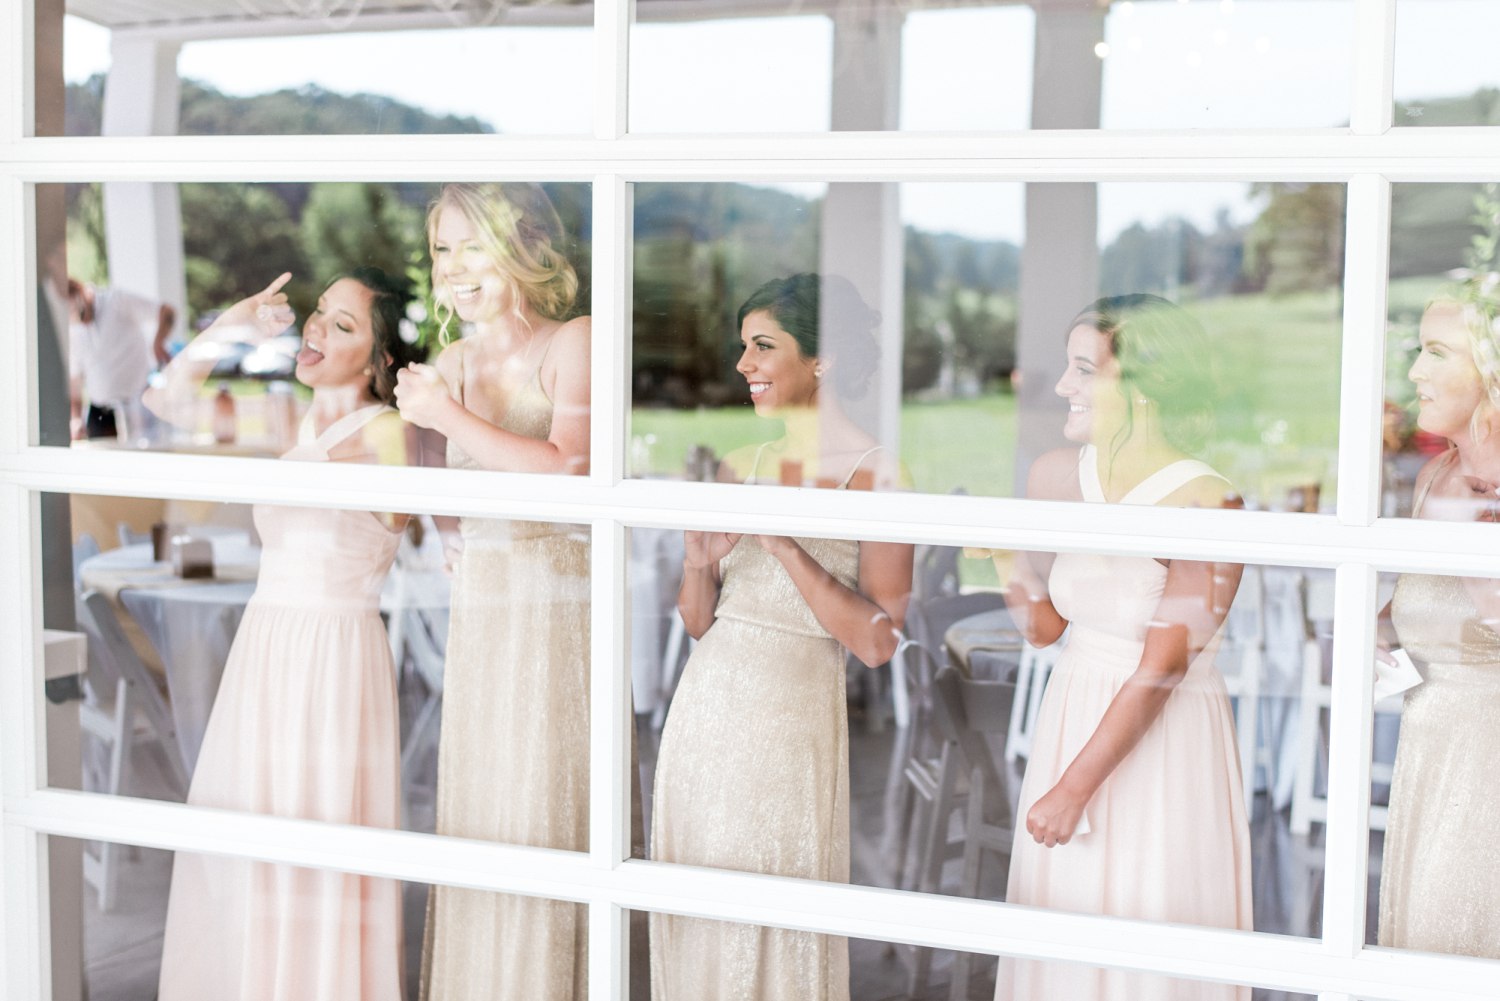
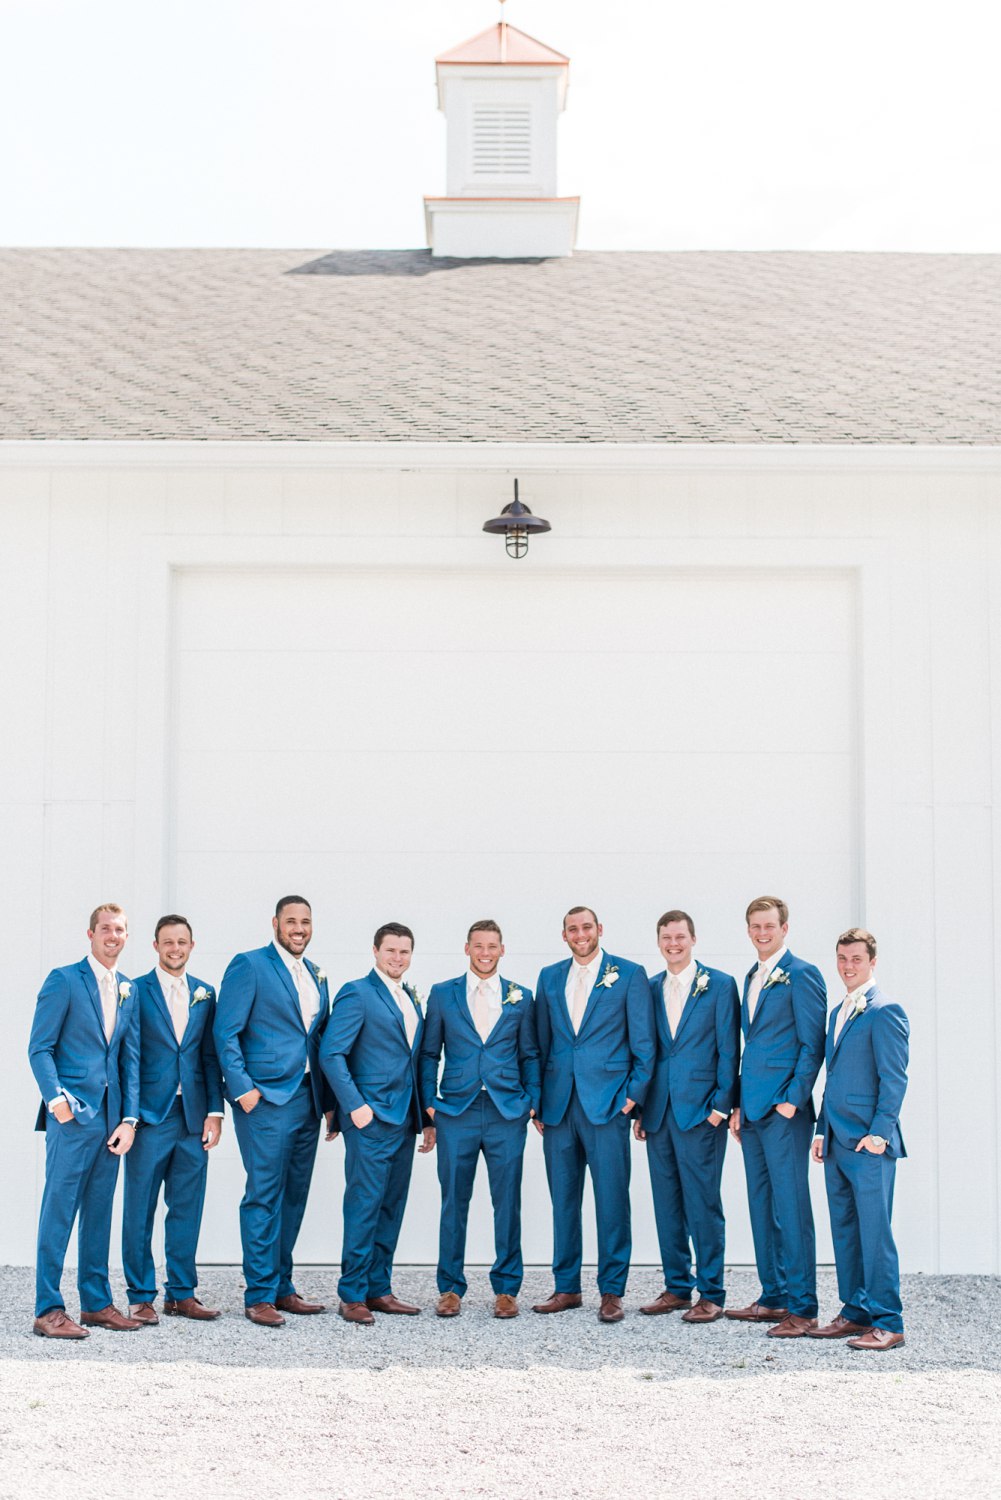
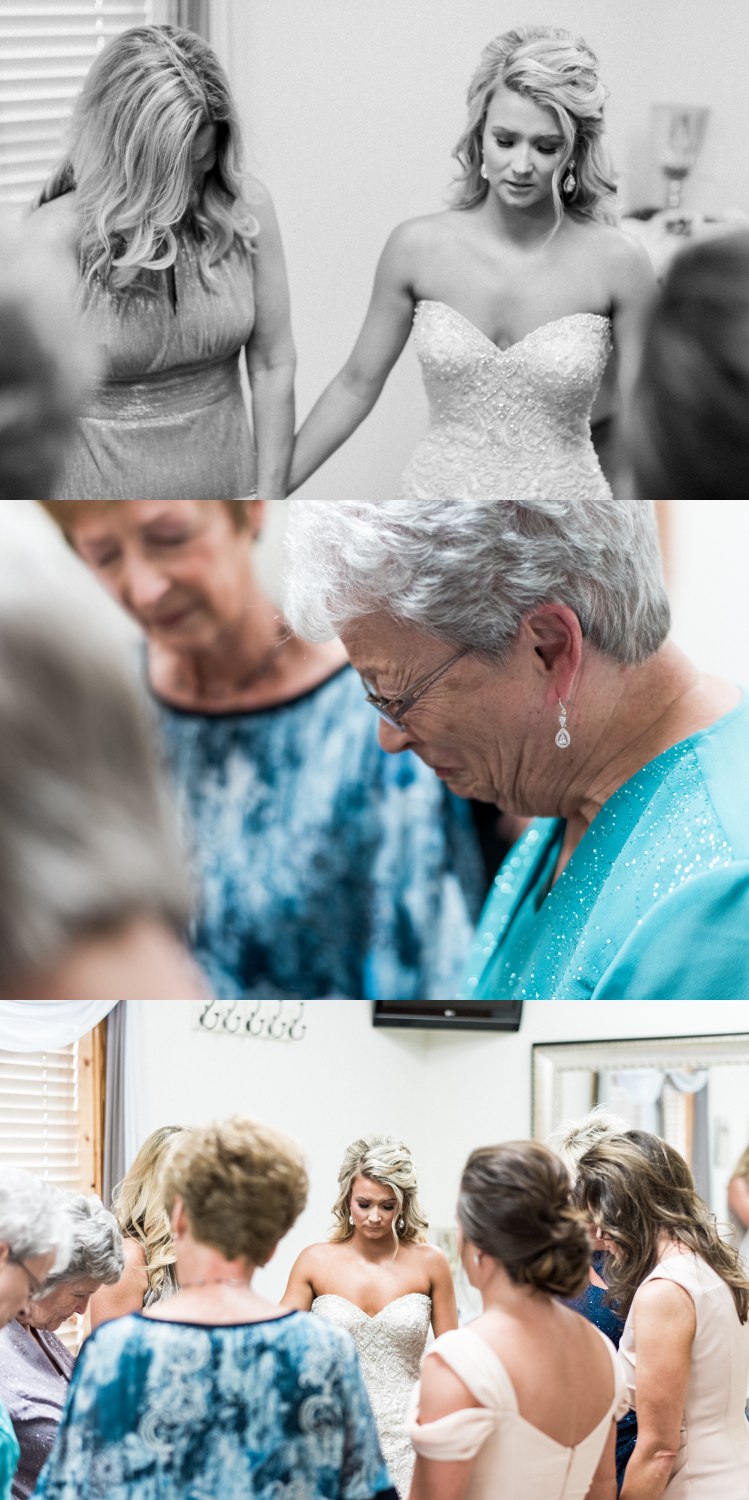
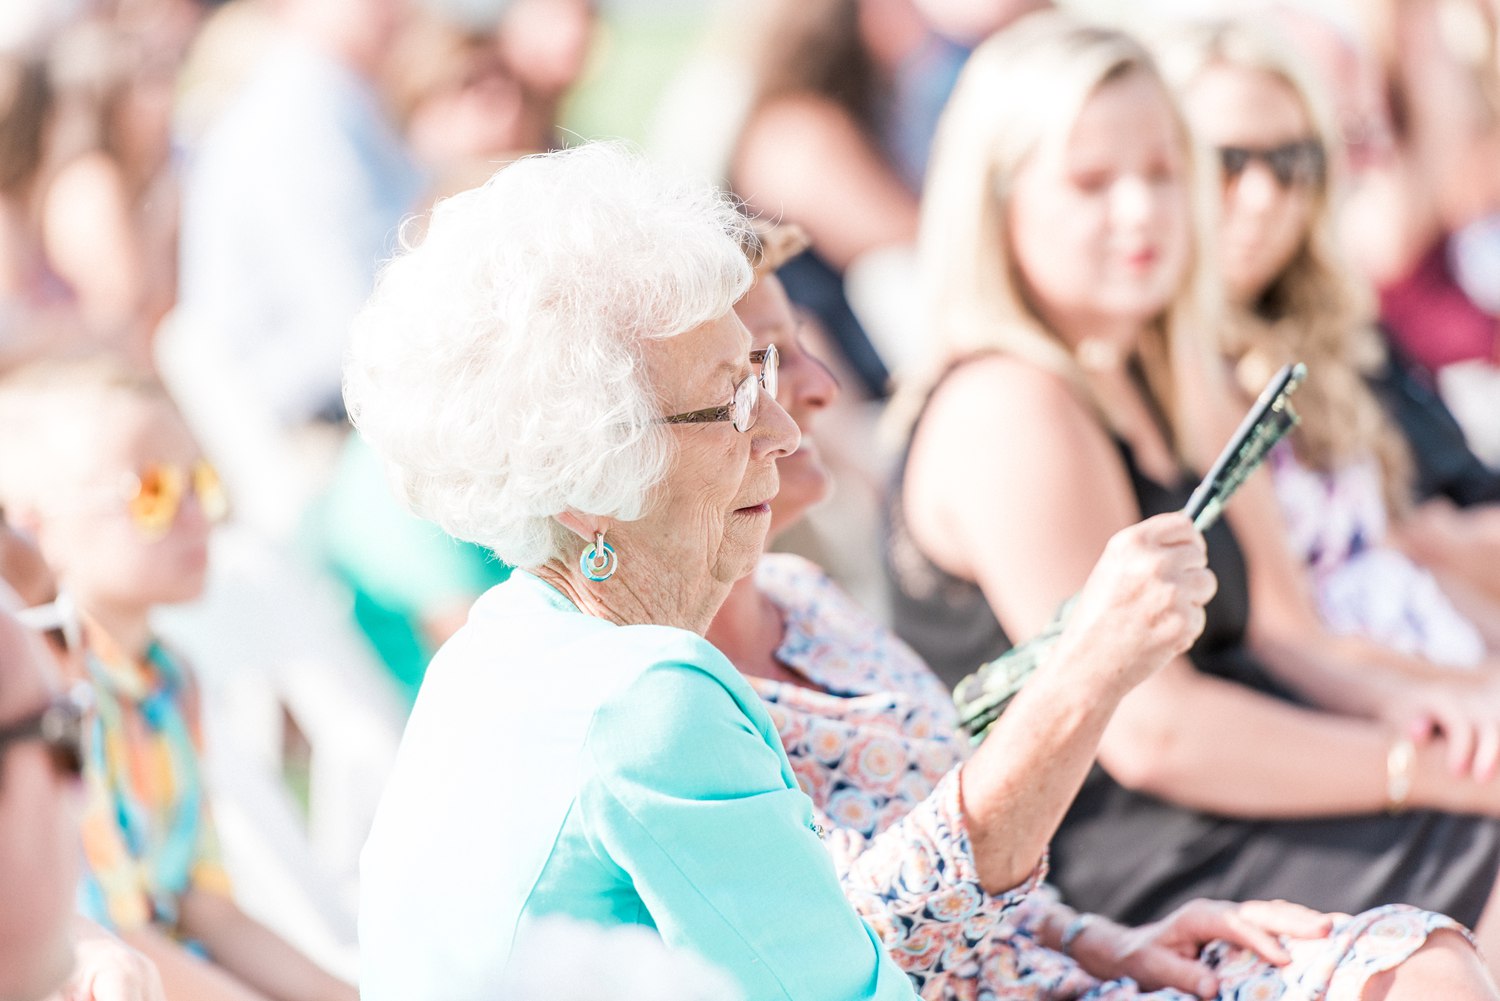
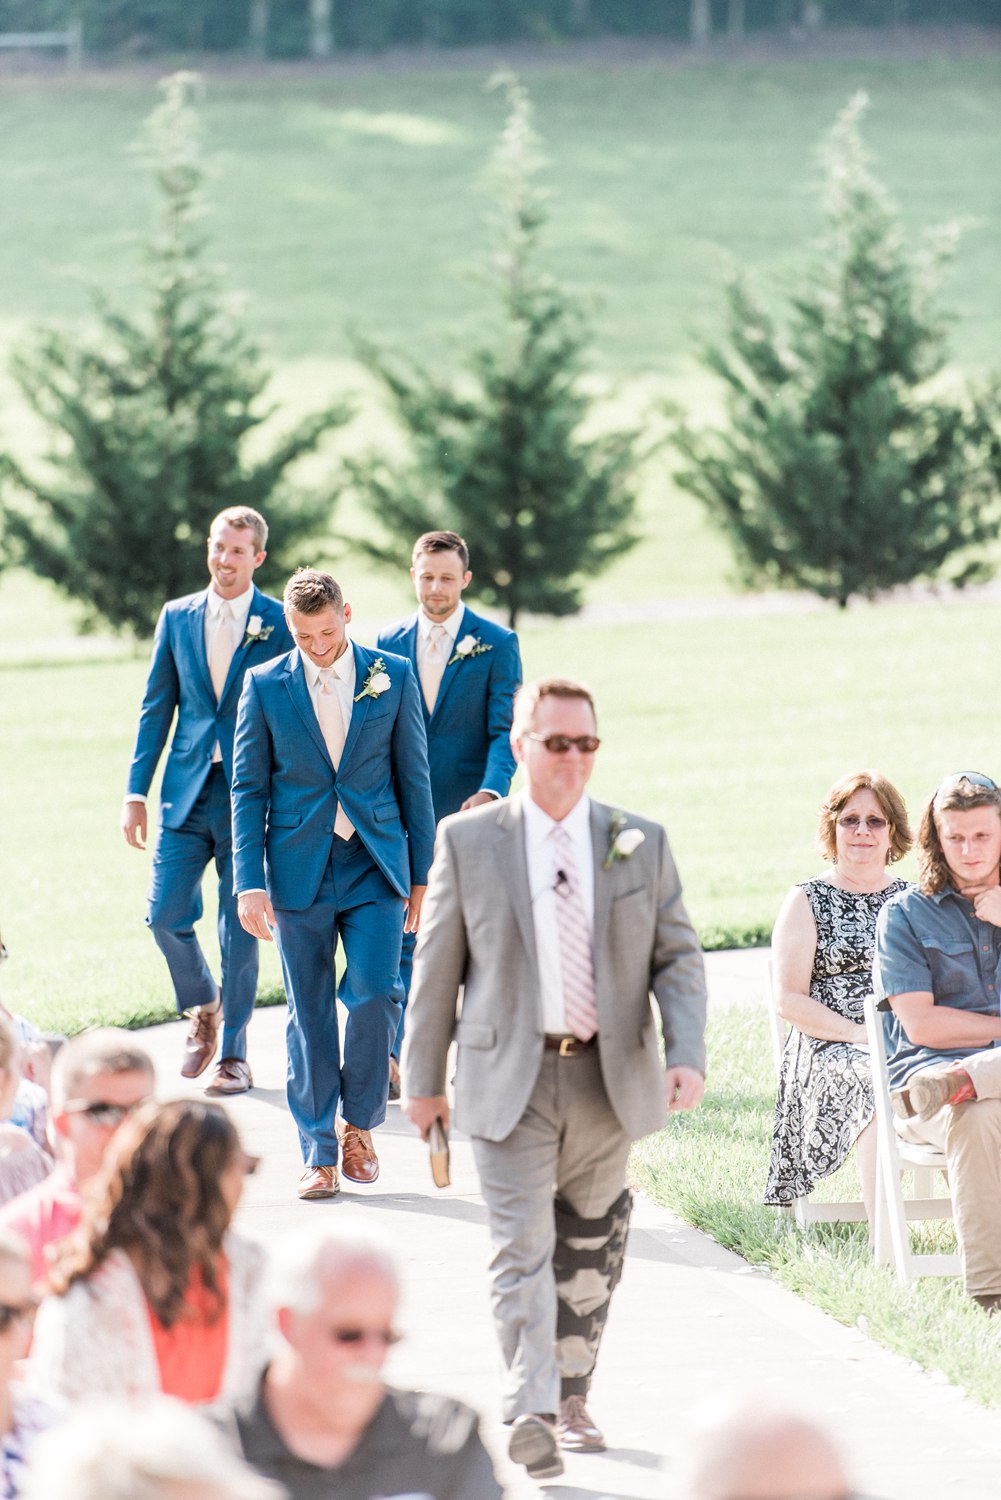
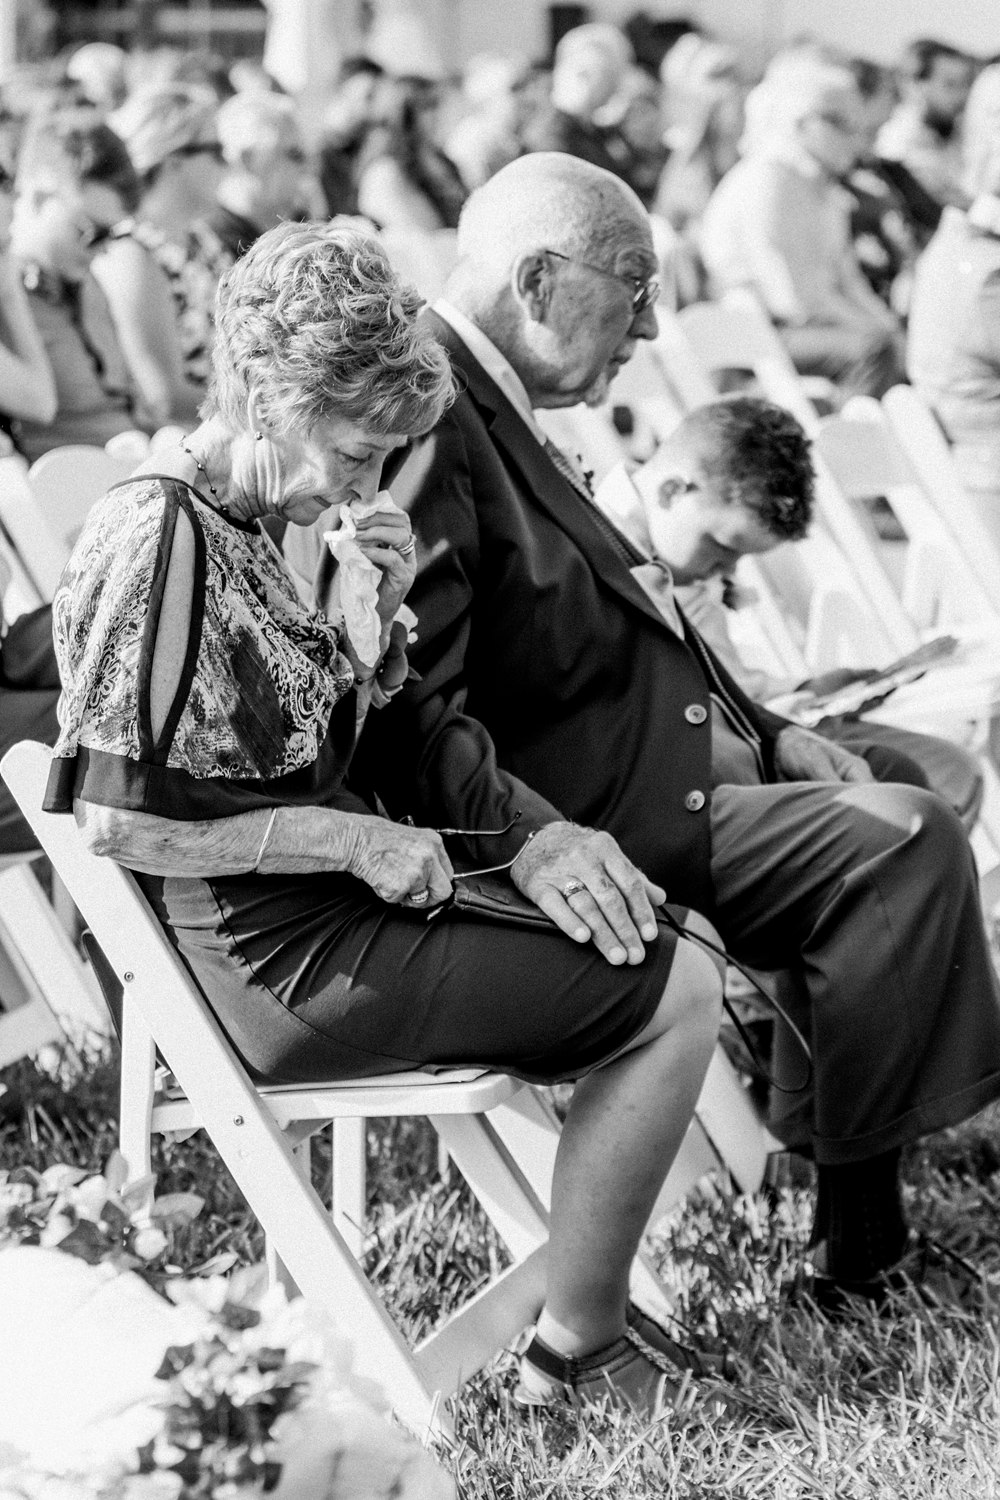
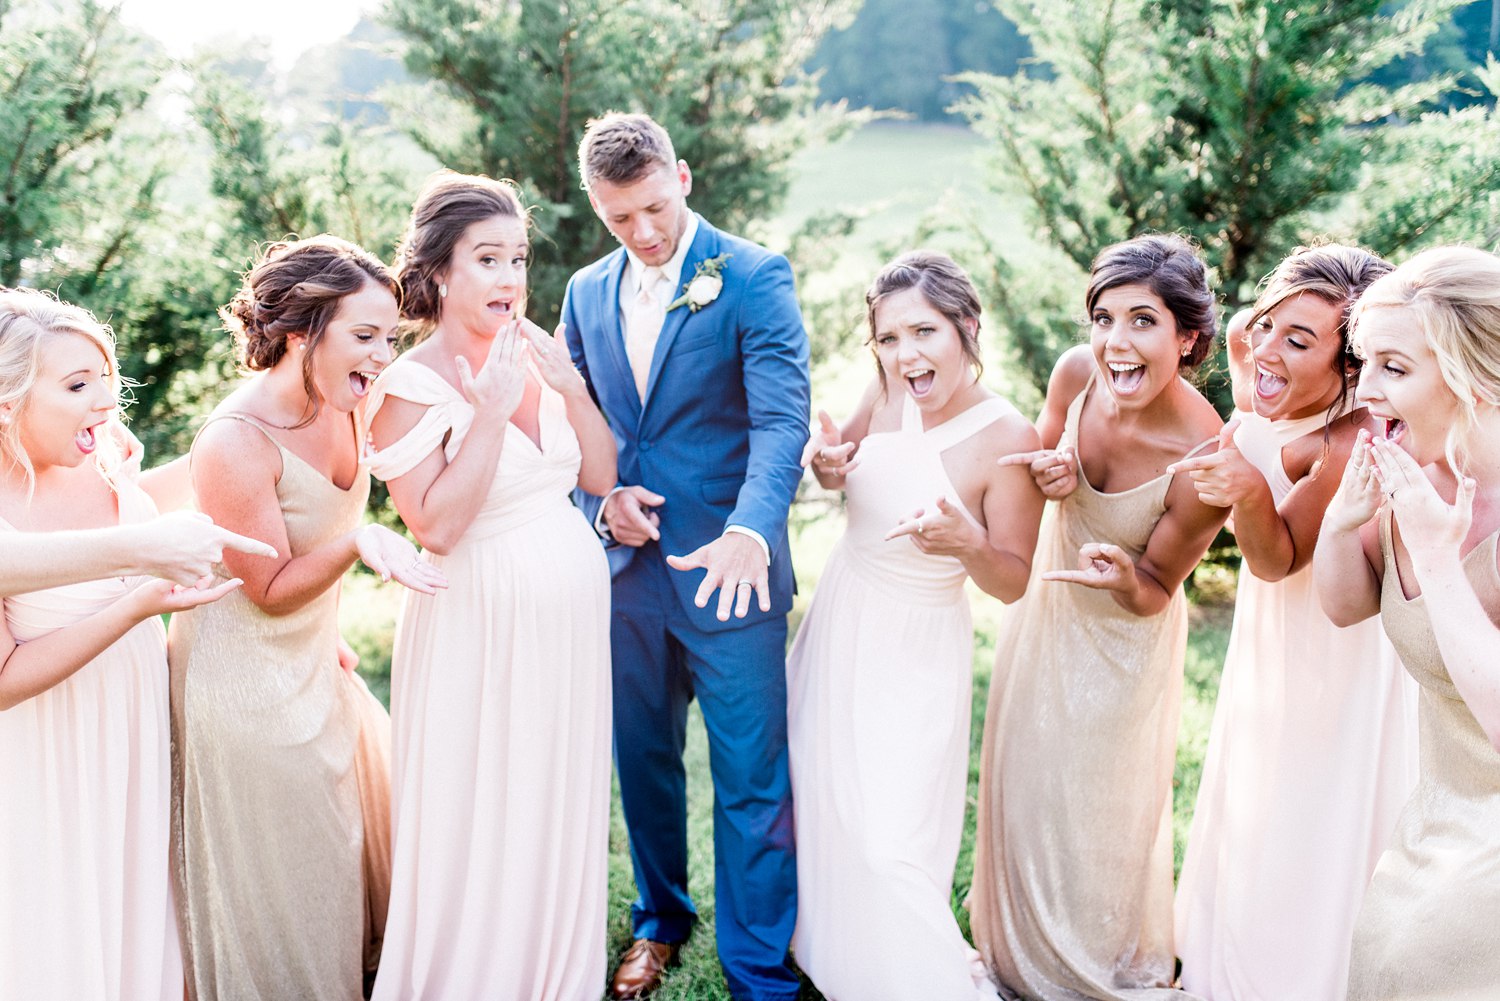
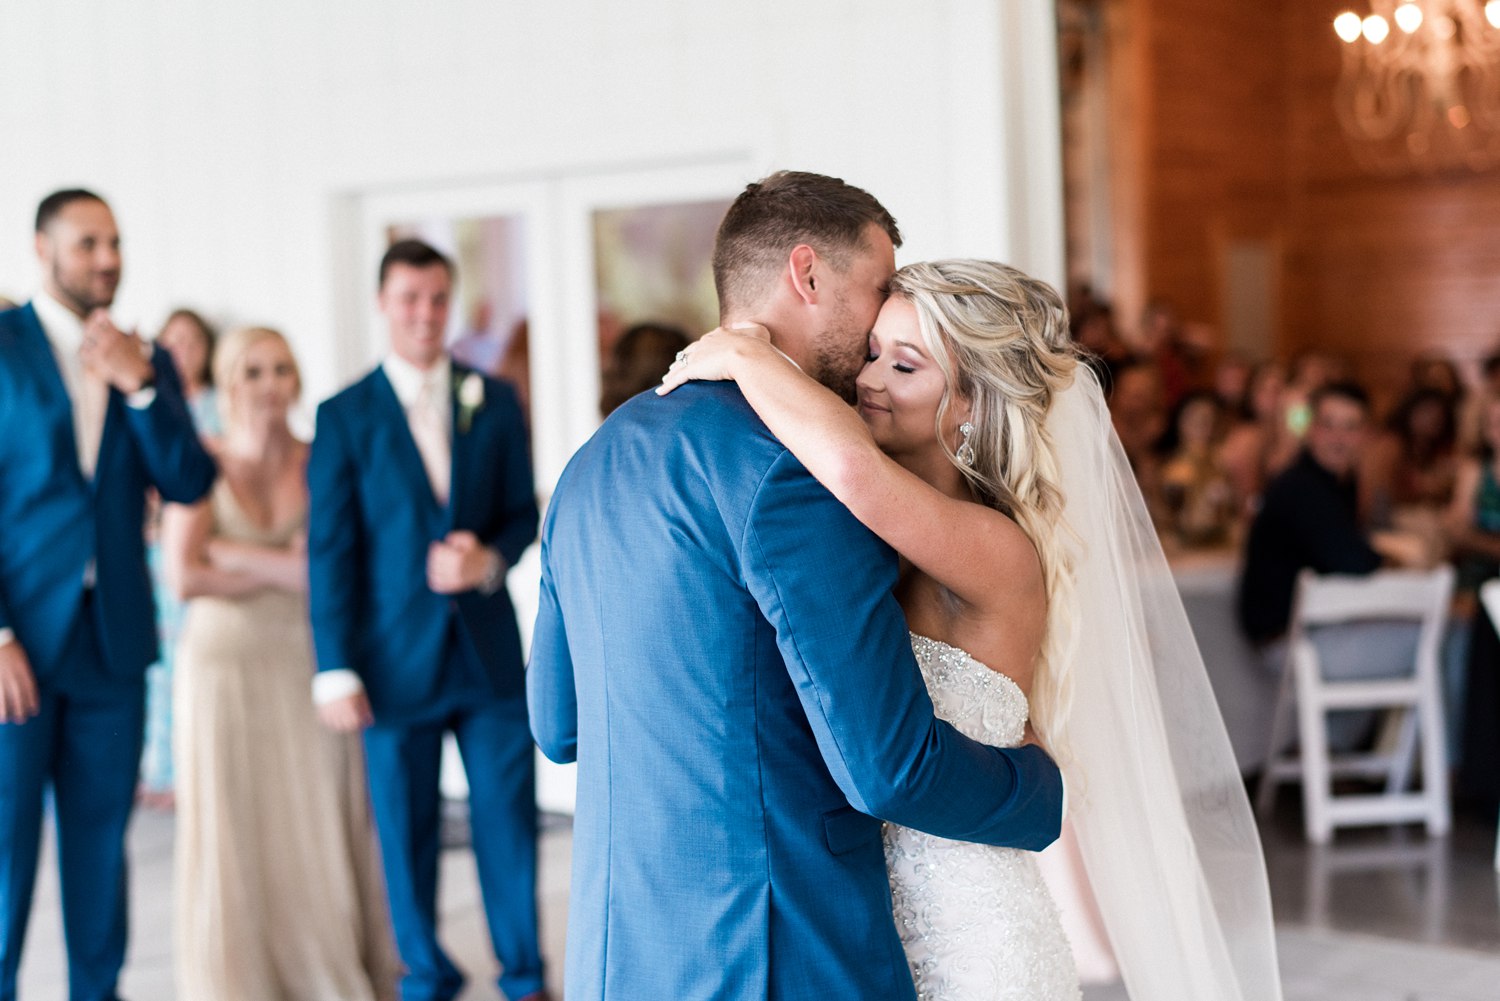
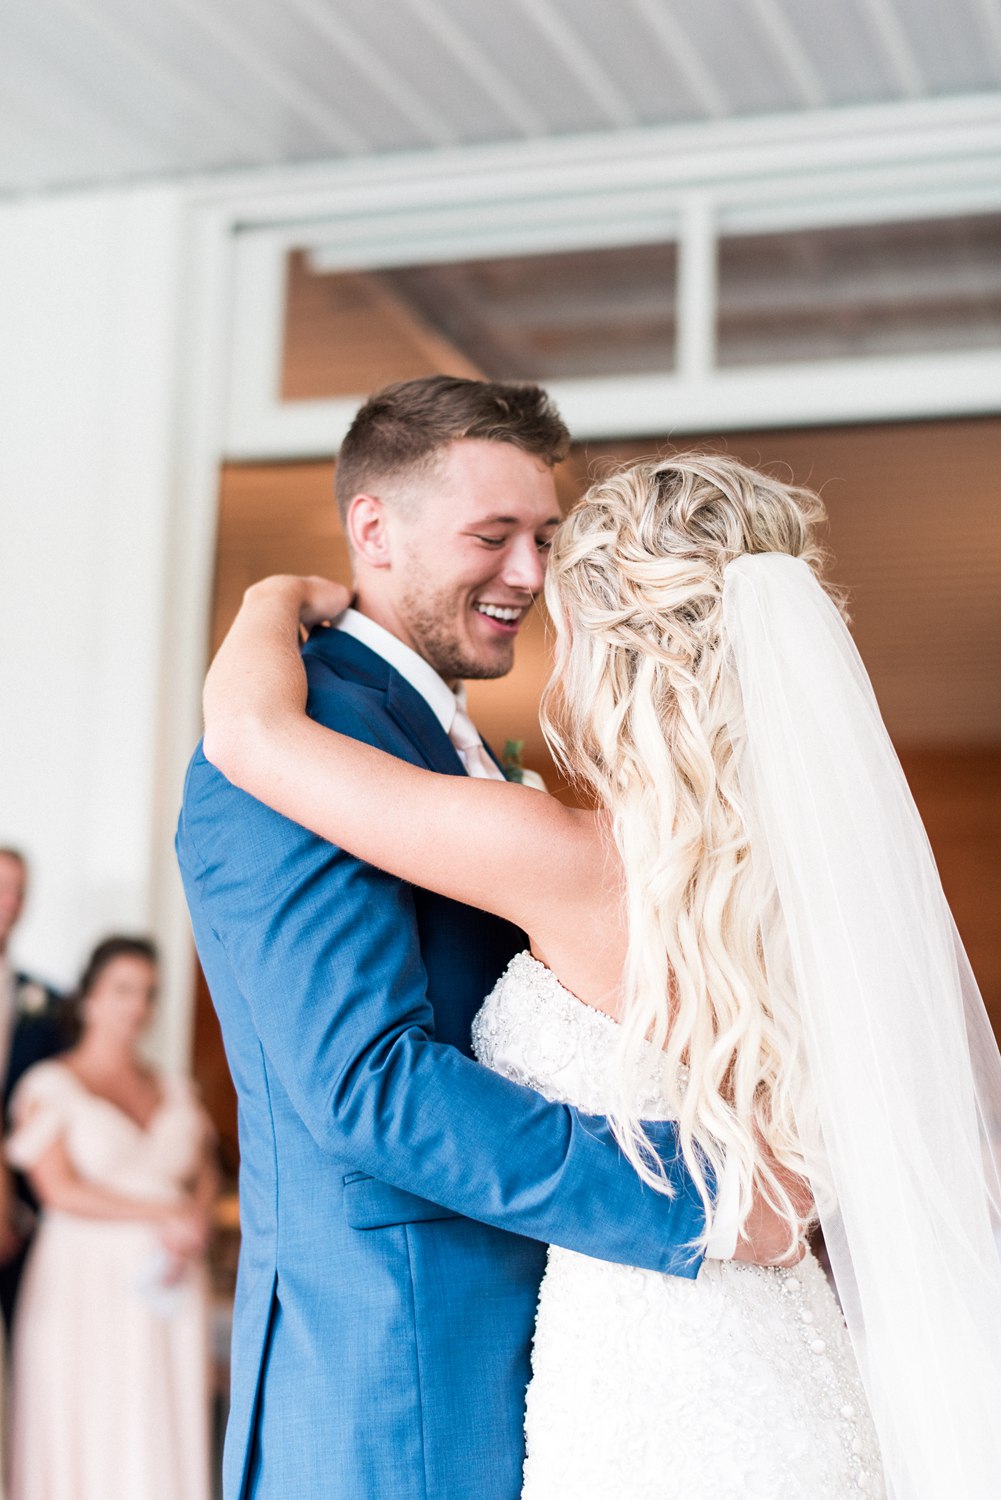
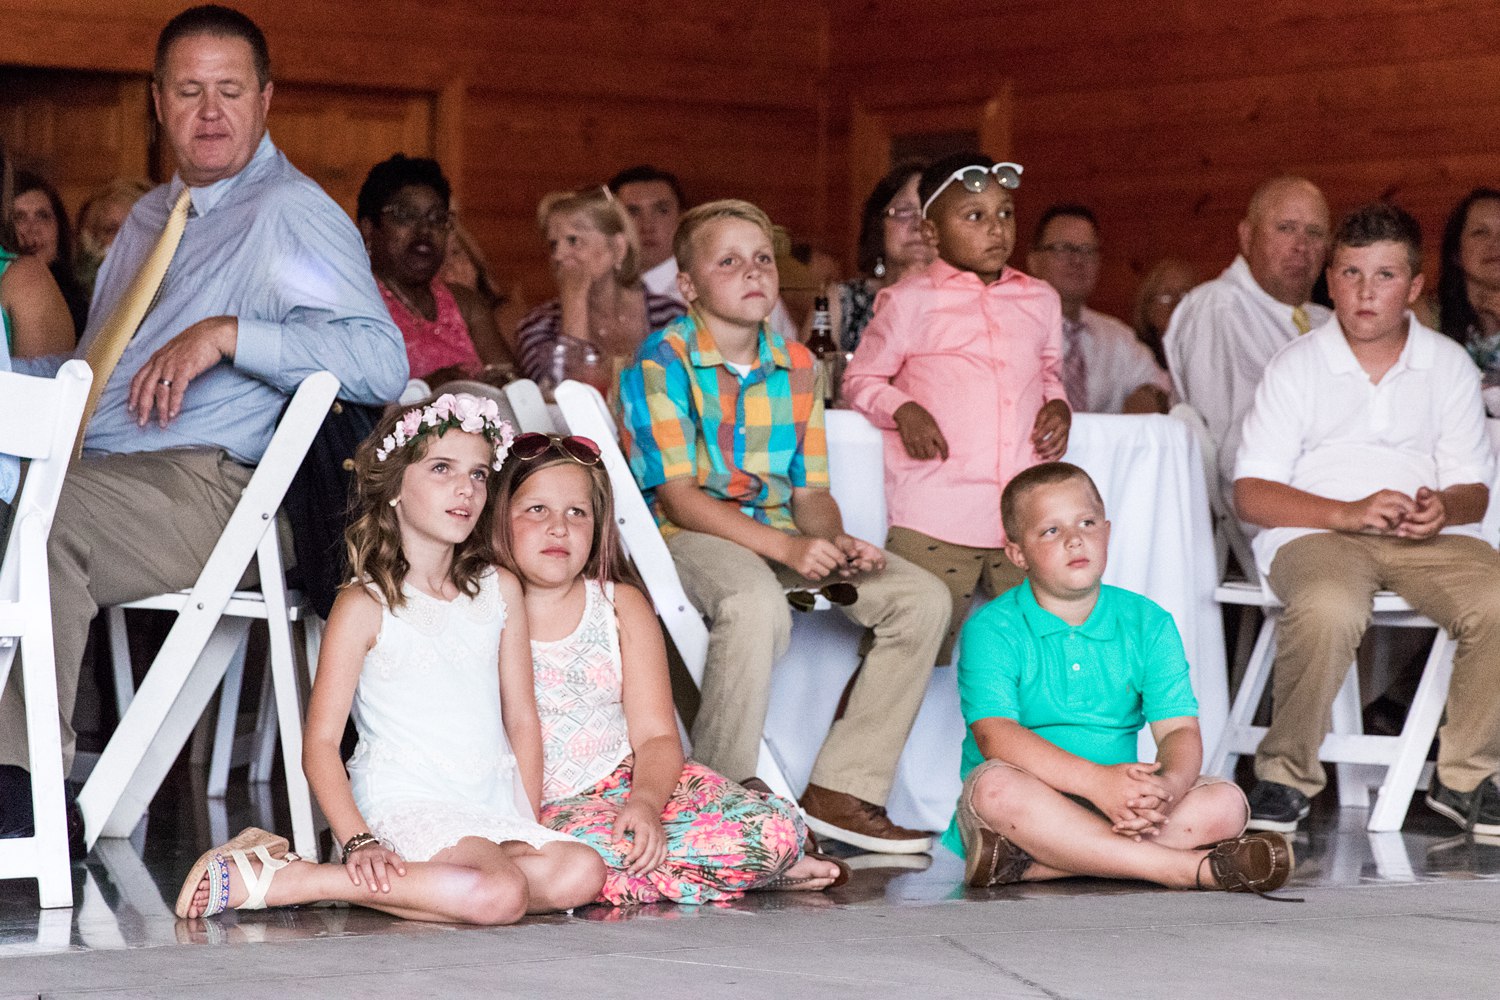
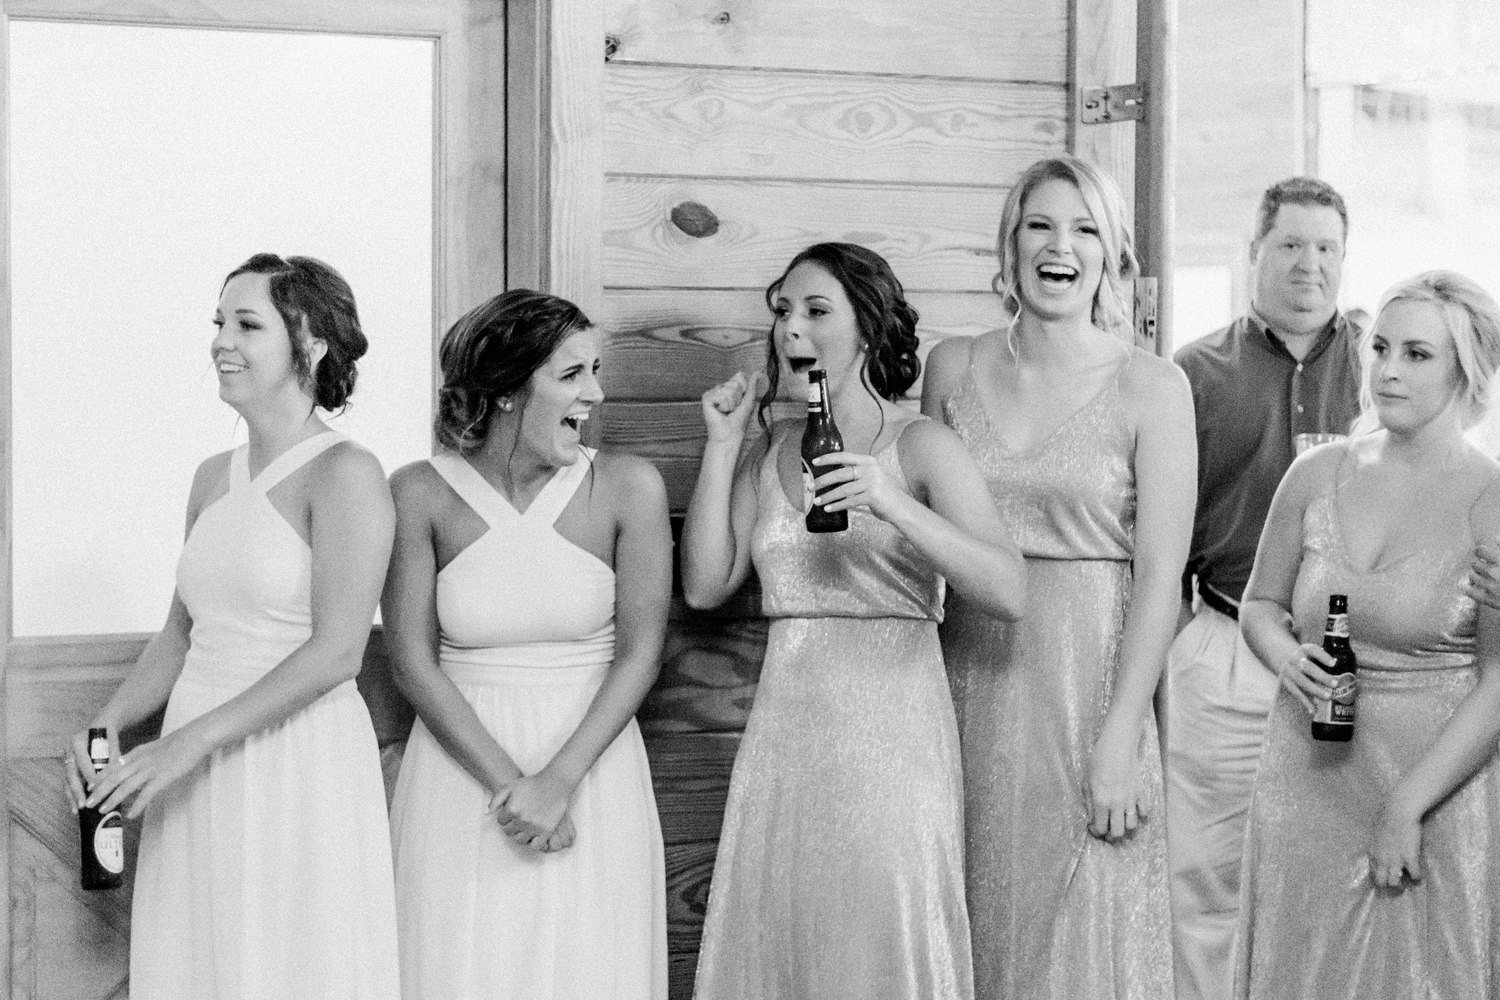
These two were surrounded by love and support throughout their day. Emotional first looks with her Kendall's bridesmaids and father convey this through the photos, but it was a heartfelt toast by Kendall's sister at the reception that really stressed just how much this beautiful couple is loved. Kendall and Nathan's wedding was one we were looking forward to all year, and today, we are thrilled to share it with you.
The Carriage House | Little City Catering | Wendy Morgan | LB Floral | The Pour Guys | The White Room Lebanon | Regal Tuxedo of Knoxville | All Occasions Party Rentals | Sound Revue Tri Cities | Jessica Hyde | Hali Leffler- Salon Biyoshi | Candice Cornett Photography


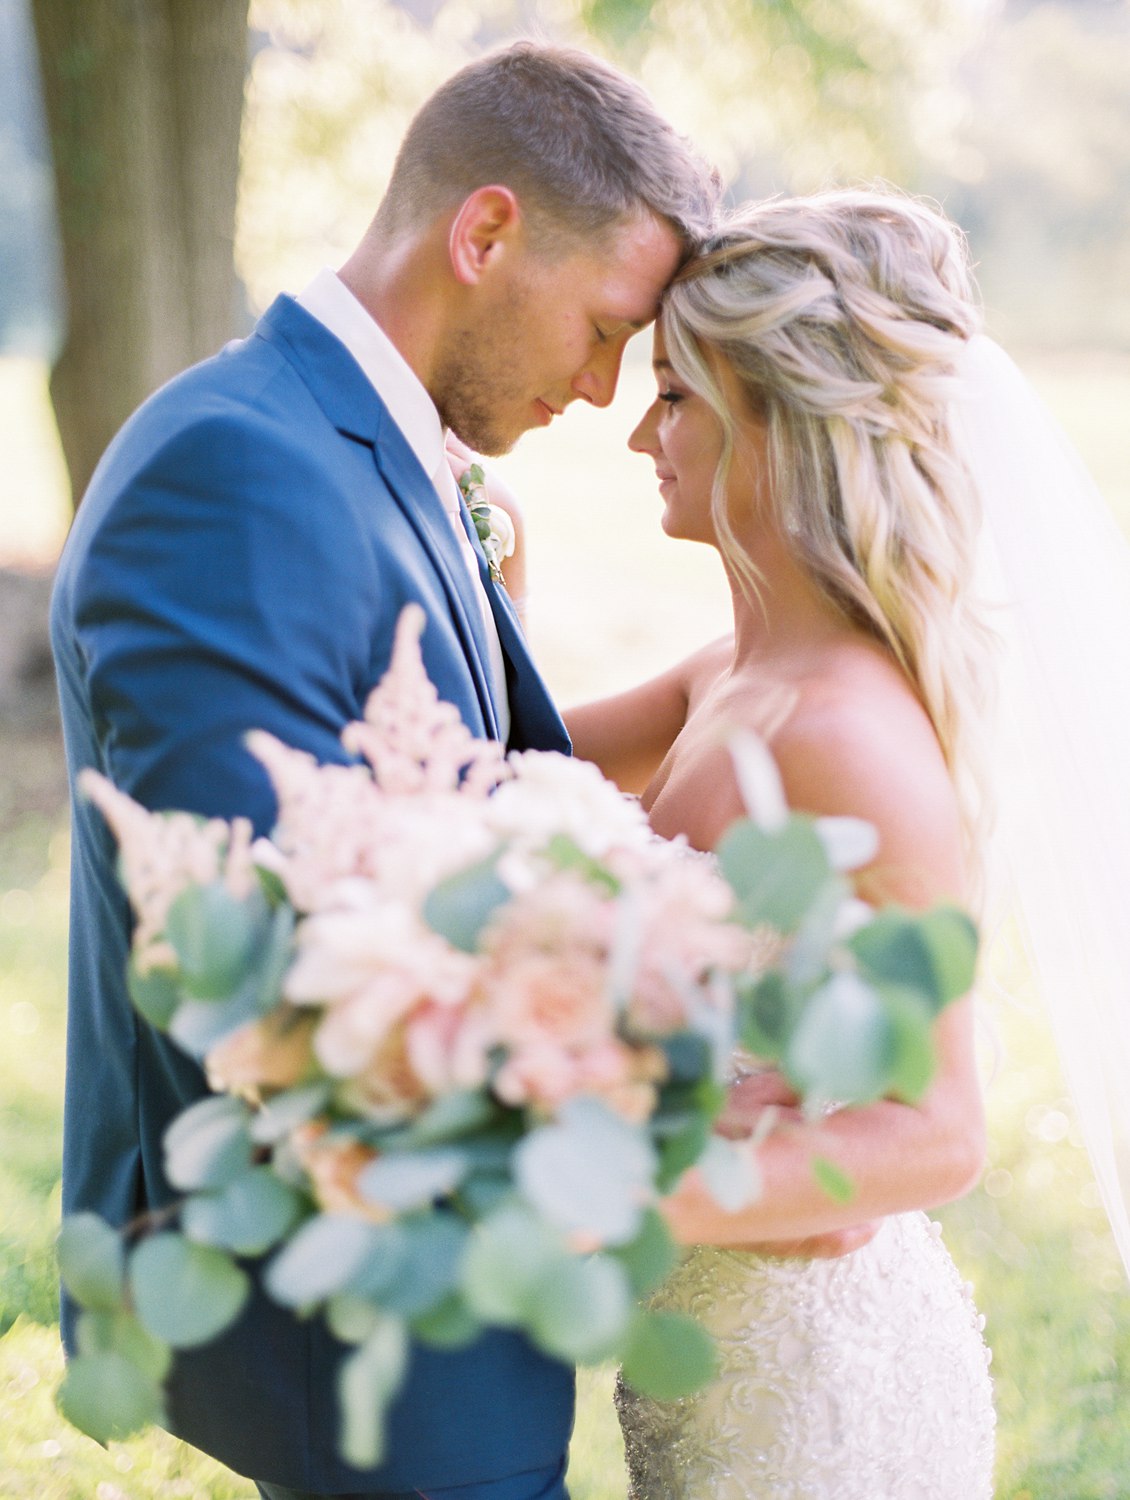
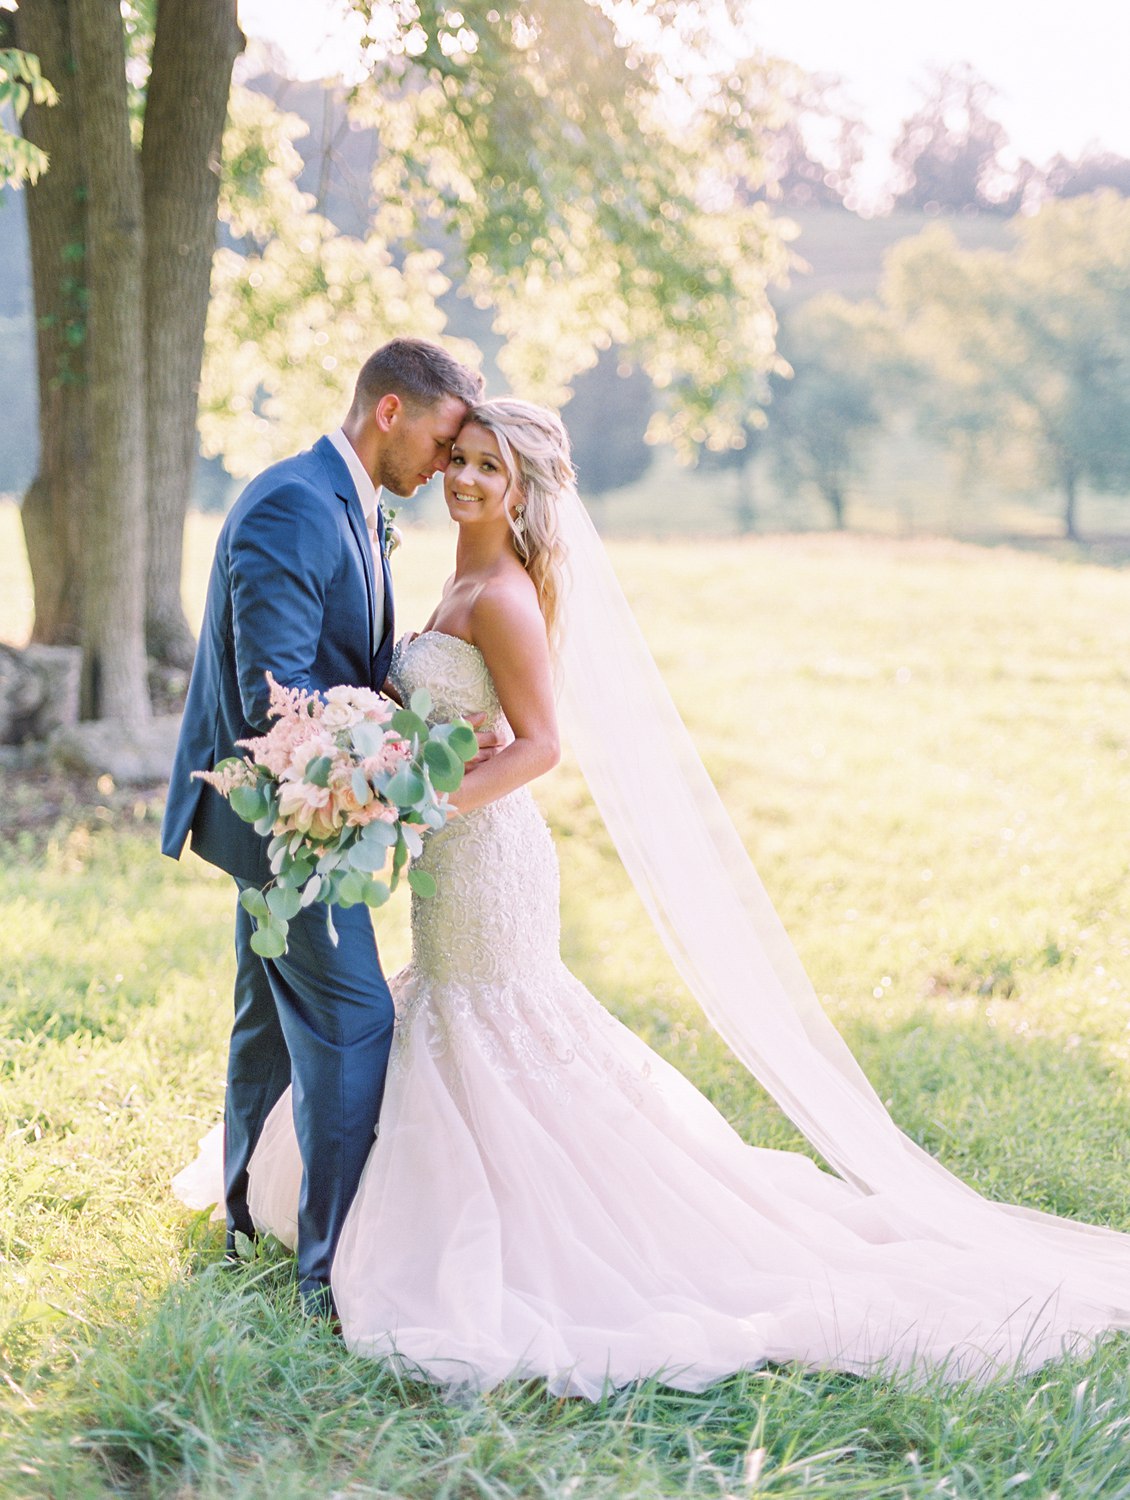
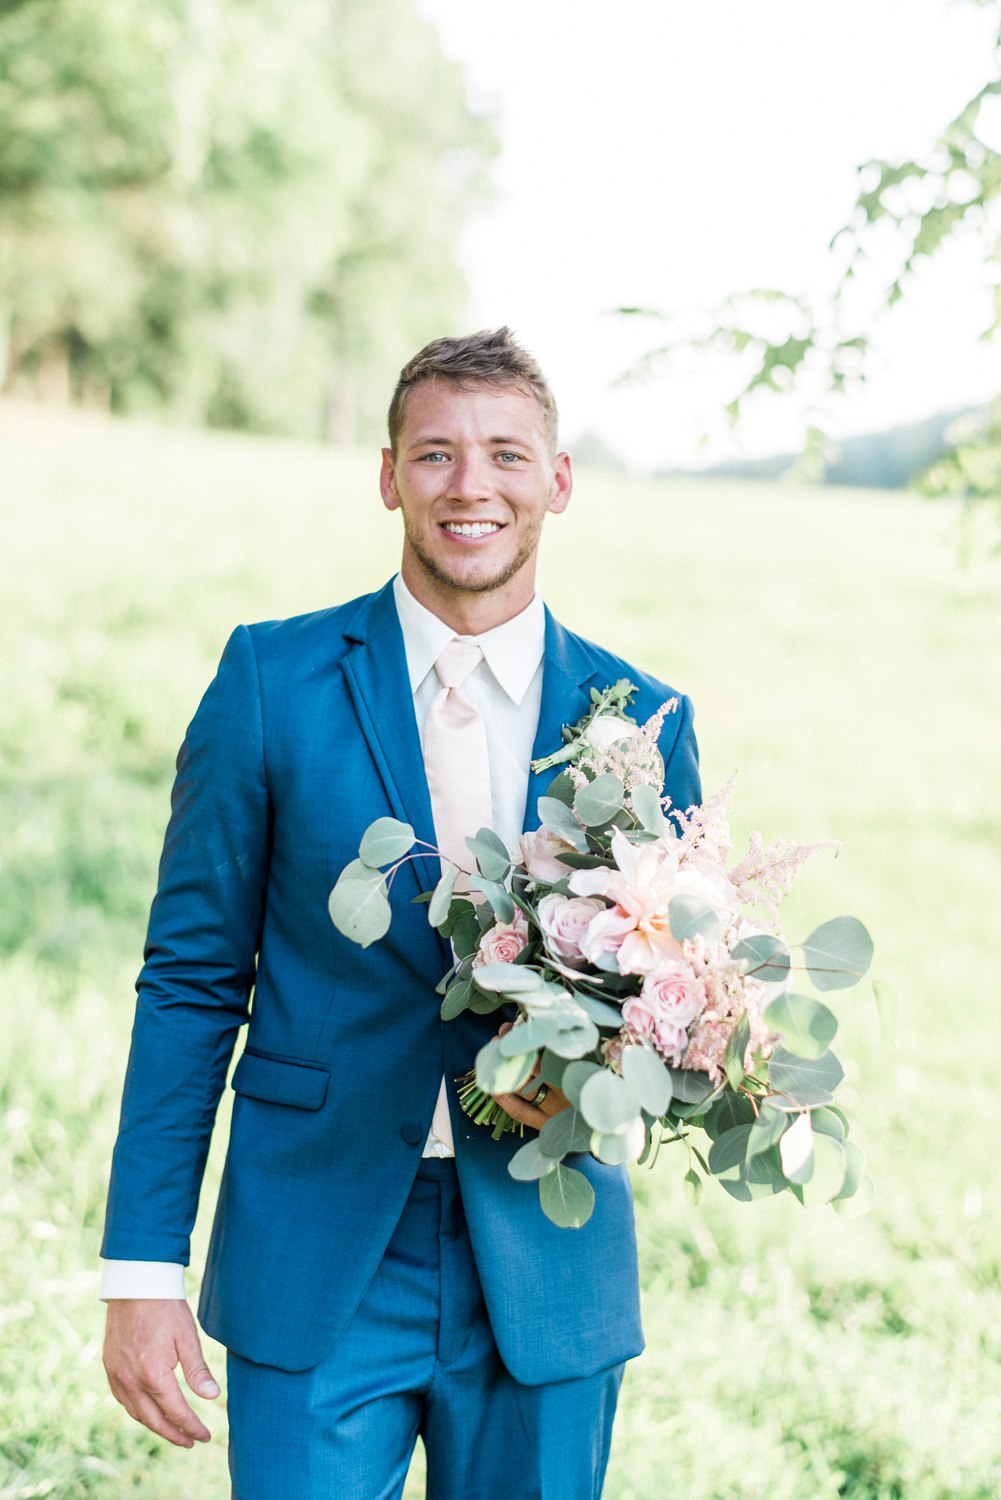


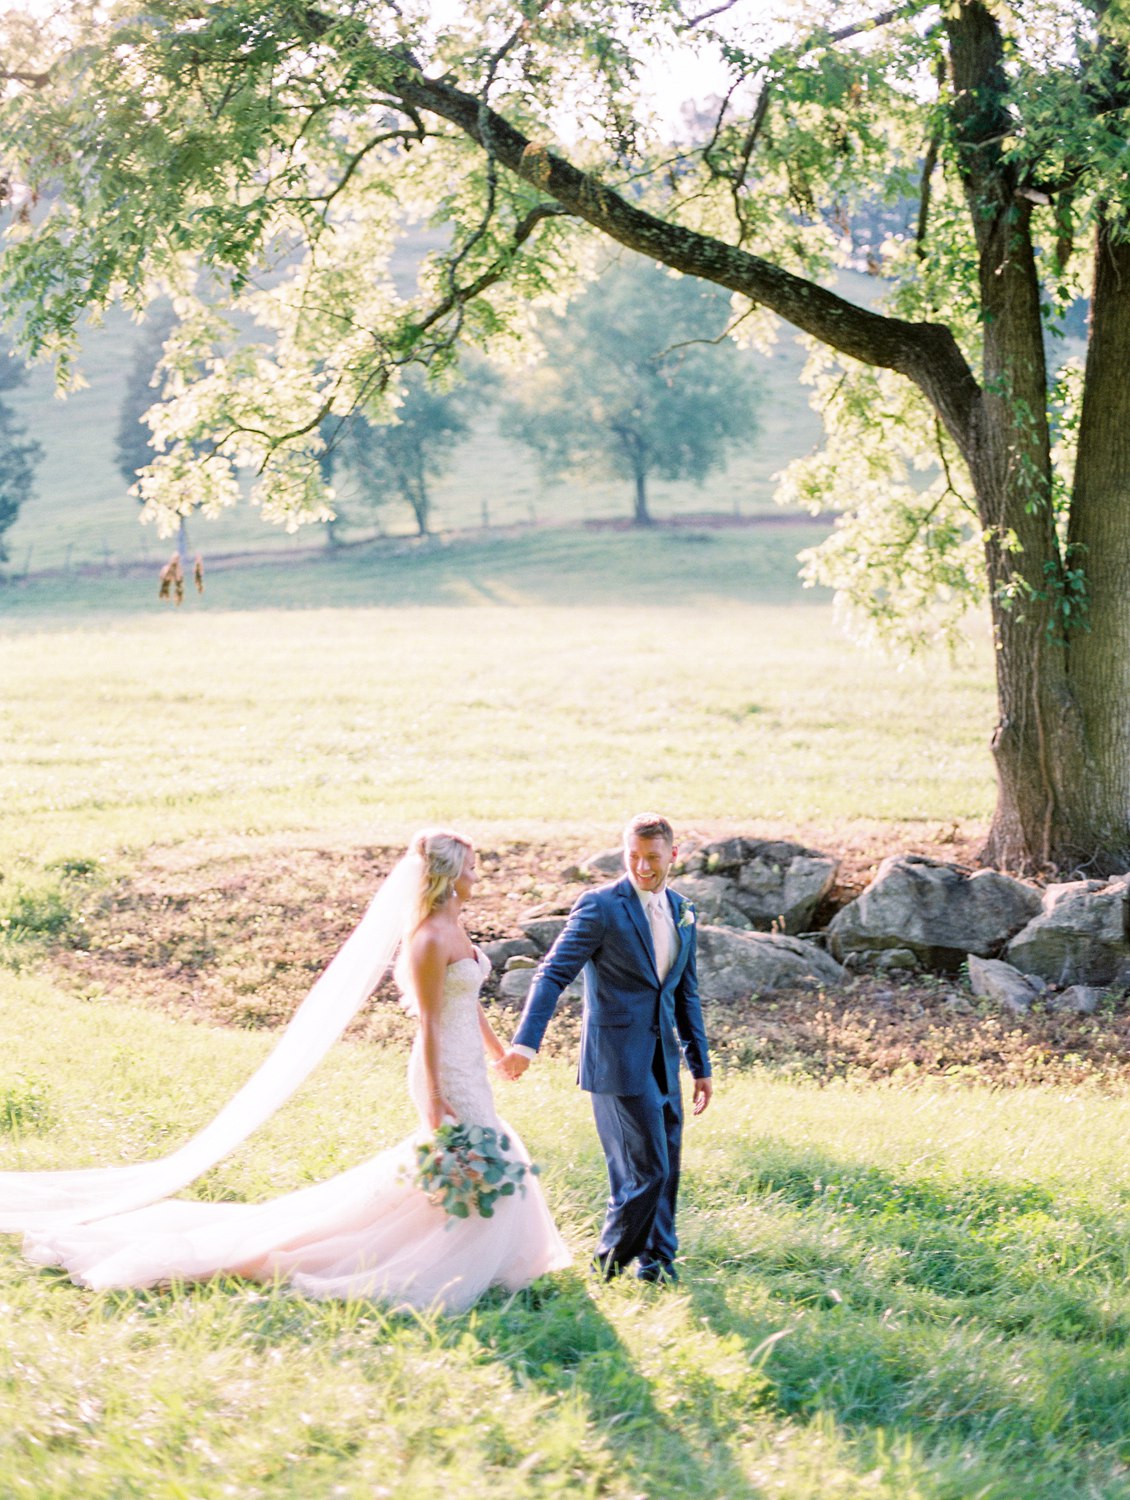
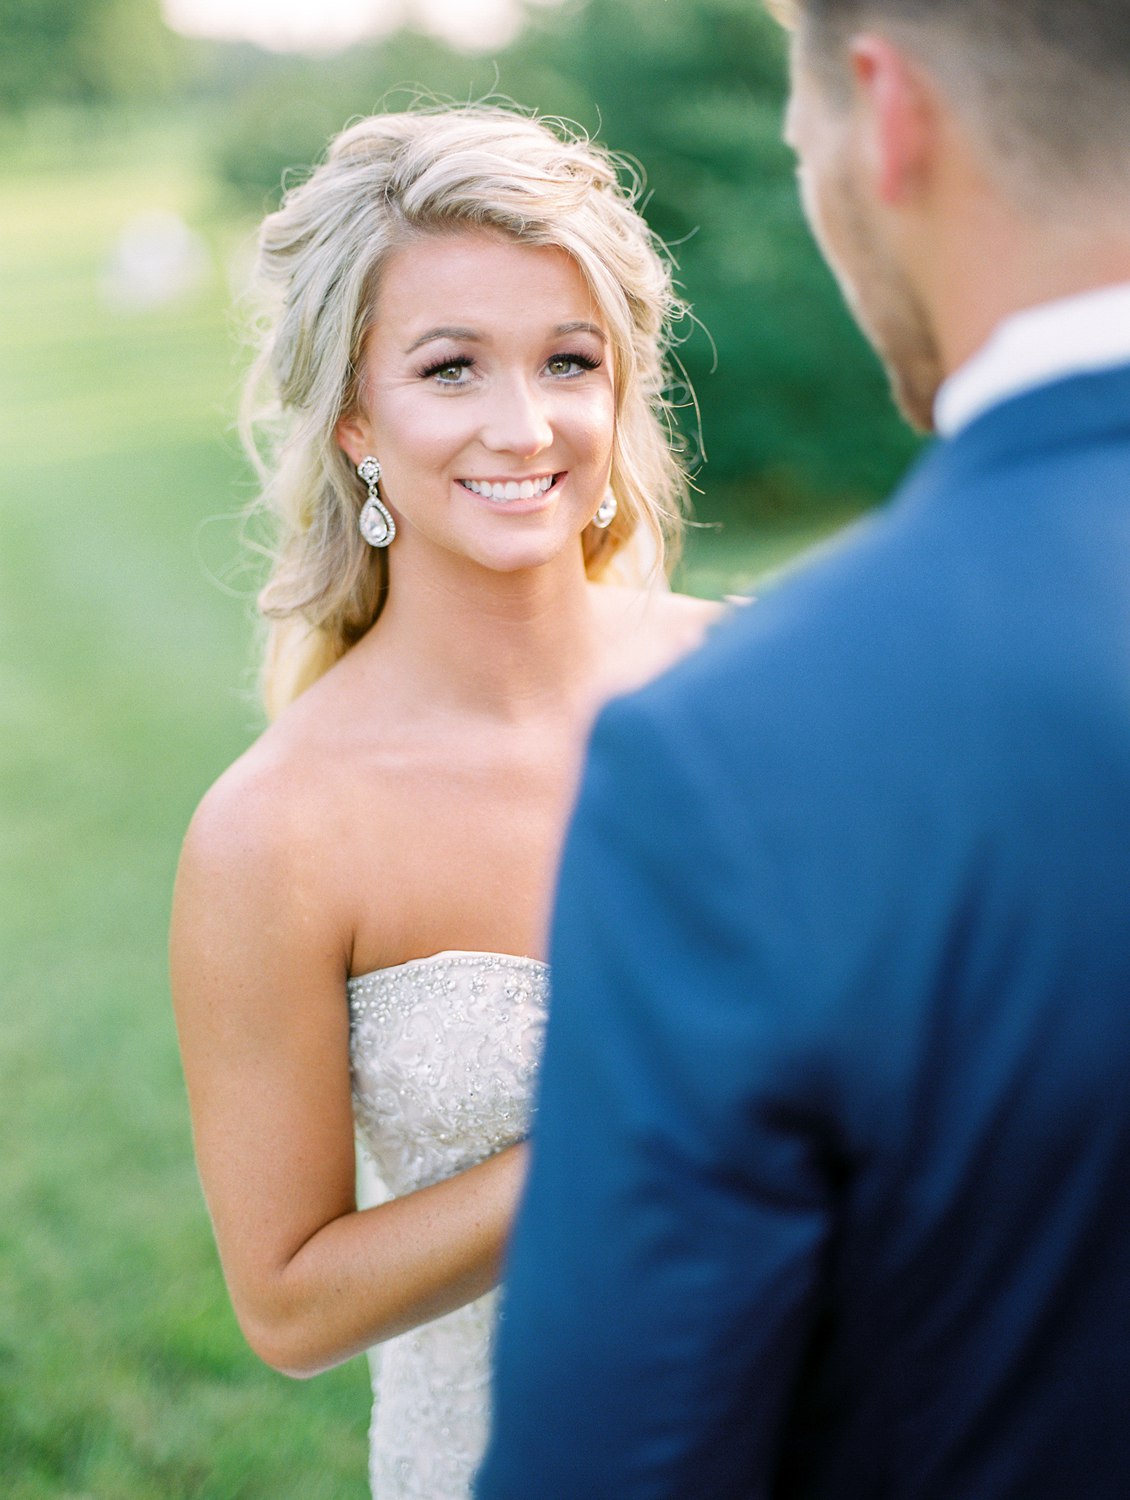


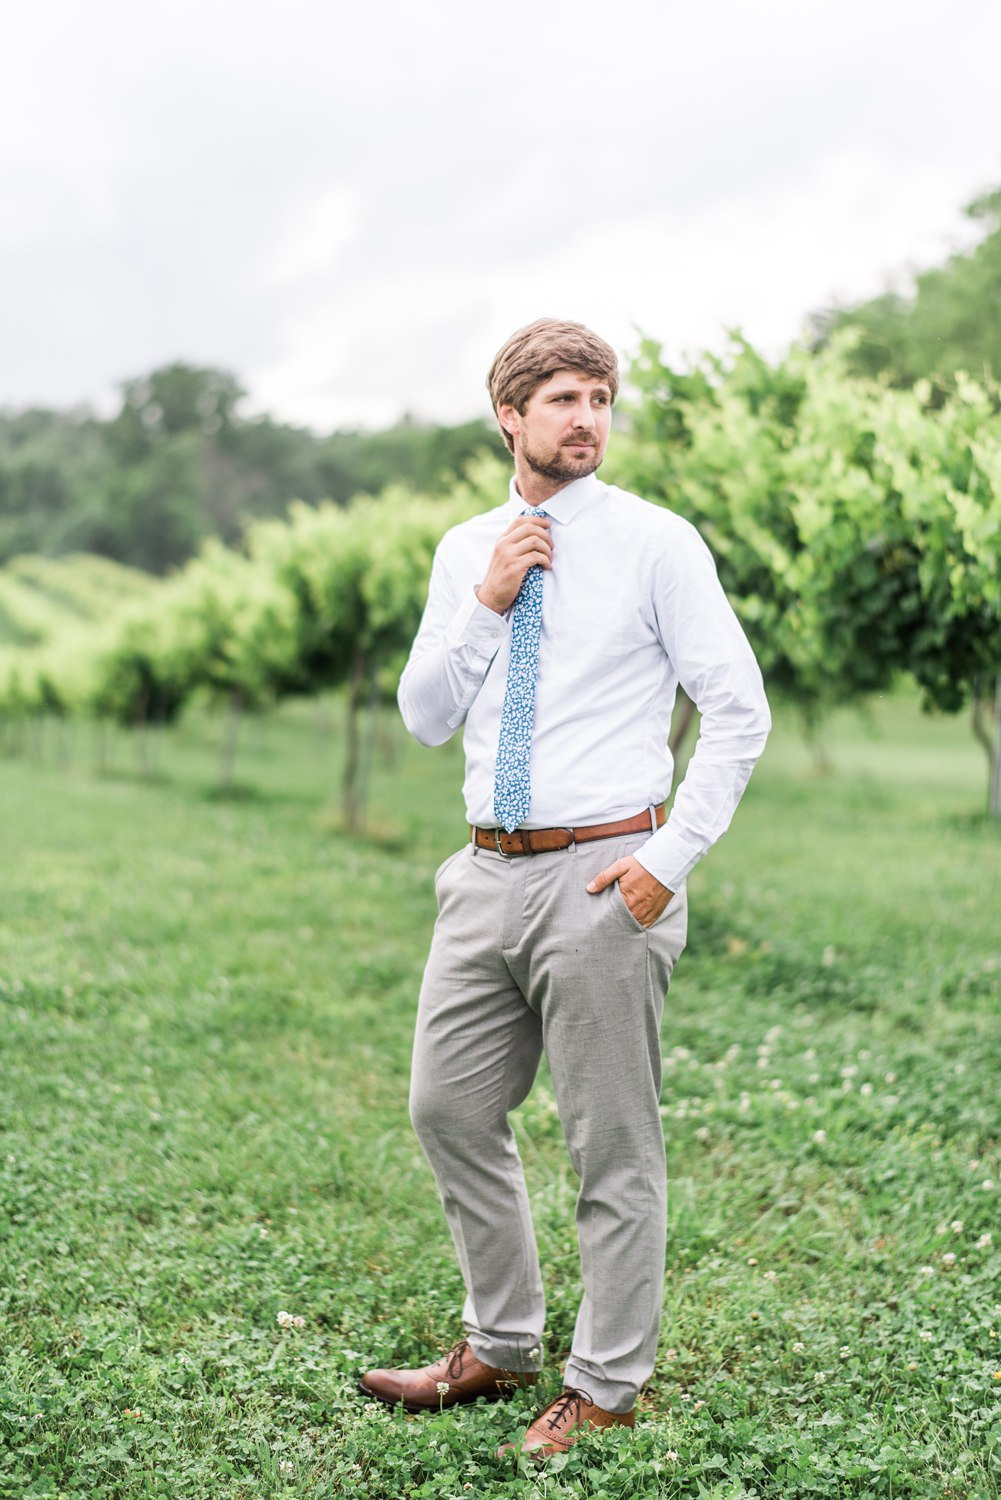
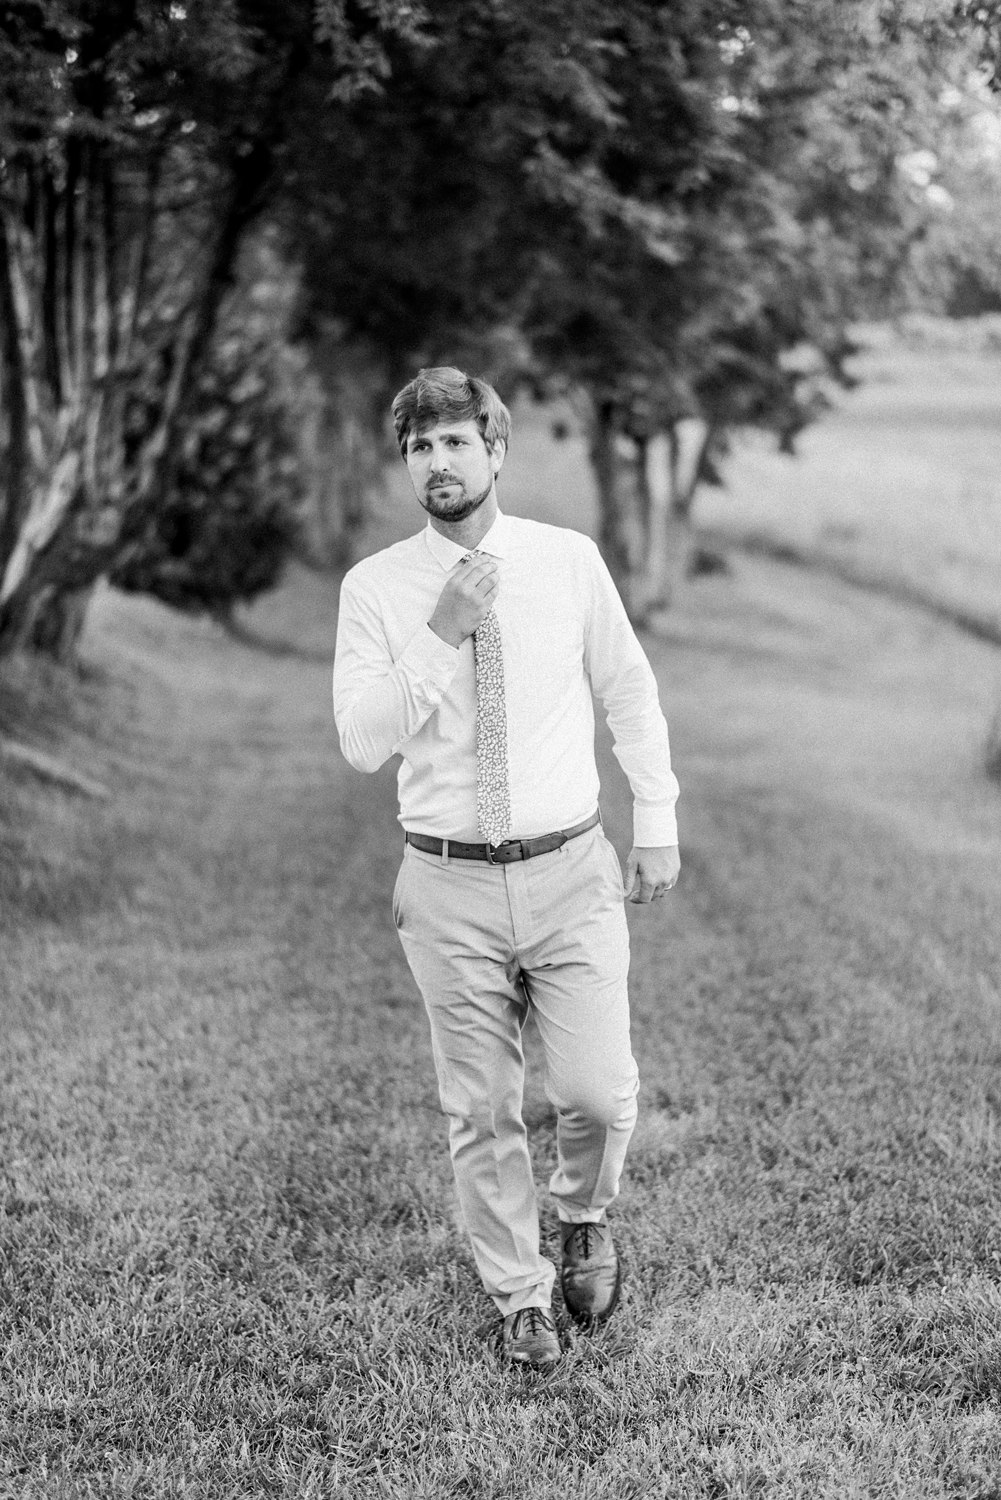
Tsali Notch Vineyard Wedding Styled Shoot - Kathryn + Hunter
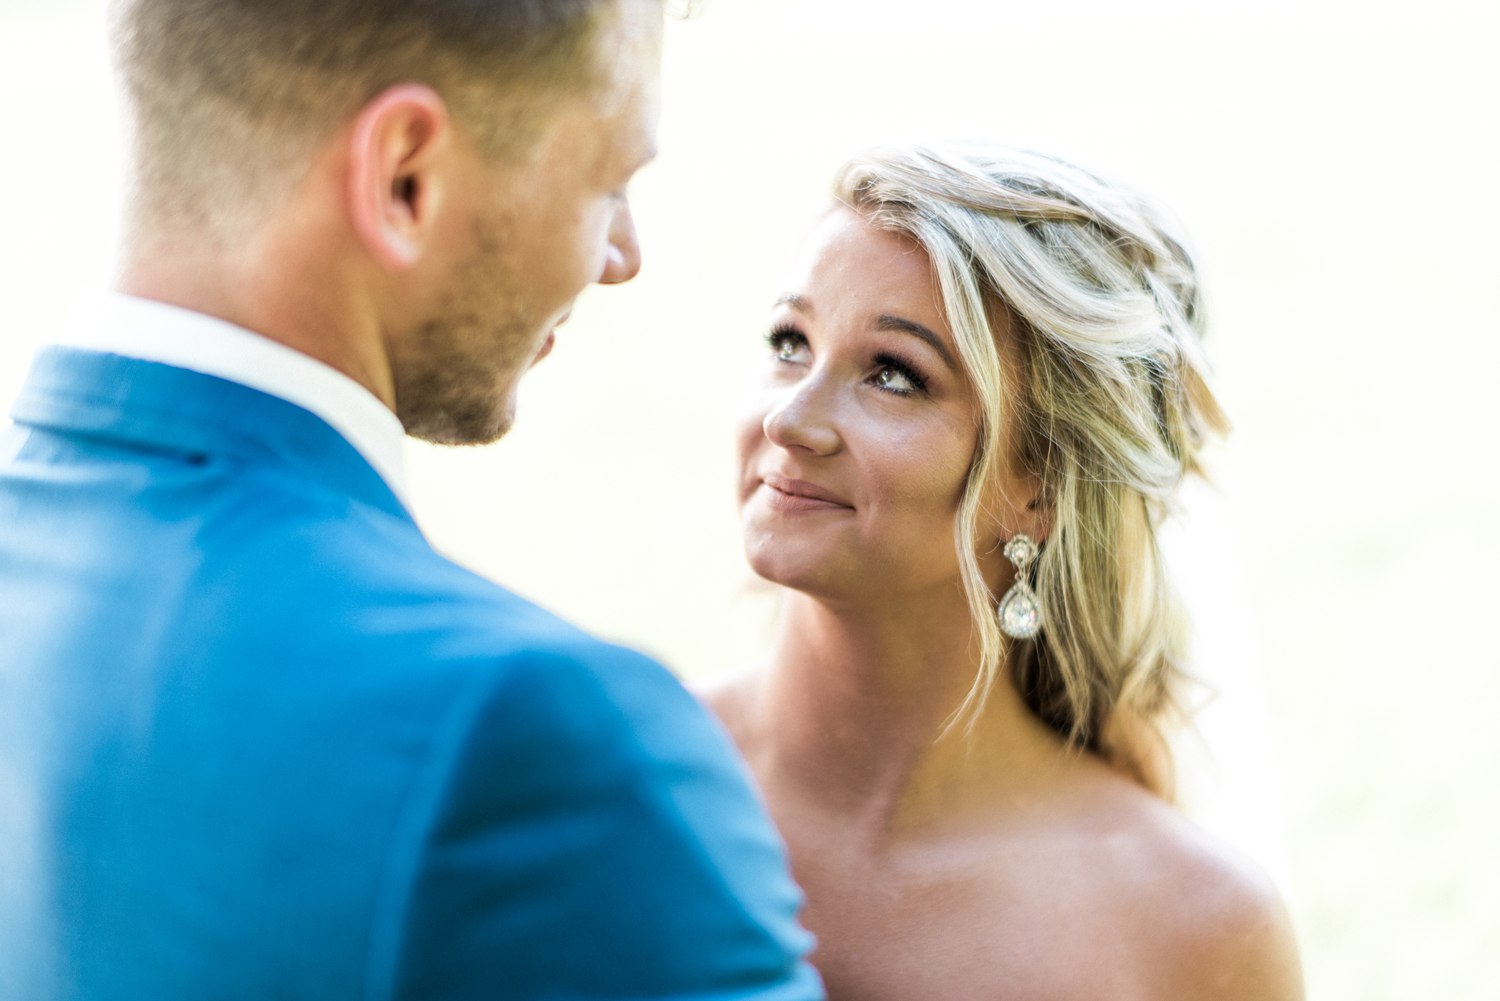
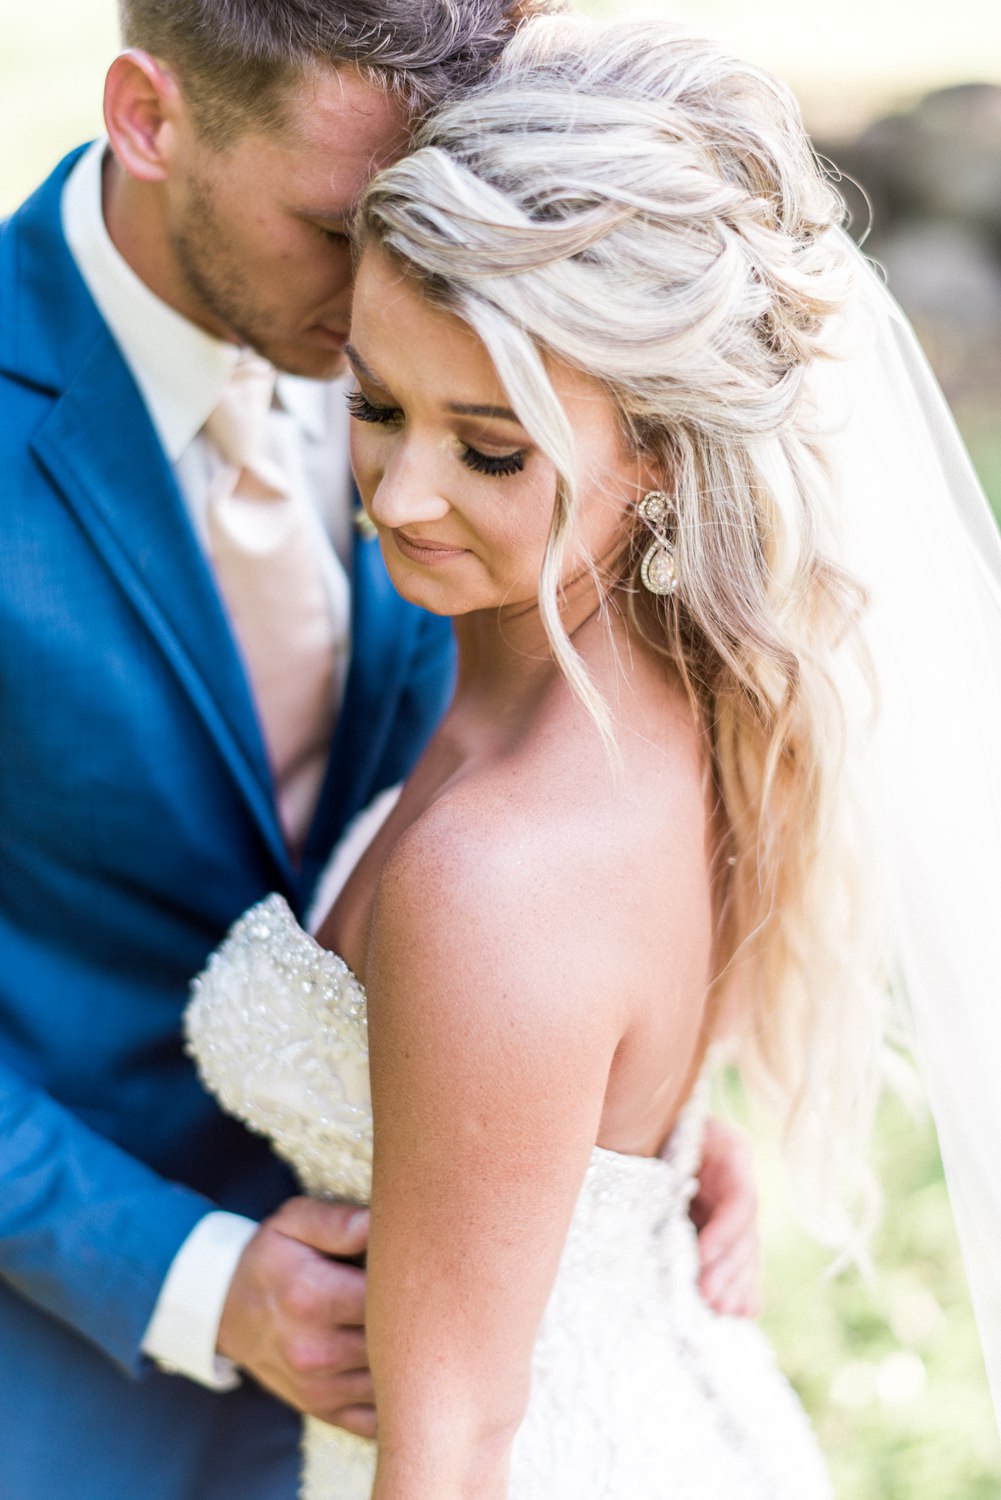
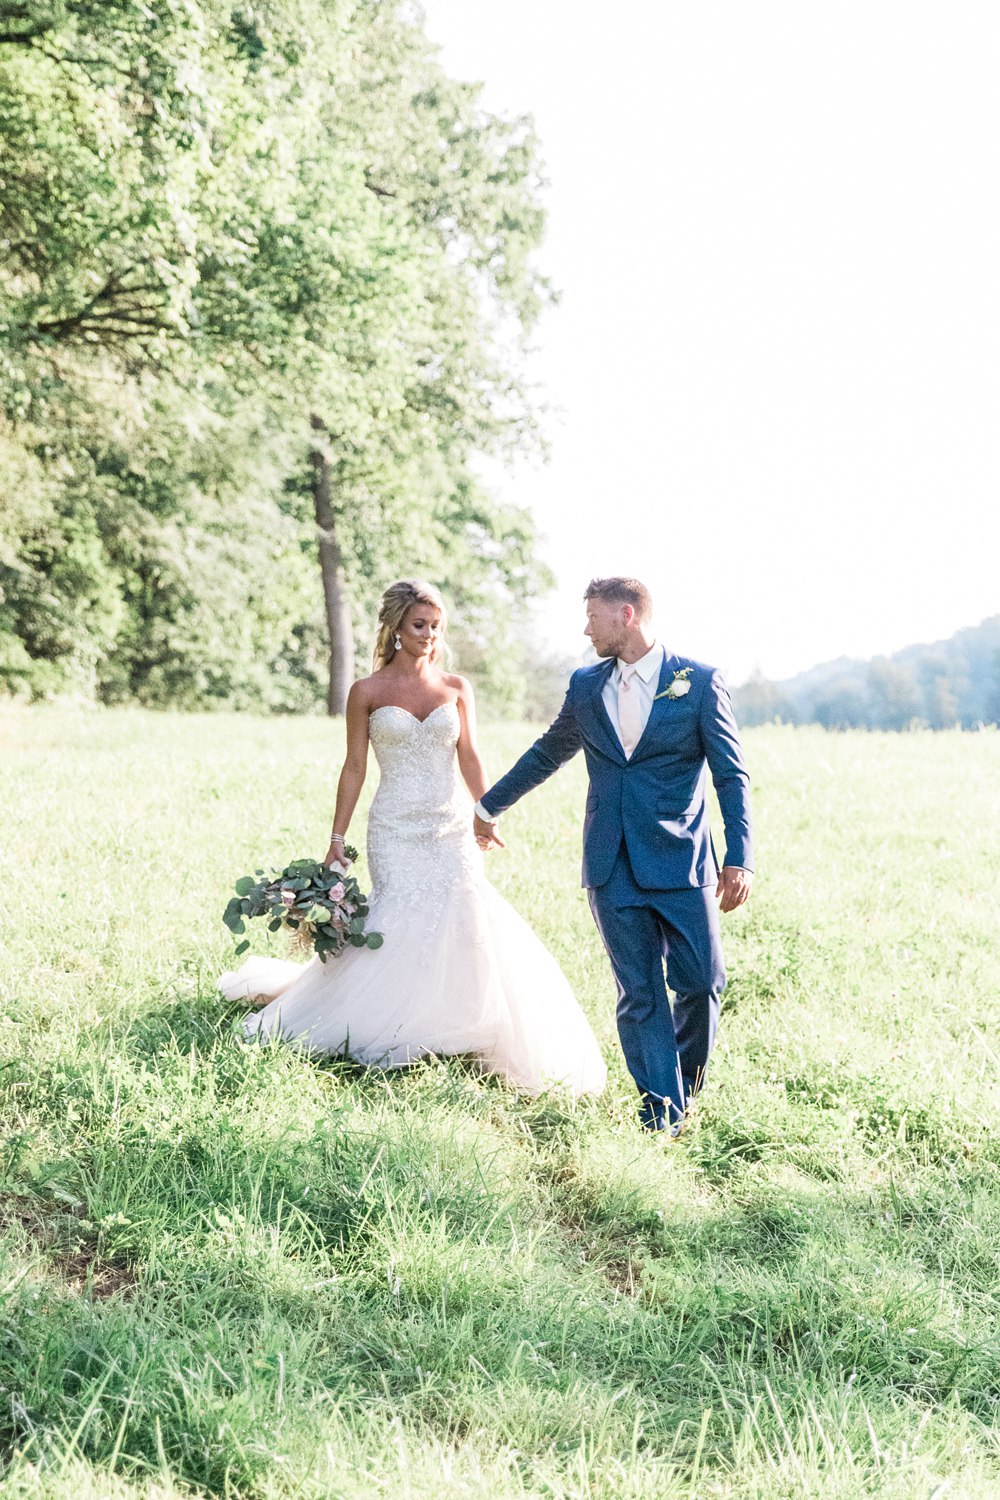
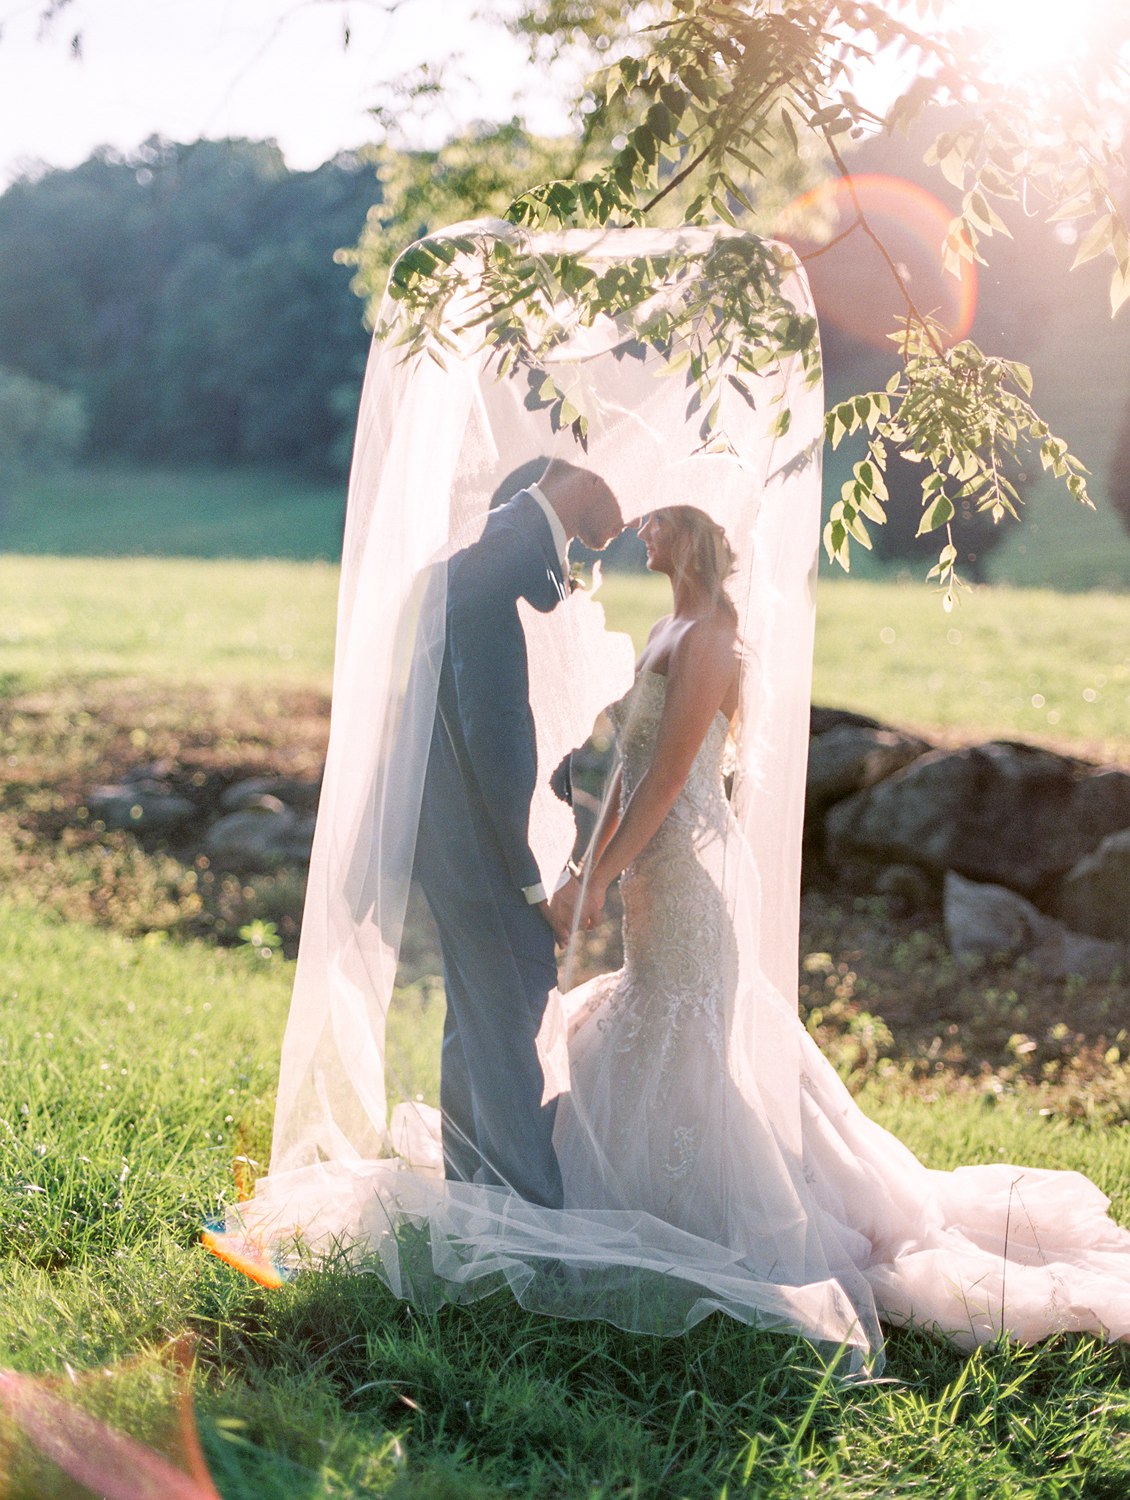
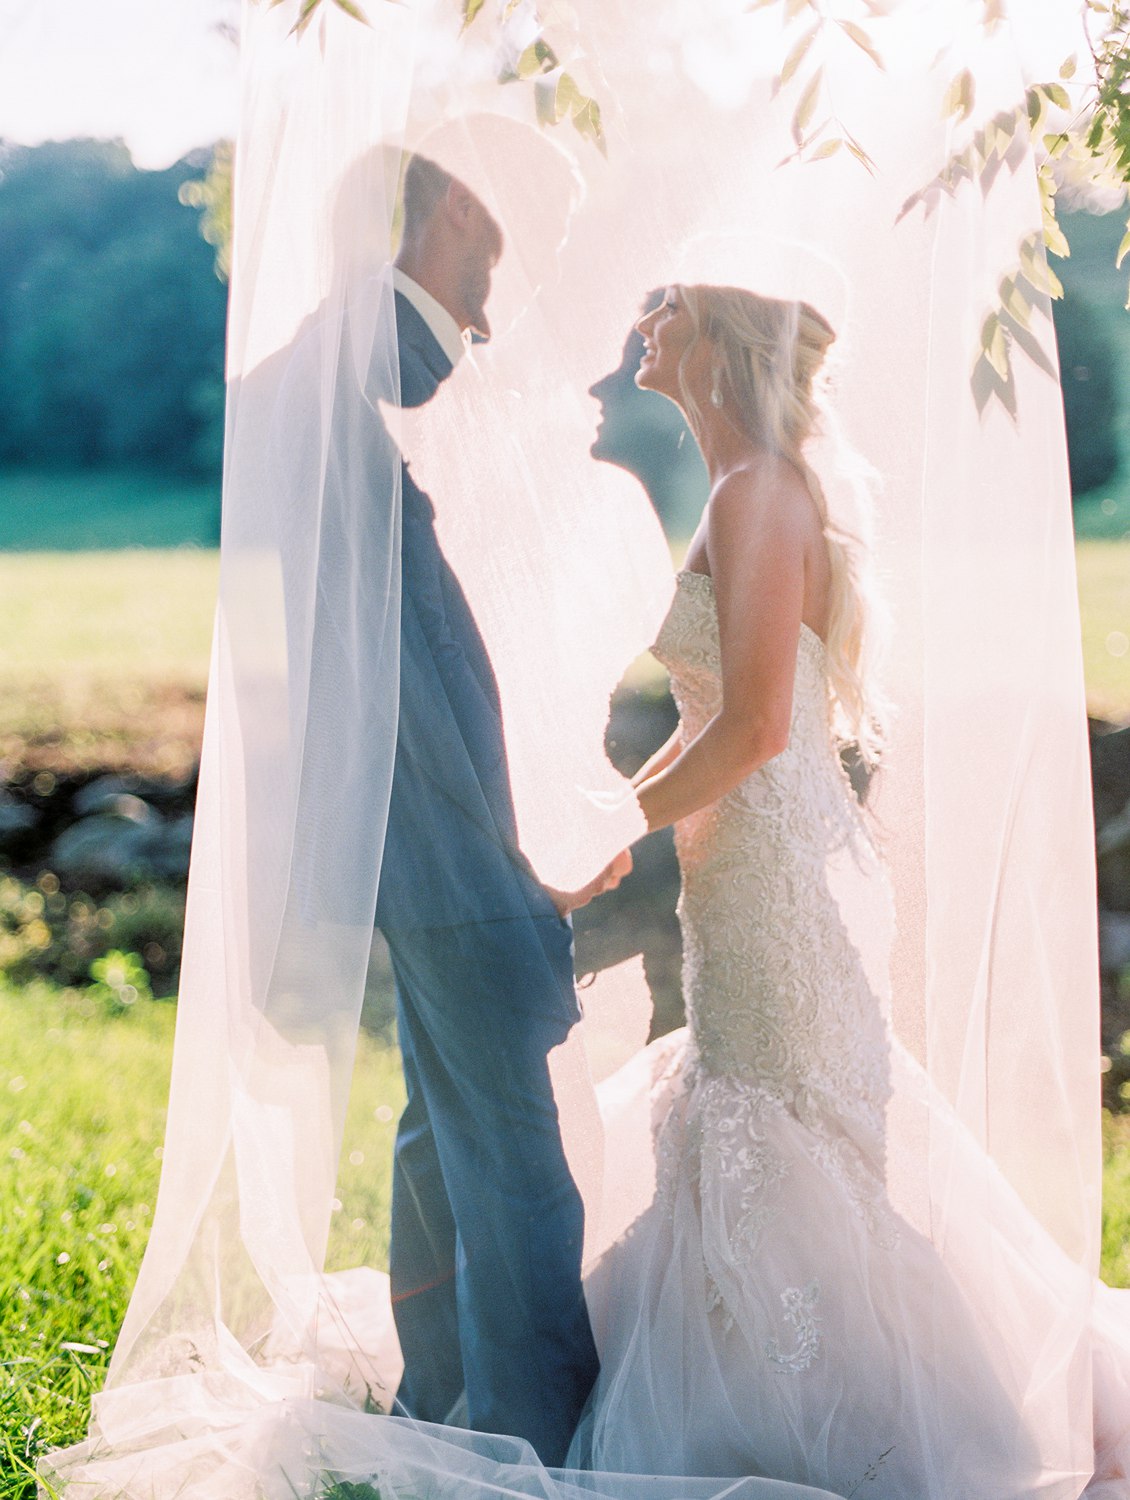
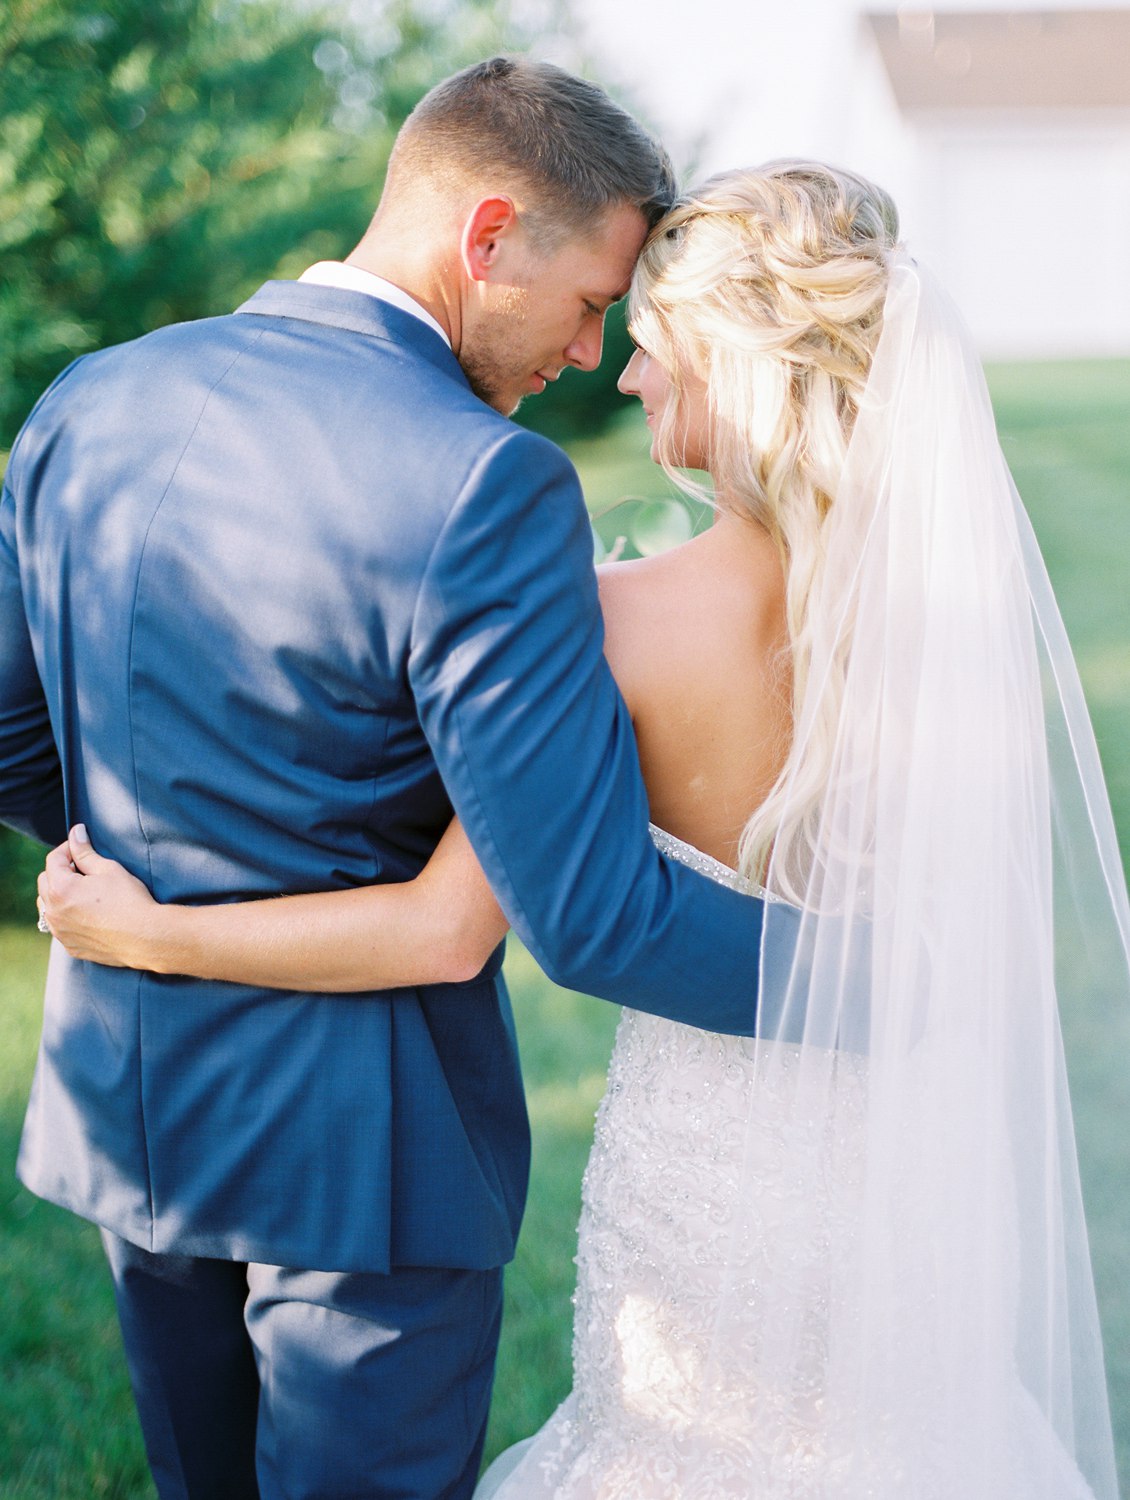
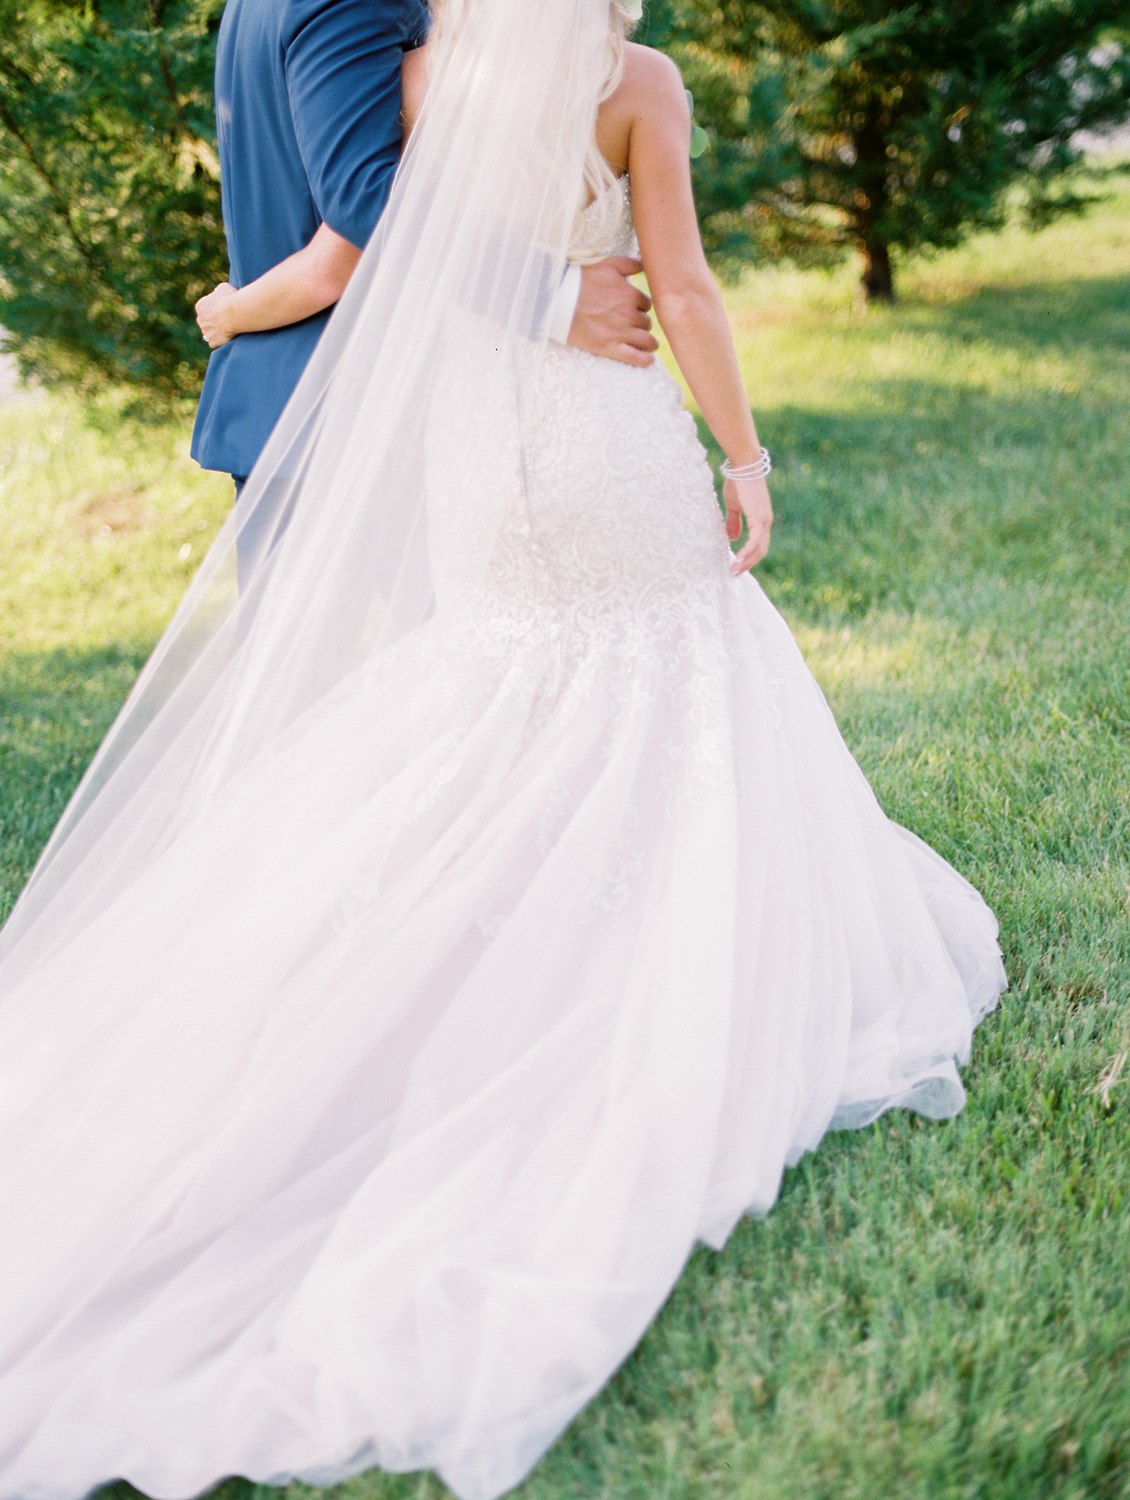
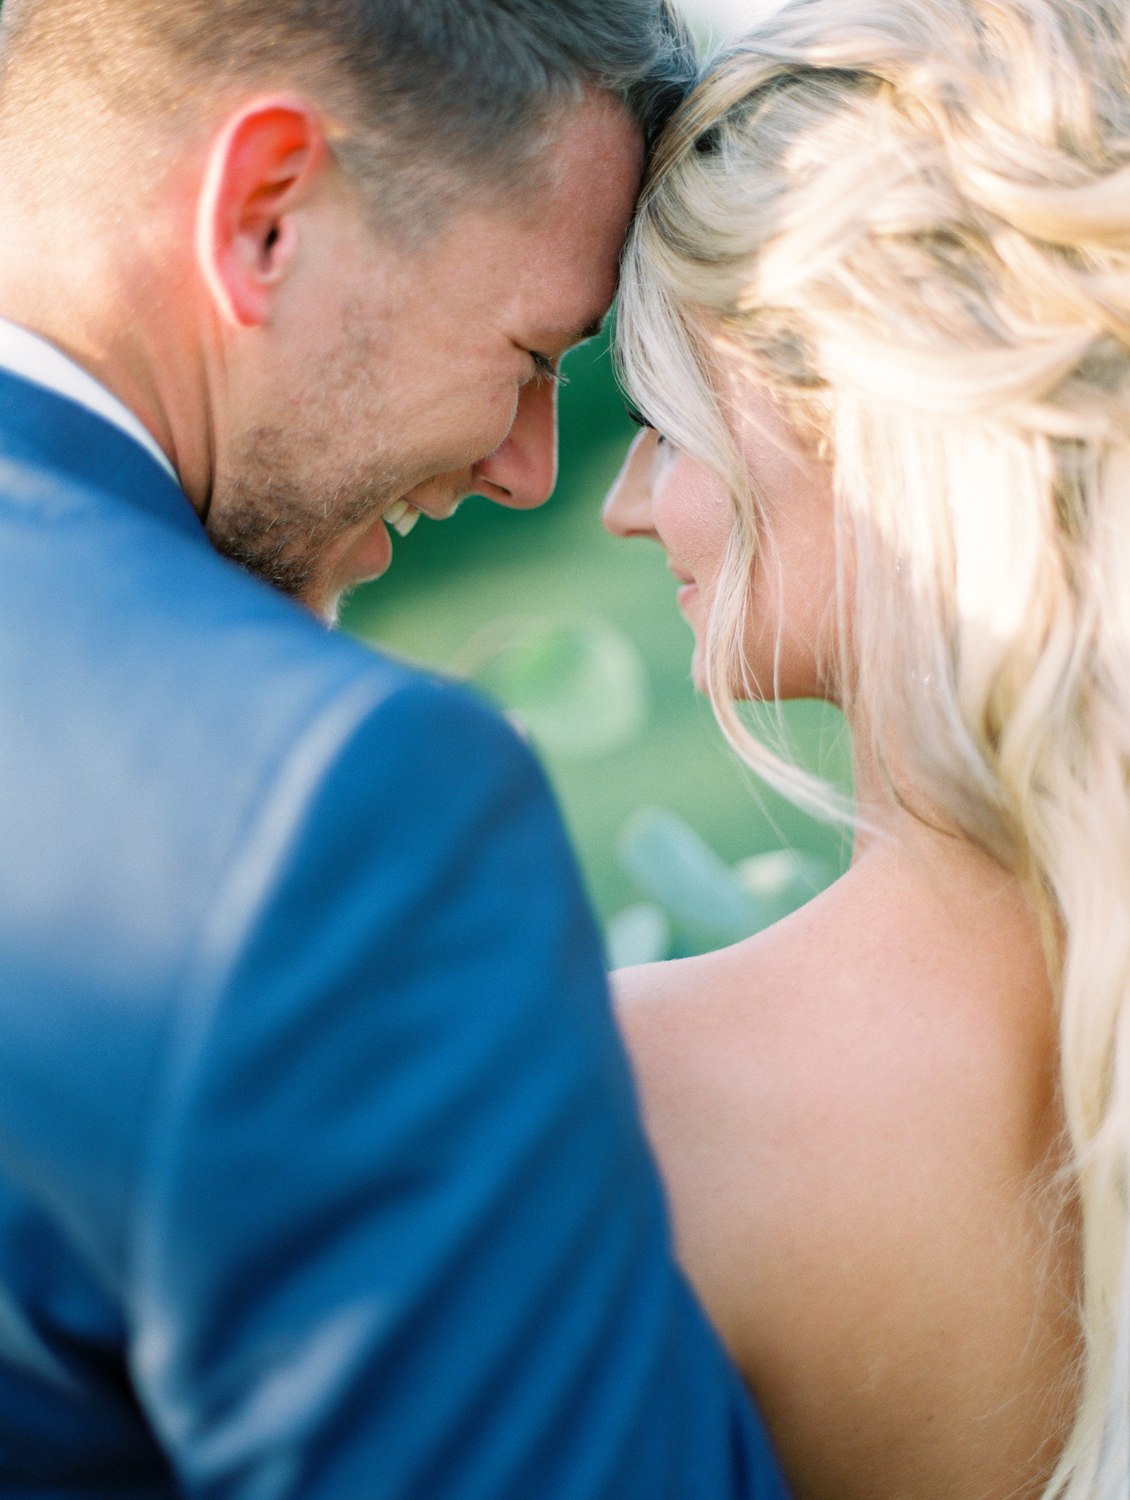
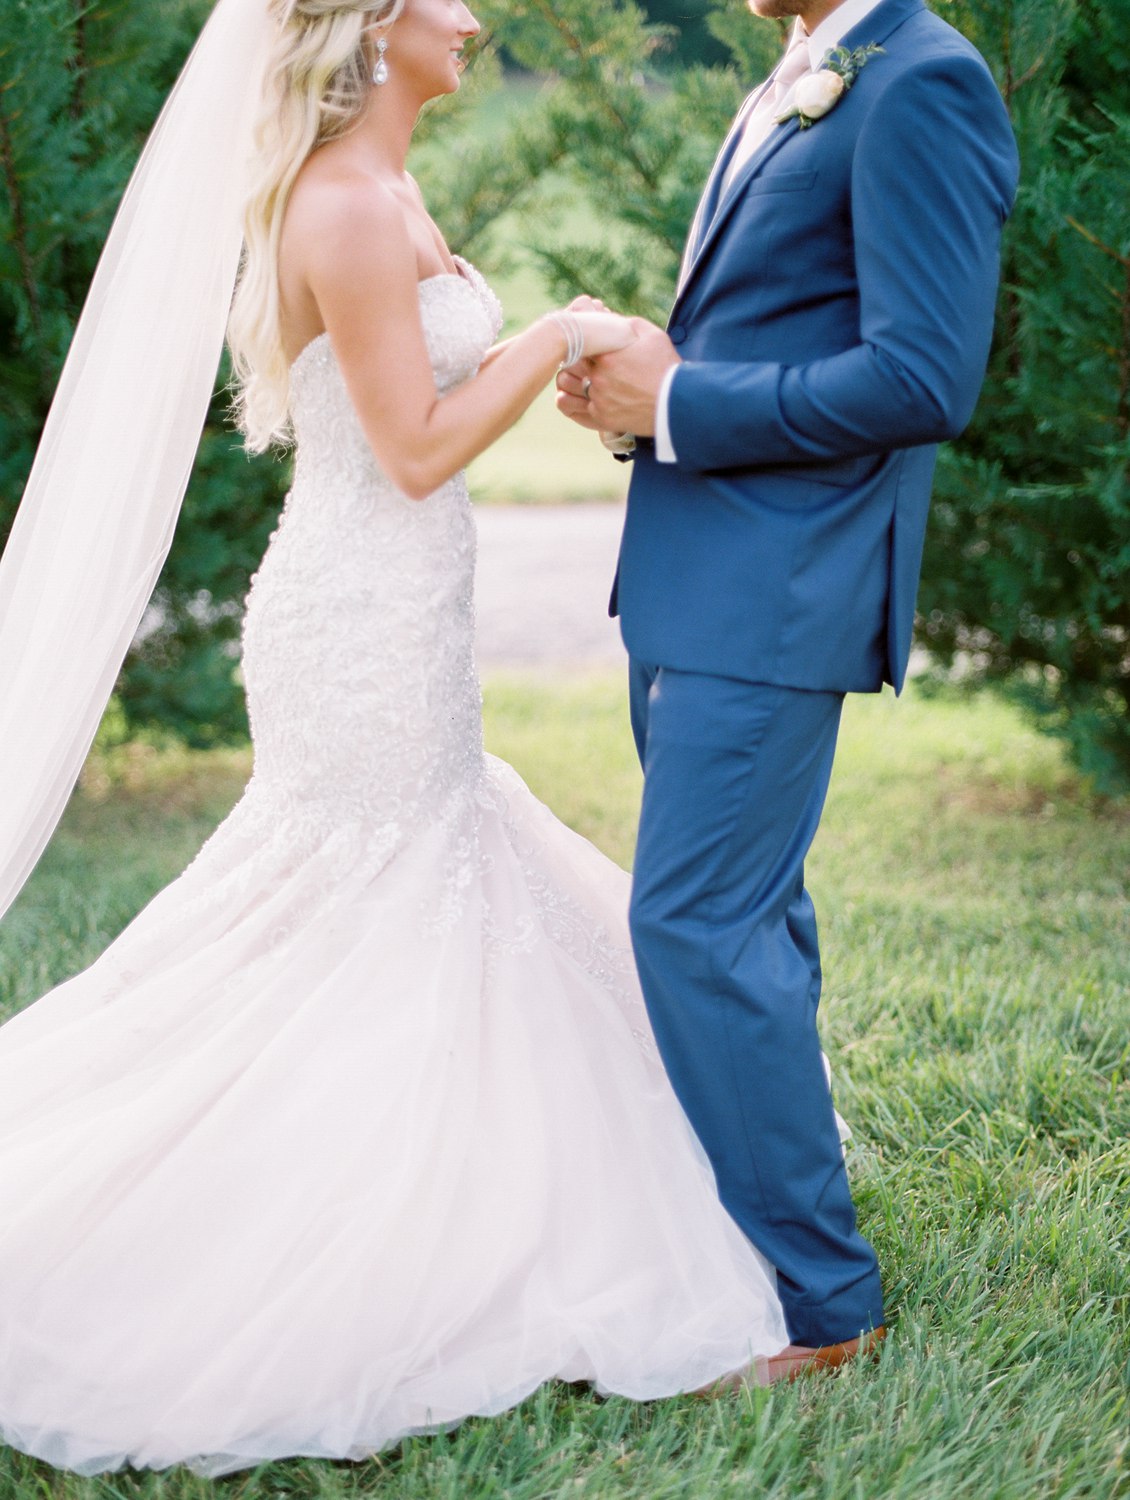
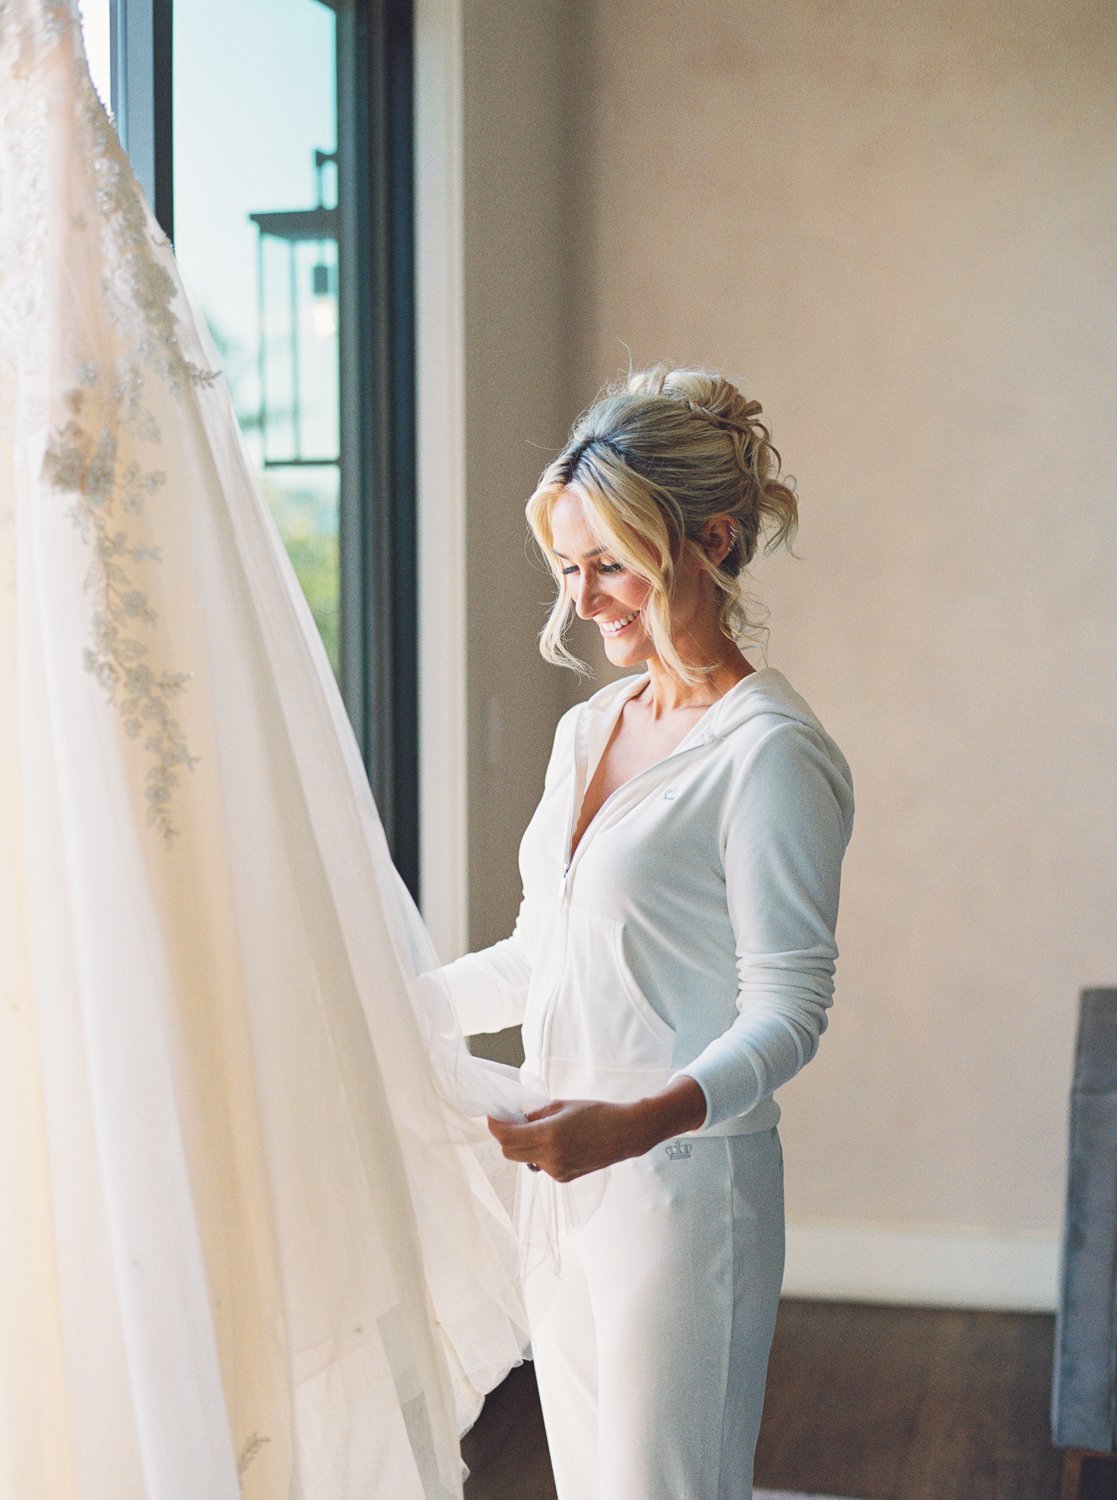
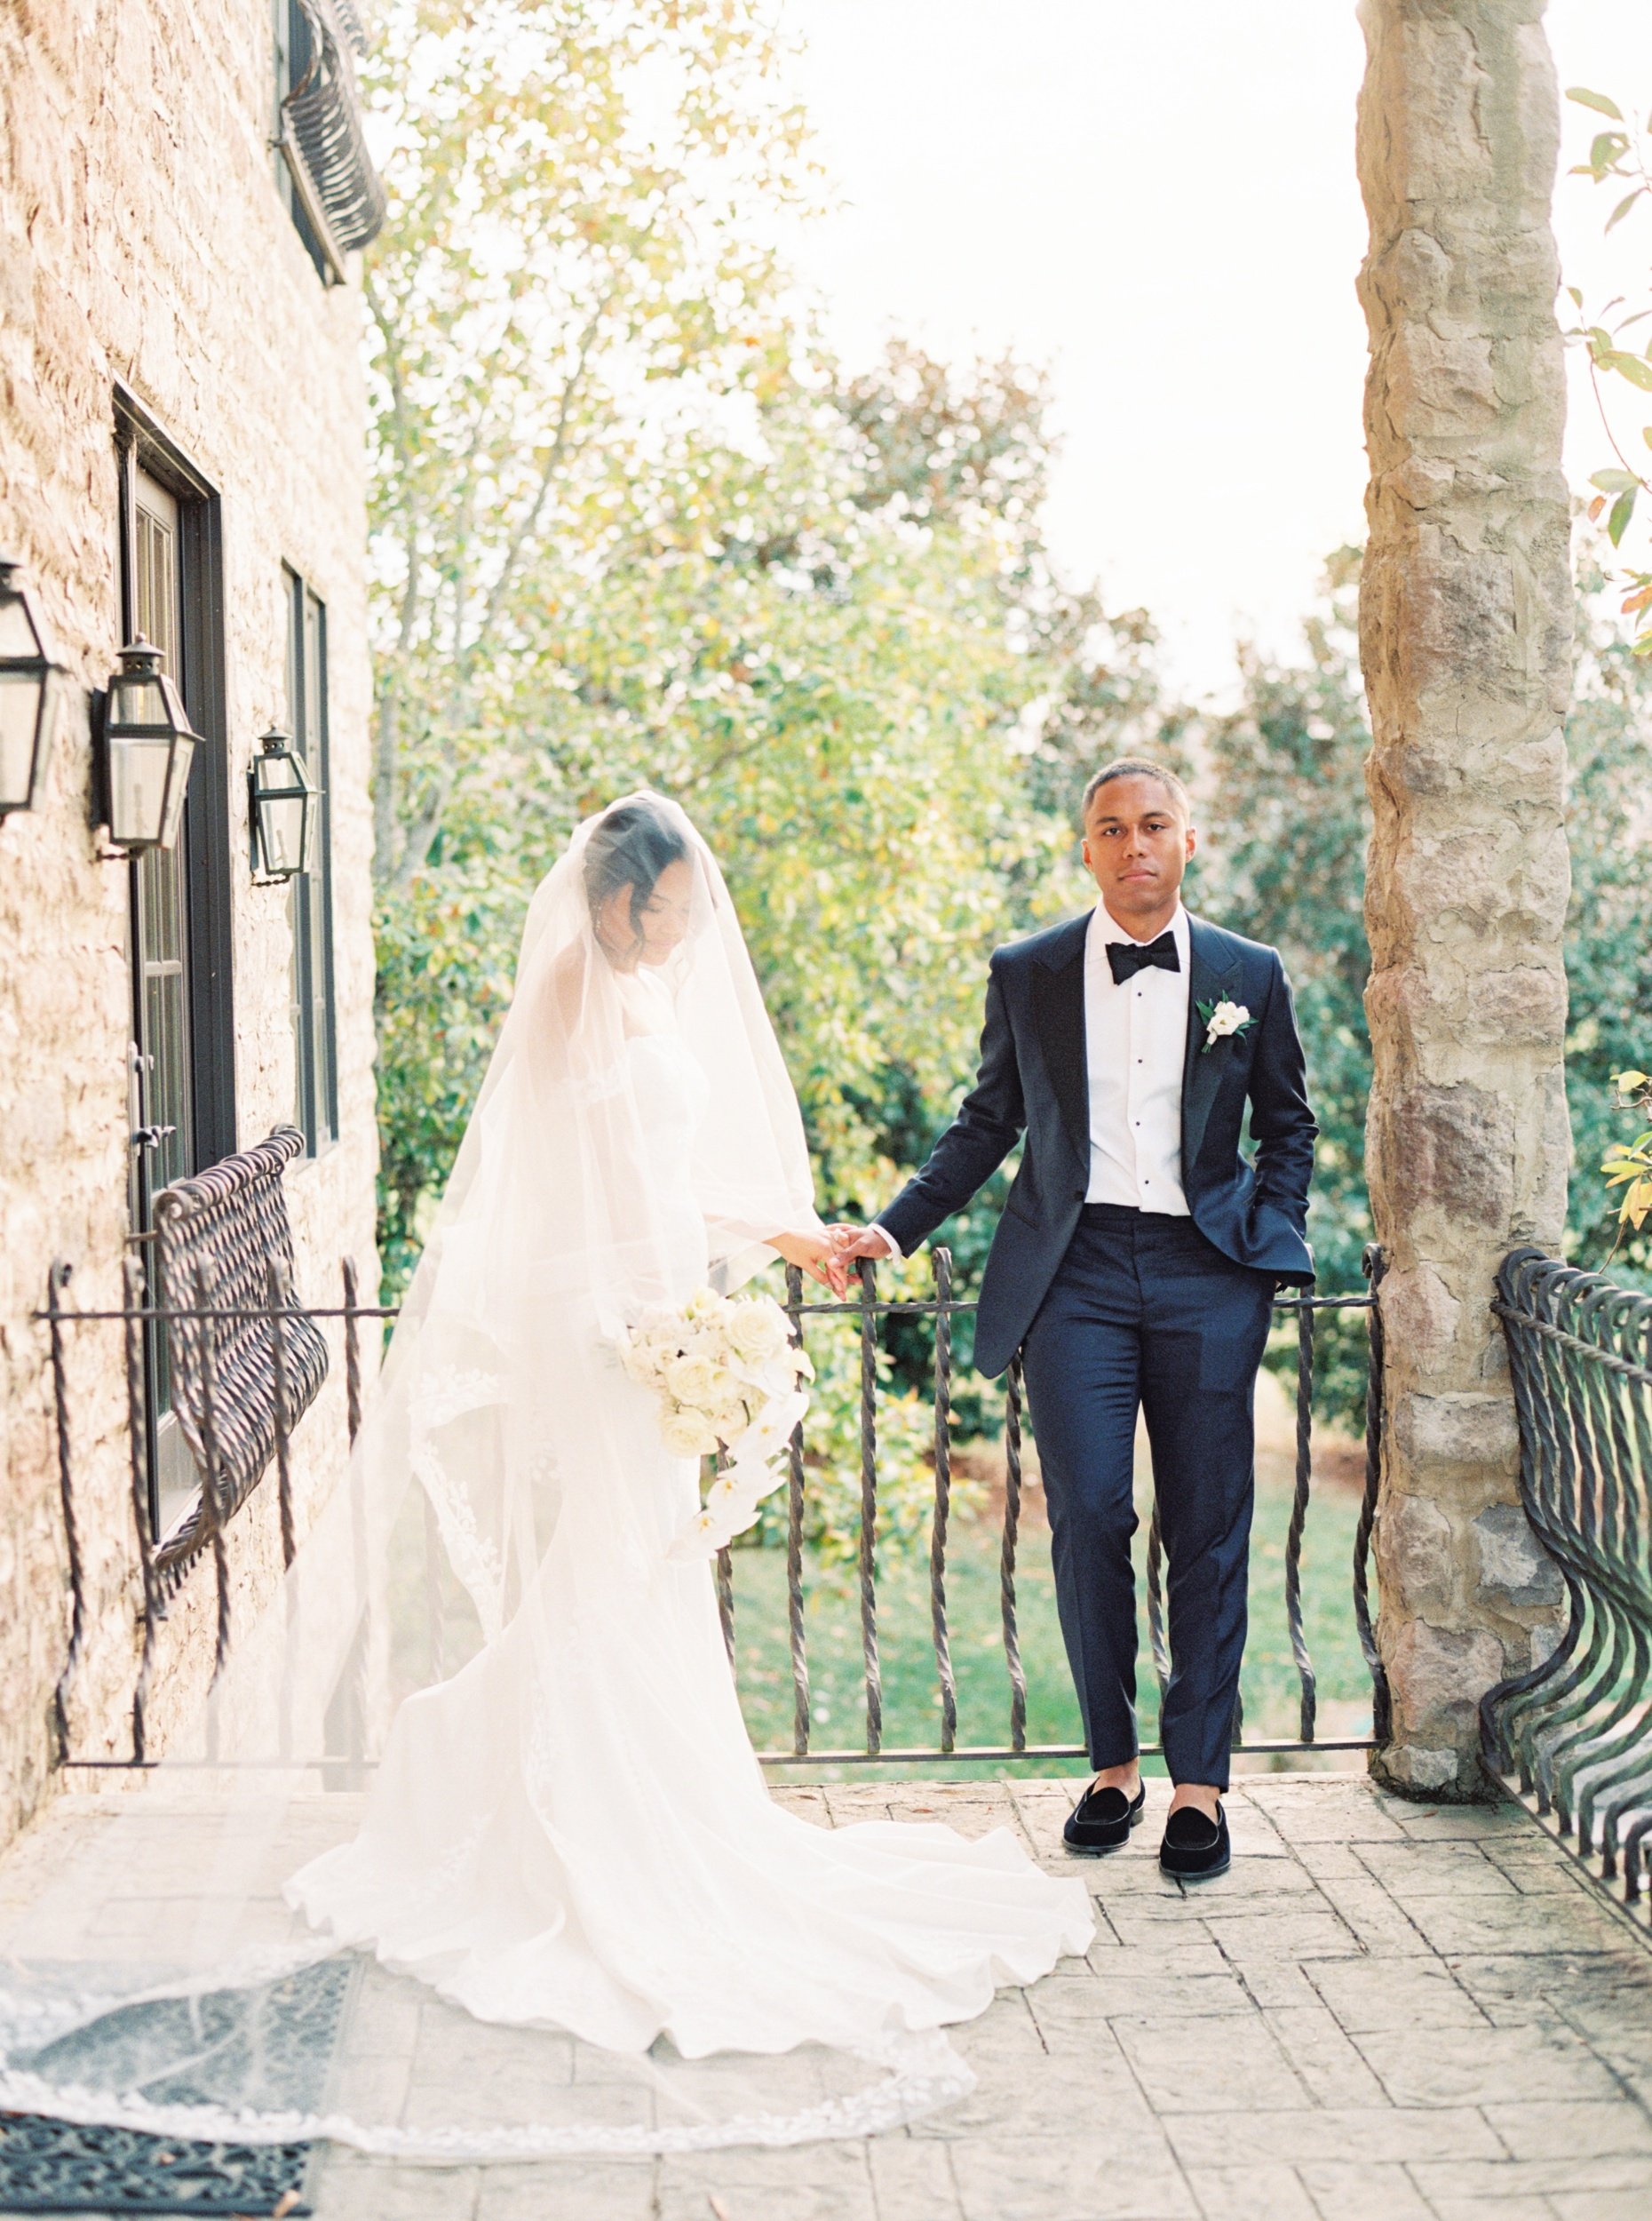
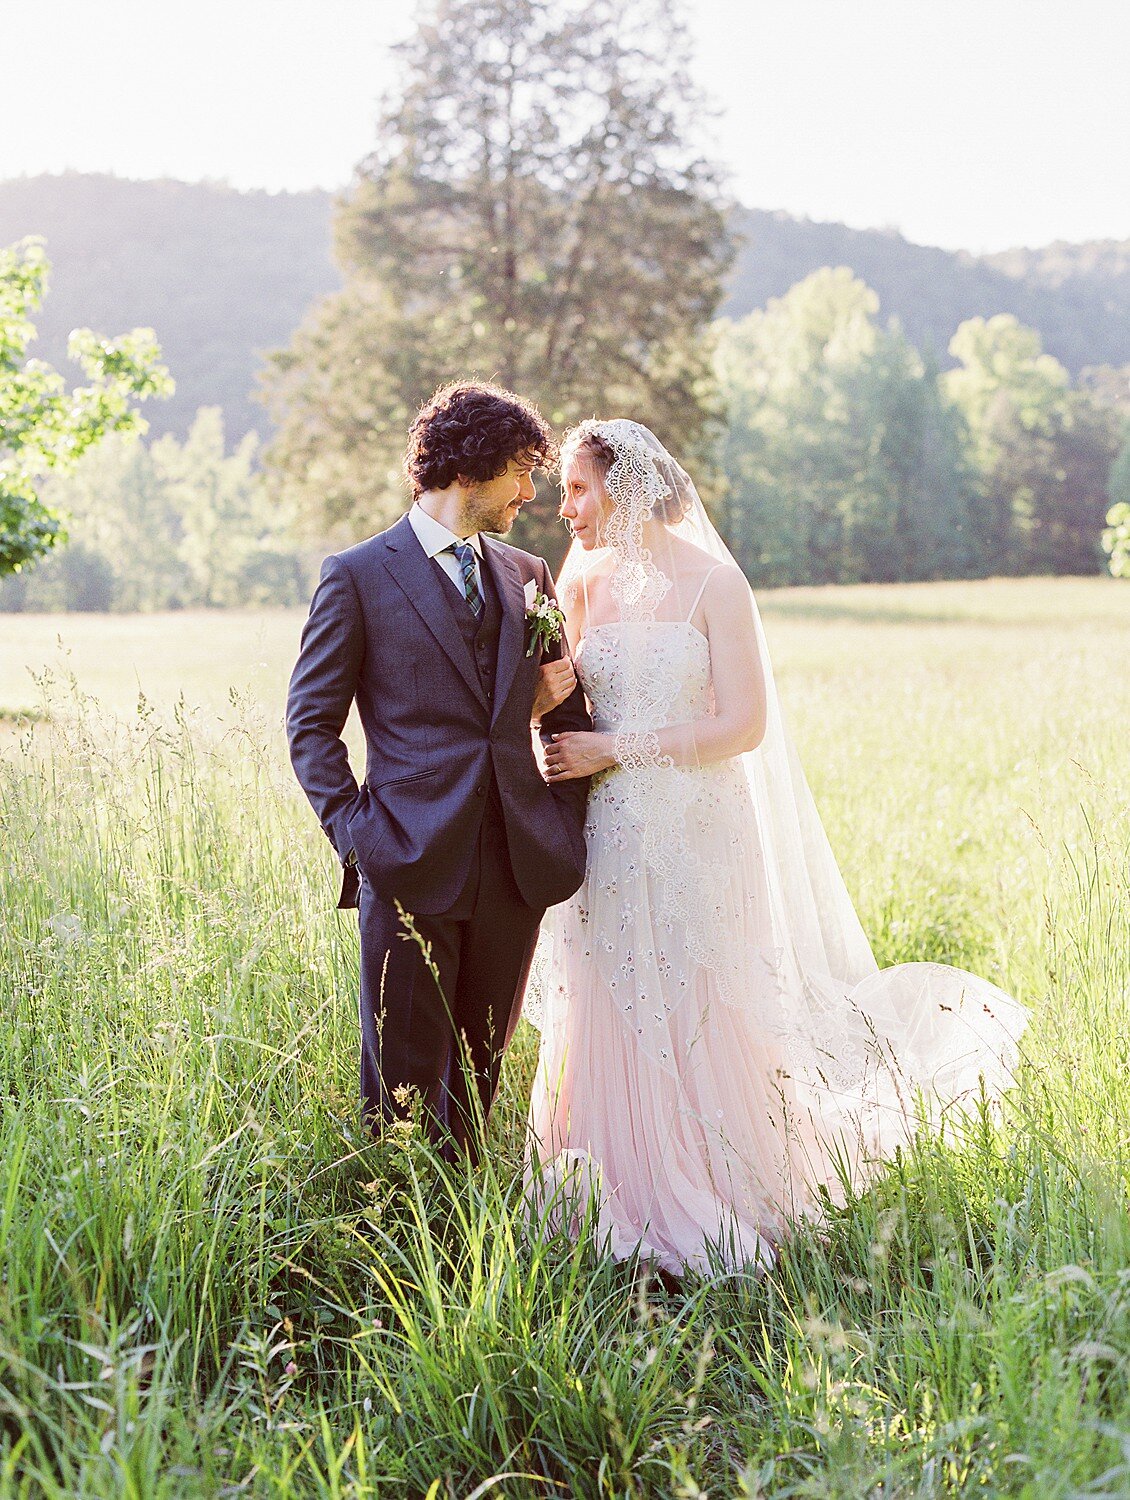
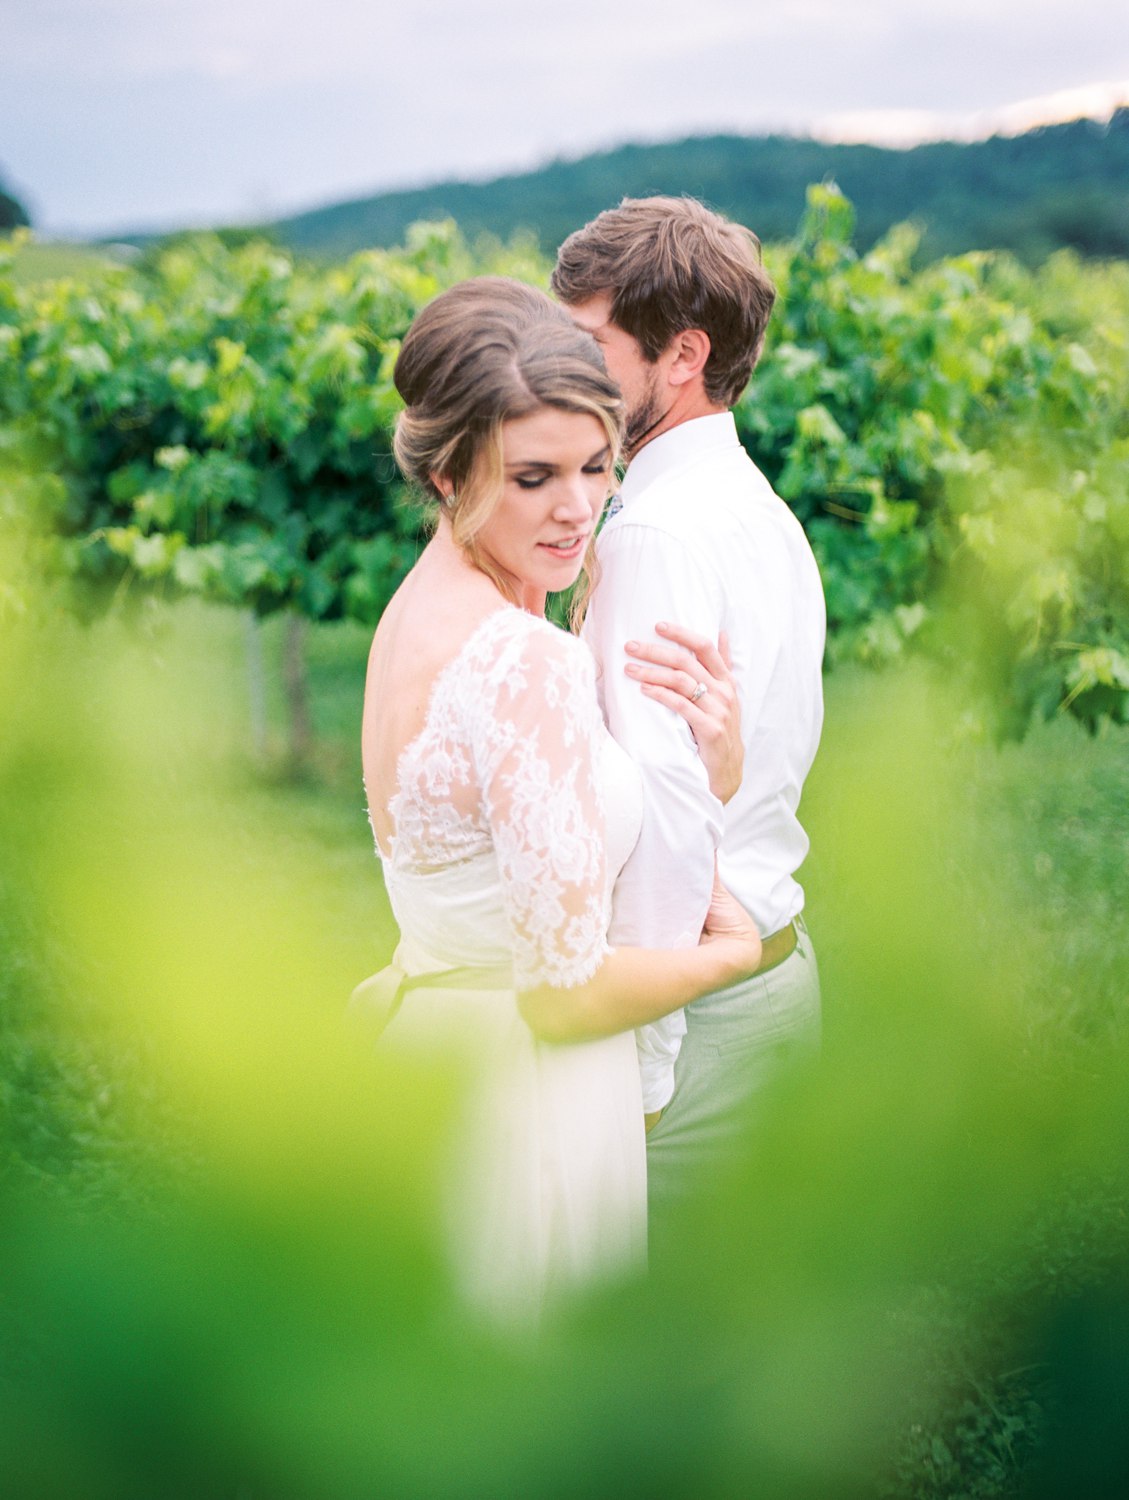
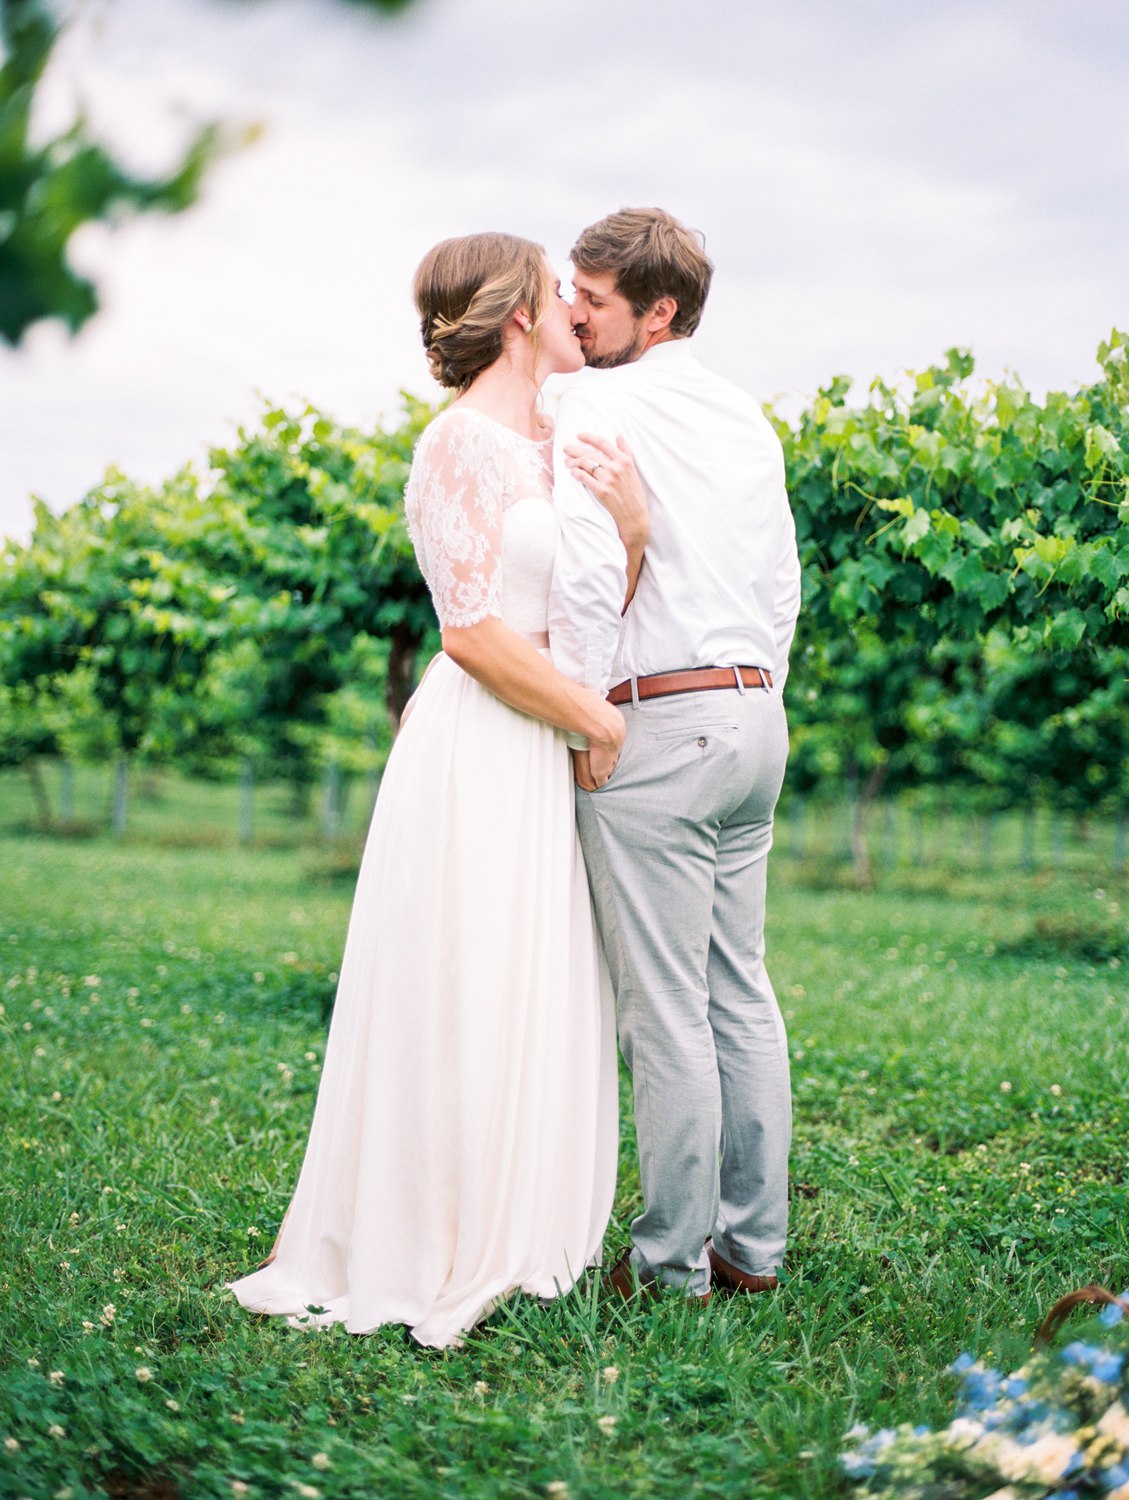
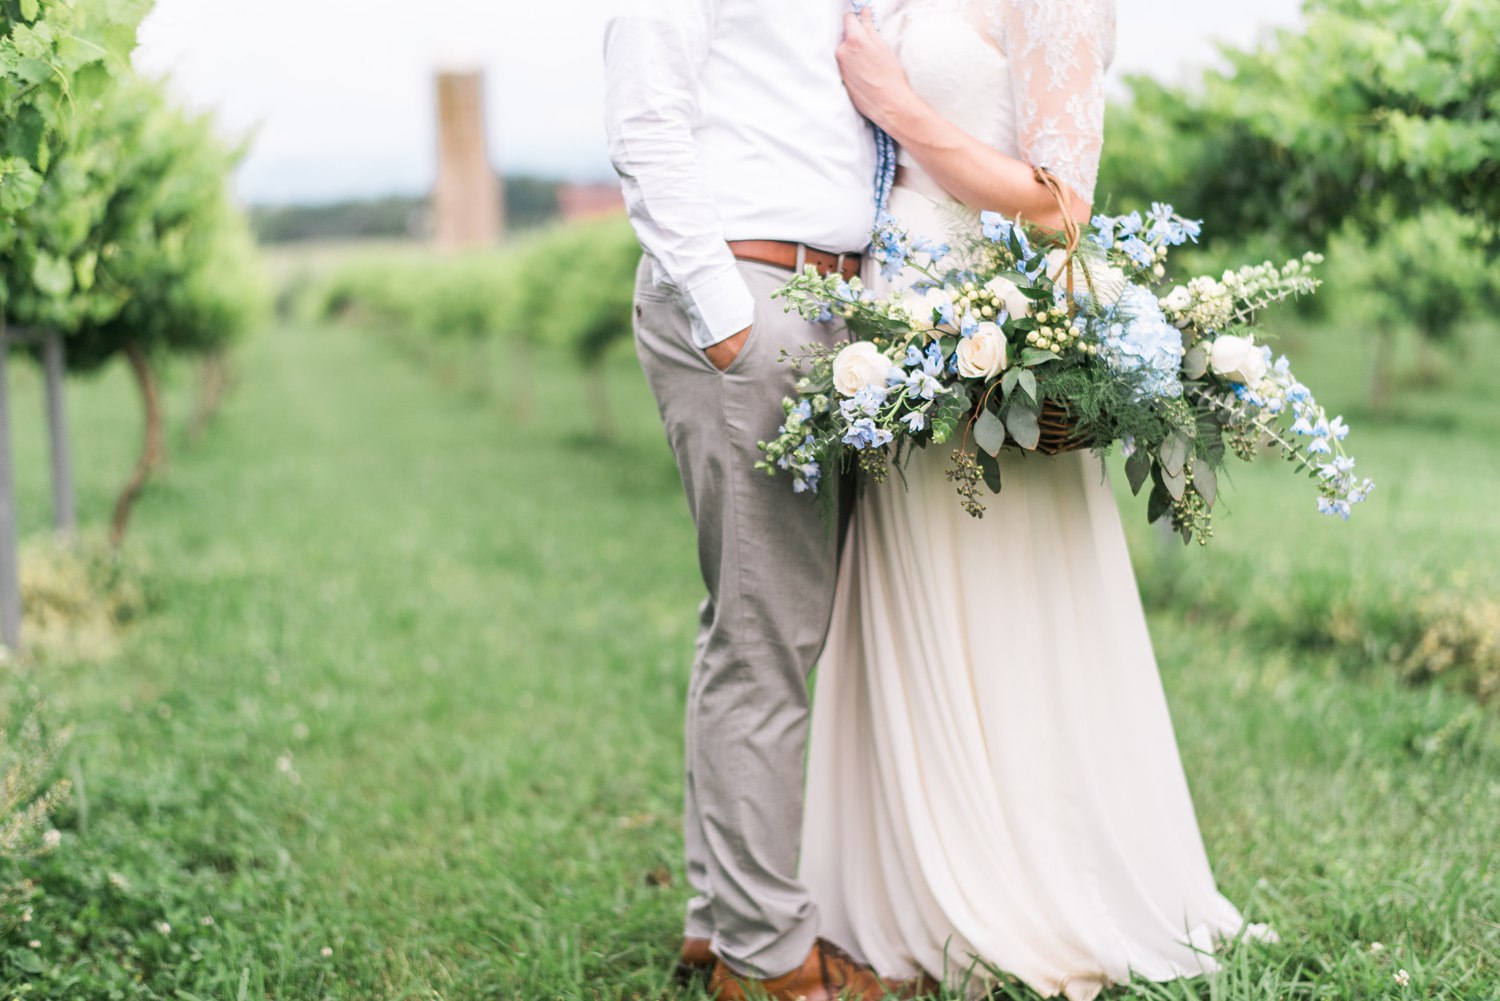
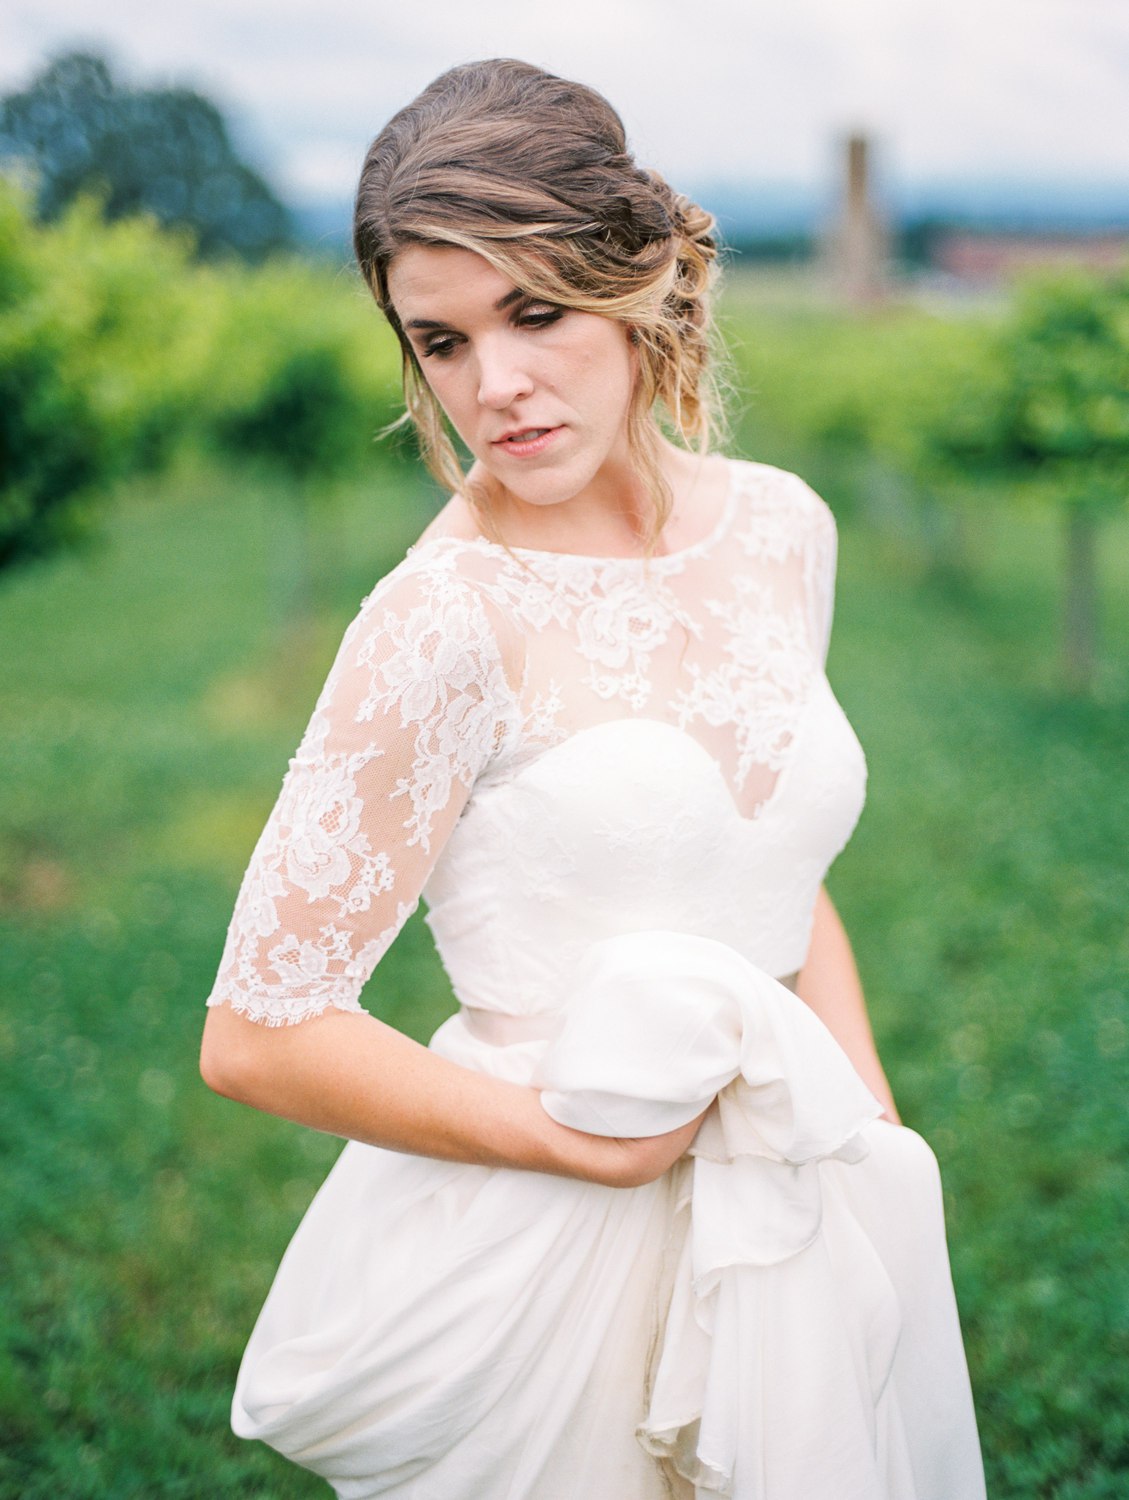
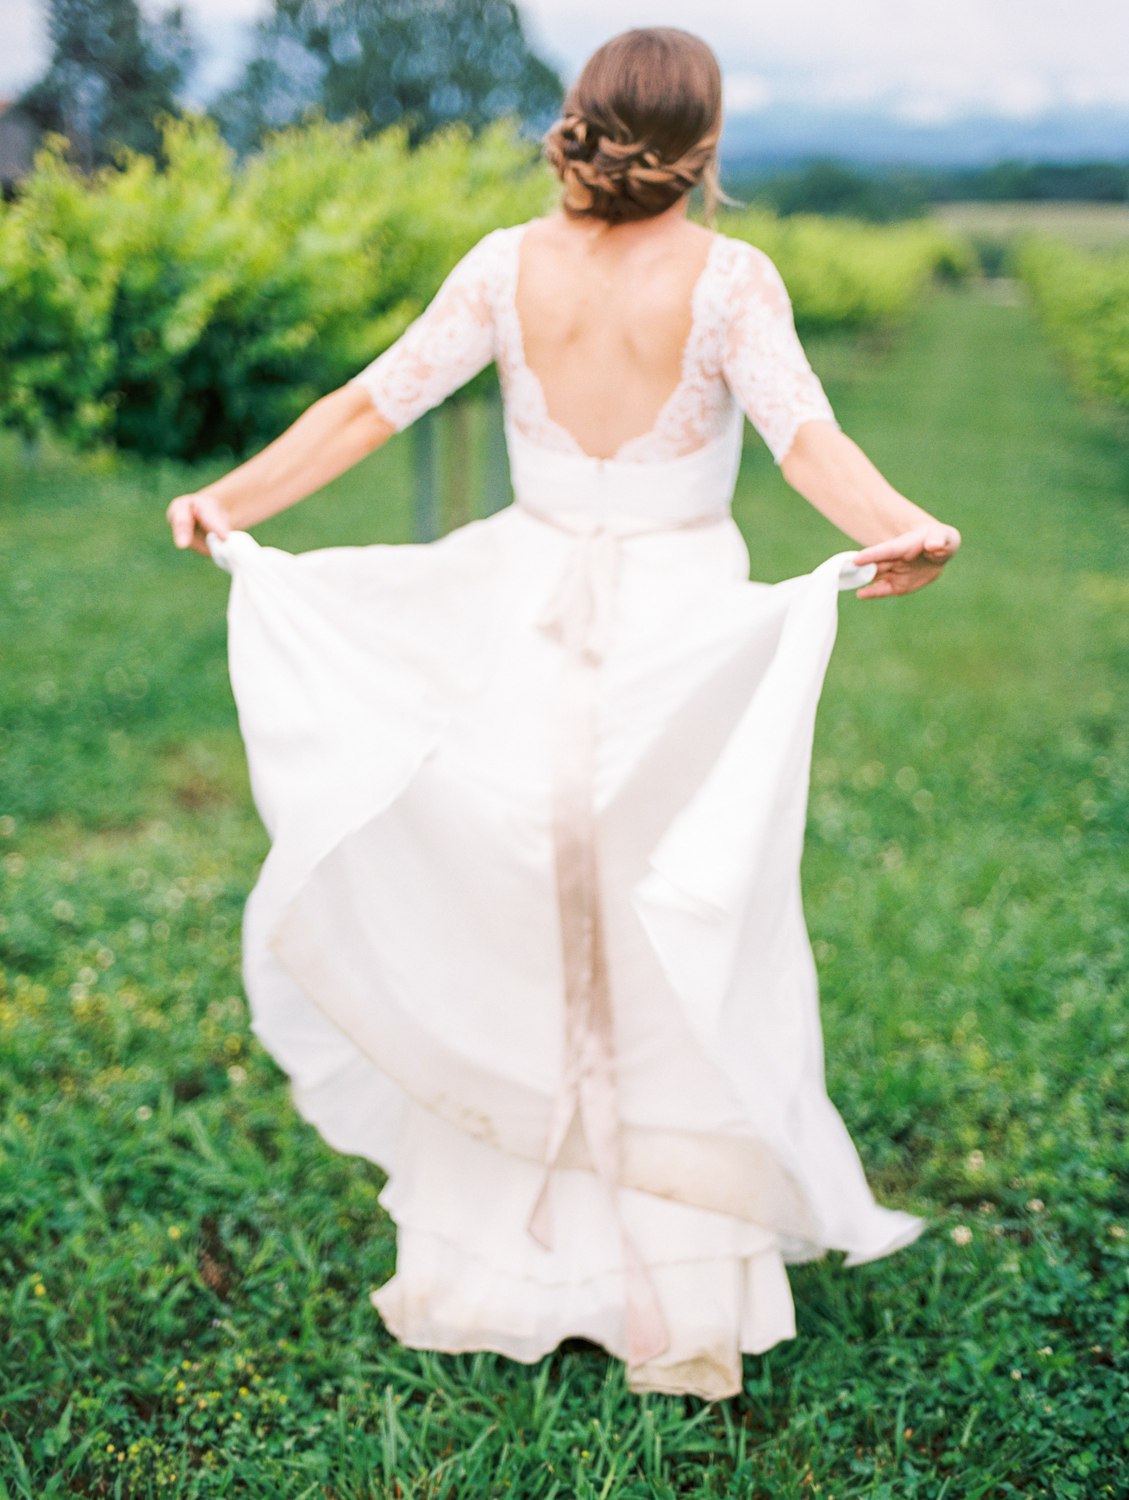
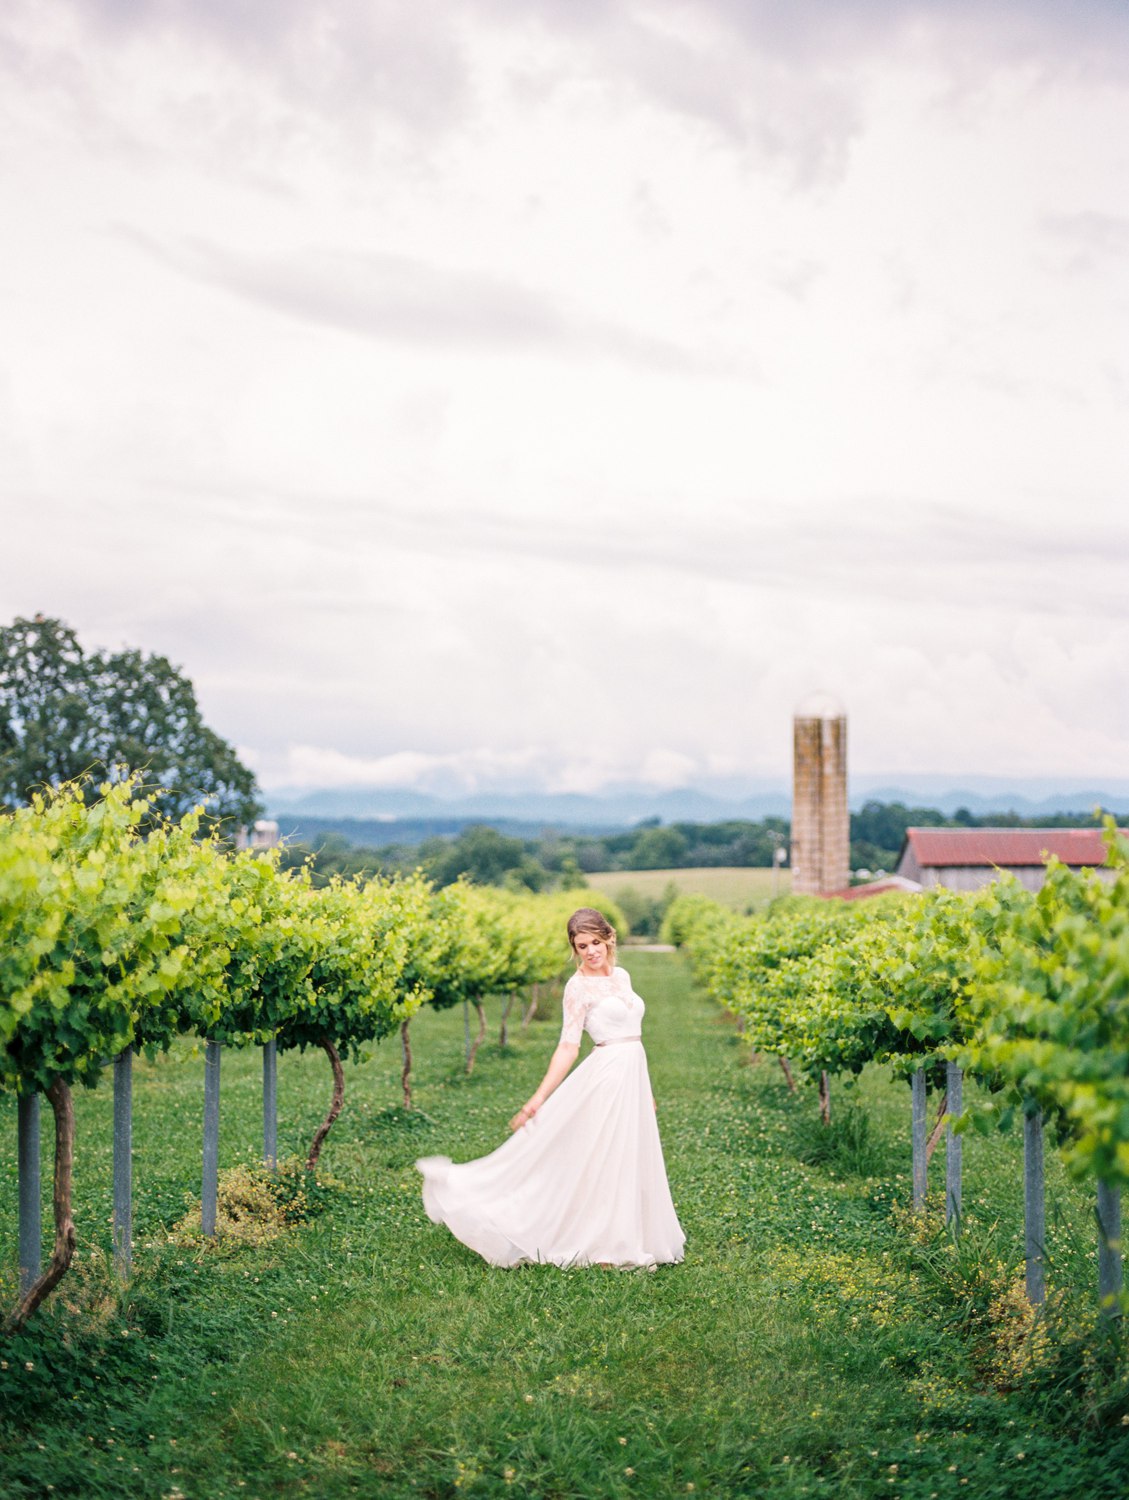
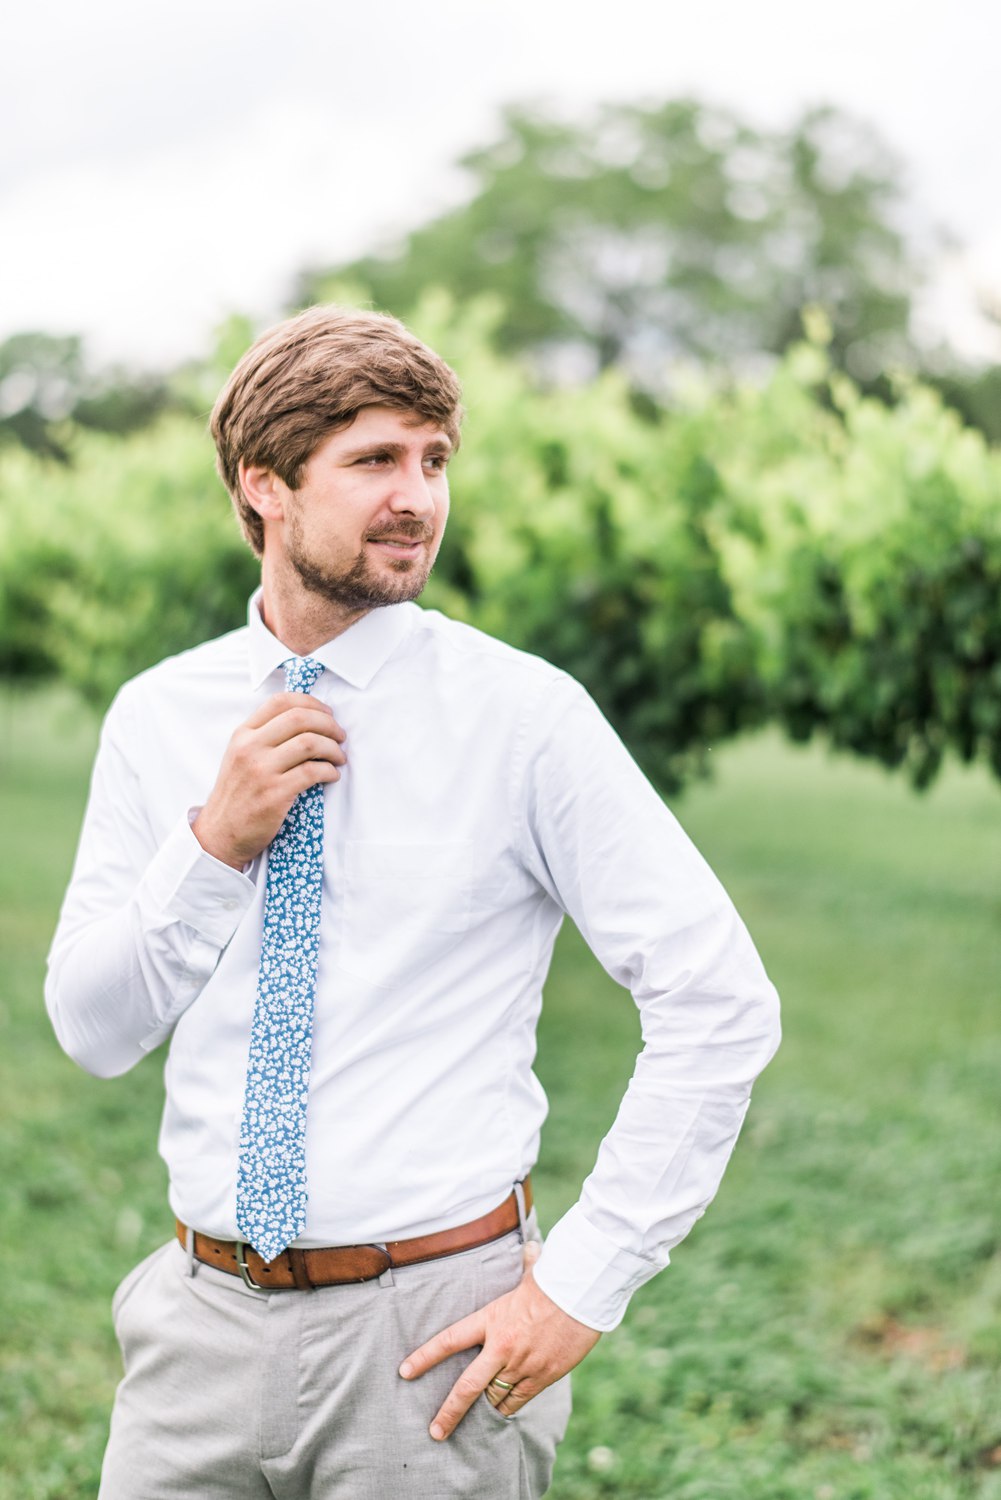
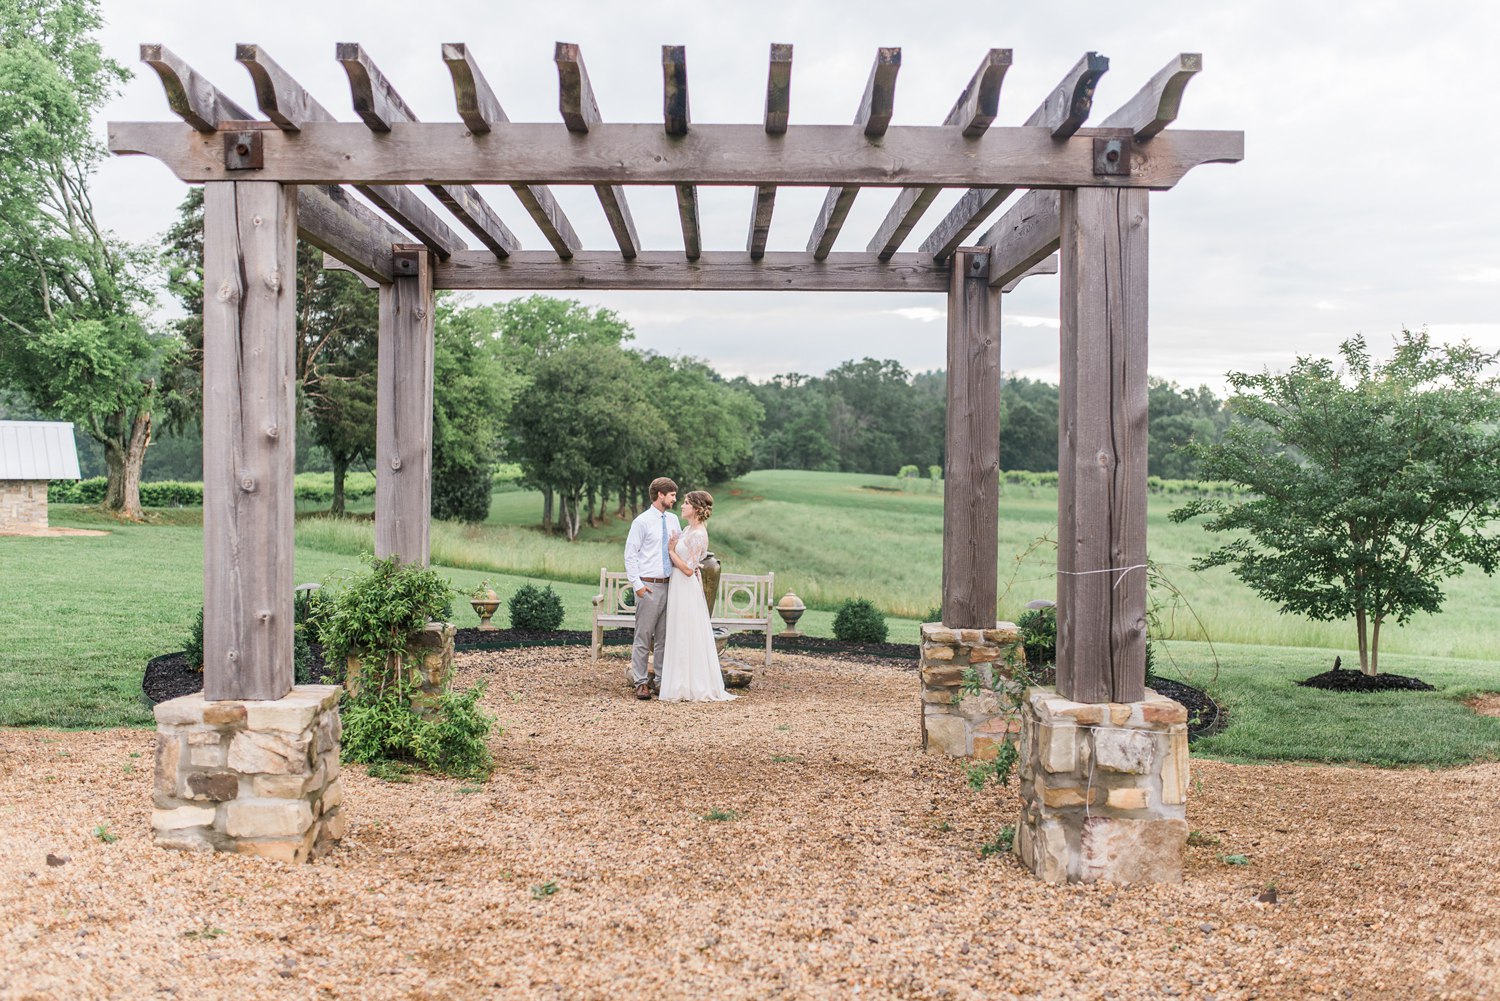
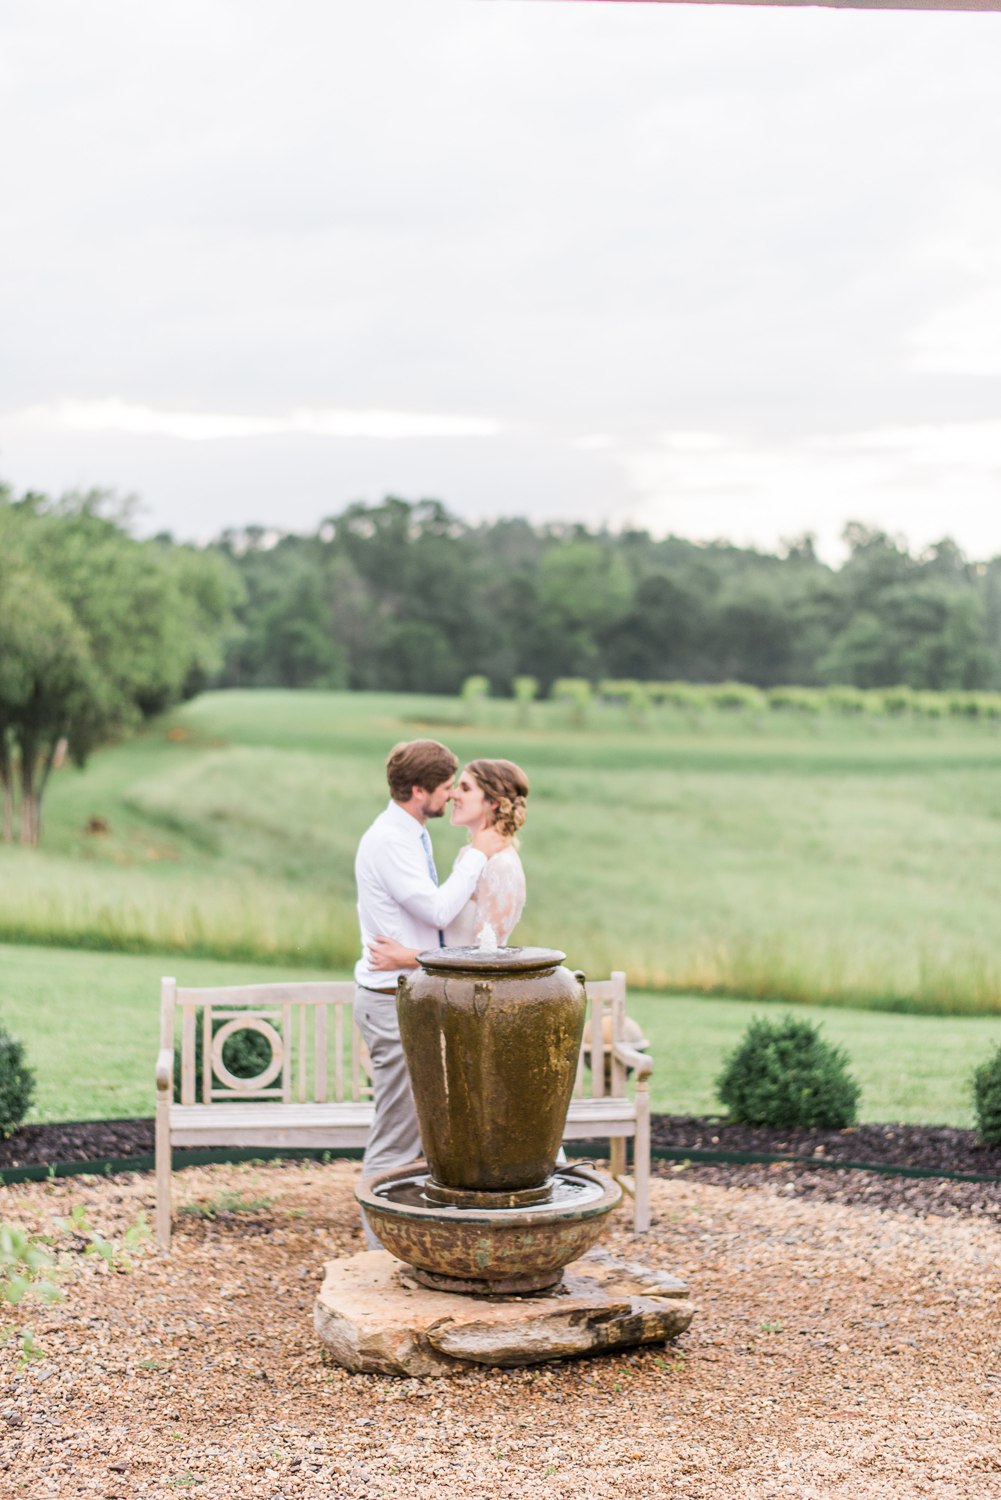
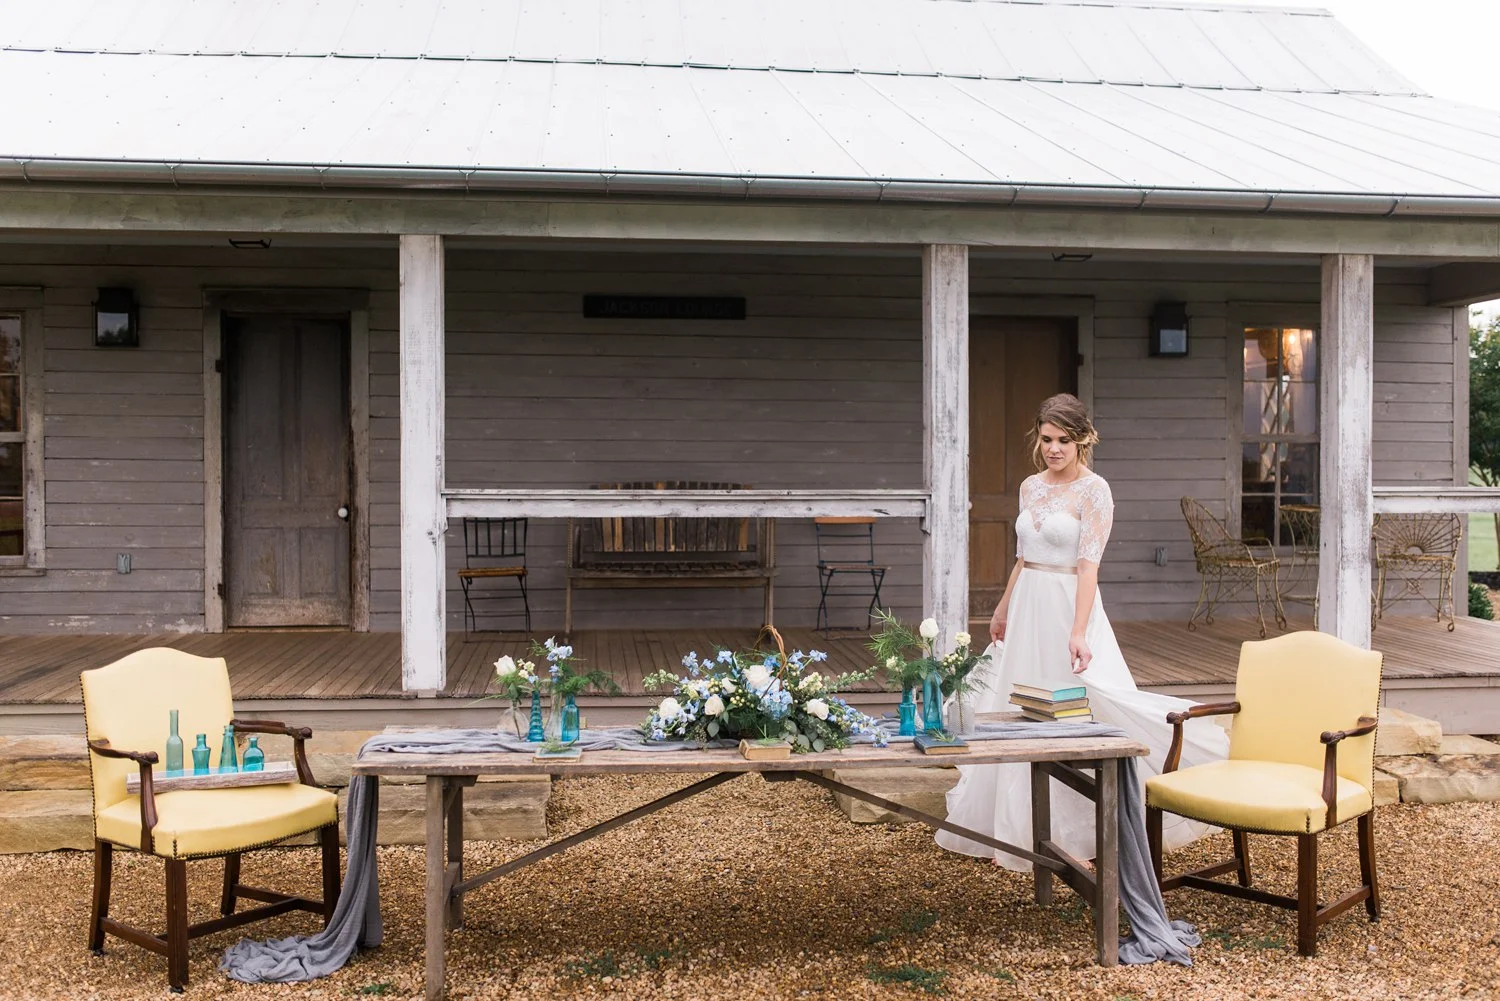
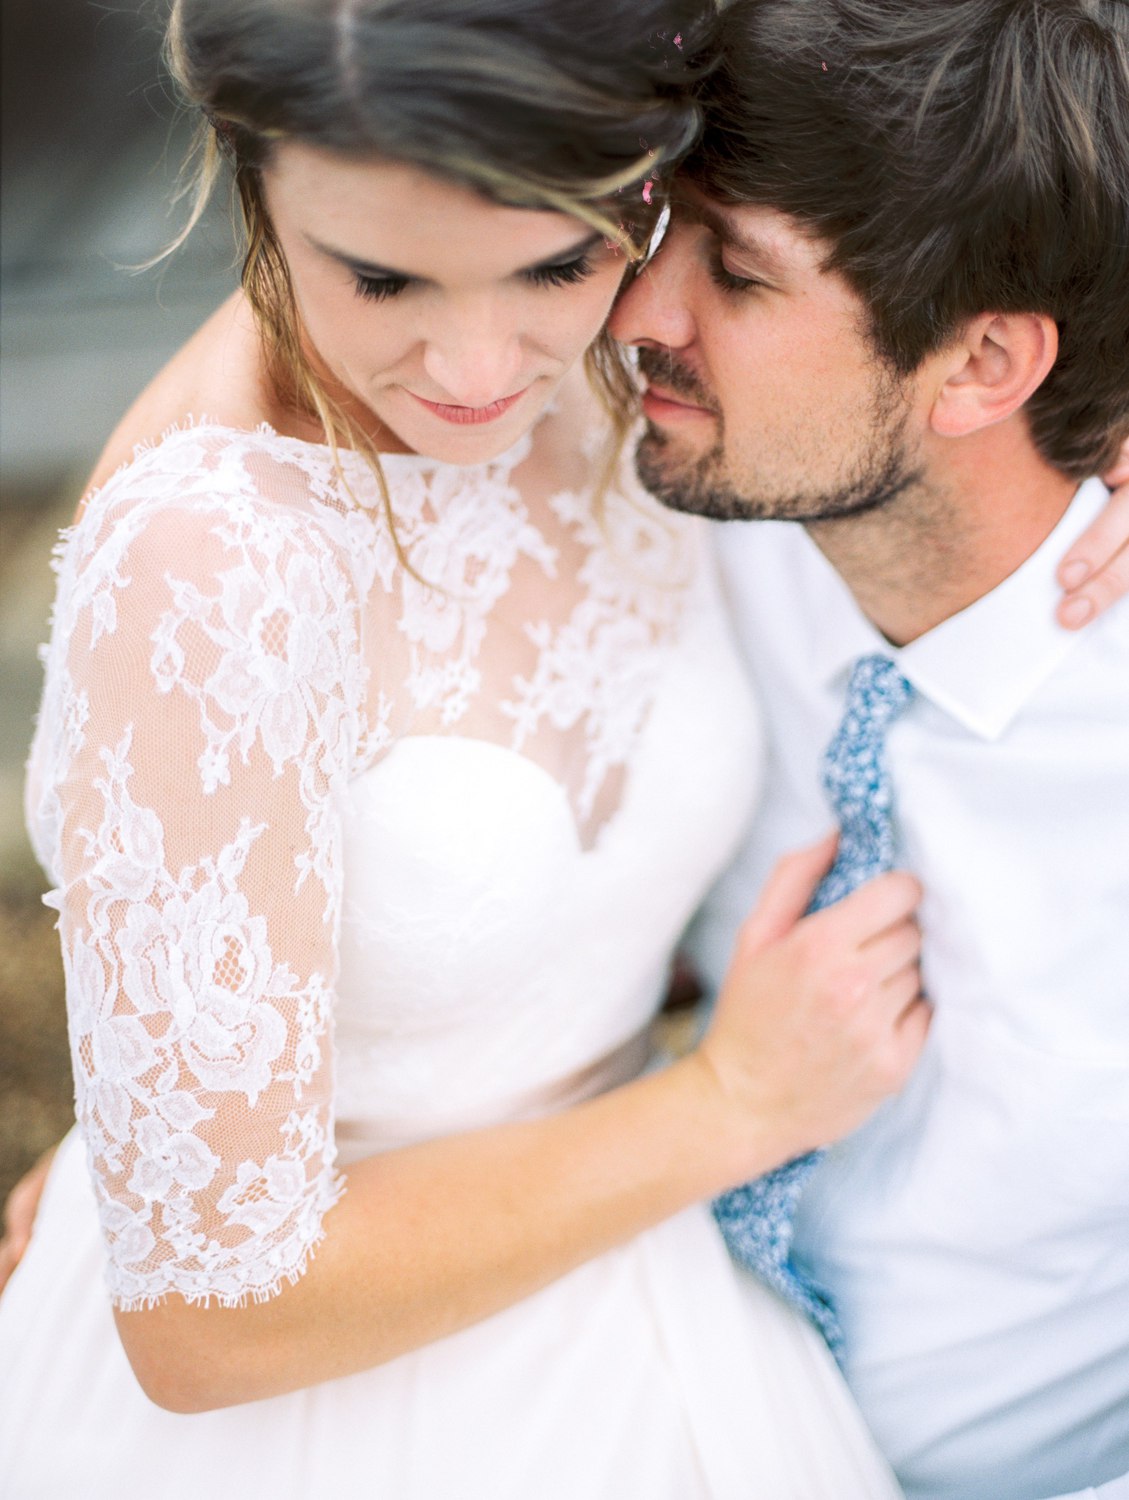
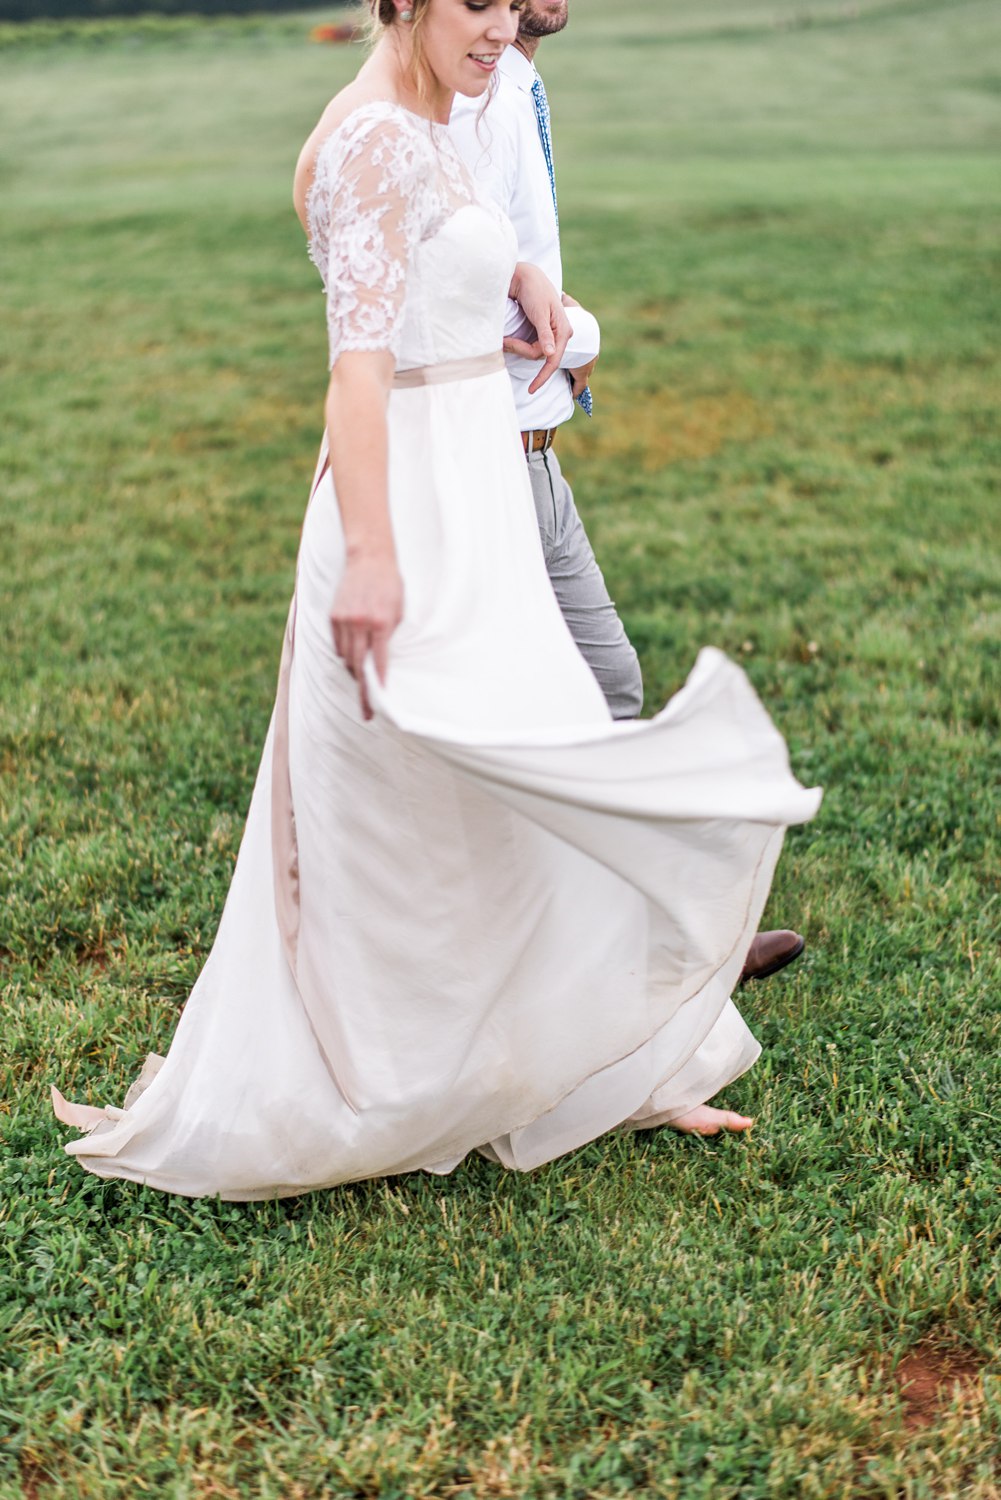
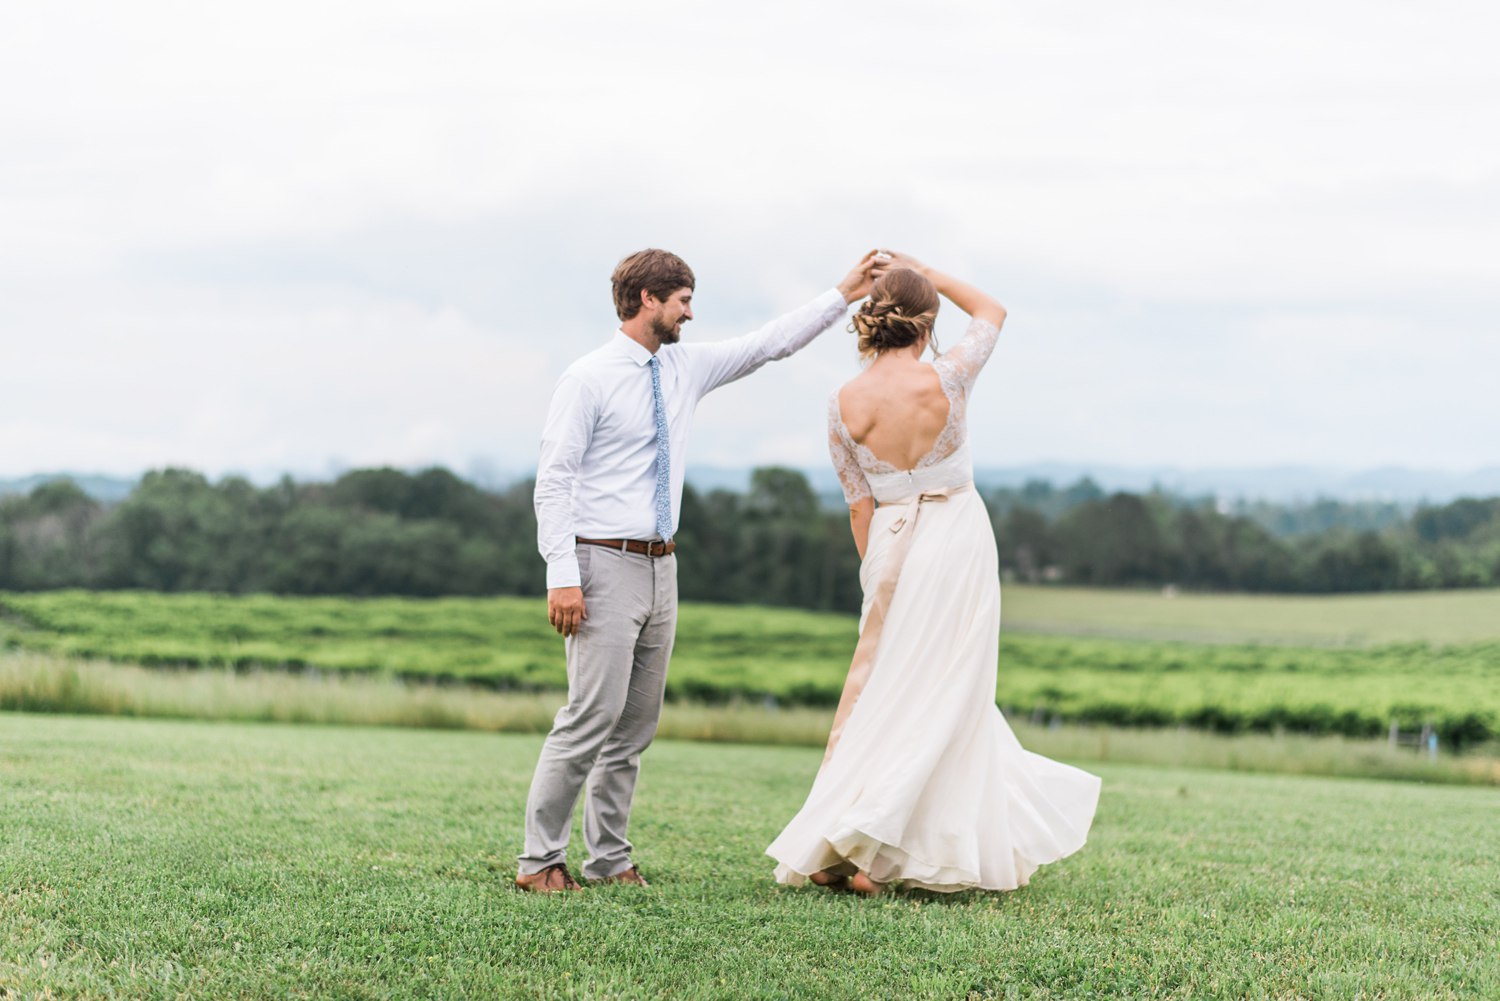
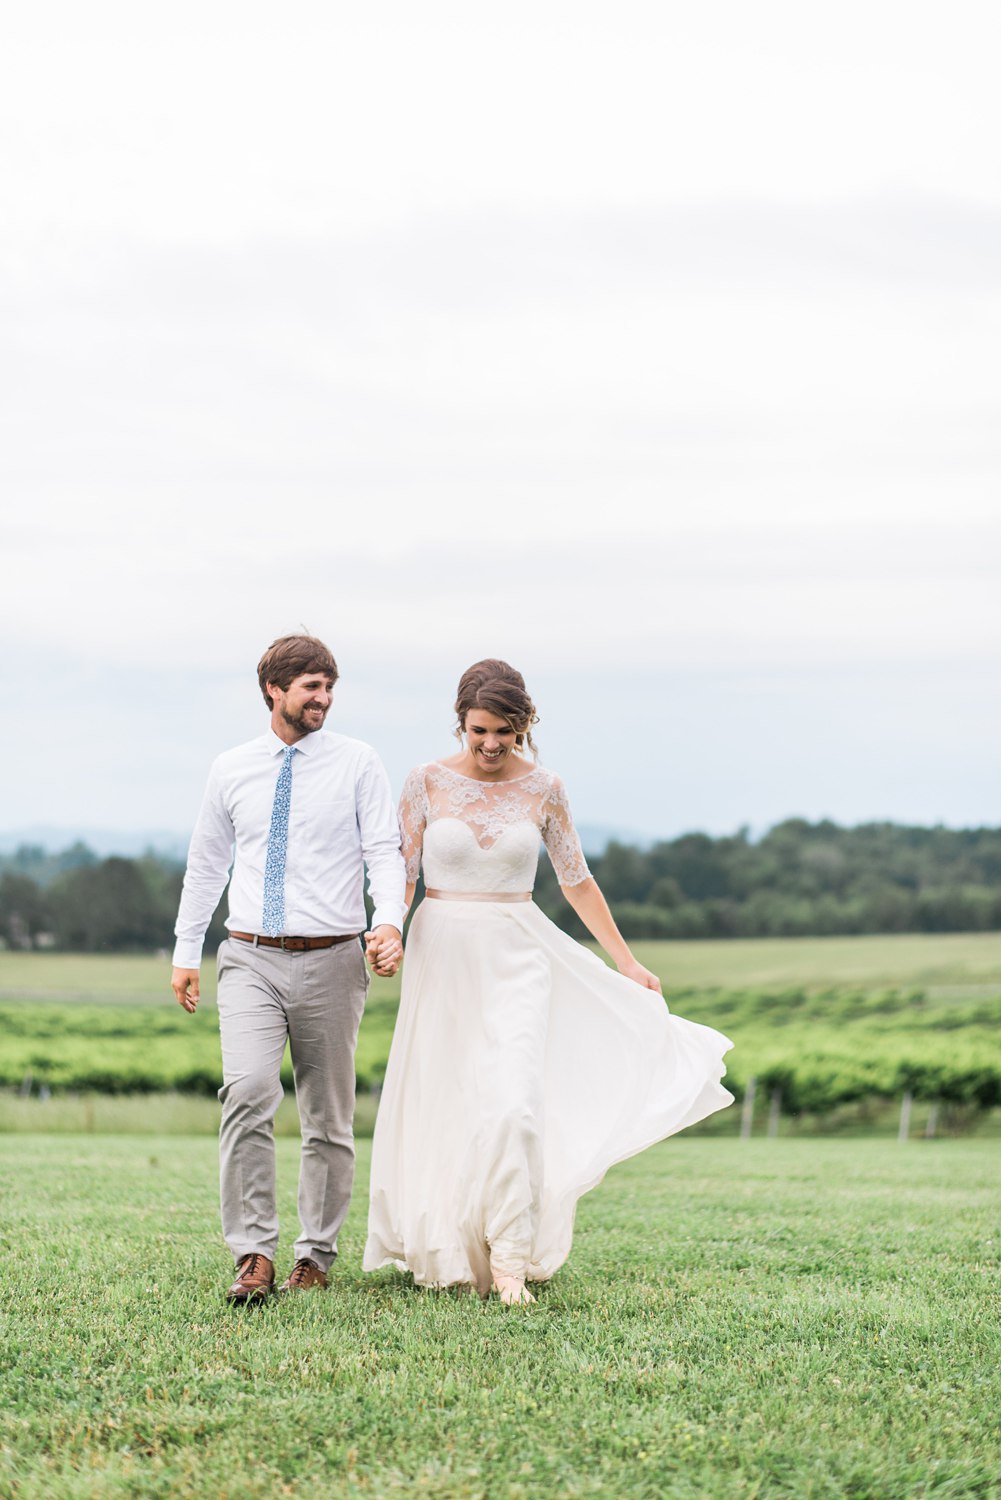
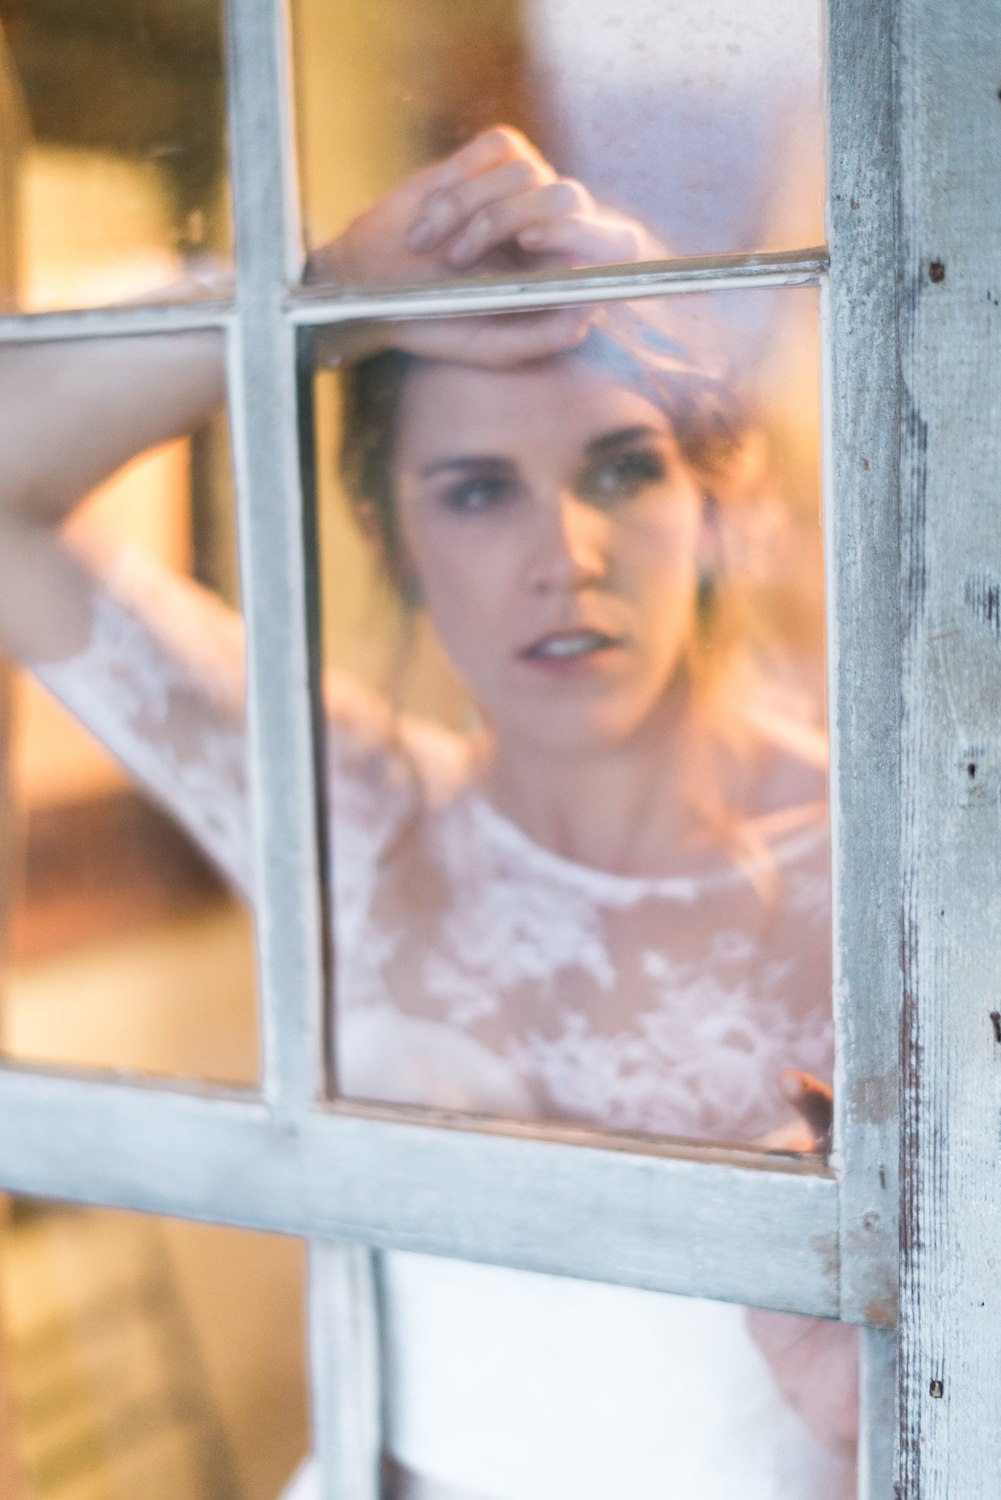
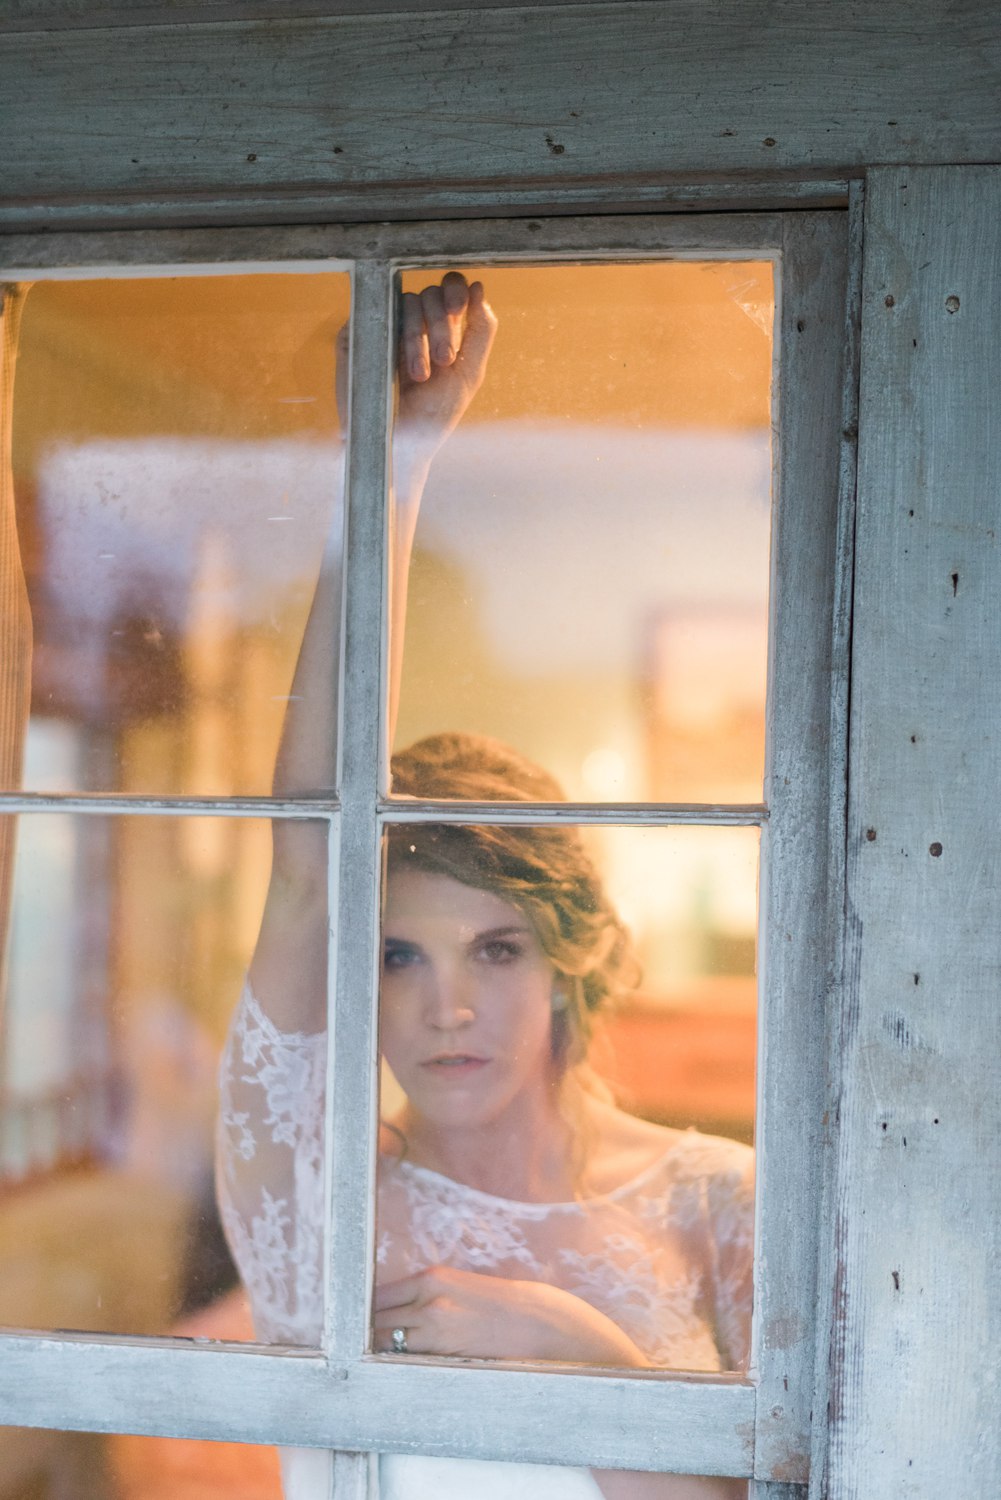
Styled shoots are always a great chance to try out interesting poses and direct the models to achieve beautiful images representative of our style; however, Kathryn and Hunter, the gorgeous couple featured today, didn't need any direction from us at all, and we were so excited to capture their natural interactions with one another.
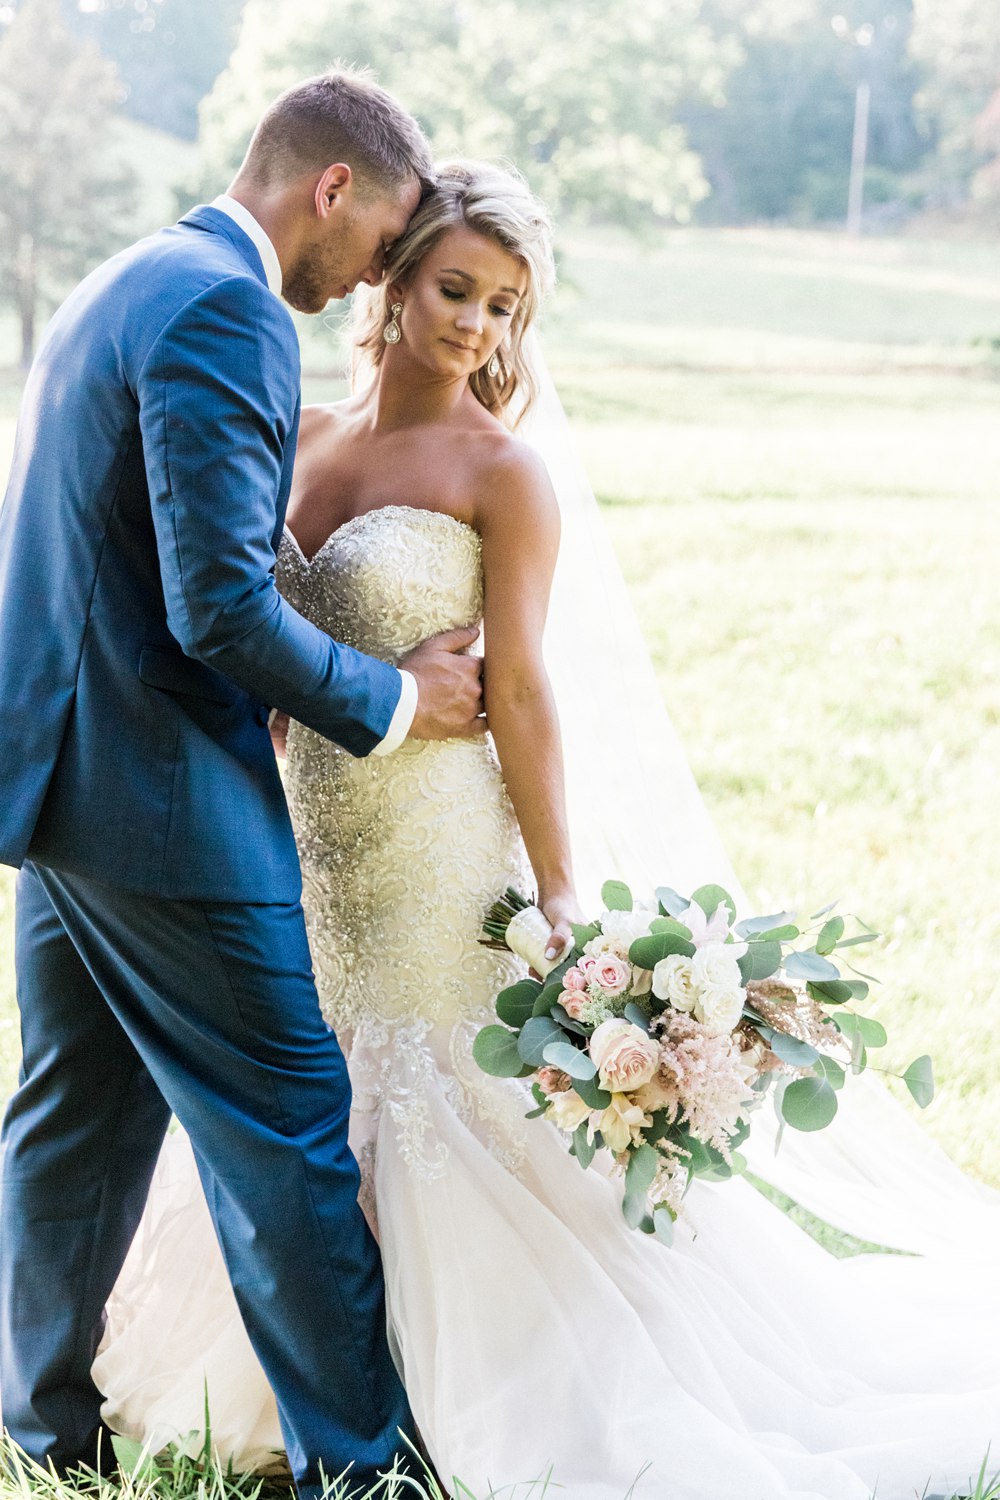
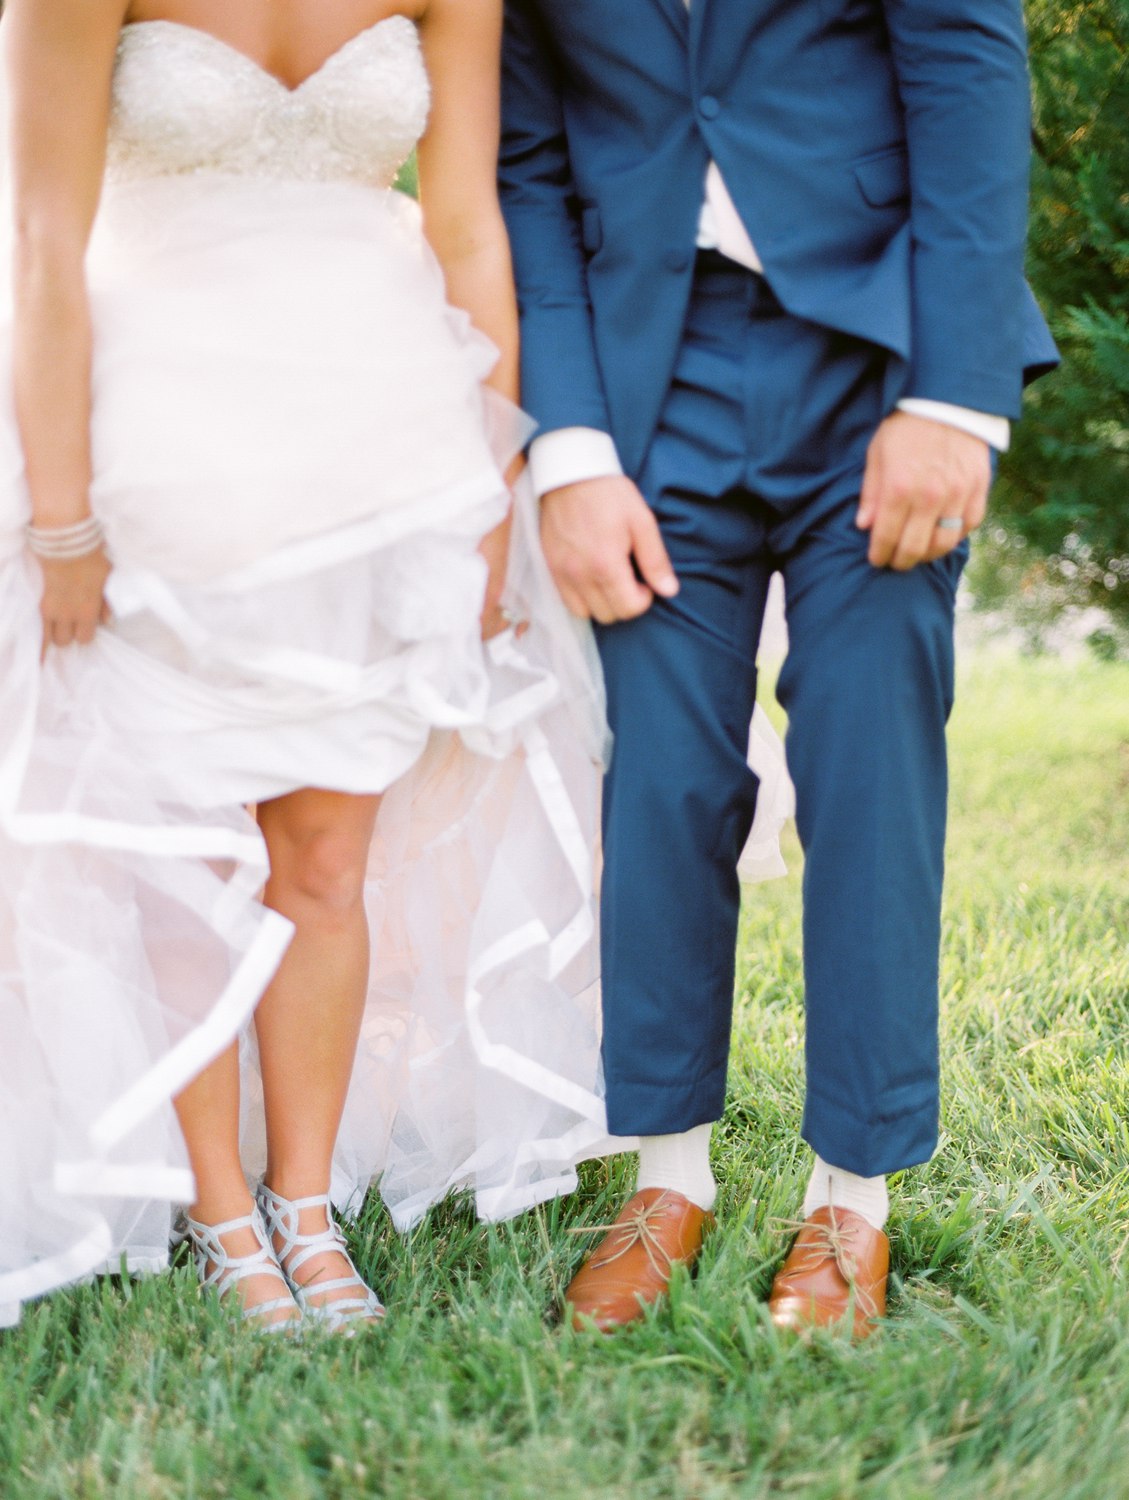
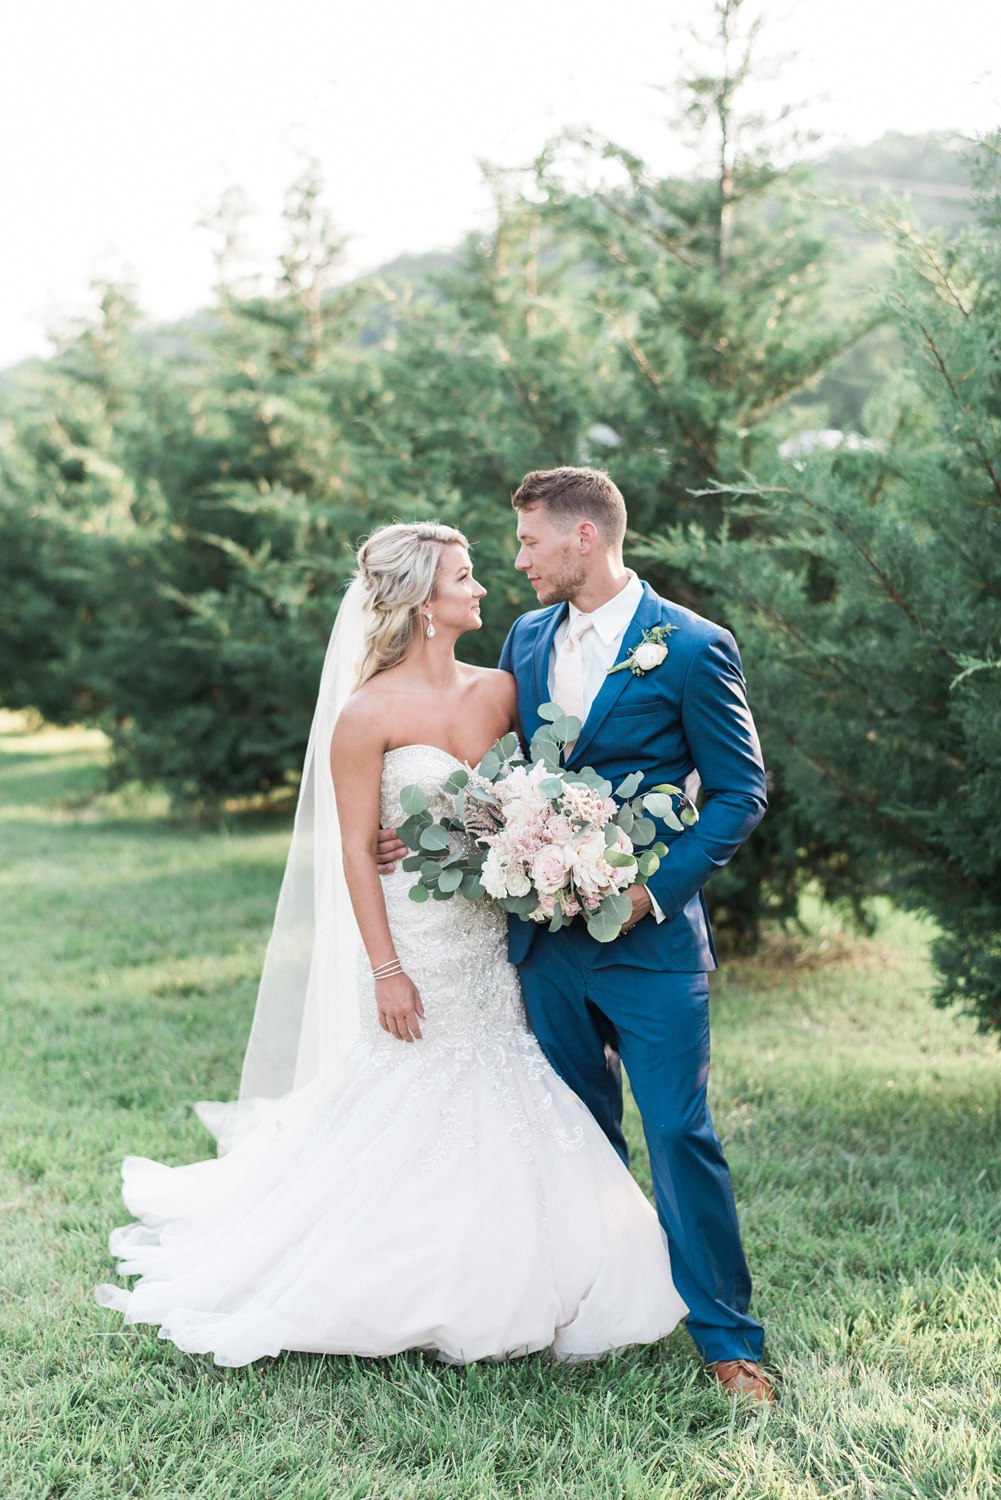
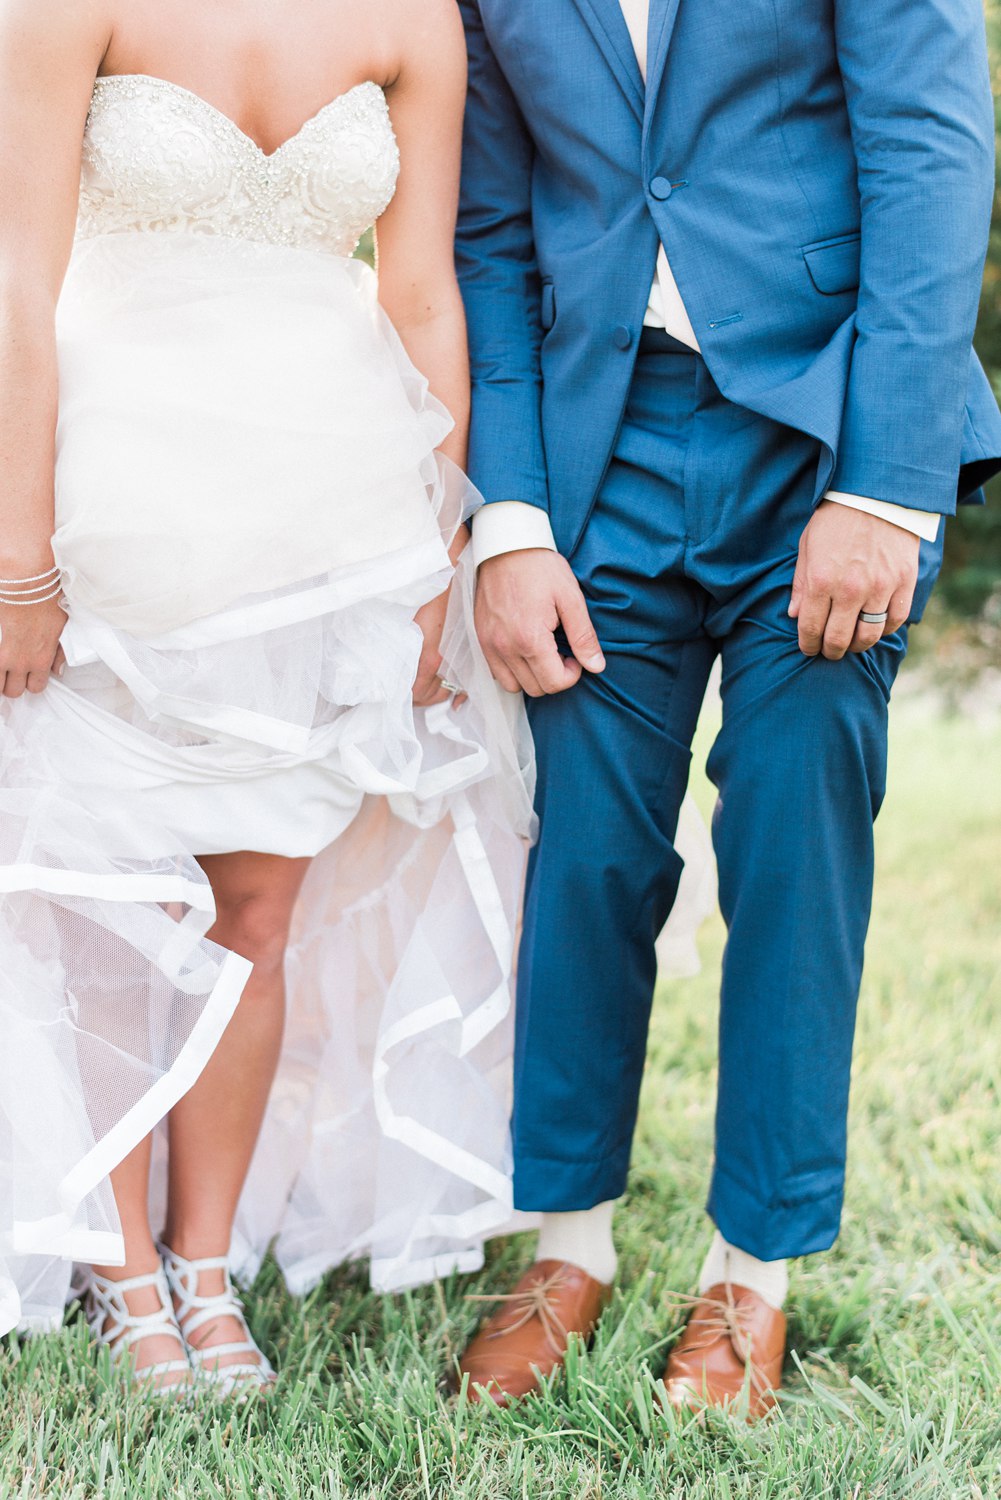
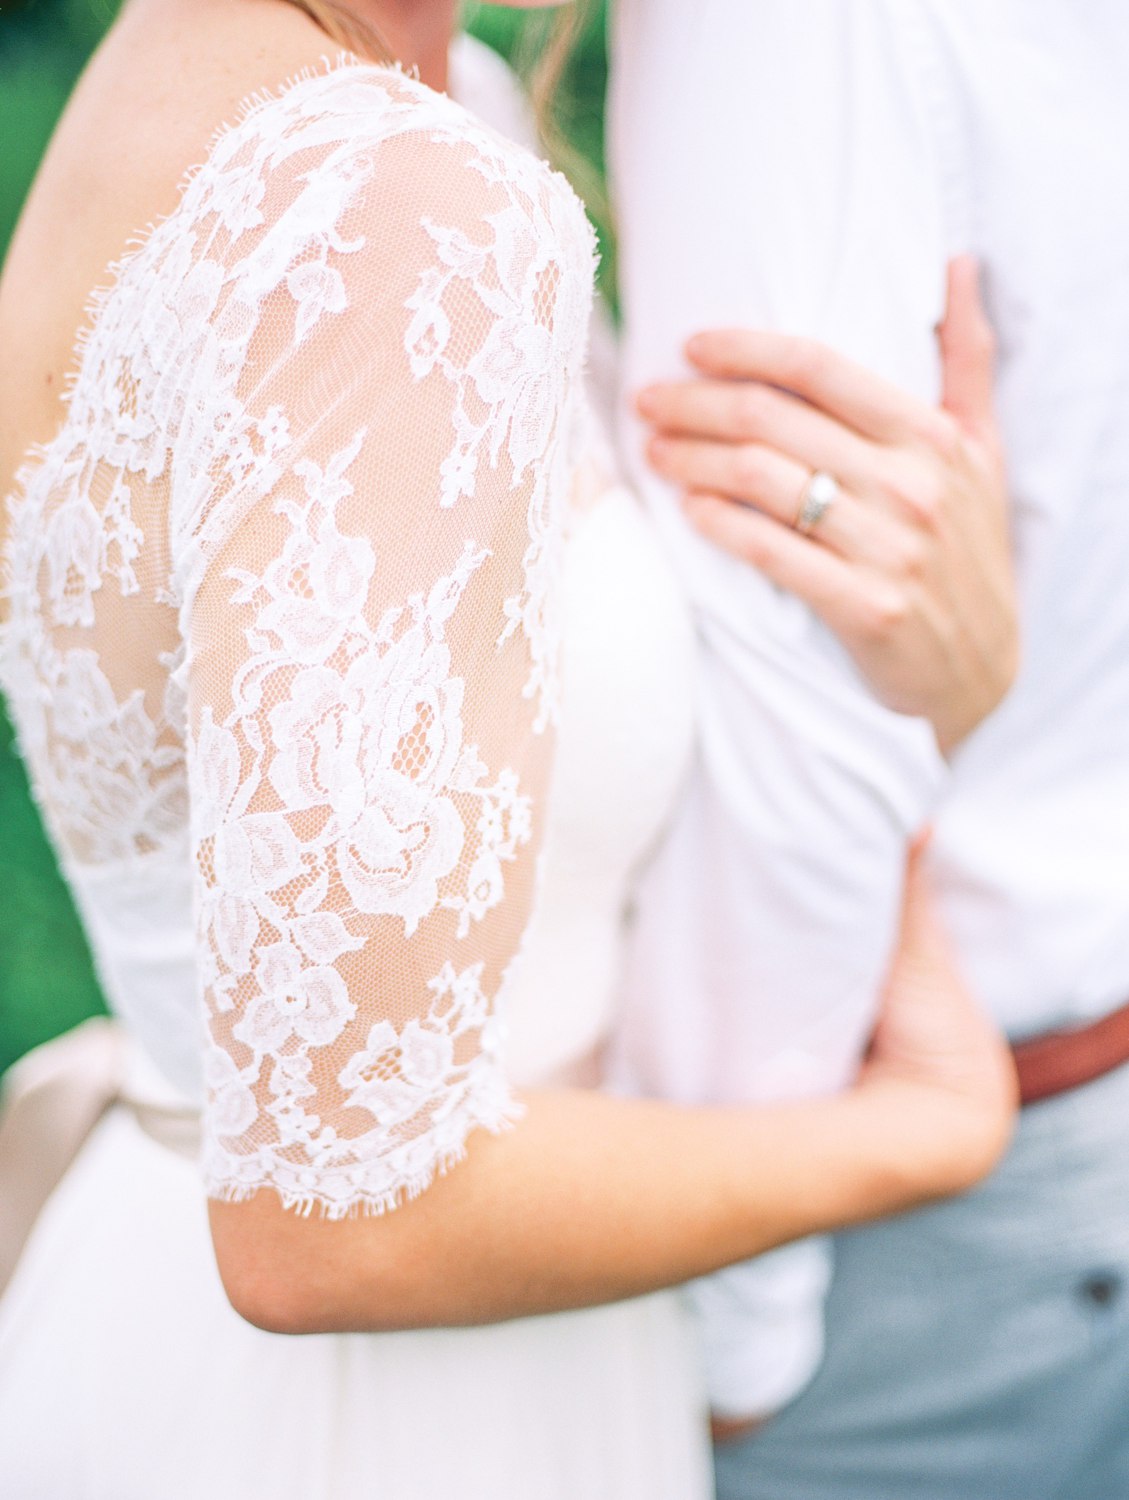
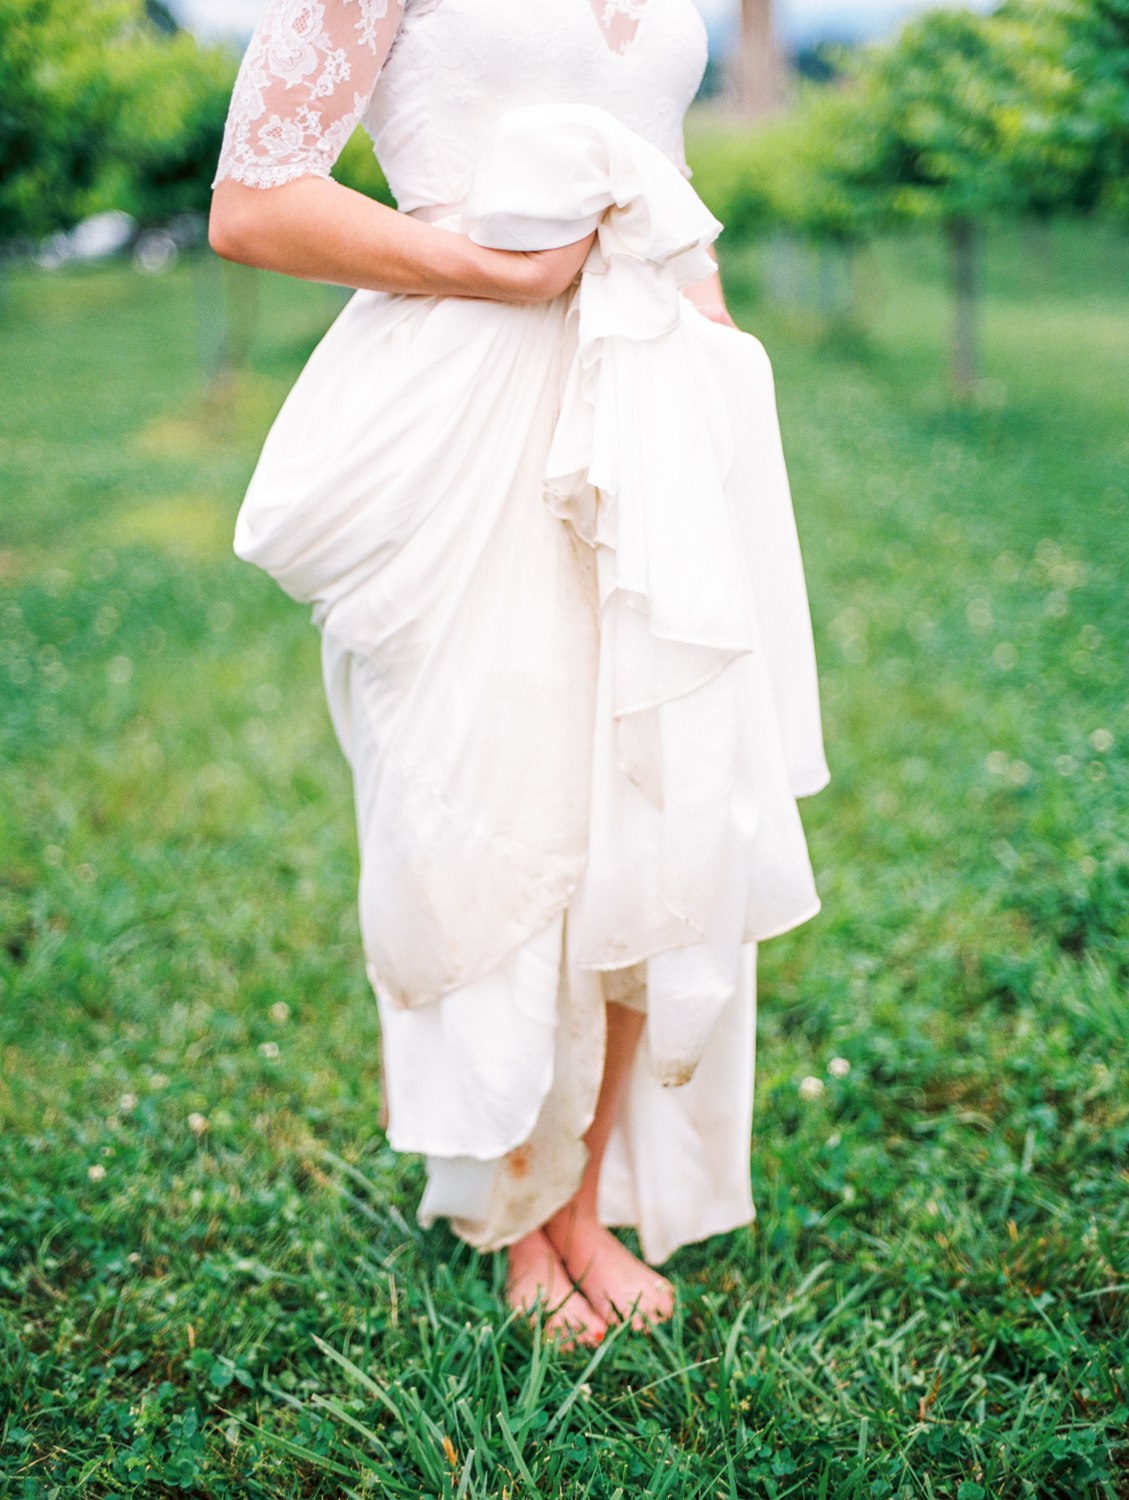
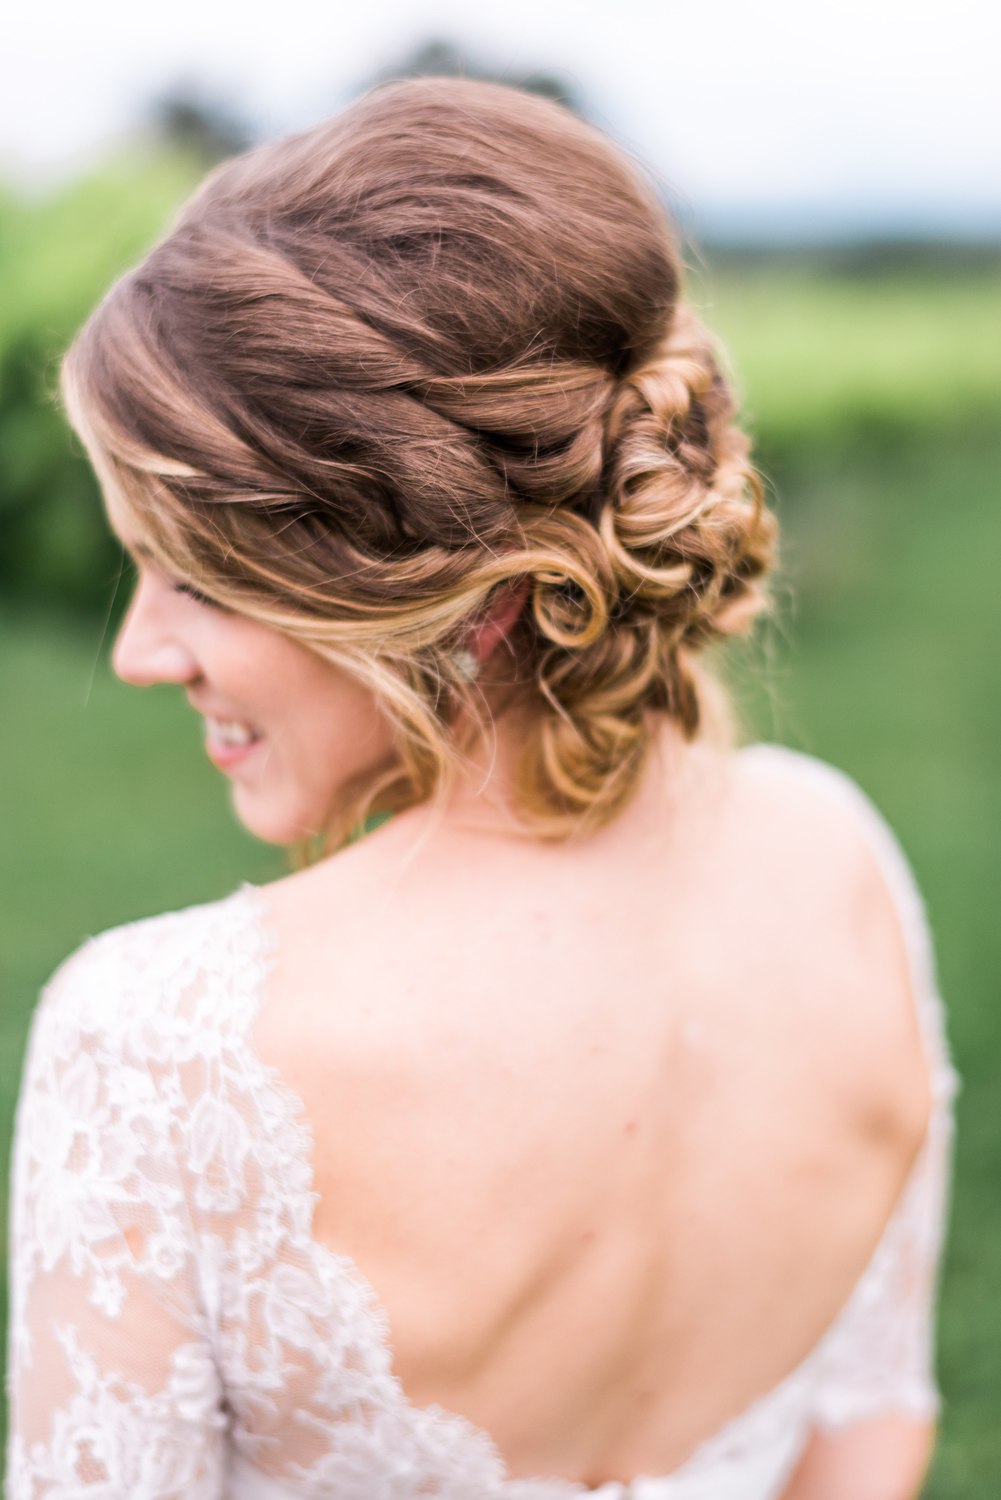
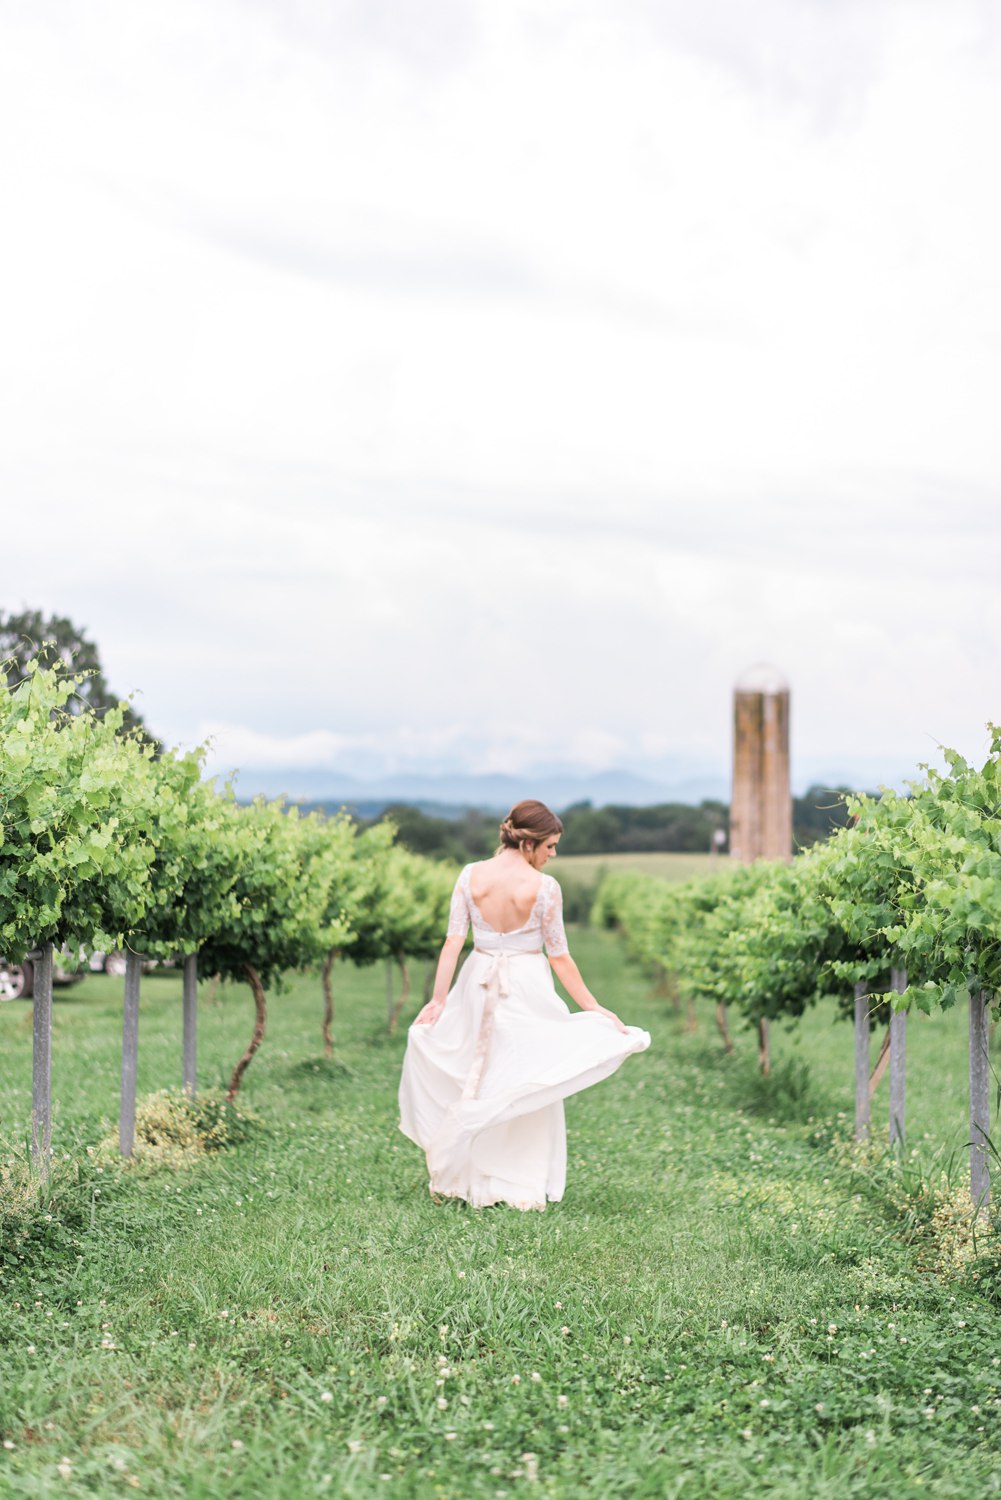
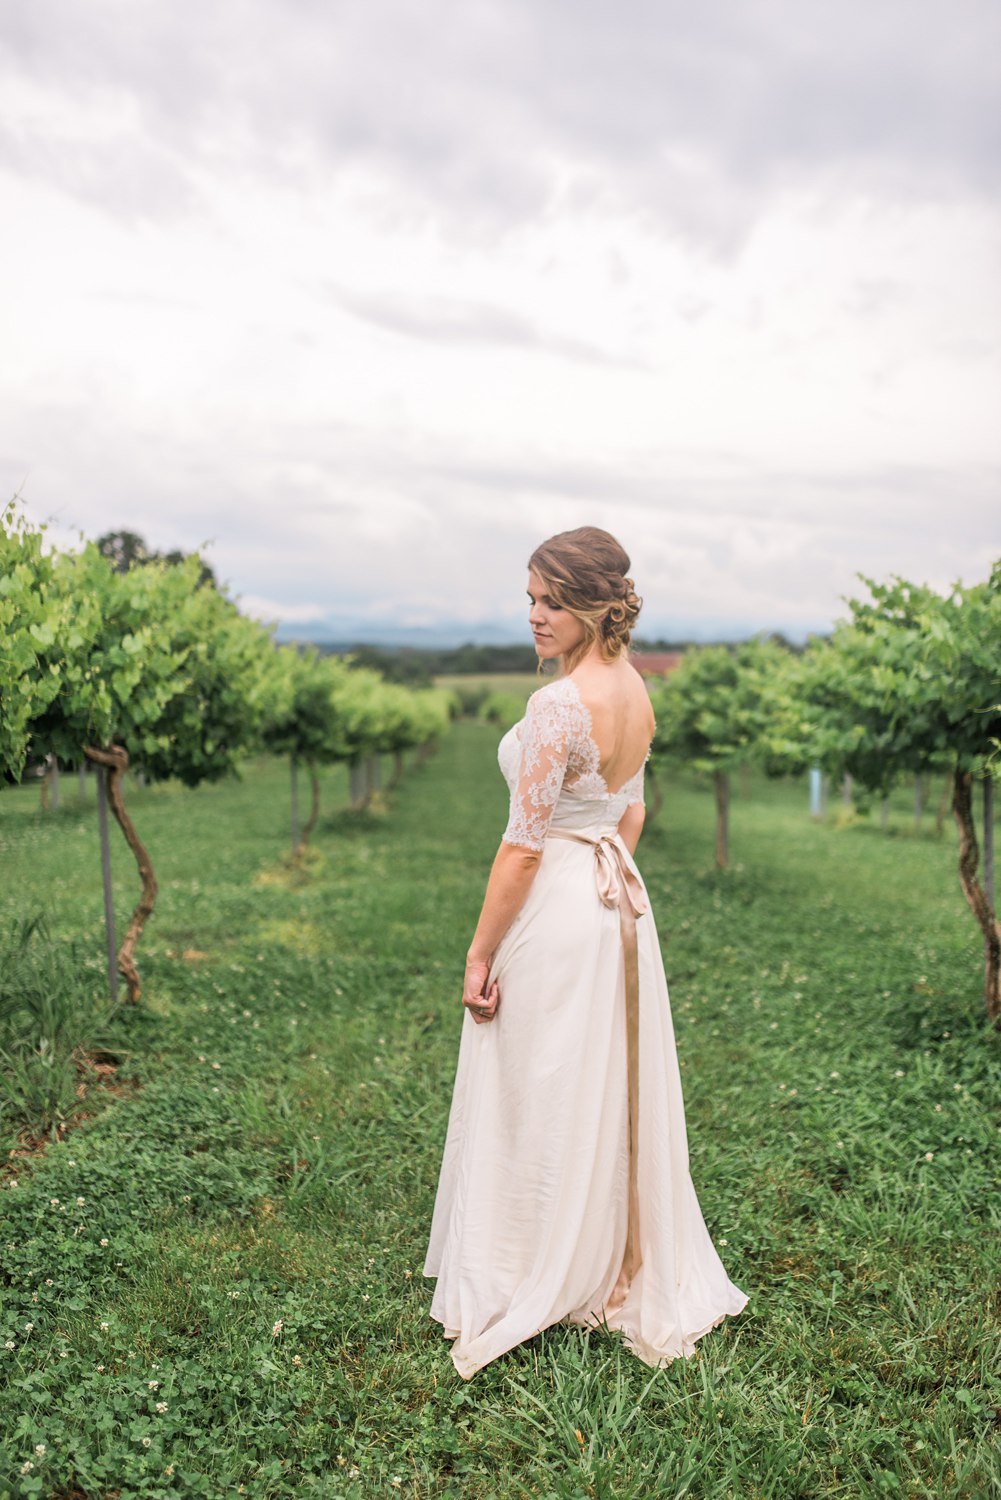
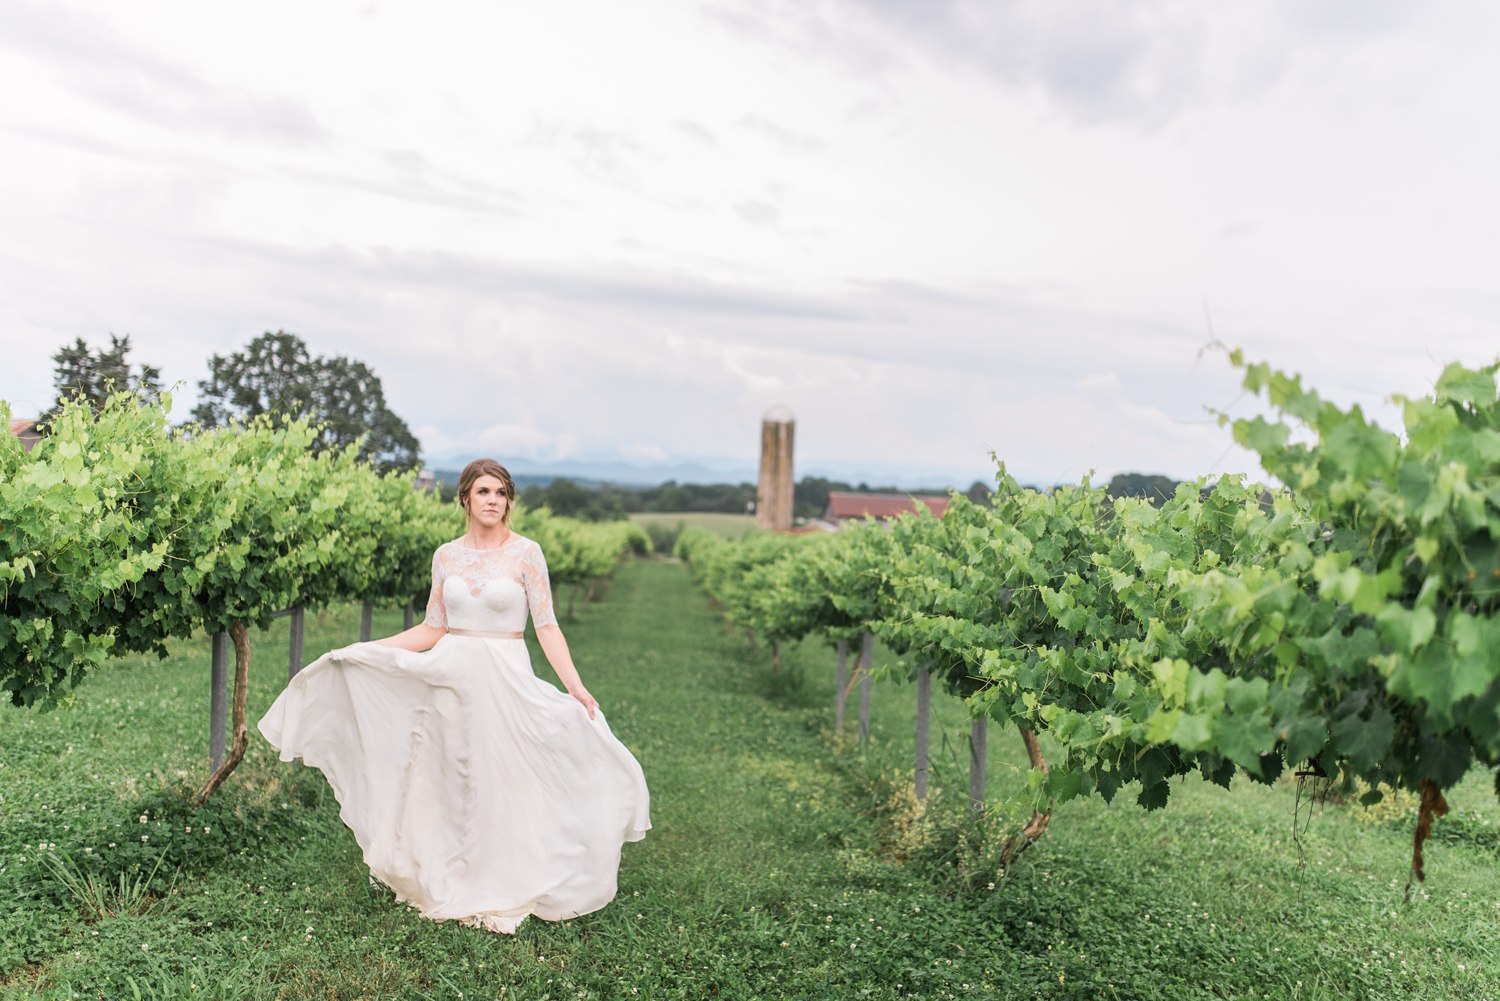
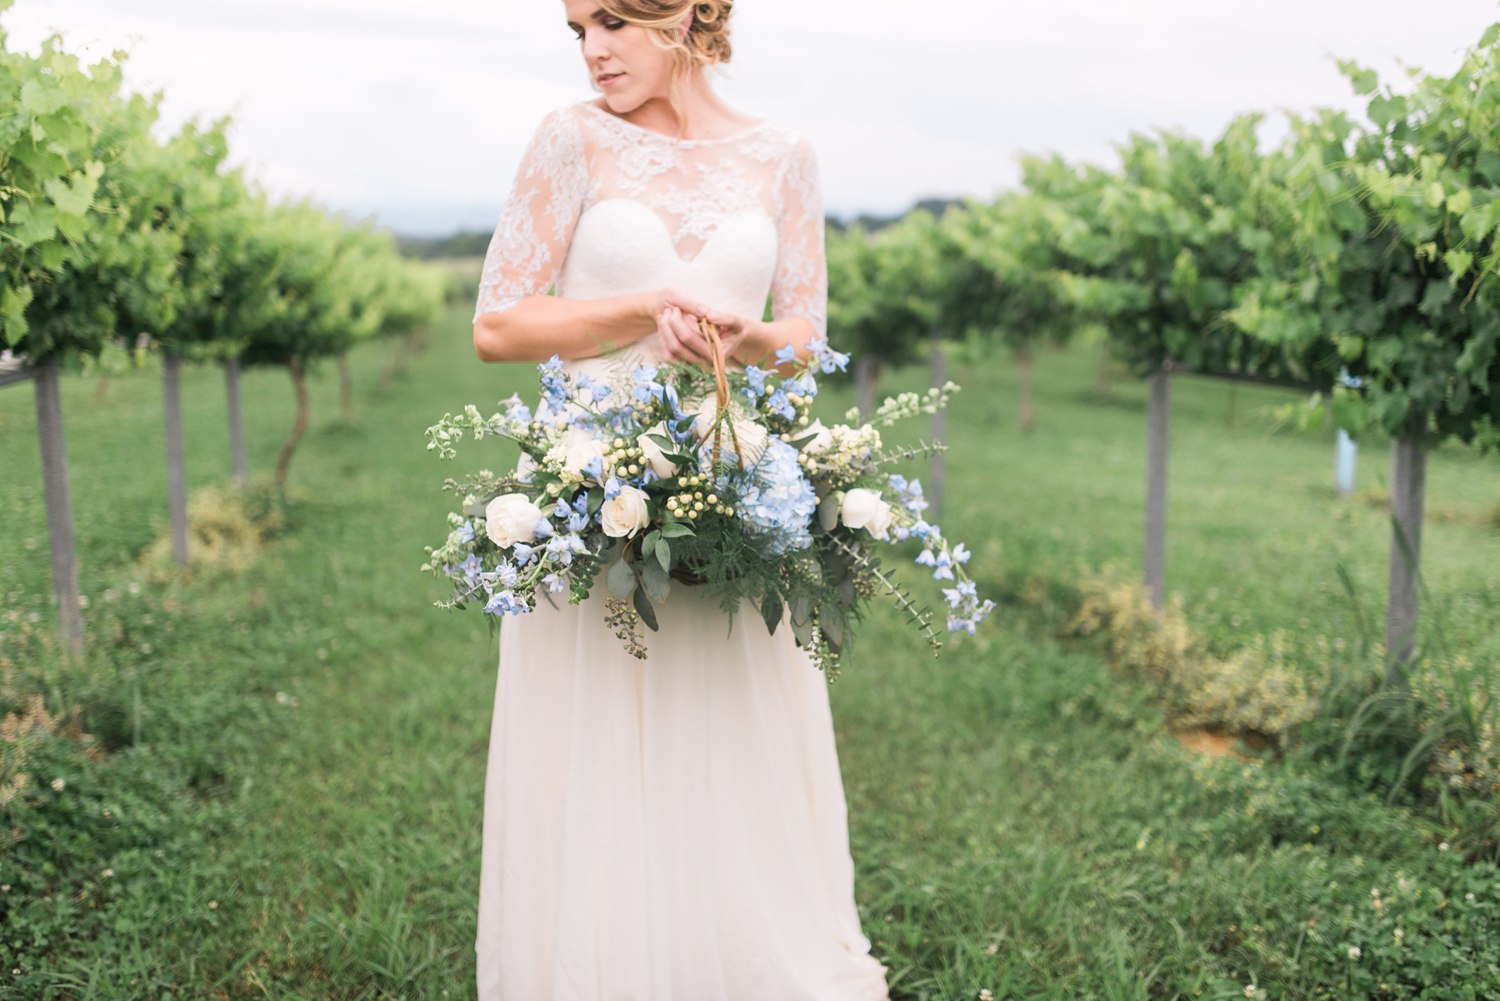
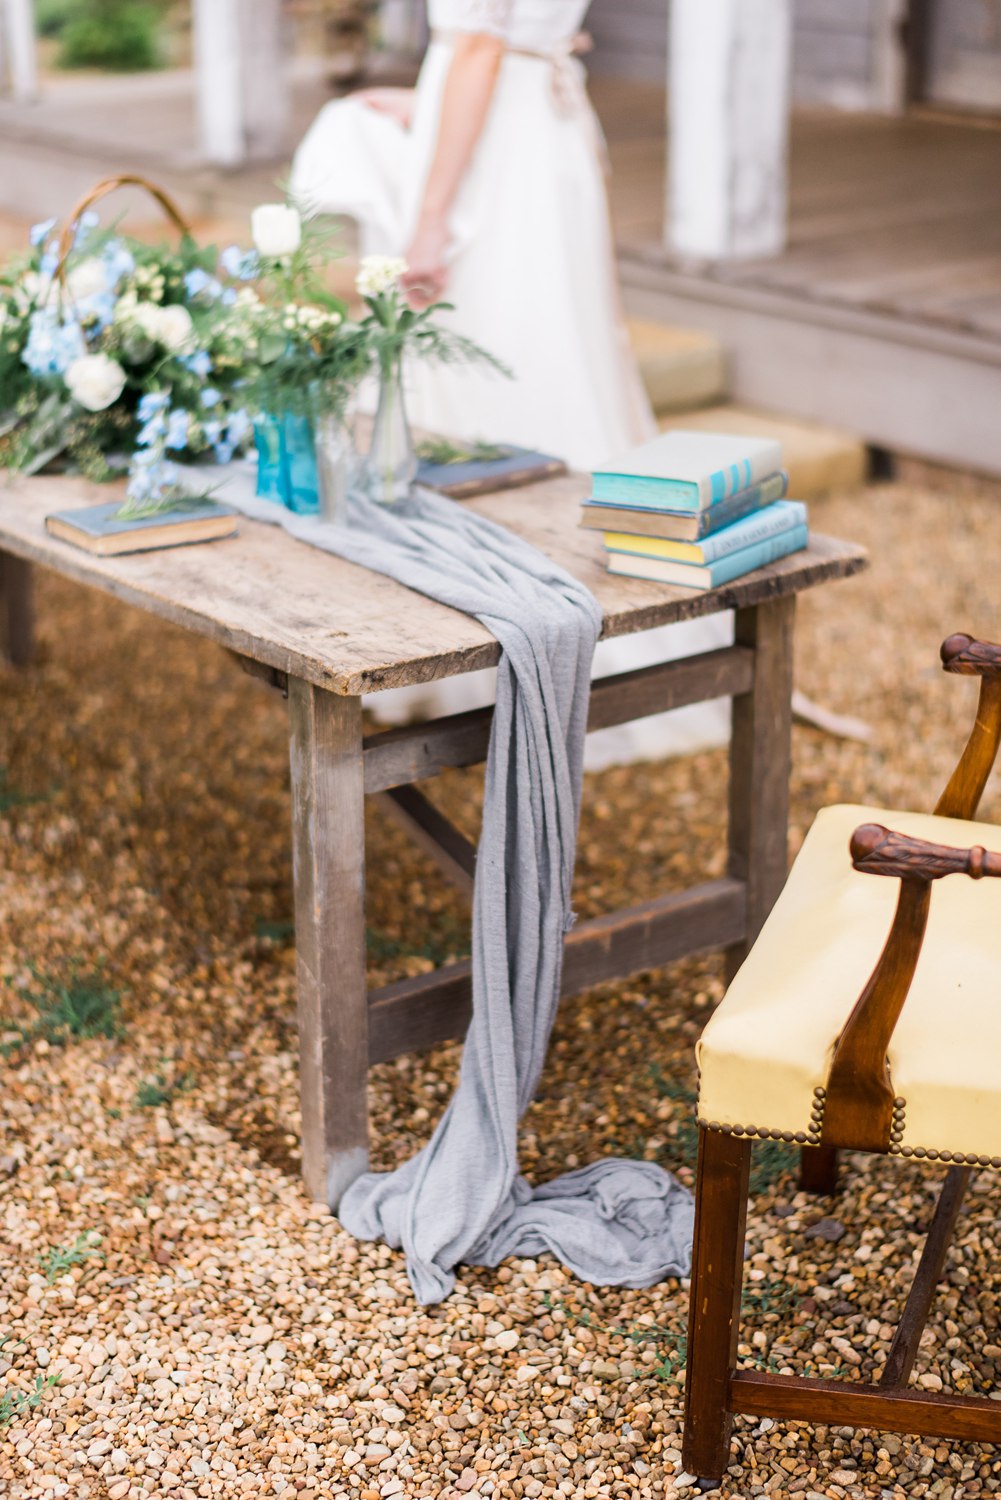
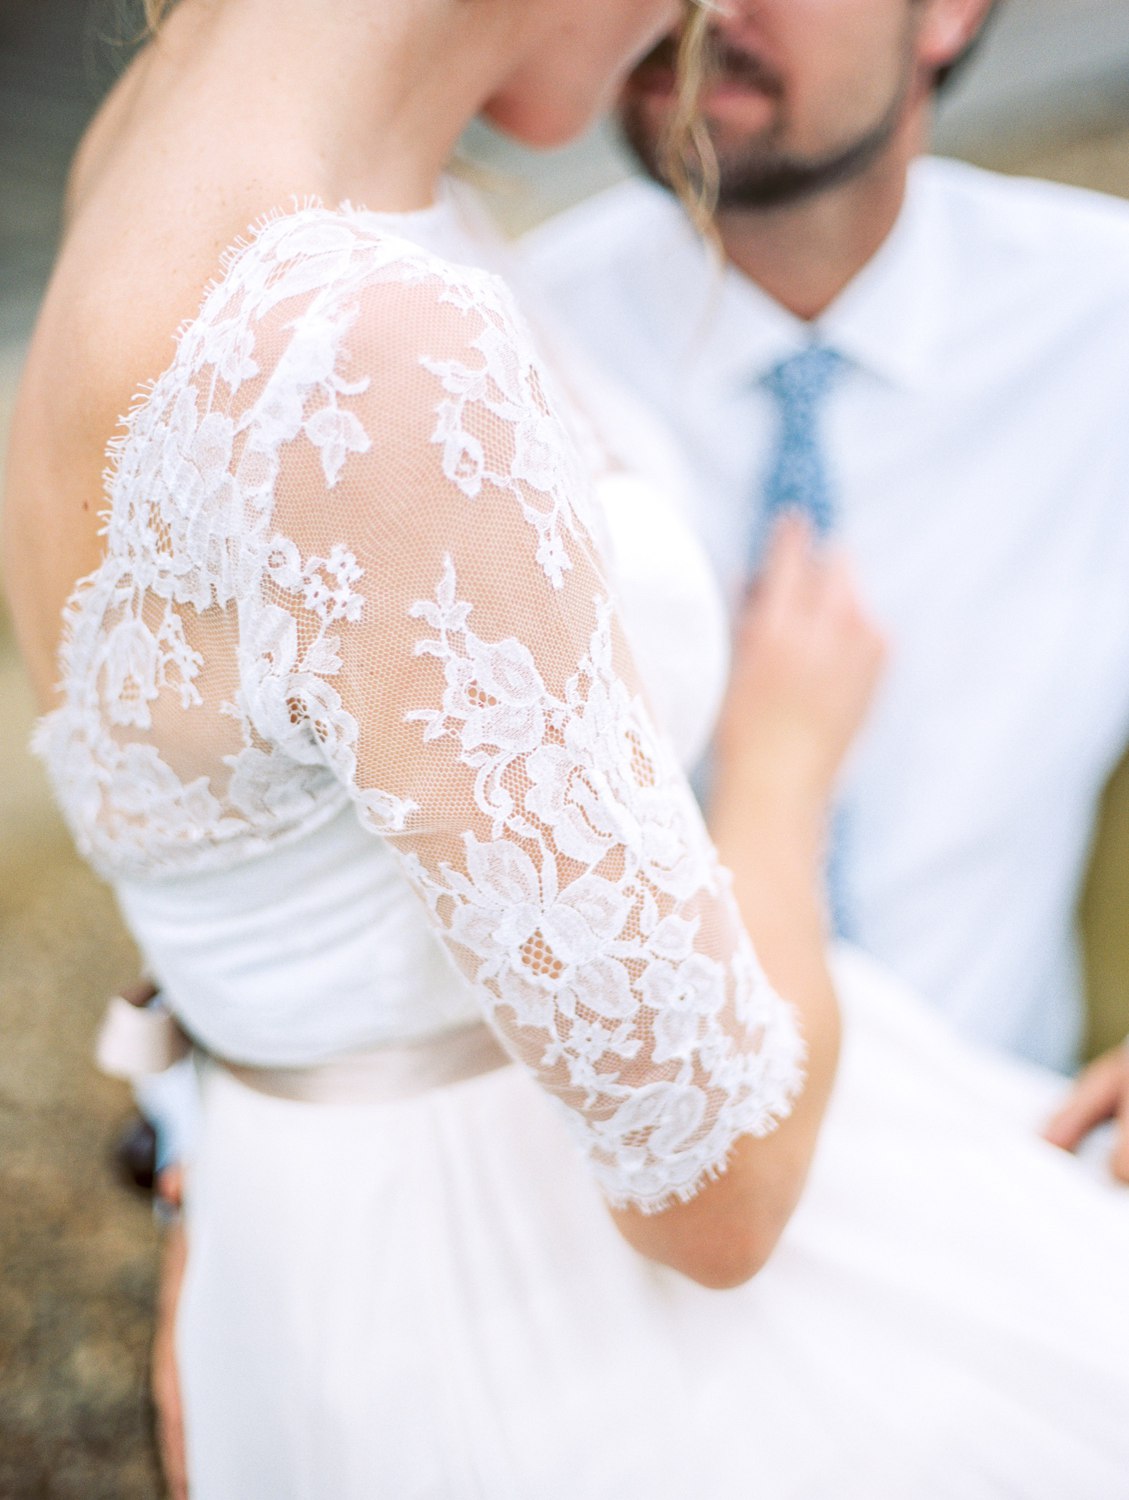
Kathyrn's dress was her own, and we love it when our brides or ladies that we shoot choose a flowy dress. We can catch amazing moments of movement, and the desire to sway or spin comes naturally with such lightweight fabrics. A simple dress with a special touch, like Kathryn's gown with lace sleeves and scoop back, can sometimes be underestimated, but being comfortable and easily achieving graceful movement is invaluable on a long wedding day and results in super elegant images.
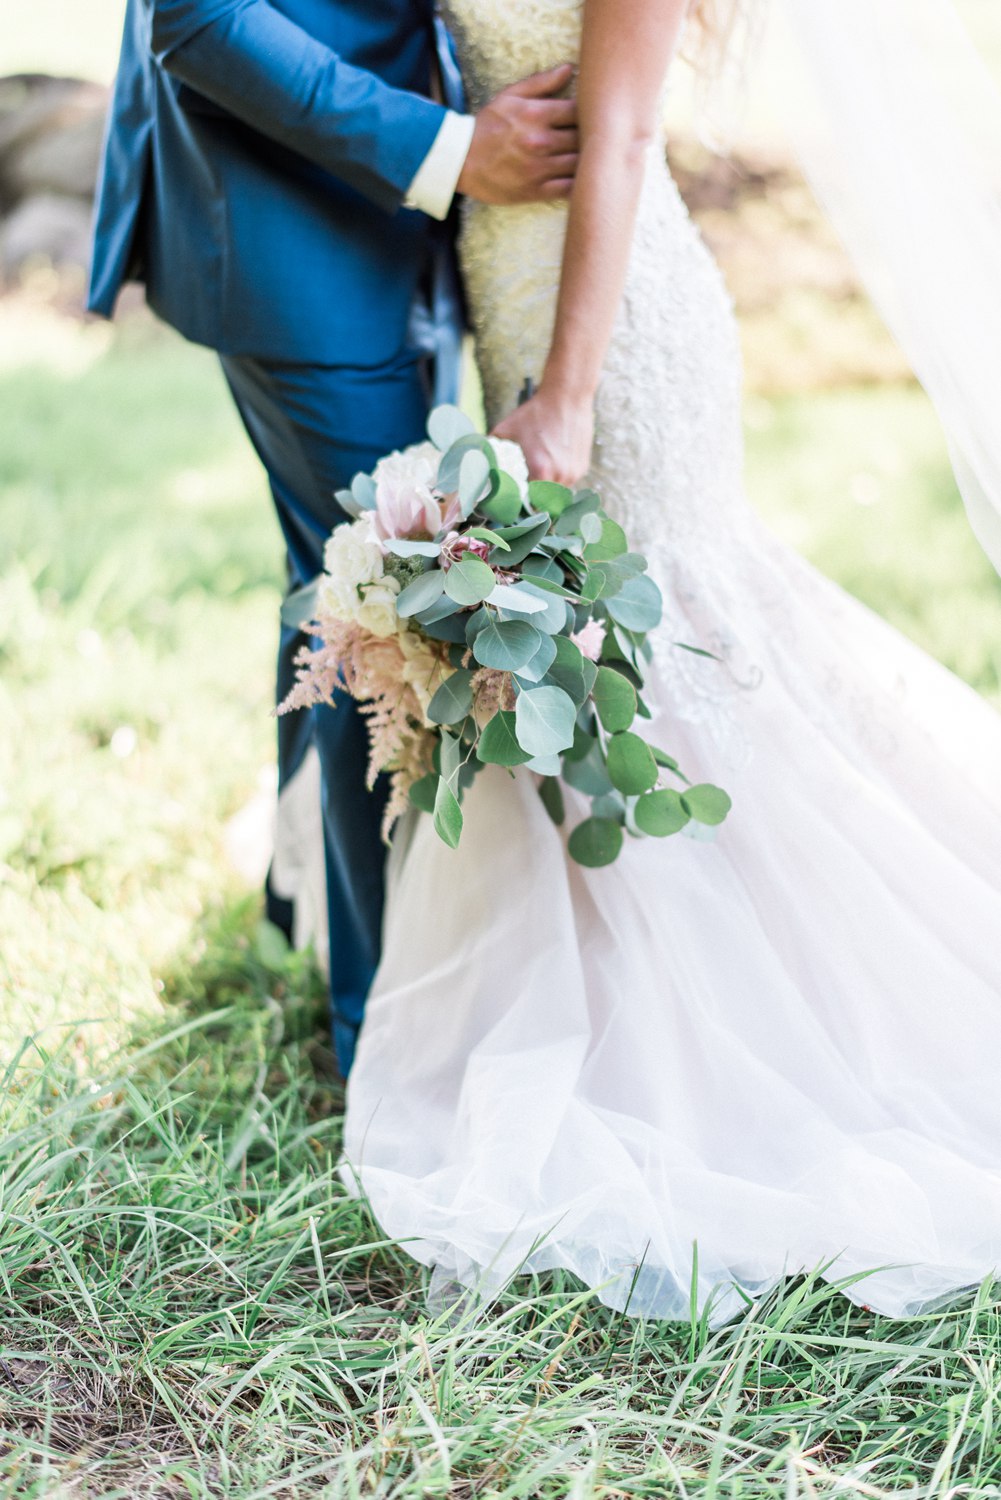
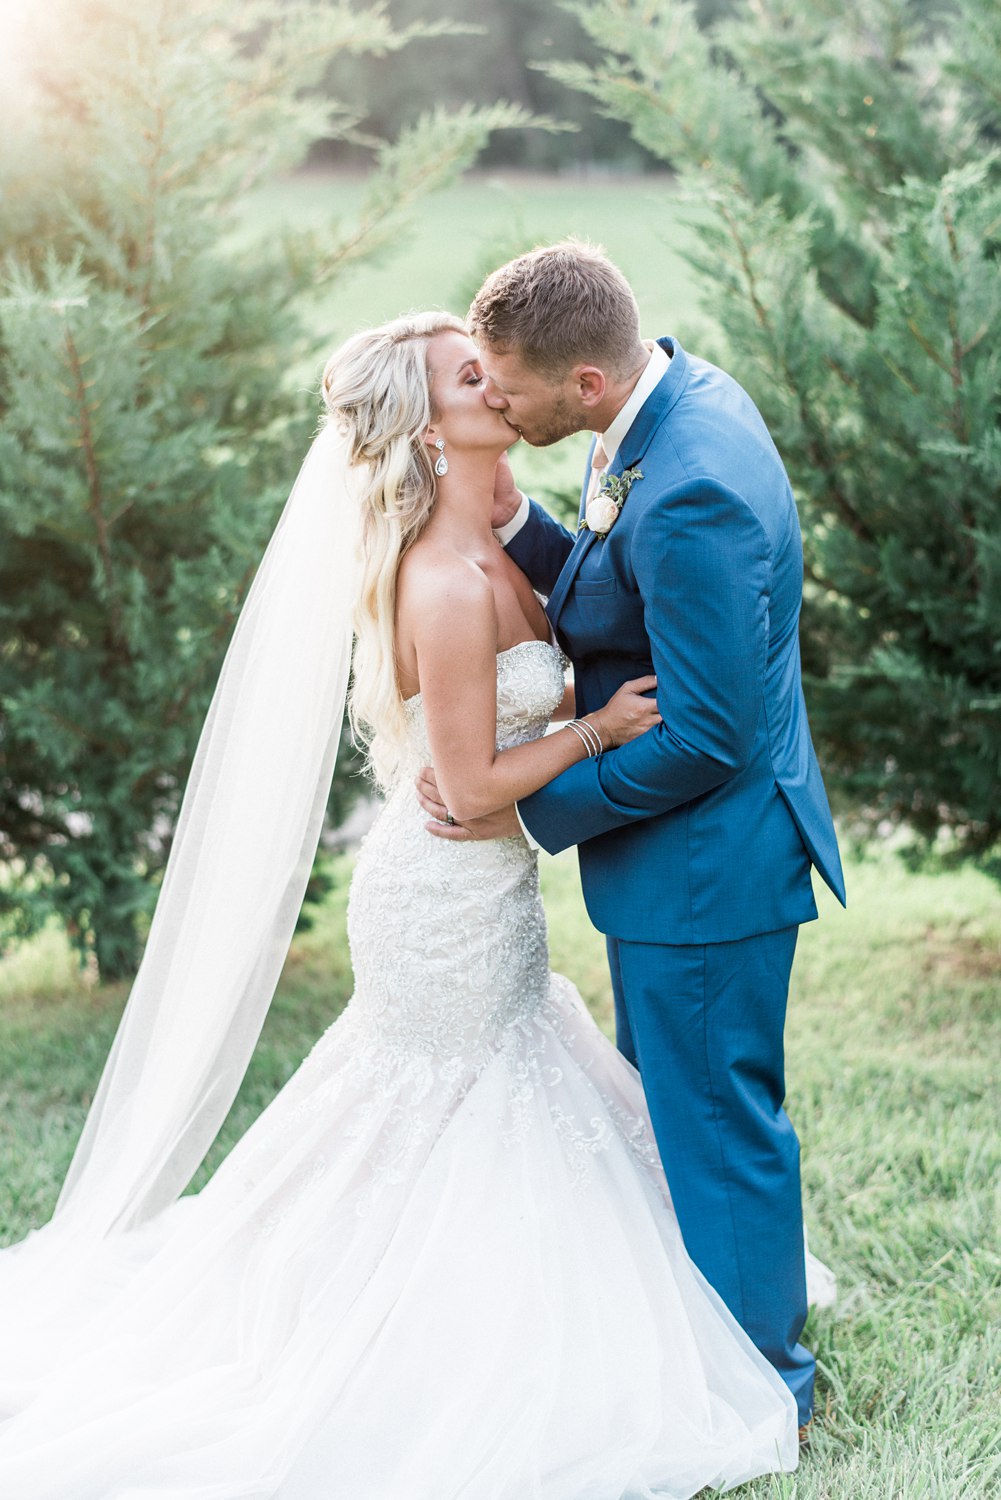
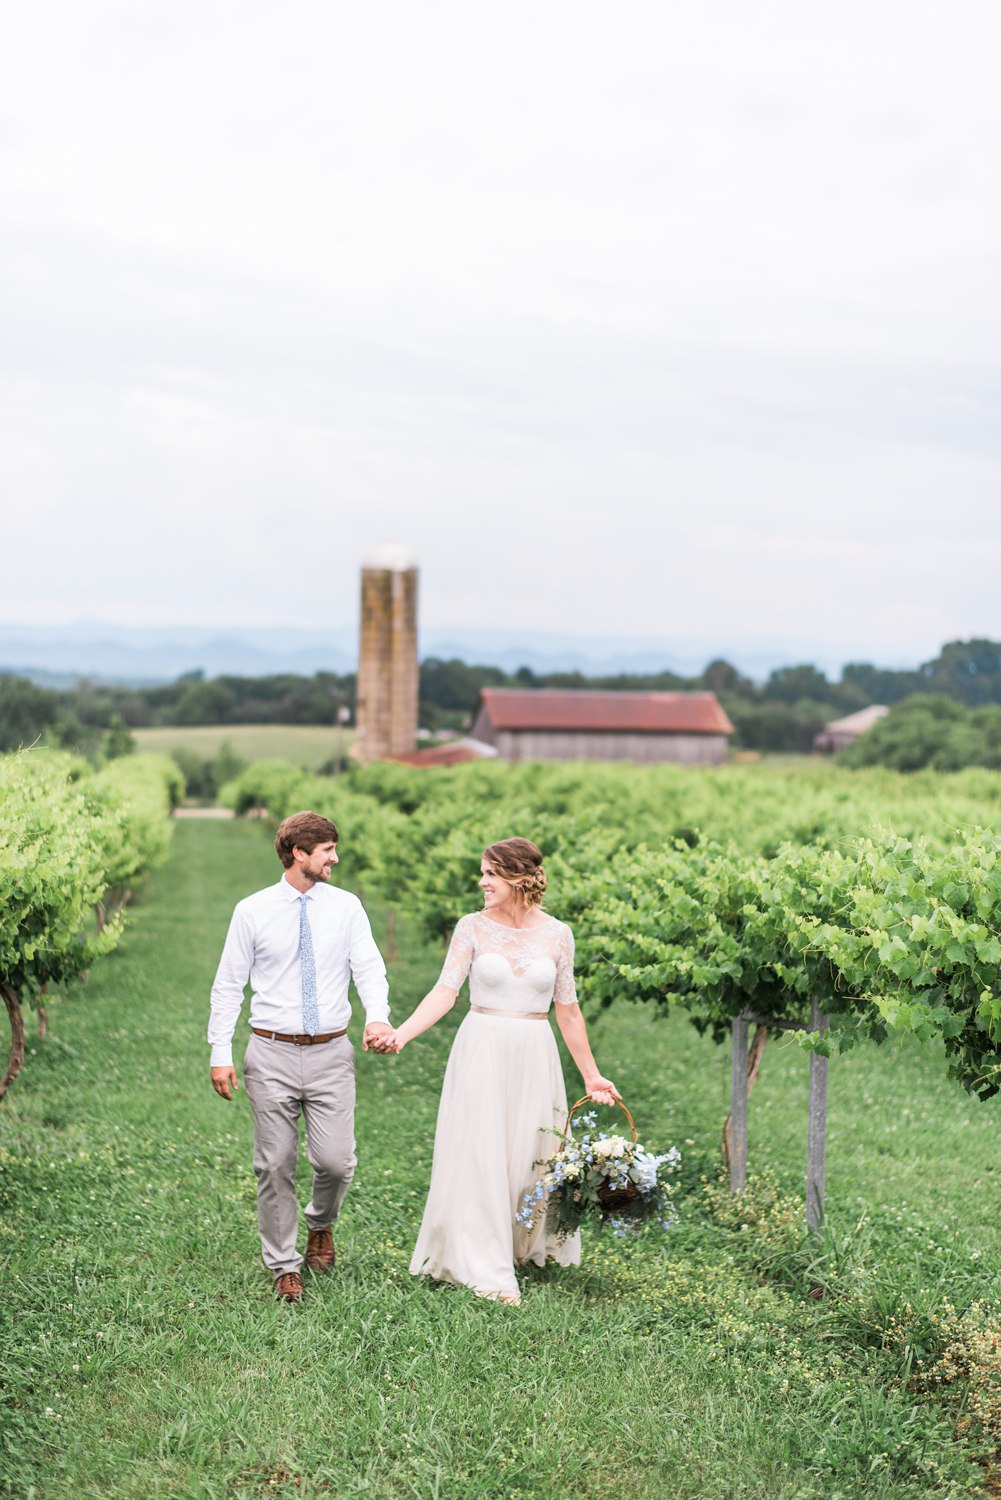
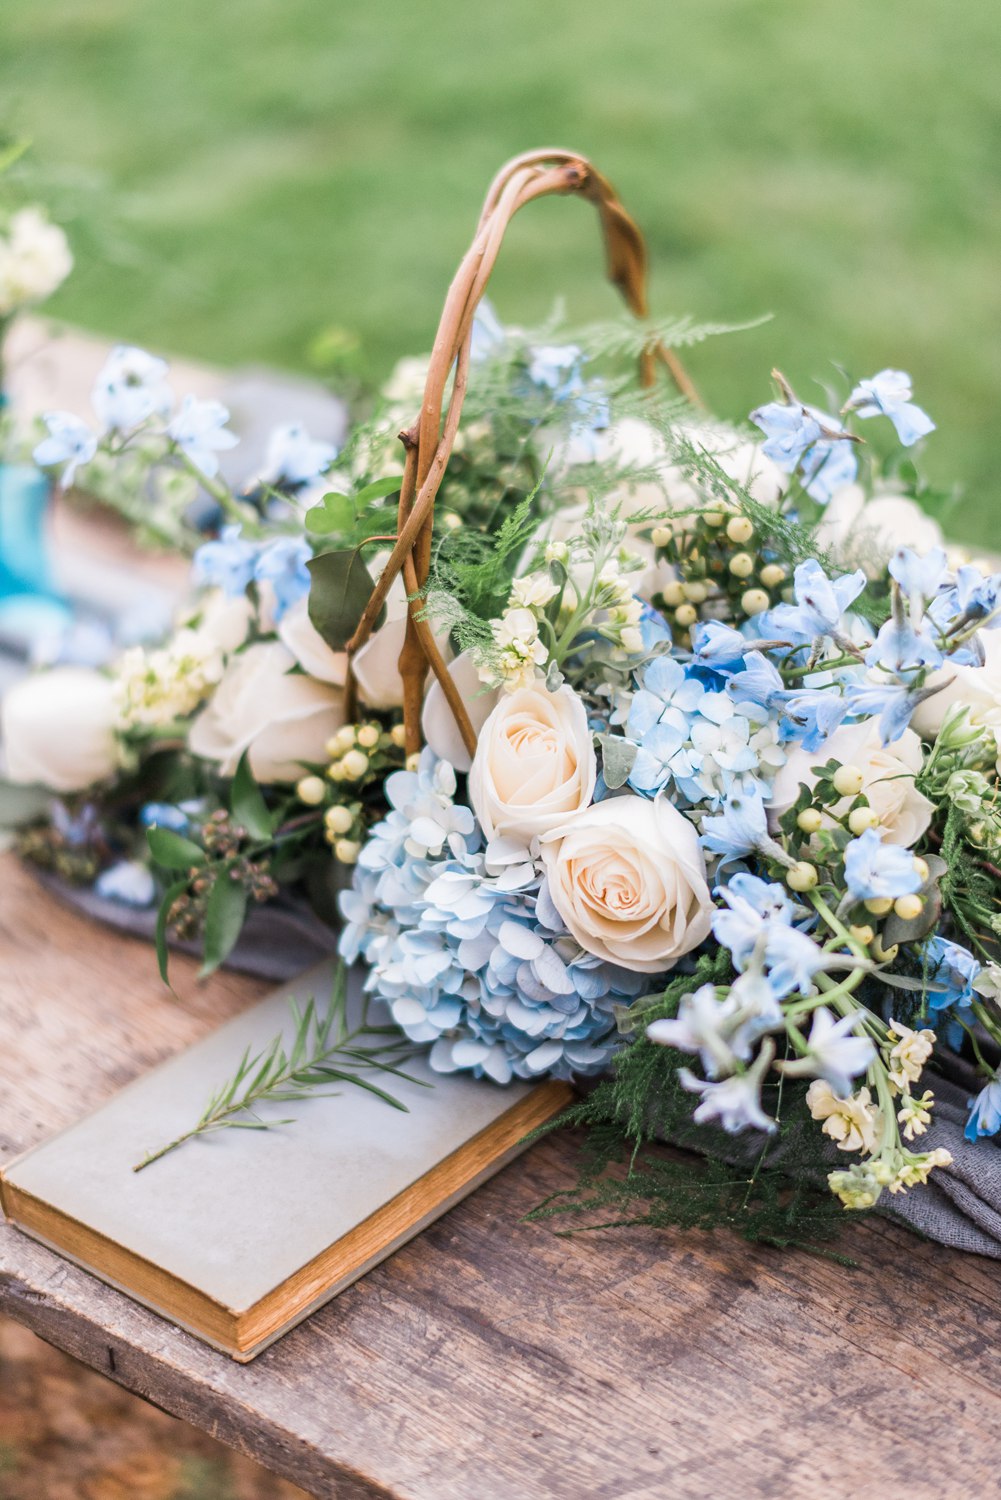
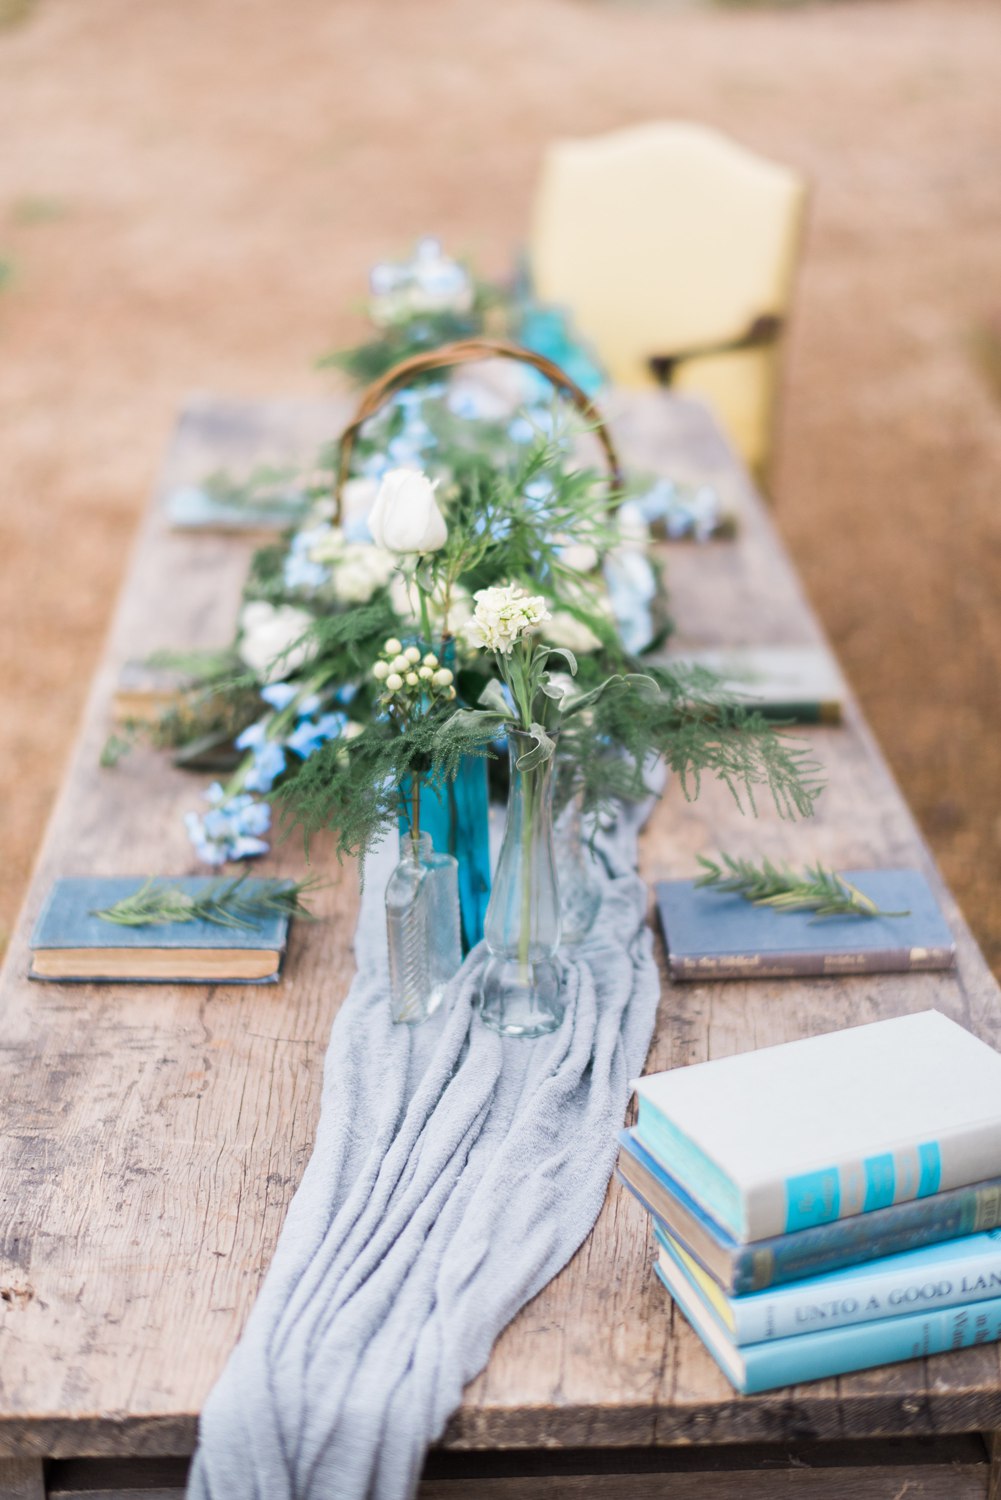
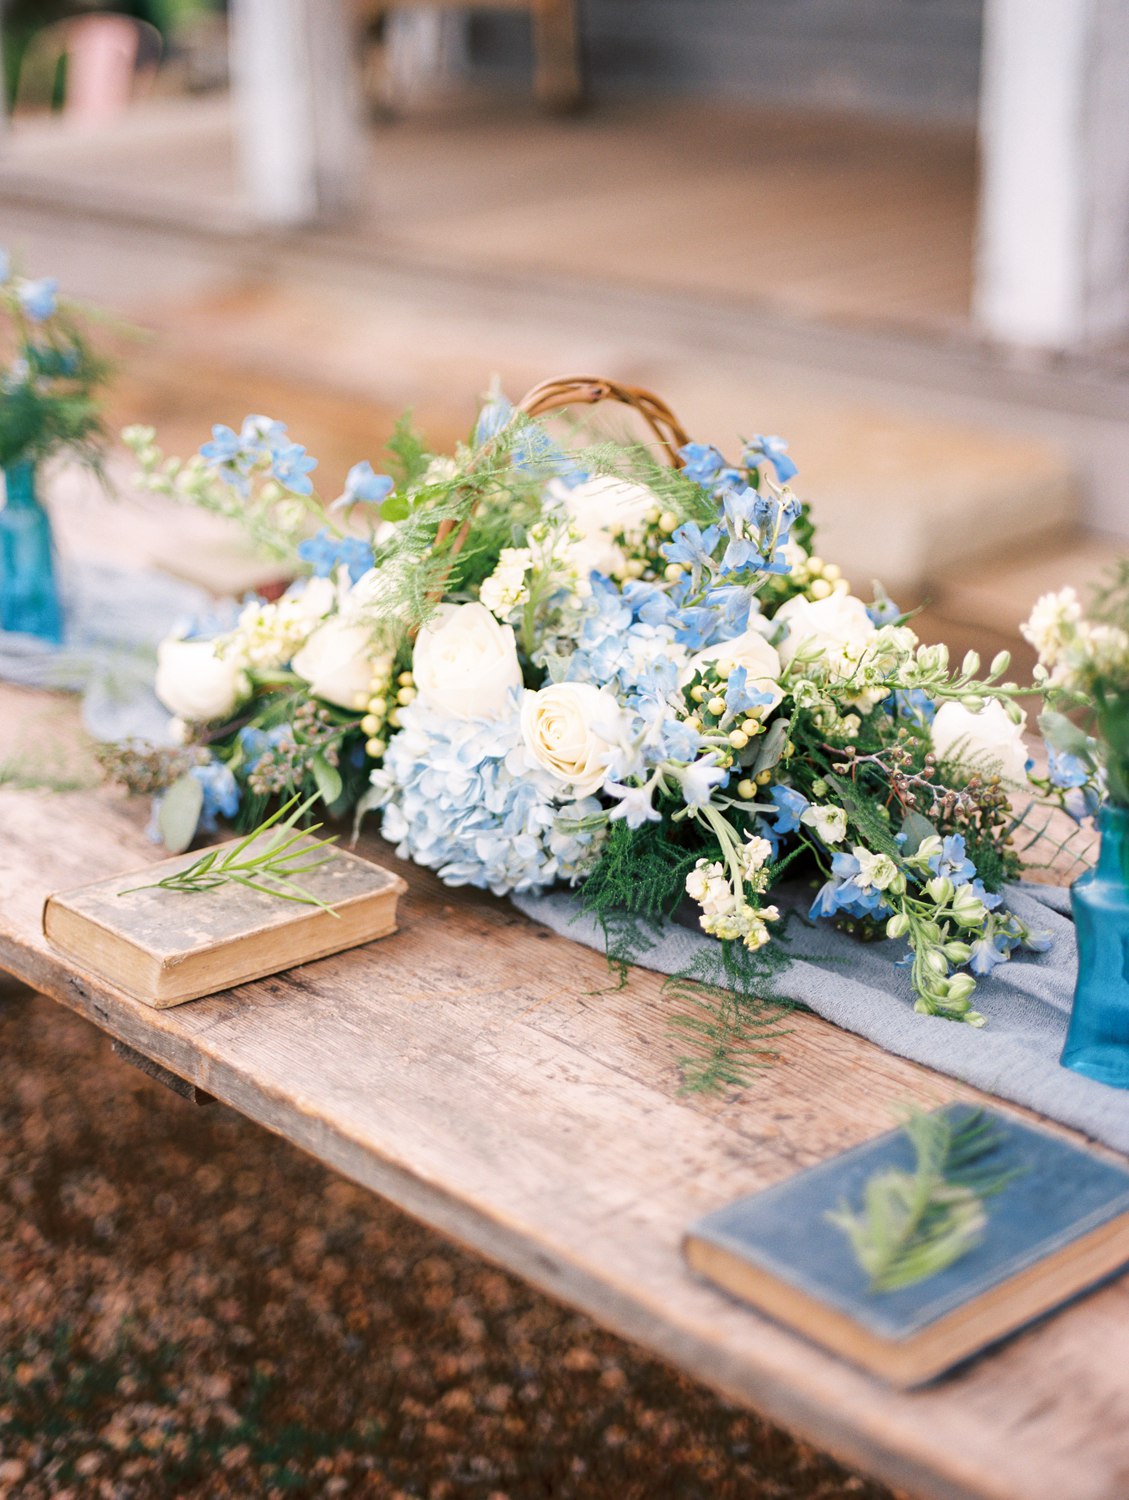
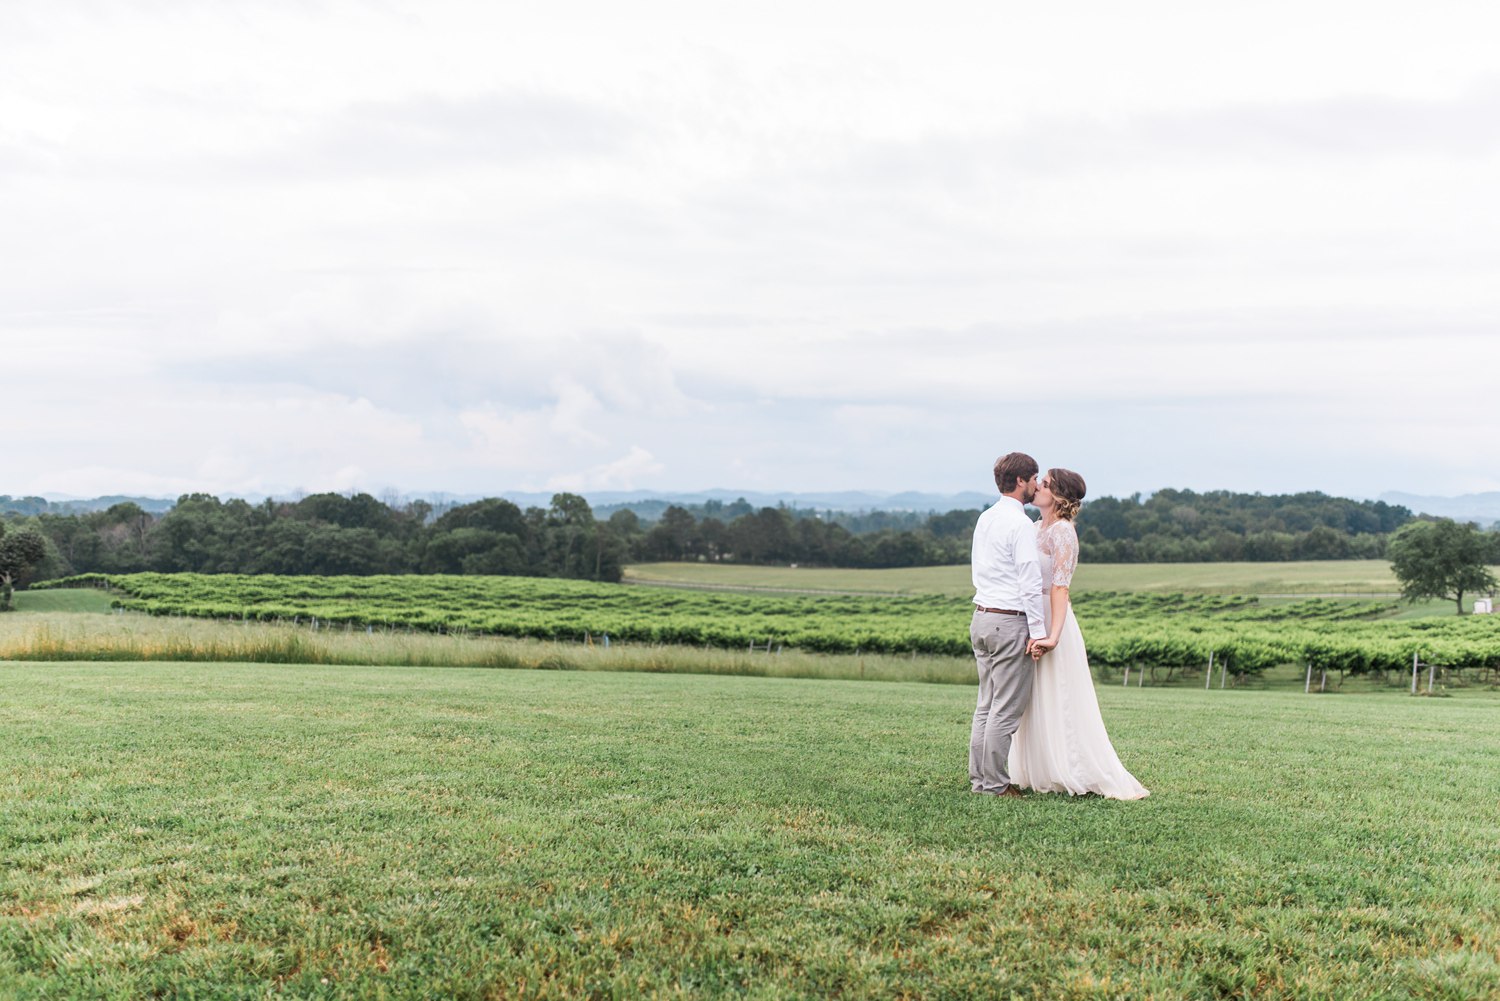
Our favorite styling element of this shoot was the basket used to house Kathryn's flowers. This unique spin was a perfect alternative to a traditional bouquet, and it meshed flawlessly as a whimsical touch amidst the vineyard setting.
Kathryn and Hunter impressed all the photogs who came together to network for this styled shoot, and we are thrilled to share this bridal inspiration with you today.
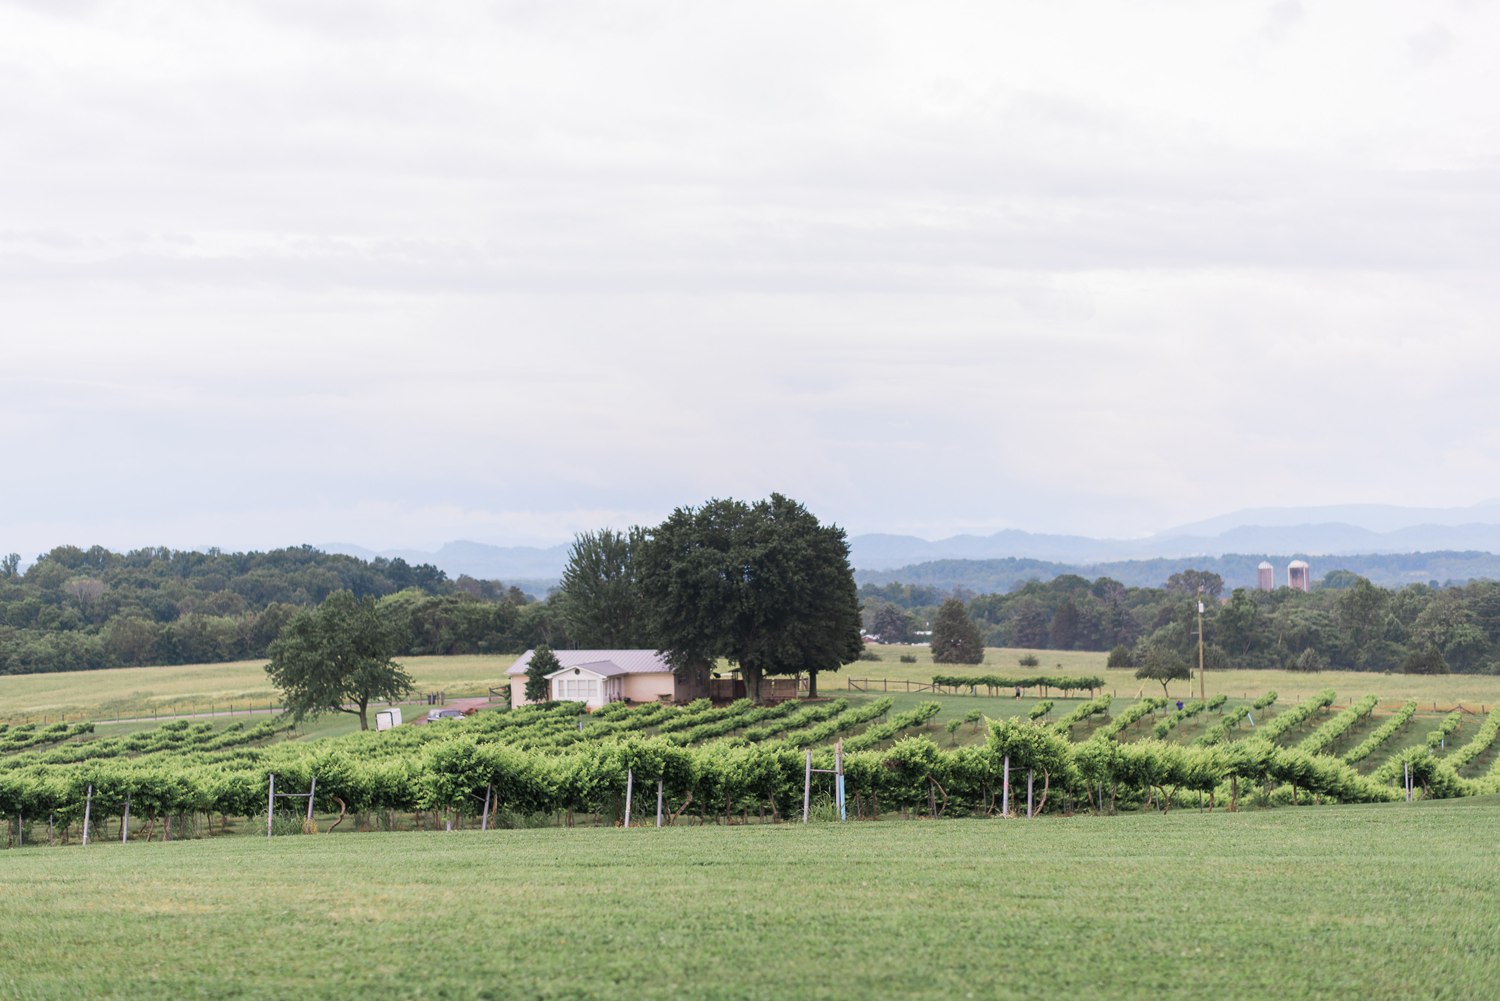
The Dress Theory | Sarah Seven | Beauty by Blair | Hair by Christi | A Blooming Collective | Vintage Inspiration Rentals | Tsali Notch Vineyard


Sweet 16 Photo Session with Cami
Hello friends and photography lovers.
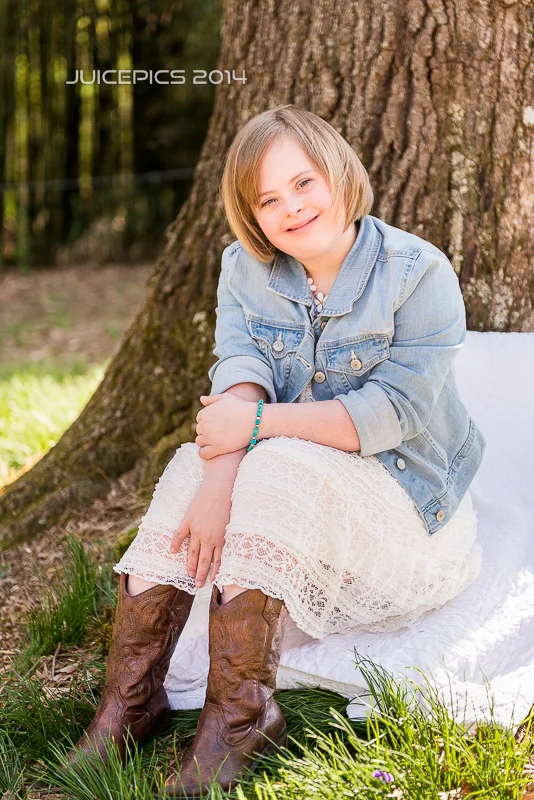
Juicebeats here, and yesterday I had the pleasure of working with a beautiful soon to be 16 year old Cami. Our photo session was at the Springbrook park in Alcoa, Tennessee. Cami wore an off white dress with a jean jacket and cowboy boots. Megan Kiphart assisted me on the shoot. Cami was a bit shy in the beginning of the session, so I had to do something to make her a feel a bit more comfortable. Hmm...Why not wear the tiara I brought for her to wear in some the pictures?
That got some great smiles out of her.
Cami under the tree
Springbrook Park is wide open but has some visually interesting spots for photography. There is a part in the park with a bamboo forest.
Cami in the Bamboo forest
The park also features a fountain, duck pond, and lots of trees and shaded areas.
Cami by the Fountain
Cami liked those parts, but I think her favorite part was when she got to blow sweet 16 confetti at me. She got a real kick out of doing that and even threw some at me too.
Cami blowing sweet 16 confetti
Here comes the confetti
I loved working with Cami, and it was great to see her feel more comfortable as the photo session went on; this made for some great candid moments. We had a lot of fun in the park. Enjoy these photos for Cami's sweet sixteen.
If you would like to book a photo session feel free to contact me by email juicebeats1@gmail.com or you can use my contact page.
Juicebeats
How to Photograph Art & Lighting Techniques
Hello friends and photography enthusiasts,
This past week I was asked to photograph some paintings for a friend. This would be my first experience with art photography, but I already knew that I would need a good lighting set up to do it. Luckily my uncle, Michael Messing of Michael Messing Photography, was available to help with the lighting set up. We used 2 strobe lights set up at a 45 degree angle from the paintings with the camera placed in the center.
Diagrams of the set up:
To make sure we had the correct amount of light hitting the paintings, we tested each corner of the painting to see if the light was evenly hitting the picture. The light meter showed us what aperture to set the camera to for best results.
Setup: For these shots of the paintings we used the sync speed of my camera to the flash which was 1/200 shutter speed. The aperture was set at f10 and ISO at 100 for best results without introducing digital noise. My camera, the Nikon D610 with the 24-70mm f2.8 was zoomed all the way to 70mm to flatten the image as much as possible. You could even go higher using a 70-200mm lens to further the flattening.
When creating digital prints of paintings, you want them to to look exactly like the originals with no glare from the flash, and the color has to be on point.White balance is key! I shot in RAW format so I could make any changes necessary later if needed, but if I was shooting in JPEG format, I would have to make sure that everything was exact. Before taking the first shot, I used my white balance cards and had Michael hold them up in front if the painting.
I took a test shot of the cards in the frame, so I could use this shot later to correct white balance in Lightroom when cropping the paintings and correcting the color.
Once we had everything where we needed it, it was time to take the photos of the paintings. Every shot was framed so that the focus point was in the middle of the picture with little surrounding area. The way to do this is to keep the lens zoomed in but move the Tripod forward or backward depending on how much you are trying to take out. This makes it so that you will not have much cropping to do later on.
Here are a few examples of Maria Walker's Art. If you like her work and would like to purchase a print copy of the art, please leave a comment below, and I will get you in touch with her.
Don't forget to Subscribe to future blogs and updates by entering you email information in the subscribe link below.
Juicebeats

Newborn Photography Techniques
Hello friends and fellow photography enthusiasts,
My name is Jason (Juicebeats) Messing, I am a portrait photographer living in Knoxville Tennessee. Today I would like to talk to you all about my new venture into newborn photography.
Newborn photography is one of the hardest forms of photography to master because it can be incredibly tedious. You are working with newborn babies who don't often cooperate with you when you try to take their photograph. Newborn photography requires some patience and can take hours to finish. In doing my research to learn more about newborn photography, I found that most photographers that schedule newborn sessions will not schedule anything else for that day because of how long it can take. You have to worry about props, toys, blankets, hats, clothes, messes, etc., just to take a few shots. The photos are the easiest part of the session.
After researching some poses I liked on the internet, I put my creativity to work behind the camera. The first thing you have to worry about is lighting. In this case, I used the natural sunlight coming from the window in my son's room. Next, I set the white balance using a grey card. For this lighting situation, it can be a little tricky when you are not in a studio setting and do not have umbrellas, soft boxes, or even a high powered bounce flash. It was sunny outside, and the sun gave enough light in the room for me to work with. If you don't have a grey card, you can set your white balance to shade setting when using natural light from the window. It will give the room a warm tone, and it will be close to what a grey card will set your camera white balance to. The reason to set it to shade and not sunshine is because while the room received sunlight through the window, it still will not light the room like a truly bright sunny day. If you are shooting RAW rather than JPEG, the white balance doesn't make much of a difference because you can change it later on in your favorite editing software. The next thing I needed to set was my ISO and shutter speeds. I wanted the photos to look bright and clear so I set my ISO to 200 and set my shutter speed to as low as it would go without my highlights clipping in my histogram. This also gives me more detail to work with in post productions in Lightroom. I knew I was going to using a fast aperture at f2.8 on a 50mm lens, so I modeled the rest of my set up around that. My second camera was also set up the same way, but the lens is not as fast at f3.5. I set it at 35mm f4.5, ISO the same, and shutter speed even slower to compensate for the aperture speed difference.
Make sure your newborn is asleep or sleepy; if not they will squirm, cry, and be uncooperative. It was funny because the second time I tried to do the newborn shoot, my son was asleep when we started but woke up as soon as we got him into position. He did not want to take any pictures. I was lucky that I have a fast trigger finger and caught him just as he was about to throw a fit or as he closed his eyes for a second.
Basically what I can tell you to make sure you get the best out of the shoot is to make sure you do the newborn shoot in a 2 week window from the time they are born. This will be the best time for newborns because they stay asleep most of the day during this time. Also, make them as comfortable as possible--blankets, pillows, rubs, anything to keep them calm and sleepy. Newborns are also really flexible at this stage, so if you can get them to sleep, you will be able to put them in different positions. Just make sure you are there to catch them just in case they move.
Equipment I used for the shoot: The first shoot was shot with my NEX 5R and NEX 5N crop sensor system. I used a Nikon 50mm f1.8 E-series lens on the NEX 5N, which is a manual focus lens. On the NEX 5R I used the 18-55mm f3.5-5.6 kit lens. During the second shoot I used my Nikon D610 full frame sensor camera with the 50mm f1.8 G lens.
Here are some before and after shots of how I edited the photos using natural light.
Before
After
Before
Before
Before
After
After
After
I use Lightroom for 99% of my editing. All of these were edited in Lightroom except I exported the black and white one in Photoshop to do some of the darkening effects then imported back into Lightroom for the final edits. I used a combination of color correction techniques and some adjustment brushes to clean up the images. If you have any questions about any of the editing, feel free to comment below or contact me juicebeats1@gmail.com.
Juicebeats